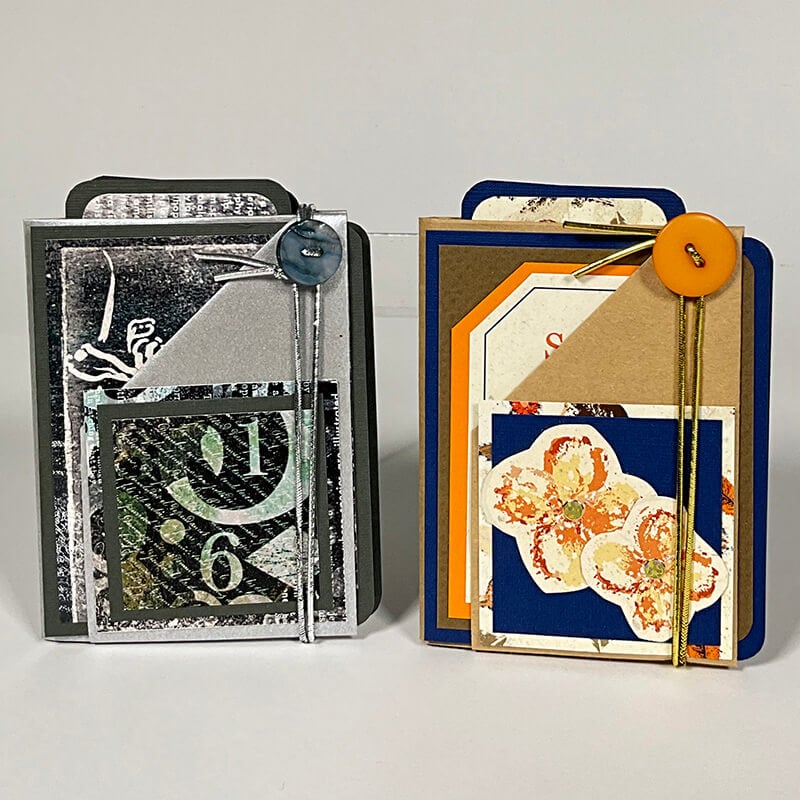
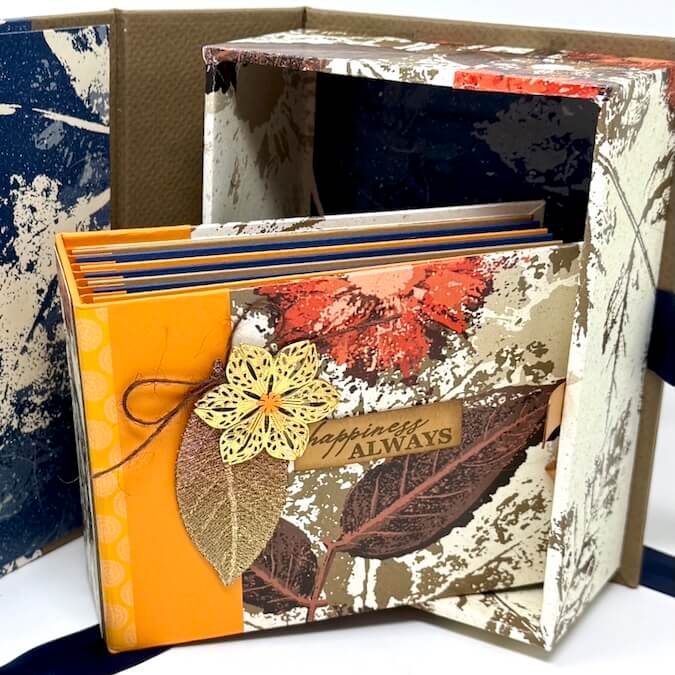
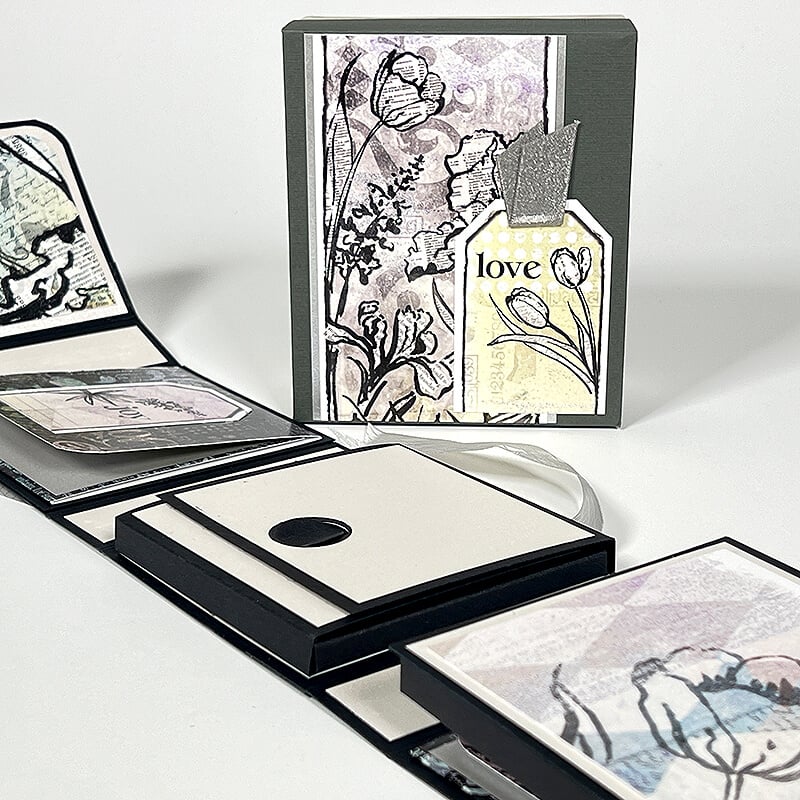
One of my favorite projects of late is the Interactive Journal. After scrapping sunset cruise memories on four of the eight October pages, I knew this project would be a great way to showcase the remaining photos. Scroll down to learn more about how to make a stunning 6x8" Interactive Journal featuring Club Scrap's Yellowstone Page Kit.
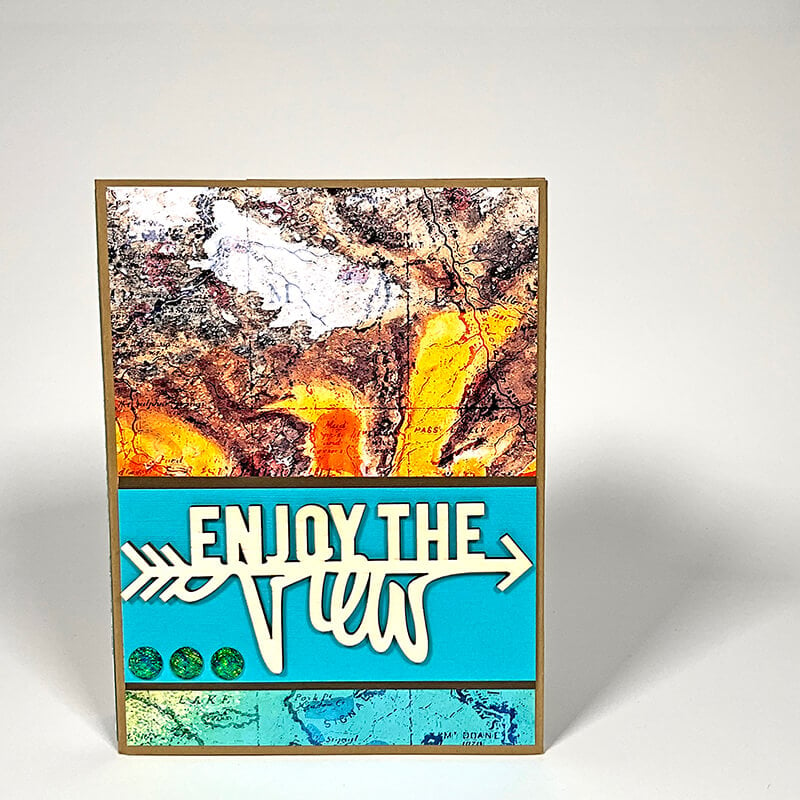
Yellowstone Interactive Journal
To recreate this project, gather the following supplies and tools:
Yellowstone Page Kit
Interactive Journal Instructions Download
(2) 12x12 Dark Kraft Folding Board
Hook and Loop Dots
CS® Bookbinding Glue
Needle-tipped Applicator
12” Paper Trimmer
3x14" Grid Ruler
Scor Pal 1/8s
Accordion Pocket File (optional)
Bone Folder
3 in 1 Corner Rounder
Pencil
Scissors
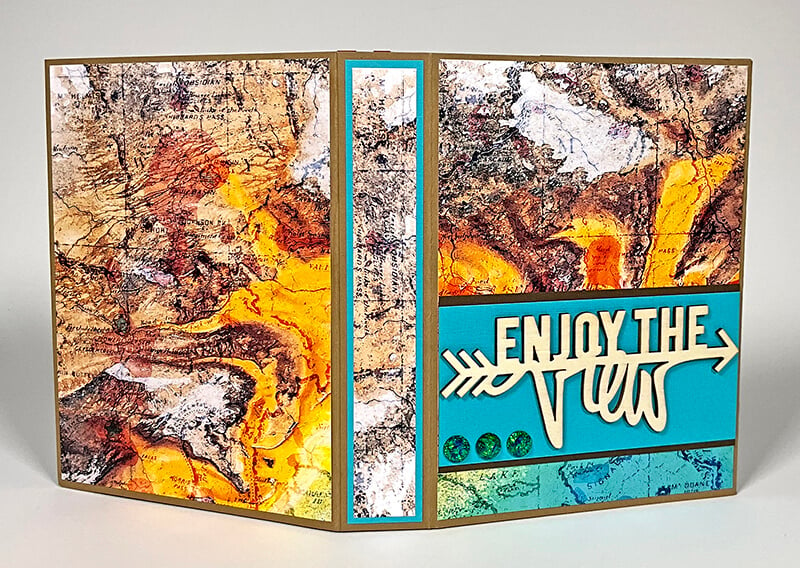
Once you've downloaded the written instructions, utilize the paper substitutions below as you sort and trim your papers. (Or you can always do your own thing!)
Paper A = Brown
Paper B = Teal
Paper C = Green
Paper D = Rust
Paper E = Landscape Print
Paper F = Aerial Print
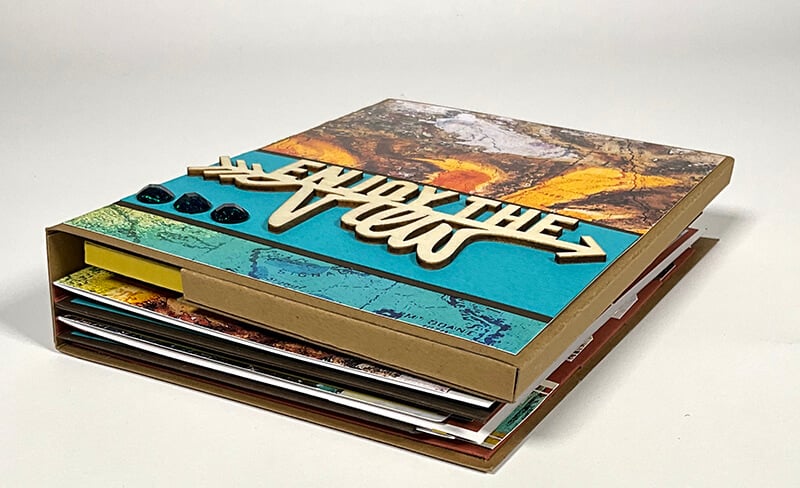
My best advice? Make sure you watch the two-part video tutorial. This is a pretty involved project, but with the help of Tricia's concise step-by-step guidance, it's definitely achievable. And, you'll be totally impressed with yourself when the project is complete!
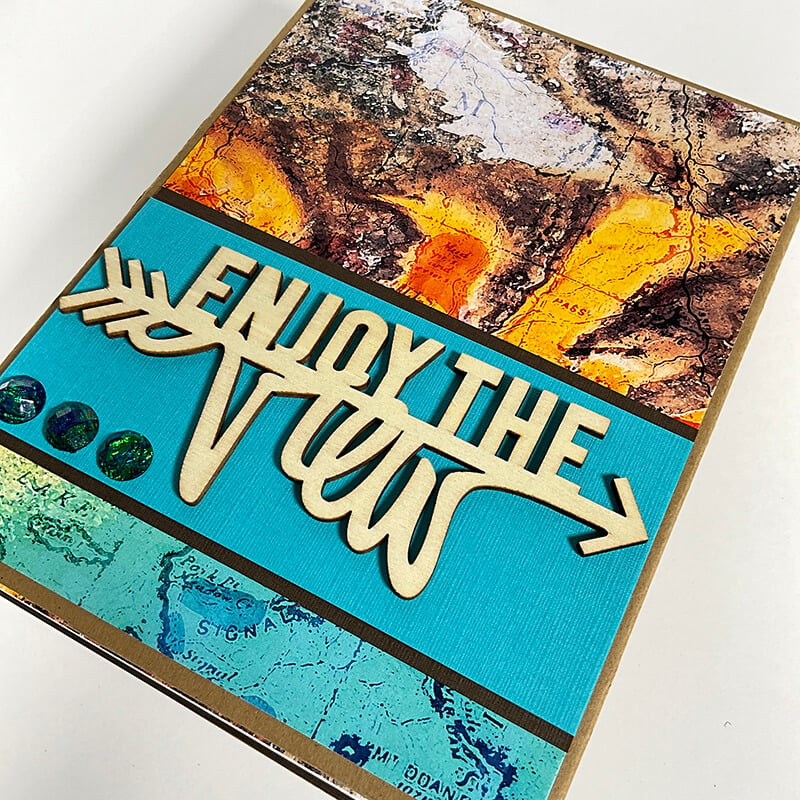
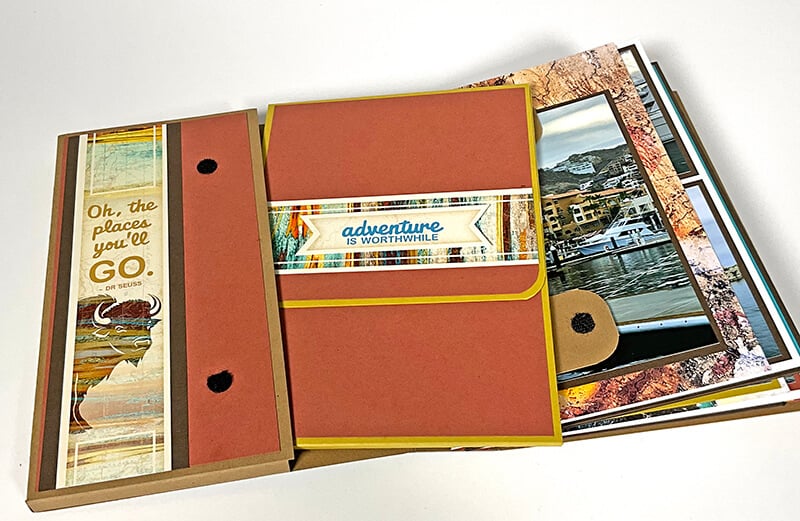
Decorate the front cover with the Woodcut sentiment and three Foil Gems.
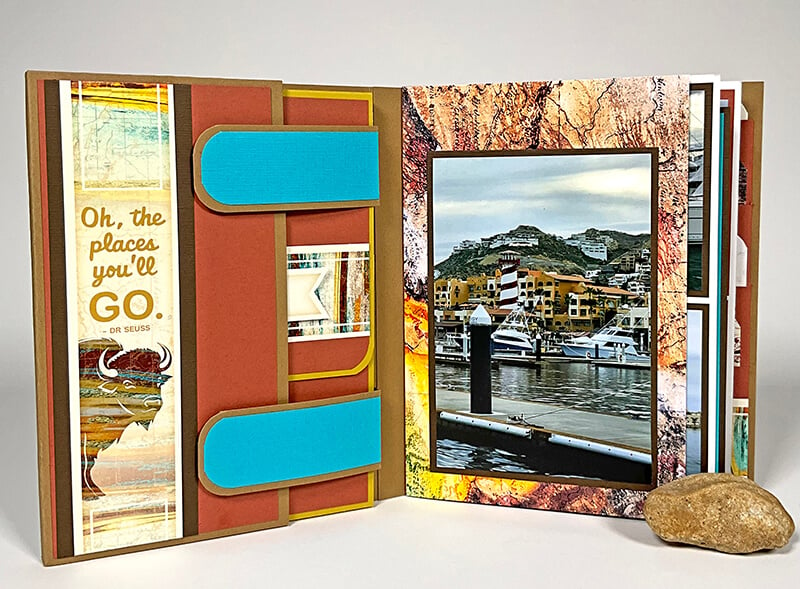
The project is aptly named - it's derived from all of the unique interactive elements inside. A clever pocket built into the front cover features a two-part closure that reminds me of a saddle bag. It's designed to hold a removable folio.
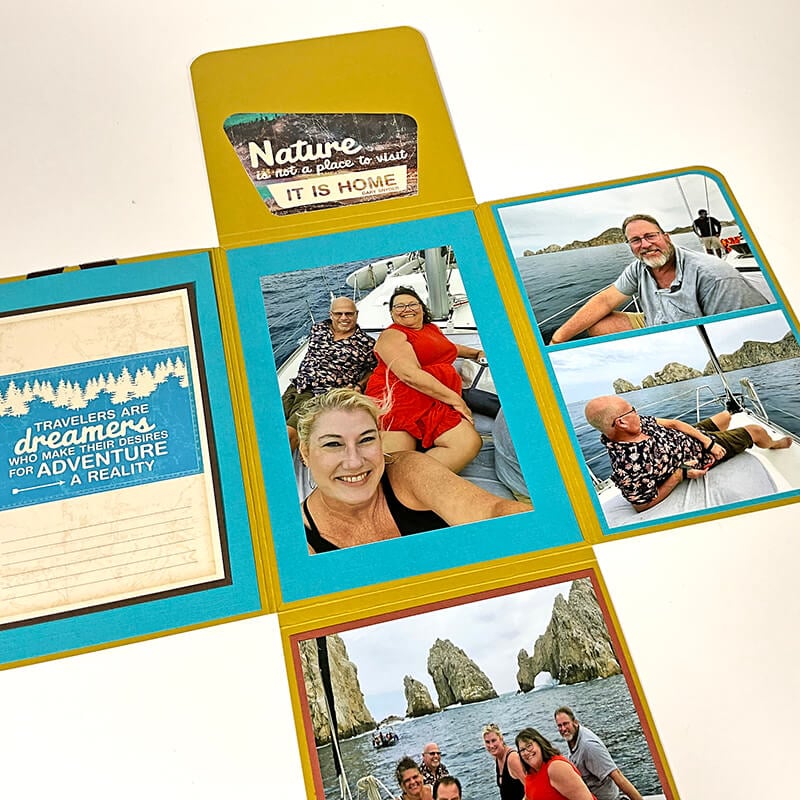
Decorate the journal pages, the folio, pockets and inserts by adapting the cutaparts and other embellishments included in the Page Kit.
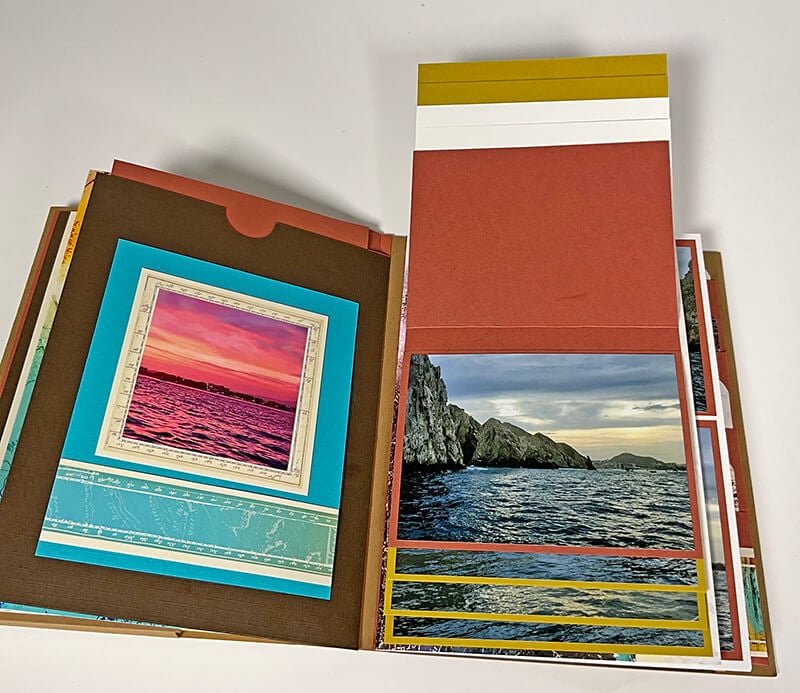
If you find yourself with a ridiculous number of photos like me, transform one inside page into a waterfall page. I took the skills I acquired while making several Triple Panel Books and applied it to this project. (Score and fold eight 4.25x5 panels - cut from from photo mats, POPs, or scraps - at 3.75"; stack and adhere to the page.) Voila! Room for 9-18 more photos!
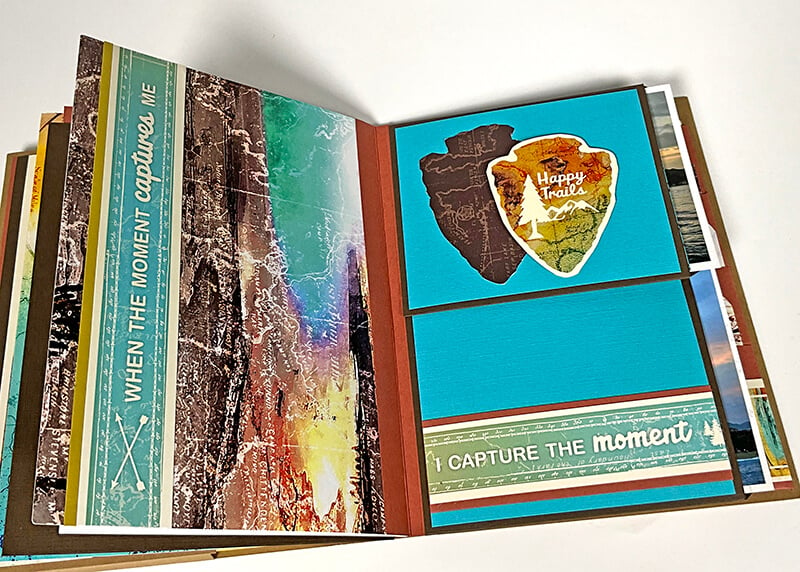
Want a more detailed look at the completed album? Watch the one minute video tour below:
This project is a bit more challenging than most, but it's well worth the extra effort to transform your favorite CS® Page Kit into a really impressive handmade keepsake. Just imagine possibilities - the ability to customize each book to the personality of the recipient or to document a special event/occasion.
Tour even more versions of this project at the links below:
Woodland Remix
Cartography
Under the Sea Remix
Kit No. 301
Click on the links below to gather everything you need to make one for yourself!
Yellowstone Page Kit
$35.95
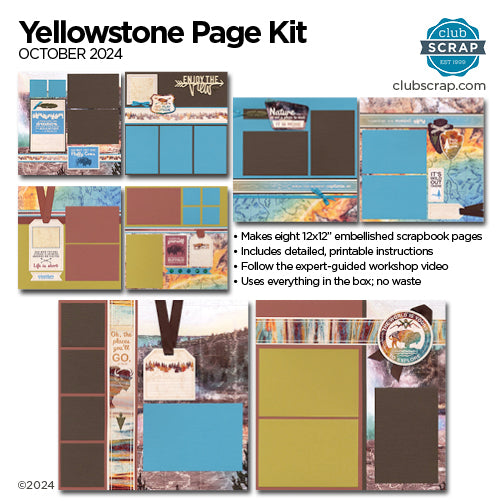
Kit includes all of the supplies needed to complete eight fully-embellished 12x12 scrapbook pages. Just add a trimmer, scissors and adhesive. Need ideas? Finished Pages Interactive Journal Includes: (4) 12x12 Prints: 2 ea. Aerial Print Print, Landscape Print(10) 12x12 Plains:… Read More
Interactive Journal Online Class
$16.61
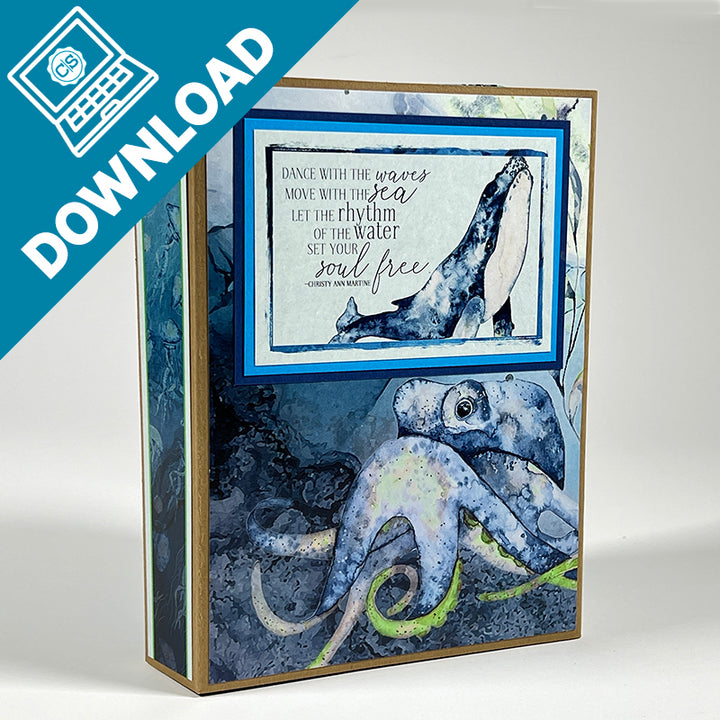
IMPORTANT: This is an advanced project that will benefit from prerequisite skills including measuring, scoring and bookmaking. Learn how to make a clever interactive 6x8 journal with any CS Page Kit of your choice! Download includes printable Instructions in PDF… Read More
12x12 Folding Board

$2.22
Heavier than cover weight paper, but lighter than mat board. Equivalent to 18 pt. board or 125 lb. cover weight stock. Cuts easily with our 12-inch paper trimmer. Perfect for book and box projects, such as the Notecard Carrier, Triple… Read More
Hook and Loop Dots

$5.50
Hook and loop self-adhesive dots. Each measures approximately 3/8" in diameter. 90 pairs per package.… Read More


