Let's take a closer look at the Woven Strands Lite layouts . . .
LAYOUTS 1 & 2
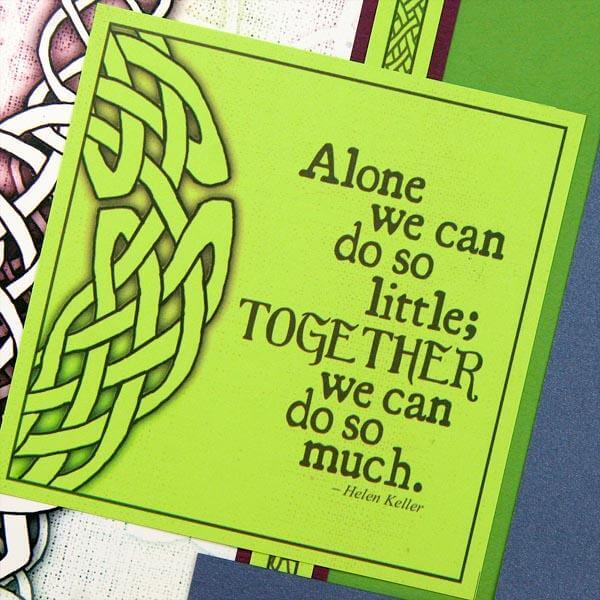
I had a vision for arranging the "a, b, c, d" cutaparts in a grid with matching spots for smaller photos, but wasn't sure how the math was going to work. When in doubt, I substitute scrap paper in place of the real deal to make sure my measurements are perfect. Once confirmed, I cut the actual paper for the project.
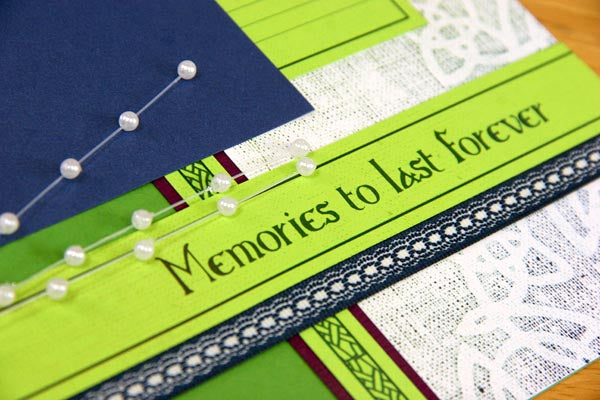
The Pearl Sprigs make a sweet addition to this kit. There are four sets included, each with three individual 5" strands bound together. Attaching them is a snap with your new Glue Pen. You can also punch a hole in the paper, slide the base through, and secure at the back of the layout with tape.
LAYOUTS 3 & 4
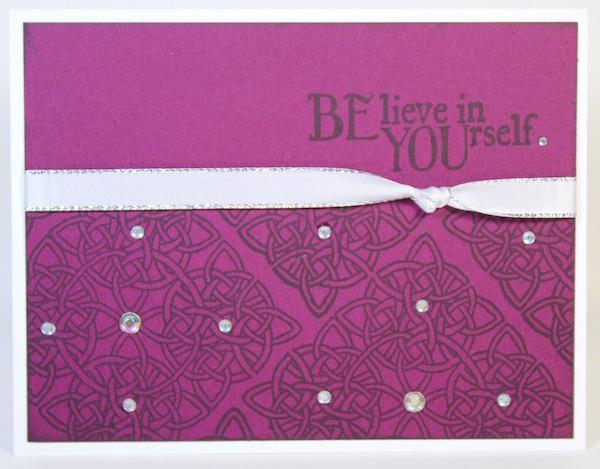
We had our own Woven Strands design foil printed onto white satin ribbon. Each ribbon has a self-adhesive strip across the top edge, making it easy to attach the embellishment to a photo matte or cutapart.
There is a unique 5/8" blue grosgrain ribbon in the kit that is imprinted with a gorgeous lace pattern. I guess I couldn't bear to cover a single inch of it, because I stretched it across the entire page without a single page element in its path!
LAYOUTS 5 & 6
I was up to my craft knife magic again. Allow the pretty paper design to remain in the foreground by marking the location of a photo matte with a pencil. Cut between the pencil guides with a craft knife, erase the marks, and slide the element beneath the design. It's totally custom.
The 1-1/2" sheer green ribbon is edged with a wine-colored striped design. What a cool find to match with this collection! Here, it's stretched over a Light Green printed cutapart for a unique effect.
LAYOUTS 7 & 8
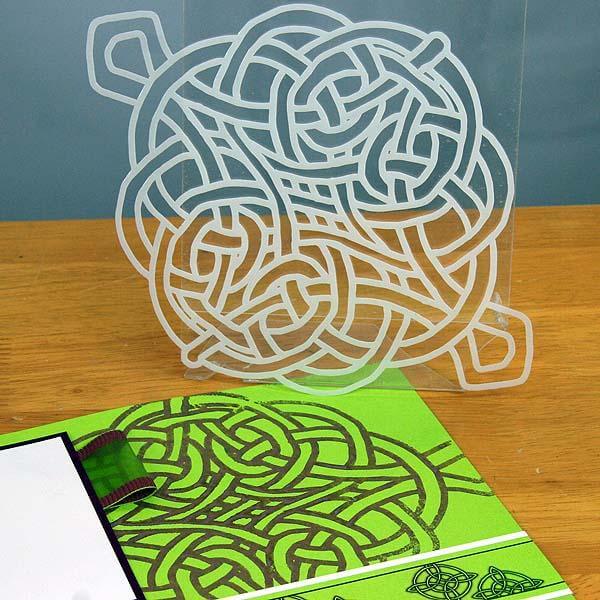
Check back tomorrow for a quickie video on how to use the Celtic Knot Masking Stencil to create background art on this double page spread. The paper starts out as a 12x12 Light Green Plain, but doesn't stay that way for long!
Tricia

