
Create a Podium Book perfect for preserving photos of any outdoor adventure. The Woodland page kit is near and dear to my heart, so I wanted to do something extra special with it. (Learn why here.)

Woodland Podium Book
To replicate my book, gather a Woodland Page Kit and a Podium Book Components kit. Project instructions and a video tutorial link are included with your purchase.
When following the trimming instructions, use the following paper assignments:
Paper A = Brick
Paper B = Brown
Paper C = Lt. Blue
Paper D = Teal
Paper E = Raccoon Print
Paper F = Fox Print
Any leftover papers can be trimmed for use as mats and other decorative elements throughout the album. NOTE: I substituted two Roost Brick Plains for the Yellow Plains in the Woodland collection.

Woodland Podium Book Assembly Tips
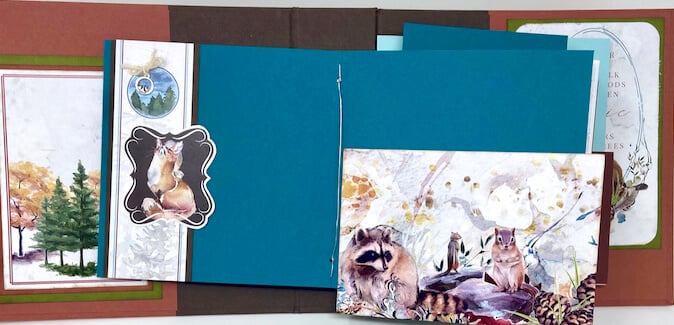
Once the book structure is complete, the real fun begins - decorating! This is when I gather all the remaining parts and pieces of the kit to decide how to finish the inside pages. Trim the papers and cutaparts to get a clear picture of what you have to work with.

Separate the pieces into size and cutapart groupings.

Layer each border strip with plain paper strips. You will be surprised how perfectly the cutaparts work with the papers left over from the project assembly!

Trim each border in half at 6". Now they are ready to decorate the inside pages of the book.

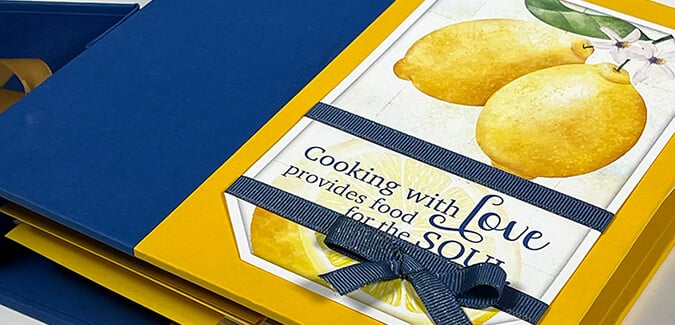
Embellish the front cover first. Trim a strip from the remaining prints to act as an anchoring border on the front. Pair it with the large tag cutapart. Top the tag with a ribbon and charm.

Inside Page Embellishment Ideas
Layer a cutapart with a mat and adhere to the inside front cover. Add a wood button to the cutapart with Bookbinding Glue. The open space on the cutapart could hold a photo or journalling.

Add a charm and a twine bow to the border strip. Adhere a photo mat so that it overhangs the edge of the page to give more space for additional photos.

Adhere another photo mat to the back of the previous one, giving a more finished look.

Embellish a journaling cutapart with a painted wooden arrow adhered with Bookbinding glue dispensed from a needle-tipped applicator.

Not all mats need to be full size. Crop smaller papers into layered mats in a variety of sizes.


Wrap sections of ribbon around the cutapart border strip prior to adhering it to the page. Finish with a reindeer charm.


Layer pieces of ribbon that have been swallowtail cut and tuck behind a journalling block.

Some pages don't need anything fancy, just a simple border strip.


Trim a sliver off each end of a border strip to accommodate the fold in the paper, allowing the page to open and close easily.


The back inside cover mimics the front. Layer a cutapart on a mat and embellish with a feather button.

Have you made one of our popular Page Kit projects yet? What is your favorite? Please leave me a comment below.
Happy project making!
Podium Book Components Kit

$16.61
This components kit can be used to create the original Podium Book as well as the Podium Book 2.0 project! The original project features a wire binding, and the 2.0 book features our unique U-Hinge binding structure (no sewing required.)… Read More