
Create unique gel print backgrounds for cards, pages and projects with a wax crayon transfer technique paired with Club Scrap's stencils and masks.
![]()
I discovered this technique while participating in Gelli Arts March Printing Challenge and couldn't wait to share it with Lisa. Don't have a gel printing plate? You can learn how to make your own HERE.
Wax Crayon Transfer Technique
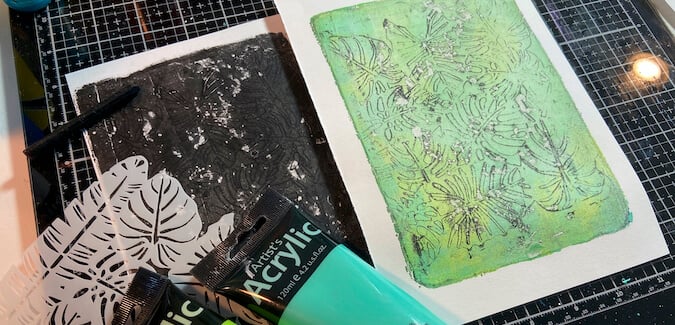
Lay a stencil on the work surface. Cover the stencil with a sheet of text weight copy paper. Vigorously rub over the surface of the stencil with the side of a wax crayon with firm, even pressure.
![]()
Add a small amount of black acrylic paint to a gel plate.
![]()
Spread the paint evenly with a brayer.
![]()
Clean the brayer off using a scrap piece of printer paper before adding additional paint colors.
![]()
Quickly lay the transfer - wax crayon side down - onto the gel plate while the paint is still wet. Rub the back of the paper to ensure proper transfer of the image.
![]()
Remove the text weight paper to reveal the image transfer. Allow the image to dry before moving on to the next step.
![]()
Add additional colors of acrylic paint to the gel plate, spreading it evenly with a brayer. Tip: Less paint is better when creating gel print backgrounds.
![]()
![]()
Place a clean piece of white card stock over the wet paint. Rub the back of the paper to ensure a proper image transfer.
![]()
Carefully remove the print from the plate to reveal the final print.
![]()
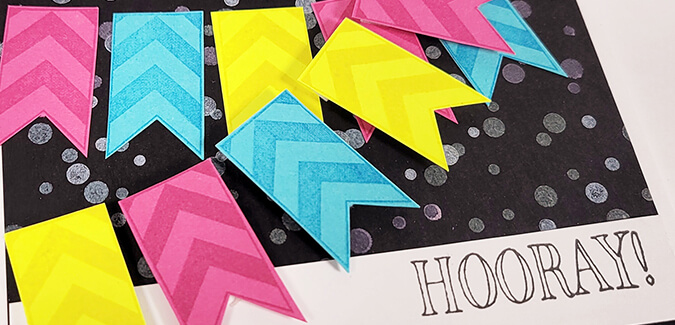
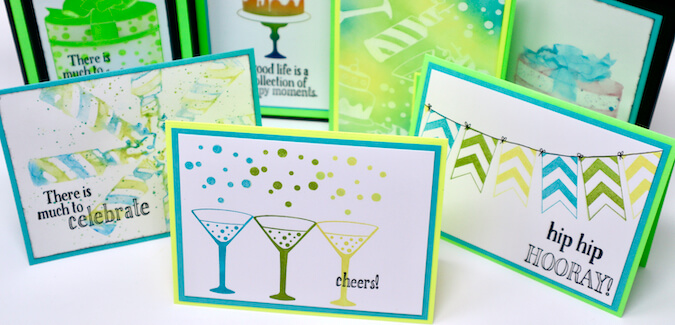
These interesting prints make fabulous backgrounds for cards.
Julie's Tropical Masking Stencil Cards
![]()
Lisa's Peony Masking Stencil Card
![]()
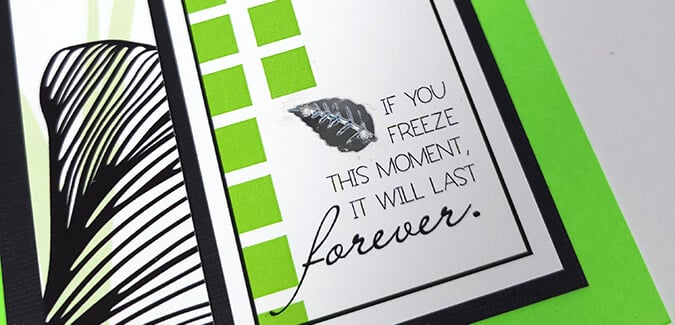
Julie's Golden Hour Stencil Card
![]()
Lisa's Irresistible Stencil Card
![]()
We hope you enjoyed our crayon transfer tutorial and are inspired by our samples. We encourage you to give this fun technique a try.
Happy Gel Printing!
Lisa and Julie