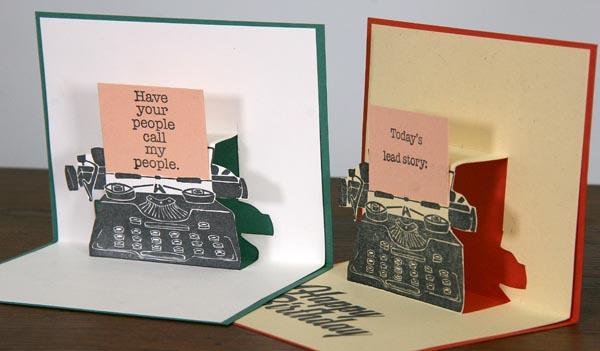
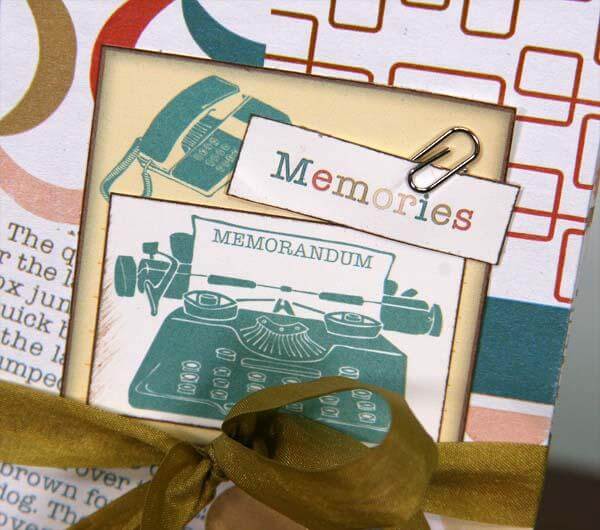
I adore the typewriter image on the UM Greeting sheet from the Office Space collection.

I thought it would be the perfect stamp to make an interactive pop-up card.


Follow these twelve steps to create your own pop-up . . .
1. Trim Manila Plain to 5.25x8.25". Place vertically on your work surface; measure and lightly mark a line 4-1/8" from the bottom edge. This is the center of the card base.

2. Stamp the typewriter image onto the center of the card, using the pencil mark as a placement guide.

3. Cut along the left and right edges of the typewriter with a sharp craft knife. Do not cut along the top or bottom edges.

4. Measure the distance from the marked guideline to the bottom edge of the typewriter image. (Mine measured 1-1/8".)

5. Measure and mark the same distance (1-1/8") above the top edge of the paper on the typewriter image.

6. Continue a vertical cut on the left and right edge of the typewriter up to the marked line.

7. Four creases will create the pop-up. Carefully make a valley fold along the bottom edge of the typewriter and at the center of the card (along the initial pencil guideline). Make mountain folds along the top edge of the paper in the typewriter, and along the top edge of the extended cuts made in step six.

8. Flatten the pop-up and cut along the top edge of the rollers in the typewriter carriage. (Do not connect with the vertical cuts made earlier.)

9. Slide a 2" strip of Coral paper into the cut opening; close the card.

10. Mark where the top edge of the card meets the Coral paper. Trim the Coral paper at the mark.

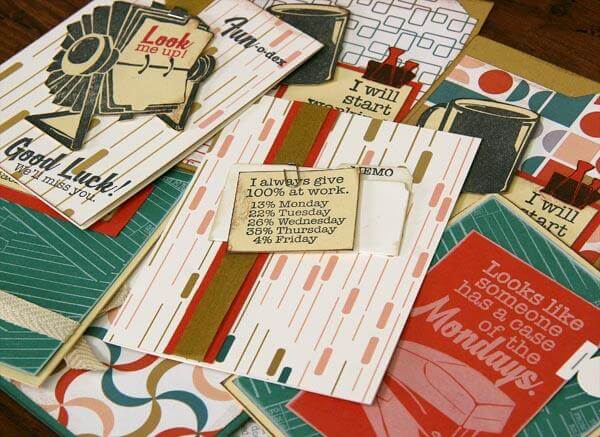
11. Stamp the Coral paper with one of the corresponding expressions included on the Greeting stamp sheet. Insert the paper back into the typewriter and secure to the back of the card with tape.

12. Nest the pop-up into a folded 5.5x8.5" Orange card base.

Open. Close. Open. Close.
Congratulations!

Make another one.
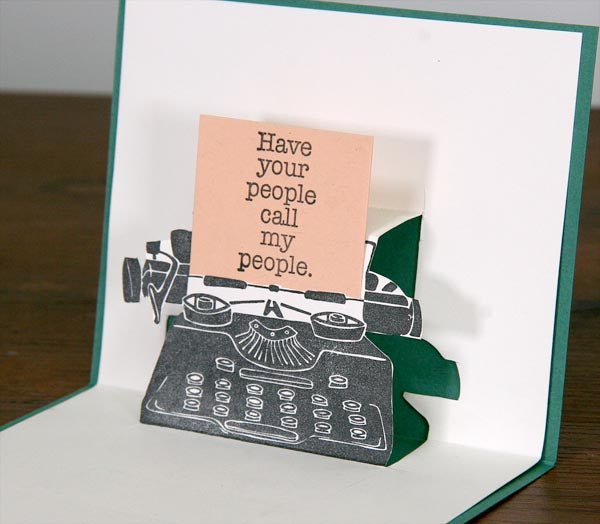
Have your people call my people . . .
Tricia


