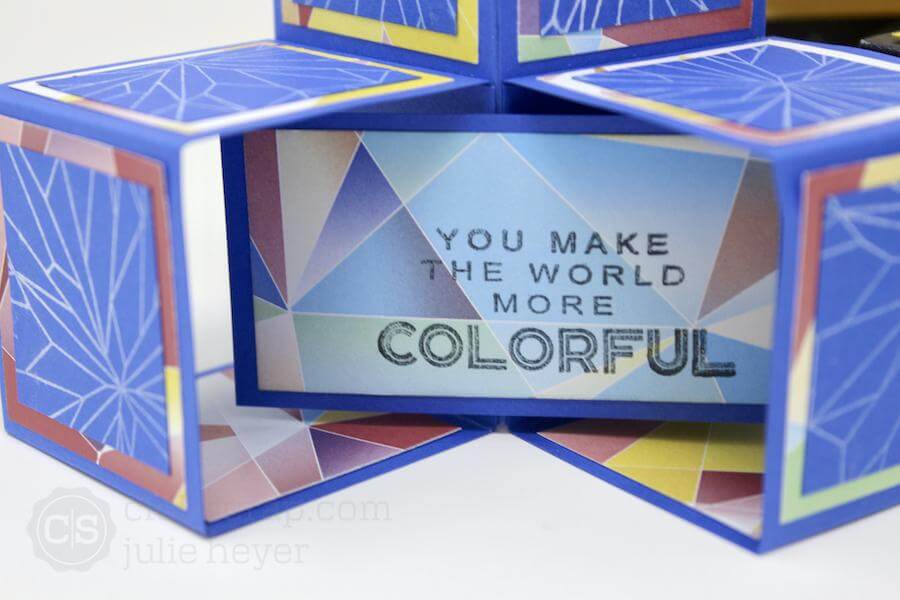
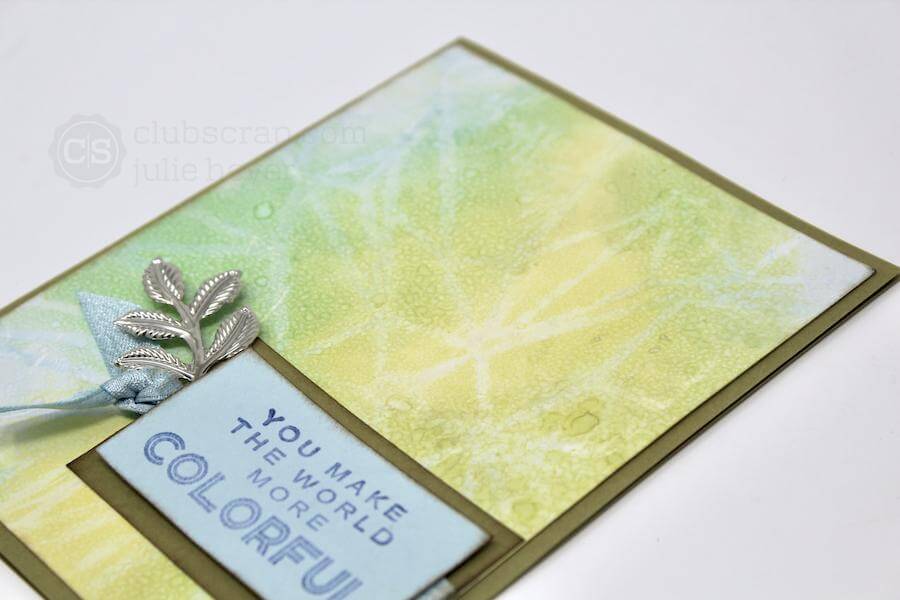
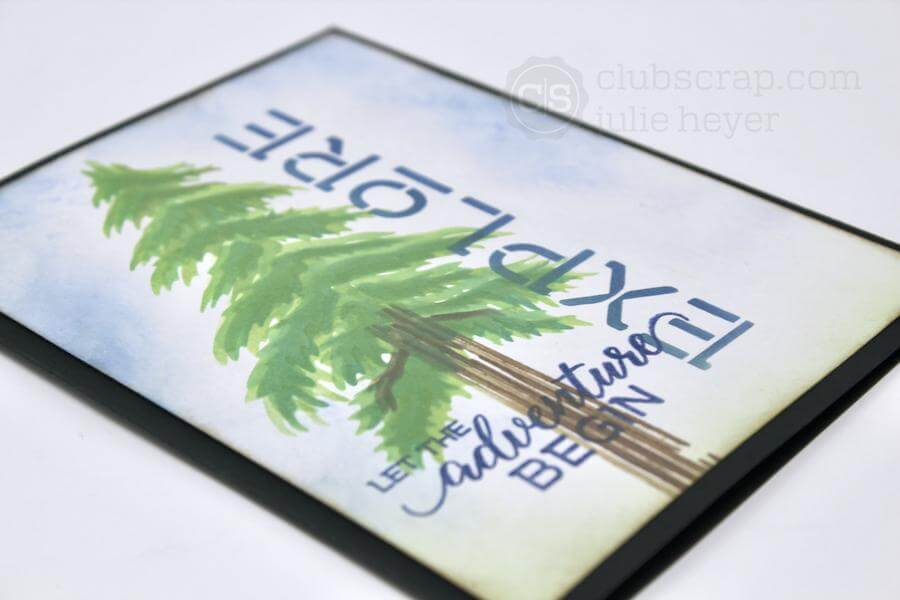
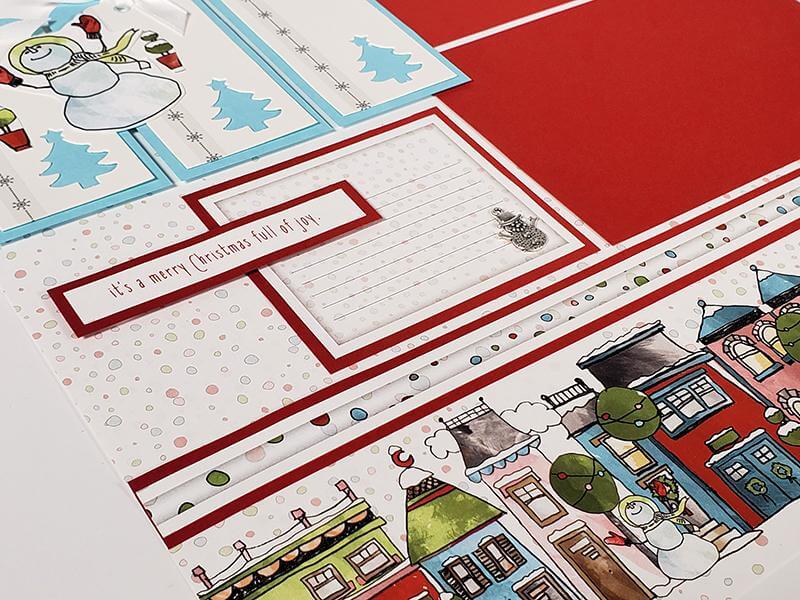
Create a set of four Triple Cube Cards with papers and stamps from the Prism collection. Simply follow the detailed cutting instructions found in the Deluxe Card Formula #11.
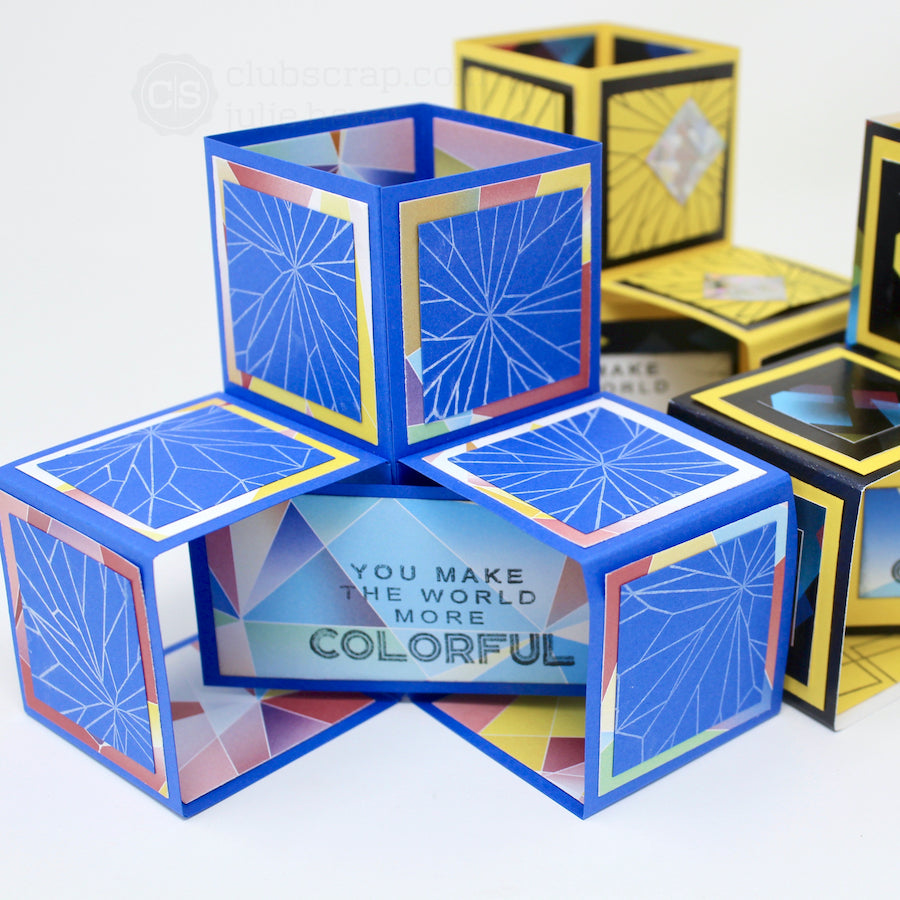
This card structure was inspired by a unique card I saw on Splitcoast Stampers. I sat down with my graph paper and mapped out the pieces needed to recreate the card. After sharing the idea with Tricia, she worked her mathematical magic and voila, the Deluxe Card Formula #11 was born.

Triple Cube Card Assembly
Gather and trim papers.
To replicate my cards, gather four 12x12 Prism papers: One each of Black print, White print, and Yellow and Blue plain.

Trim all papers according to the detailed instructions. Separate each cut piece into piles according to size.

Prep the trimmed elements.
Score each card base as directed. Note: Make sure the bump is on the plain side of each of the prints.

Miter the corners to create tabs.

Starting with the largest card base, fold each score line with the bump inside the fold. (Bury that bump!)

Next, adhere two decorative squares to the two middle panels.

Locate the tab on the card base. Dispense a small amount of Bookbinding Glue to the outside of the tab, using a Needle-tipped Applicator.

With the panel laying flat in front of you (and the decorative panels inside), fold the right flap over the tab to close.

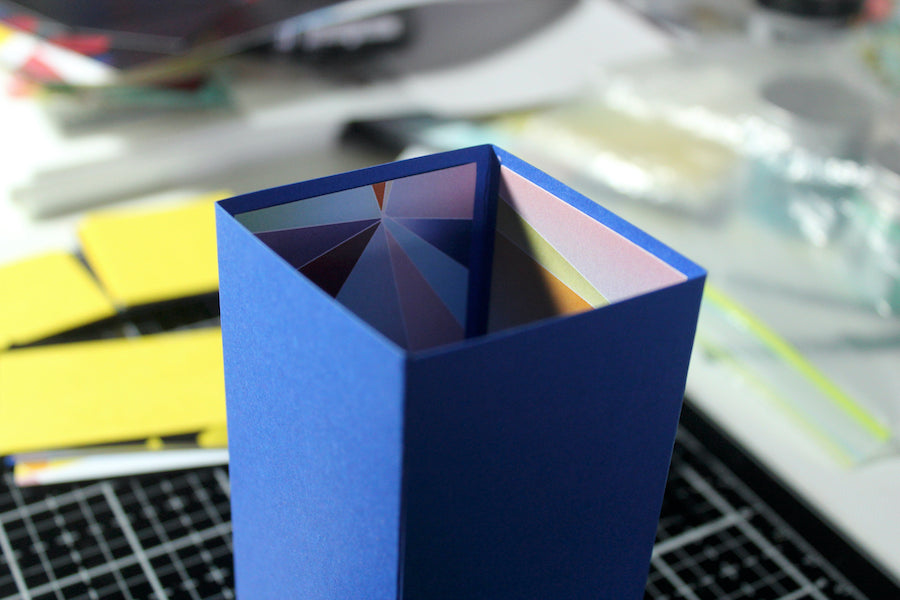
Place one square mat on the inside of each small card base.

Apply the glue to the inside of the tab.

Fold the right flap down and place the tab on top to secure. Note: These exposed tabs will be hidden in final card assembly.

Fold each pair of .5x1.5" sentiment tabs in half.

Adhere a set of tabs to the inside wall of both small cubes as shown.

Assemble the card components.
Apply a thin layer of glue to the cube wall with exposed tab panel.

Adhere the small cube to the front of the large base. Note: The front of the large card base is facing forward with the two square prints visible on the inside of the cube.

Tip: Flatten the card bases to ensure good glue adhesion.

Repeat for the second cube. The two sentiment tabs should line up at the front center of the card.

Stamp a sentiment onto the 1.5x3" print; attach to the 1.75x3.25" nesting panel.

Apply glue to the tabs. Adhere sentiment to the center of the opening.

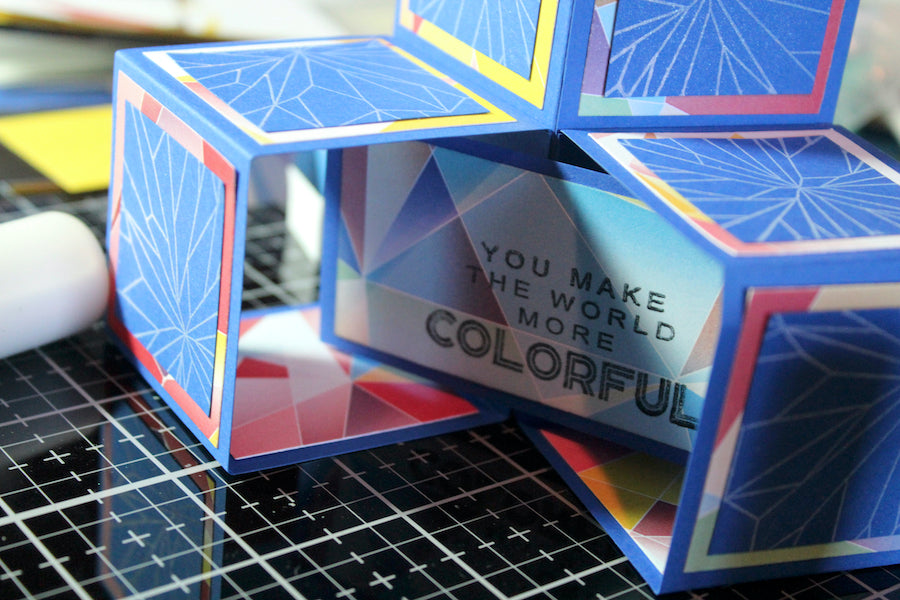
Whew, that's a lot of steps! However, I think you'll agree the work is well worth it for such a unique set of cards.
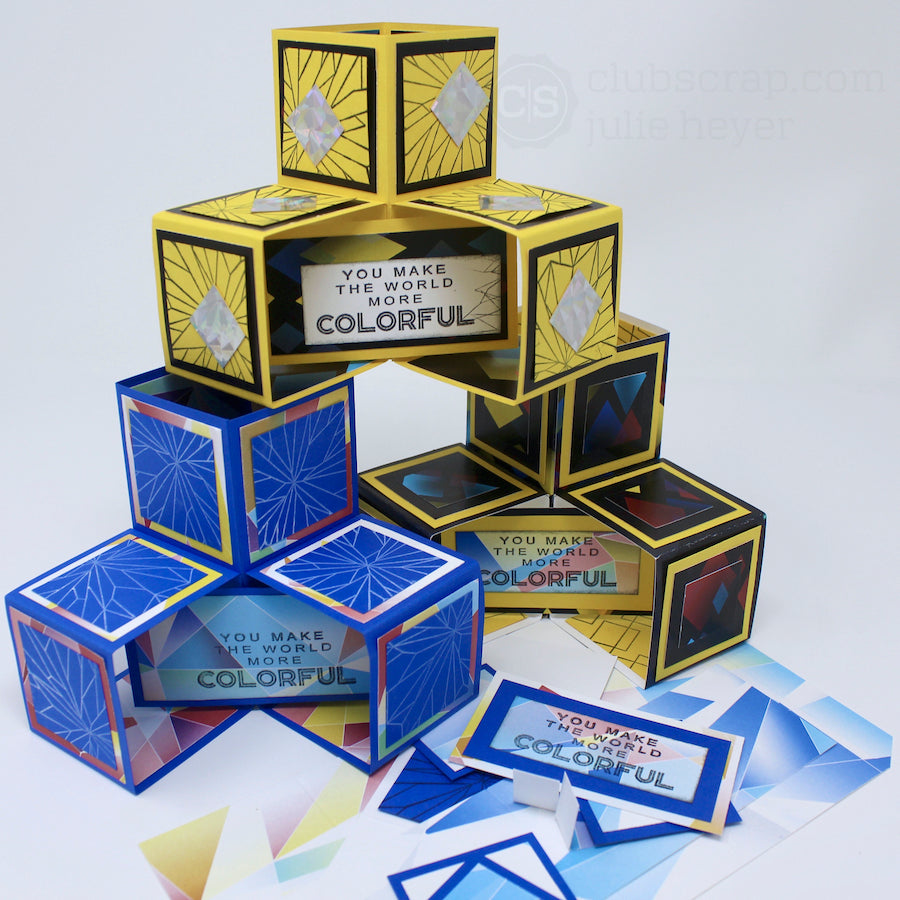
And yes, they fold flat for mailing in standard A6 (4.75x6.5") envelopes.

Before you give this formula a try, you can watch me assemble my fourth and final card LIVE at 3:30pm CT 9/17/20 on the Club Scrap Chat Facebook group. Hope to see you there!

 Julie
Julie

