I adore everything about the Transformations collection. I can't wait to teach this class at the One of a Kind Expo in Madison! Without further delay . . . your Lite layouts are below.
LAYOUTS 1 & 2
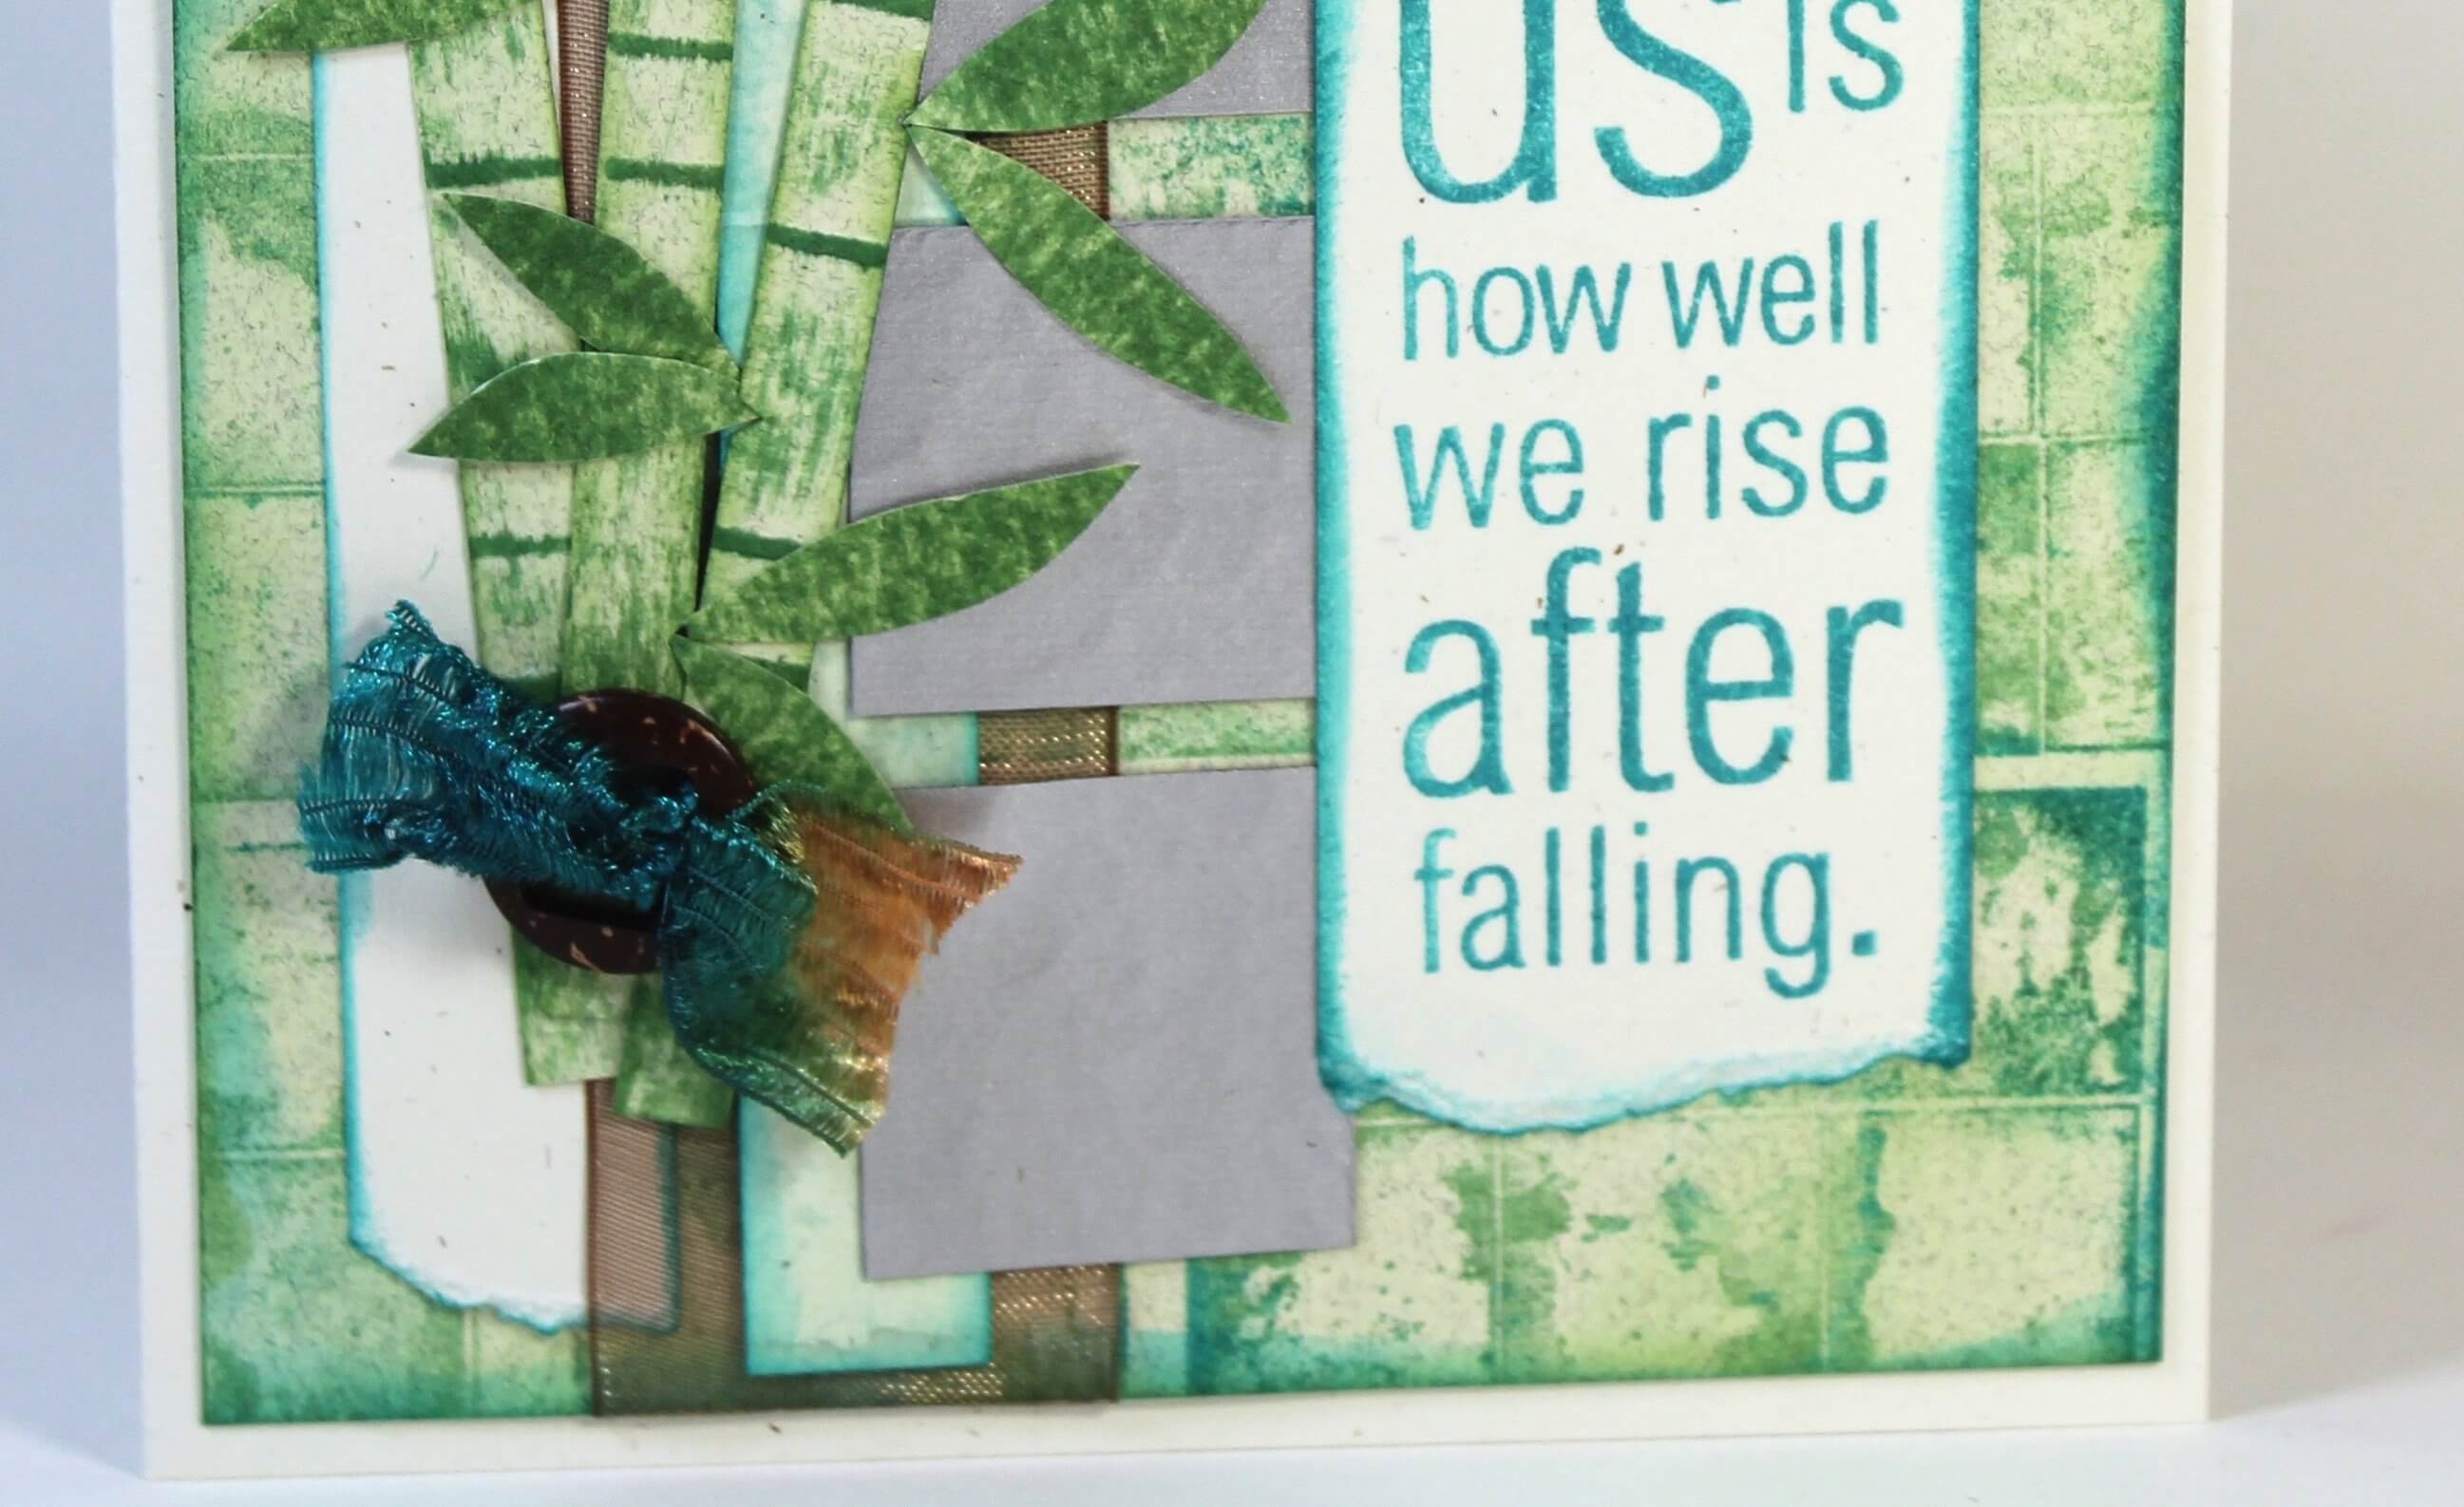
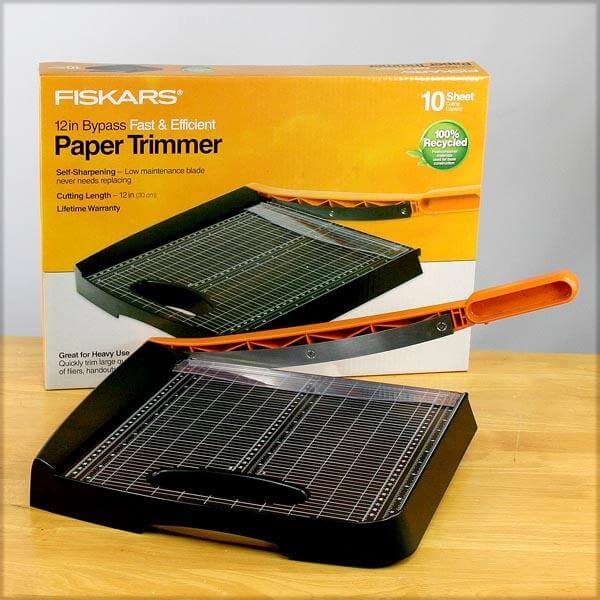
The kit comes with a long strip of faux leaf ribbon. You can slide it right into the trimmer and cut it to any size. It even works great in a die cutting machine. I used it to anchor the top edge of Layout #1 and as a photo matte on Layout #2. With a little fussy cutting and layering, create a title collage that rocks!
LAYOUTS 3 & 4
Trim three pieces of ribbon. Fold in half lengthwise and cut at an angle toward the fold to add a perfect "v" on each end. Tape ribbon behind the photo matte at different lengths.
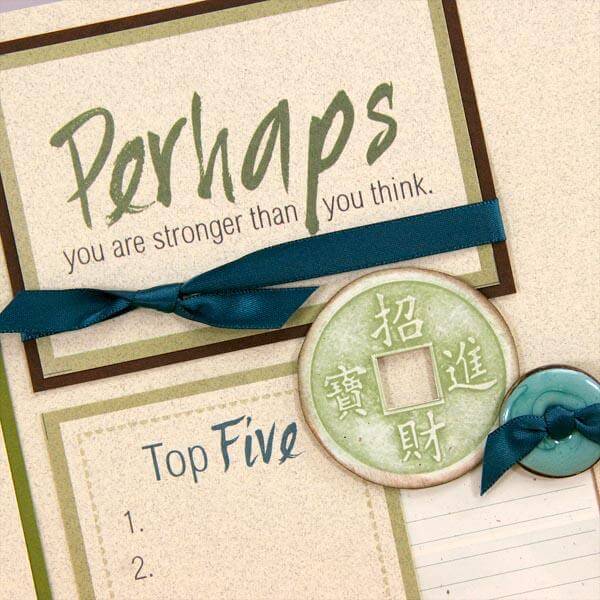
Build a collage in the lower left corner of Layout #3 with a combination of cutaparts, ribbon, foam circles and the enameled coconut shell button included in the kit.
LAYOUTS 5 & 6
Cut the teal satin ribbon at a sharp angle and thread the end through the button holes. Tie a knot and trim the ends. Adhere to the layout with your handy CS Glue Pen.
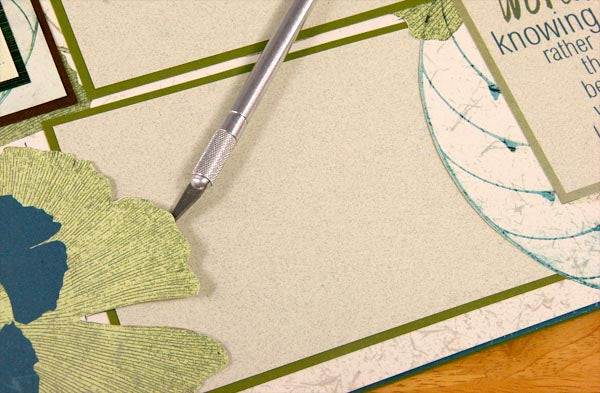
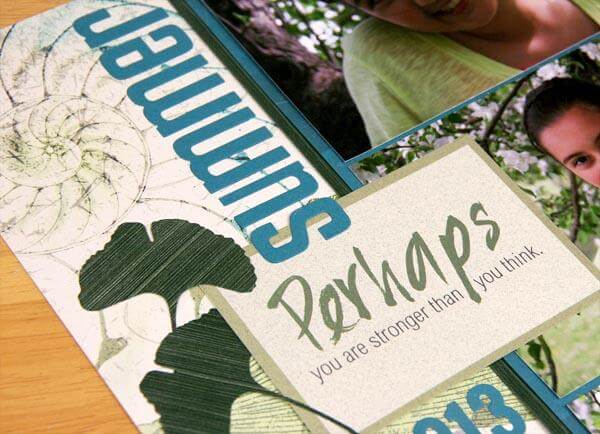
If you don't mind a little detail work with a craft knife, cut along the edge of the ginkgo leaf and nautilus shell to reveal the artwork on the base paper.
LAYOUTS 7 & 8
I like how this Eggshell cutapart complements the gorgeous Dk. Turquoise paper printed with silver metallic ink. I barely had the heart to cover any of it, but I managed.
What photos are you going to use with this collection? The possibilities are endless. If you're not a Lite member, take care of that today before this collection disappears.
Enjoy!
Tricia

