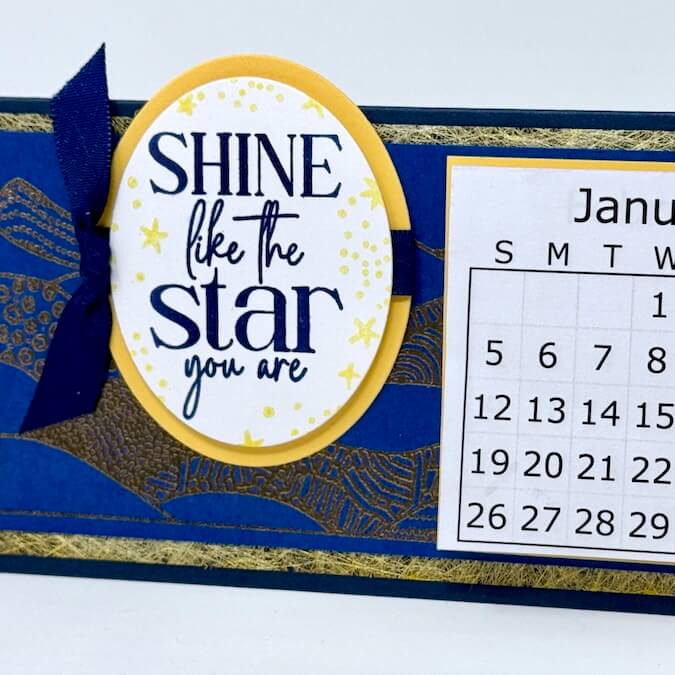
Create a beautiful Starry Night calendar just in time for the new year!
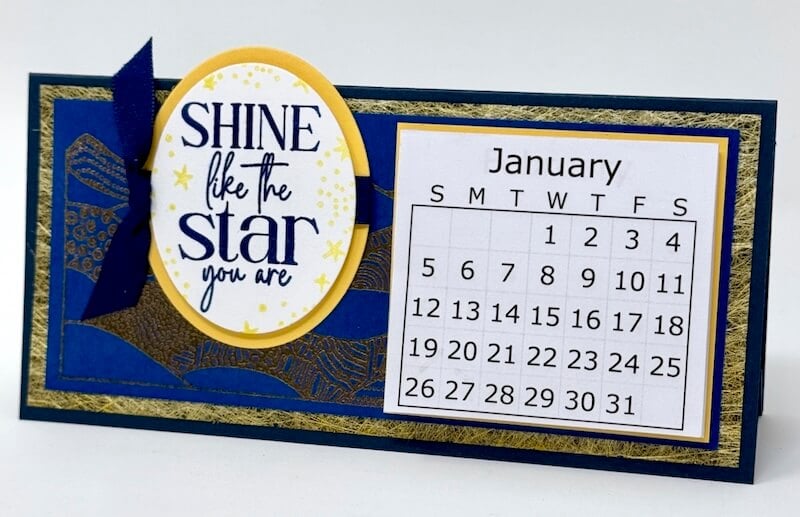
The clever folded design makes it easy to mail and the easel mechanism allows the recipient to display it proudly on a desktop.
Starry Night Calendar
Score a 6-1/4x8-1/2" Dk. Blue paper horizontally at 3, 6 and 8".
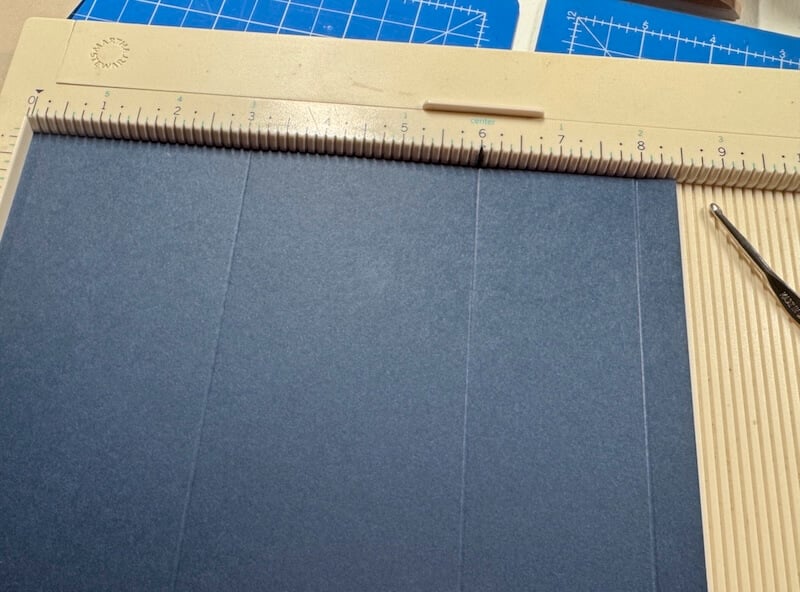
Flip the paper from top to bottom and score at 7".
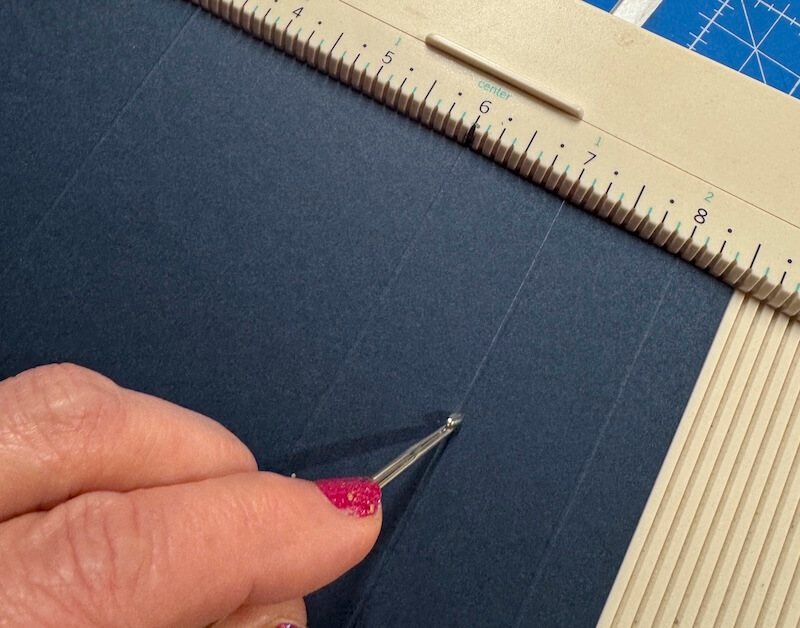
Fold along each of the score lines being sure to "bury the bump" on the inside of the fold.
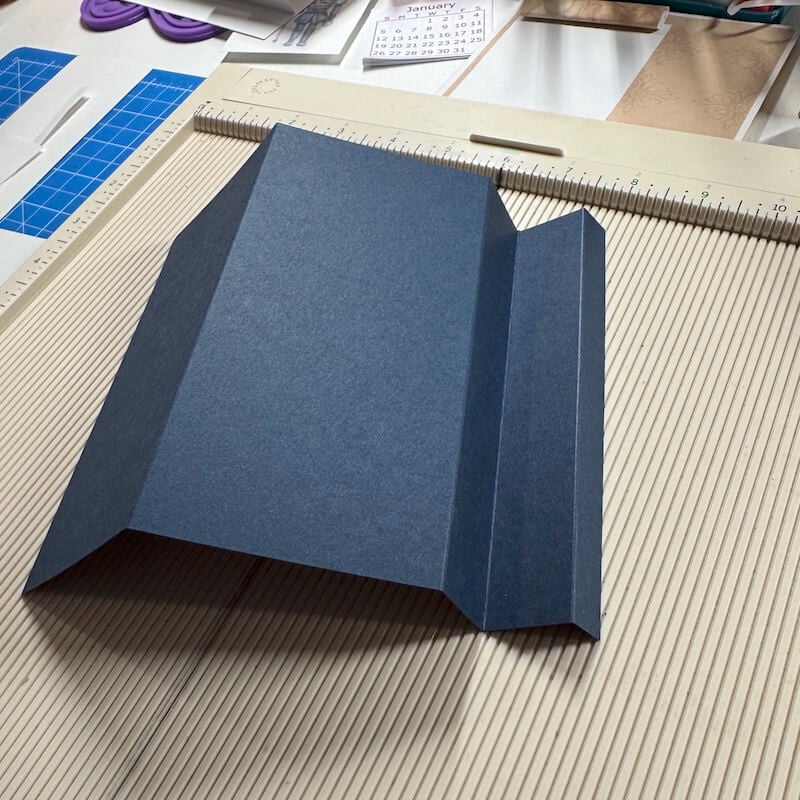
Add Bookbinding Glue dispensed from a Needle-tipped Applicator along the outside of the 1/2" scored area.
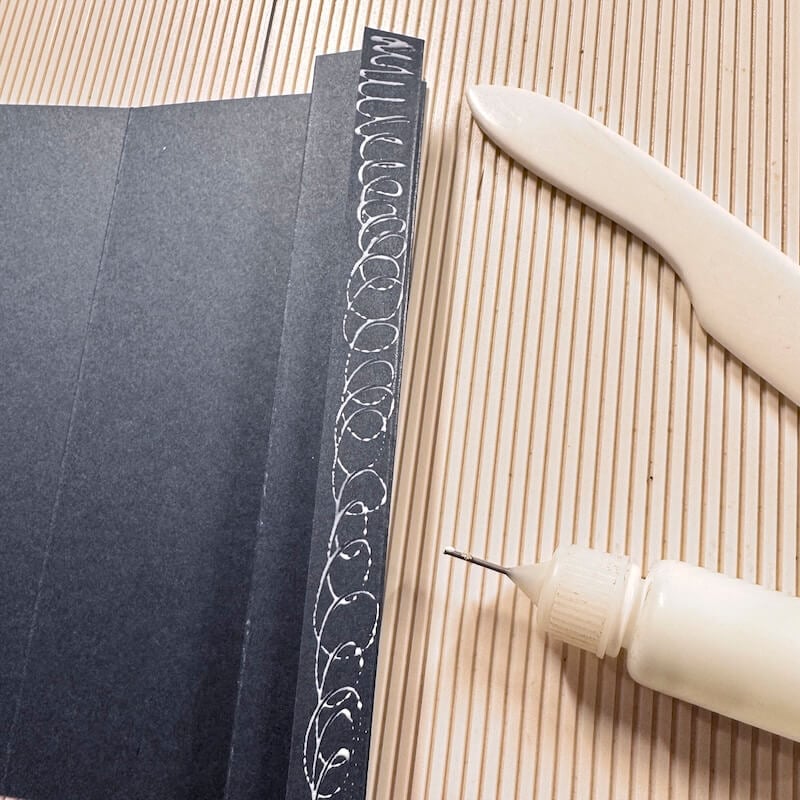
Fold the first 3x6-1/4" scored area over on to the tab and burnish to ensure proper adhesion.
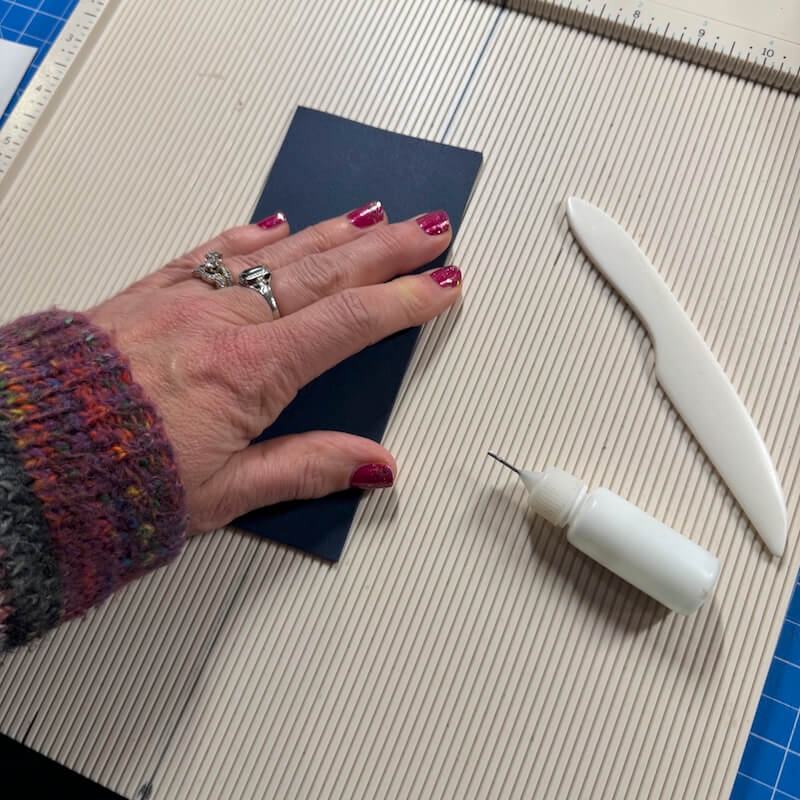
The result is the folded easel card base.
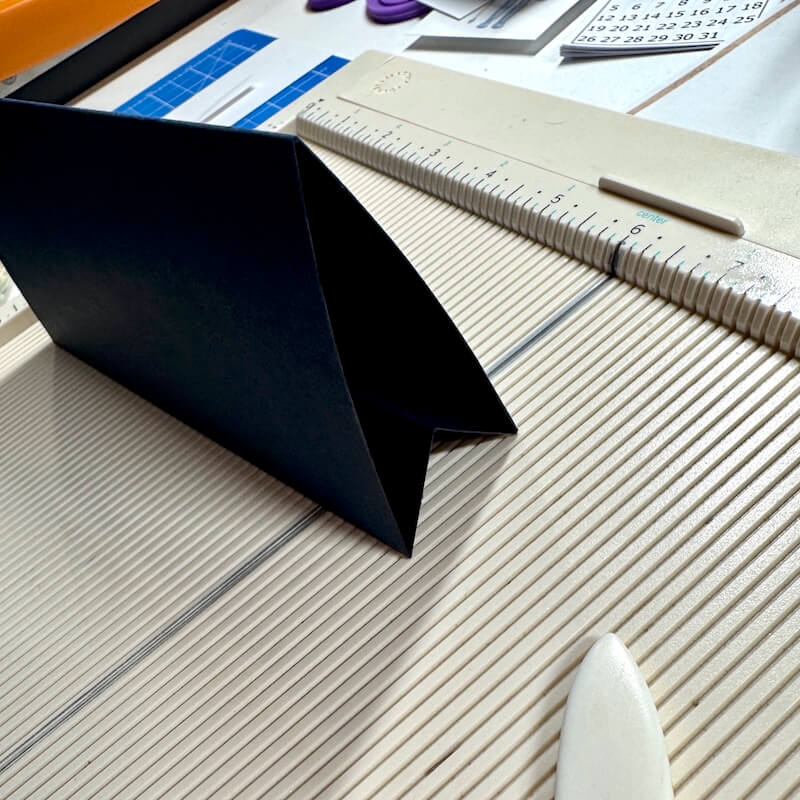
Embellishment Tips
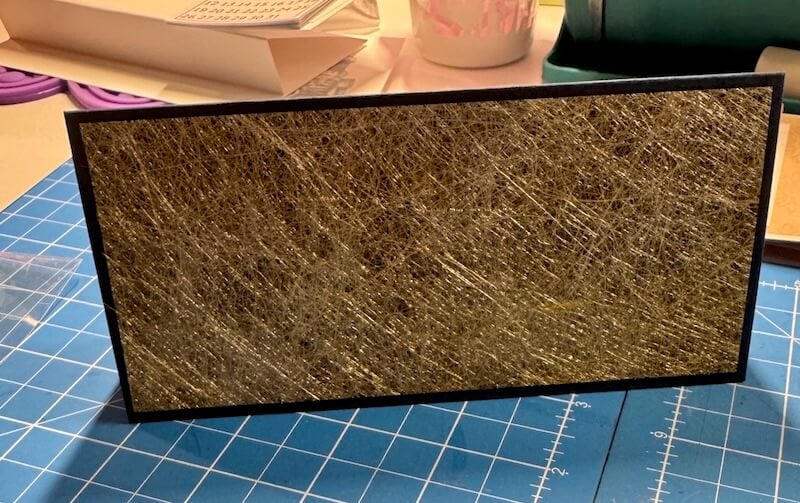
Trim a Gold Handmade paper to 2-3/4x6", center, and adhere to the front of the easel.
Dust a 2-1/2x5-3/4" Bright Blue panel with anti-static powder.
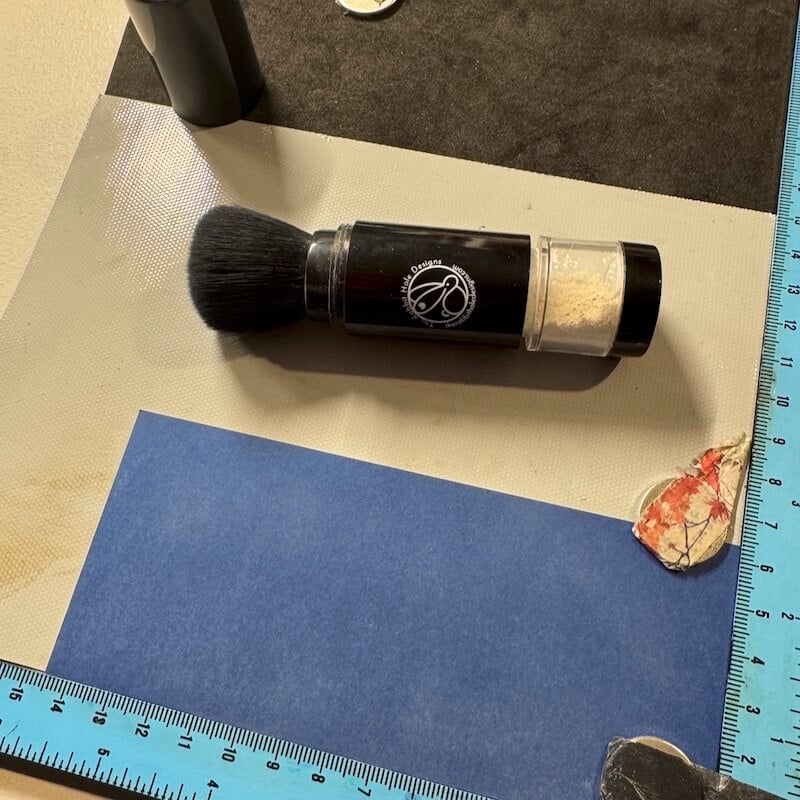 Stamp the landscape image onto the left side of the panel with Watermark Ink.

Sprinkle the image with gold embossing powder. Tap the back of the panel lightly to remove any excess powder.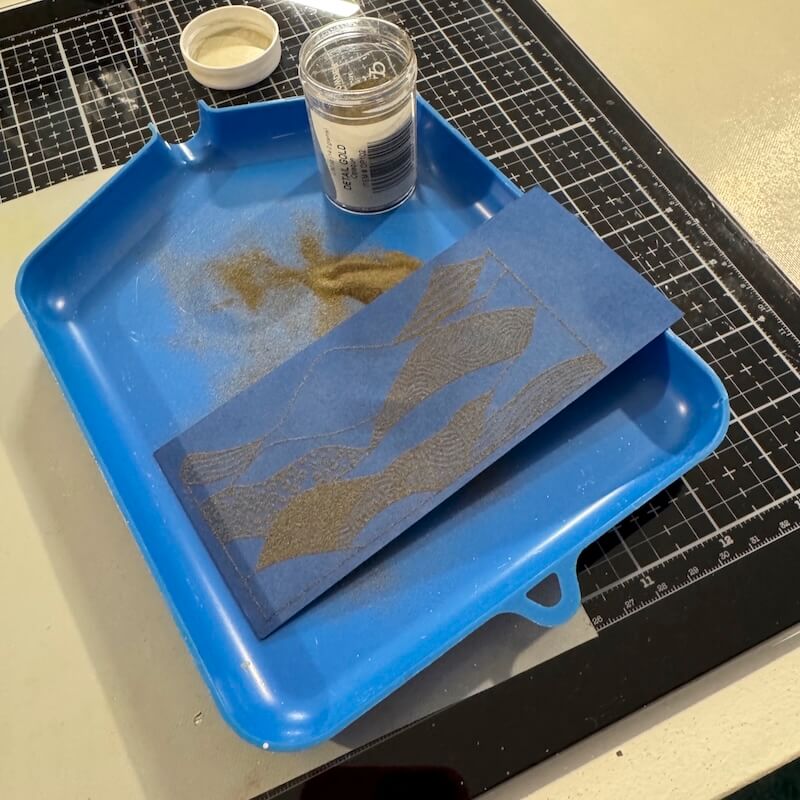
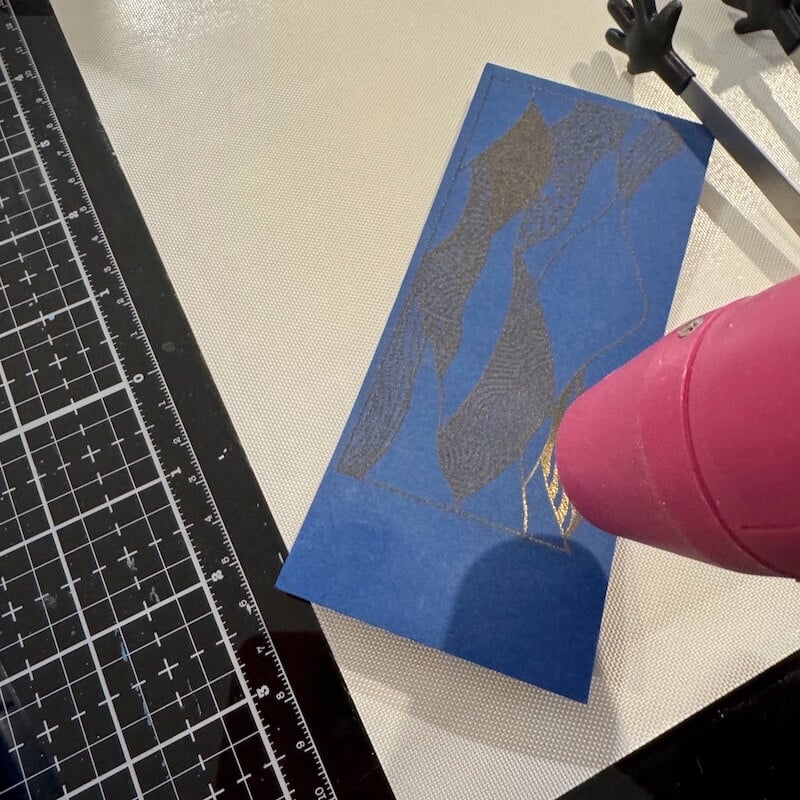
Melt the powder with a heat tool.
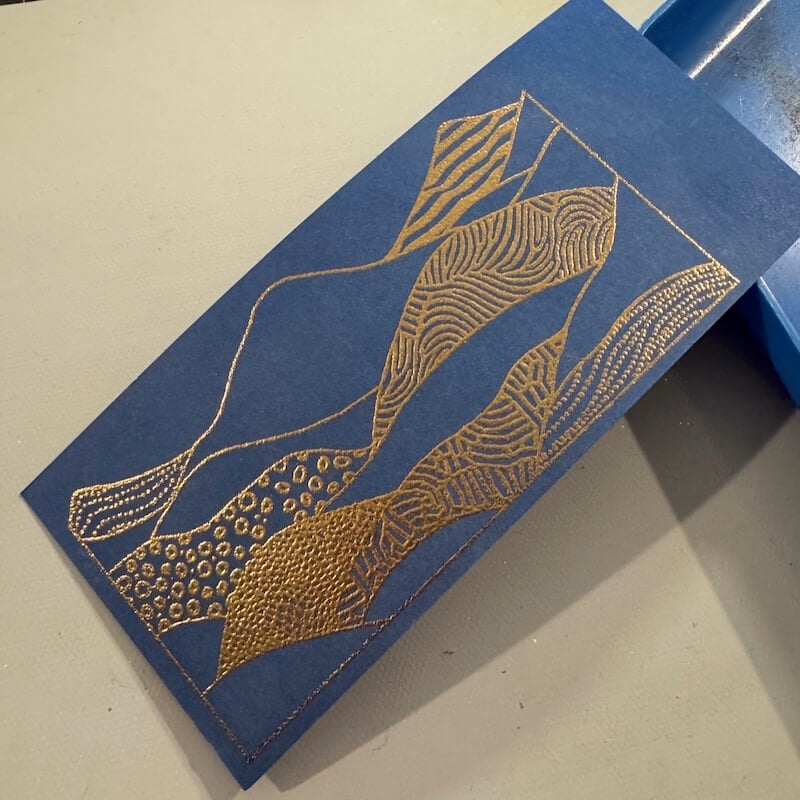
Download a free 2025 mini calendar and print on text weight copy paper. Trim each individual month to 2-1/4x2-1/2". Stack the pages together and secure with binder clips. Run a line of Bookbinding Glue along the top edge to "pad" the pages. Once dry, repeat the gluing process twice more. Set the pad of pages aside to dry completely before moving to the next step. Once dry, Bookbinding Glue is flexible making it perfect for creating paper pads.
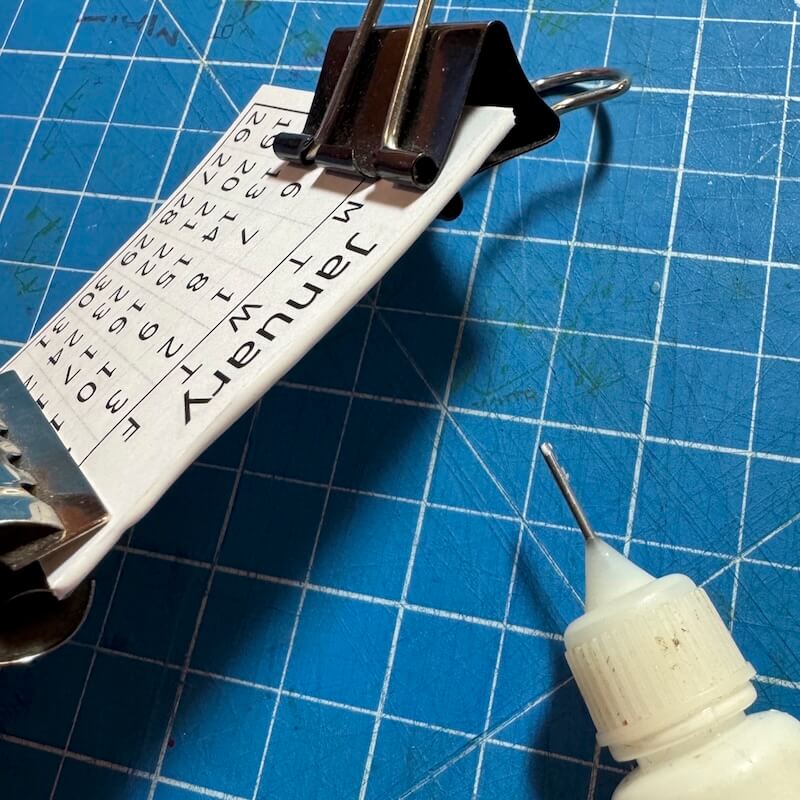
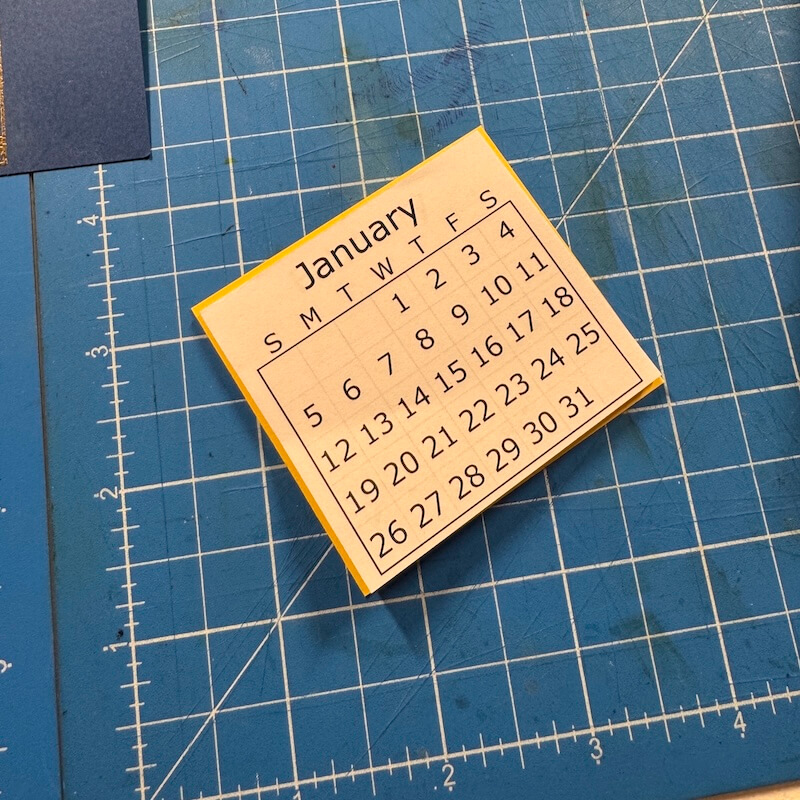
Adhere the calendar to a 2-3/8x2-5/8" Lt. Yellow panel.
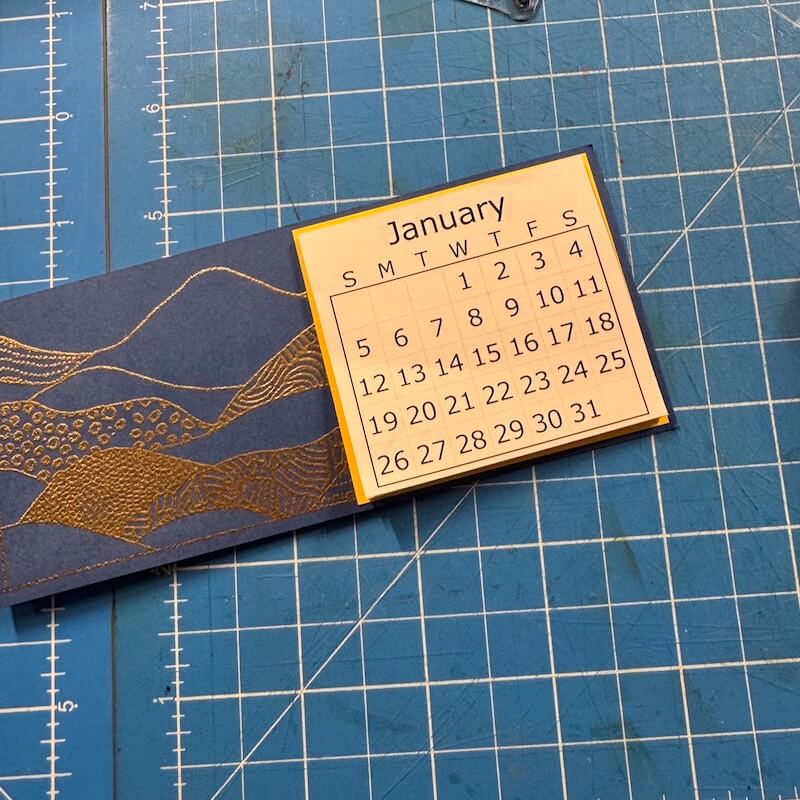
Align the calendar along the right edge of the embossed panel leaving an 1/16" reveal.
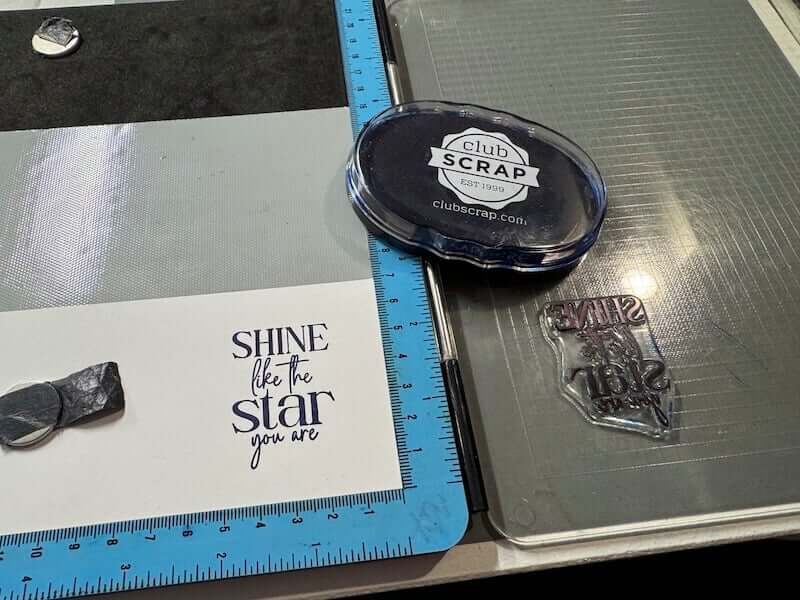
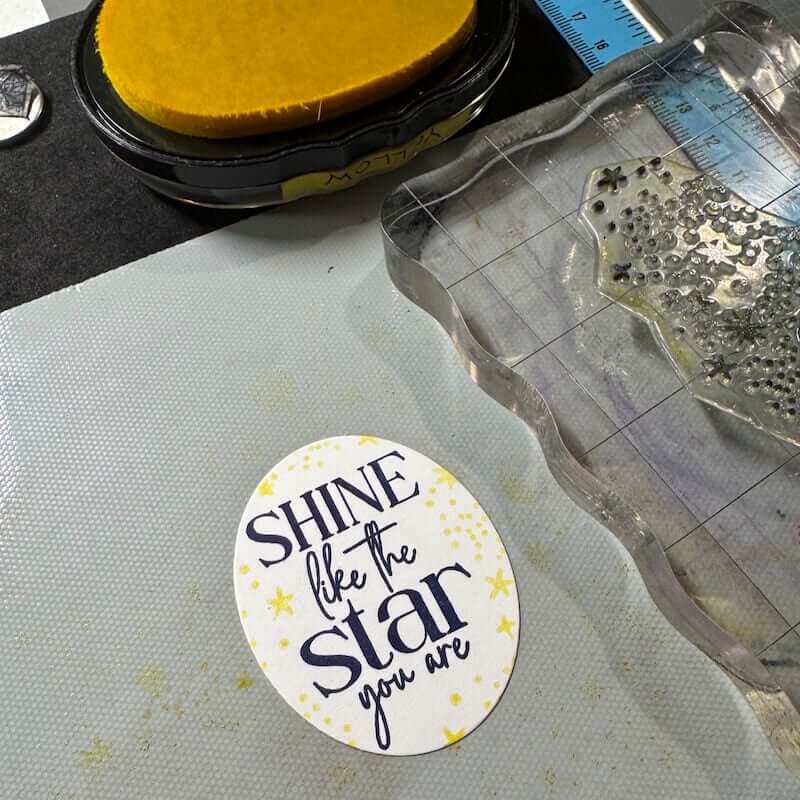
Stamp the sentiment onto white paper with Sapphire Ink.
Cut out the sentiment with an oval shaped die. Stamp the starry sky image around the perimeter of the sentiment with Yellow Ink.
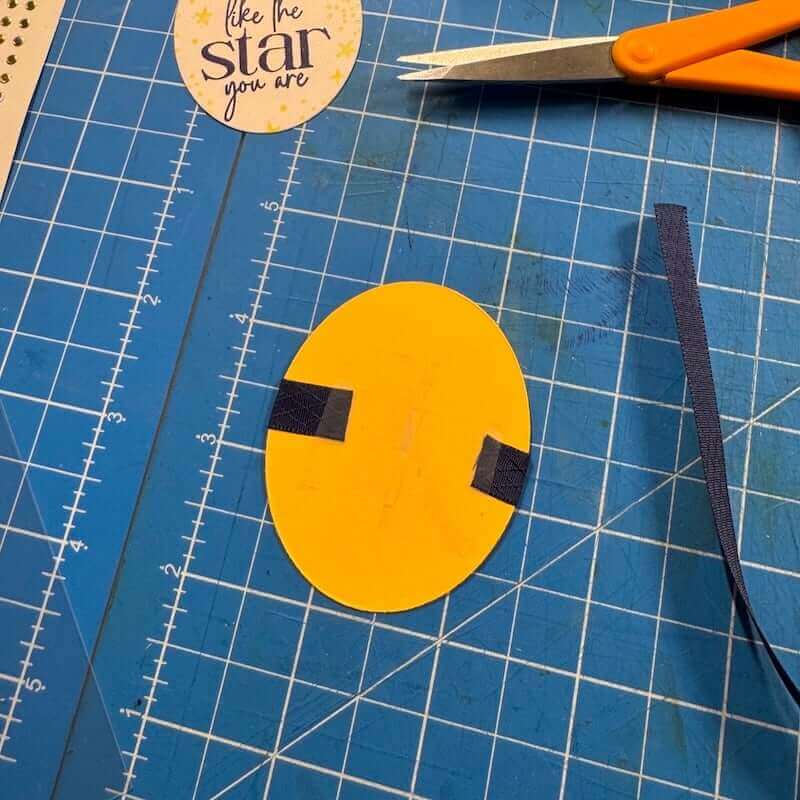
Die cut a larger oval in Lt. Yellow paper. Wrap a small length of ribbon around the oval and secure to the back side with clear tape.
Add foam circles to the back of the white oval.
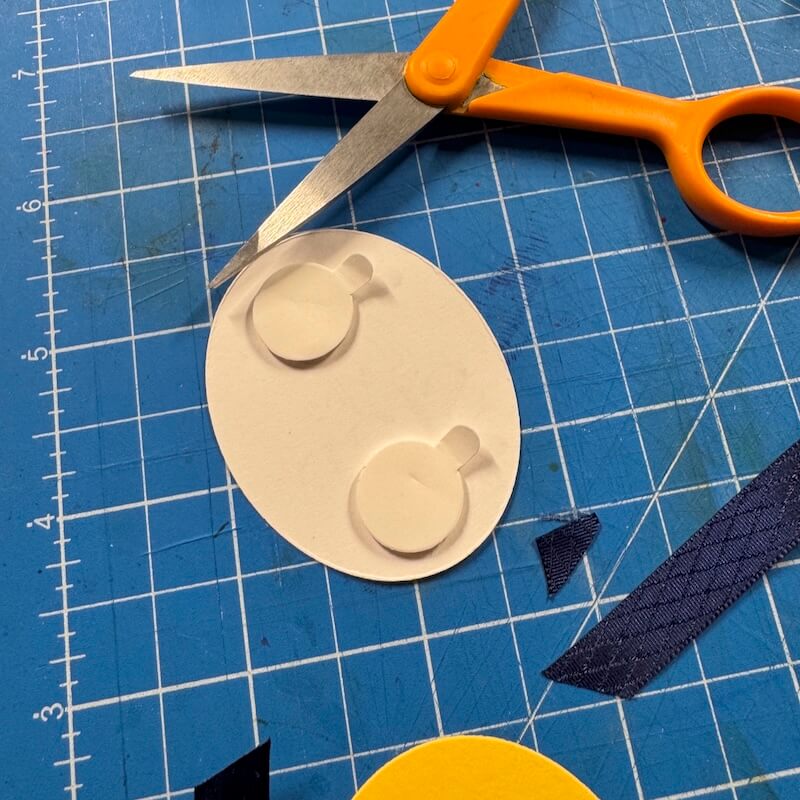
Remove the backing and center onto the Lt. Yellow oval.
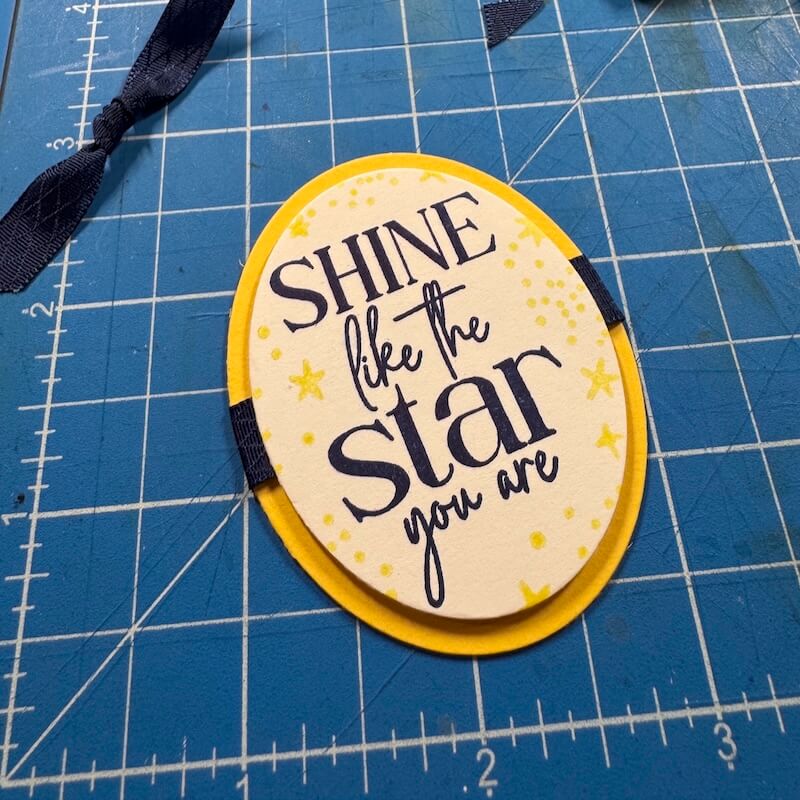
Tie a small knot in a second piece of ribbon. Add a mini glue dot to the back of the knot.
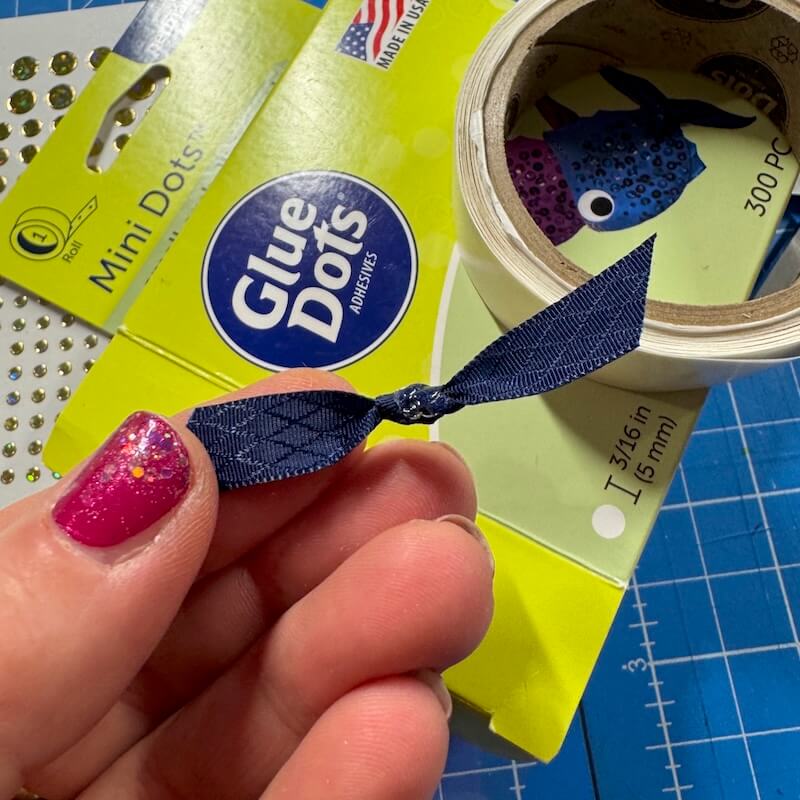
Adhere it along the left edge of the nested ovals.
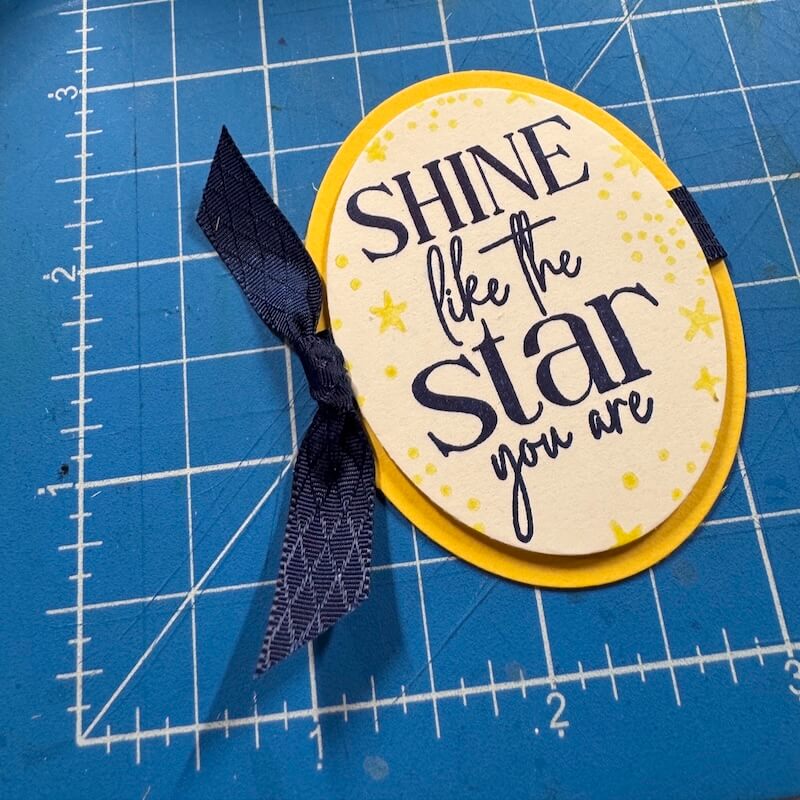
Center and adhere the embellished embossed panel over the Gold Handmade paper to complete the card. I also made a second calendar for my January Birthday Card Swap buddy.
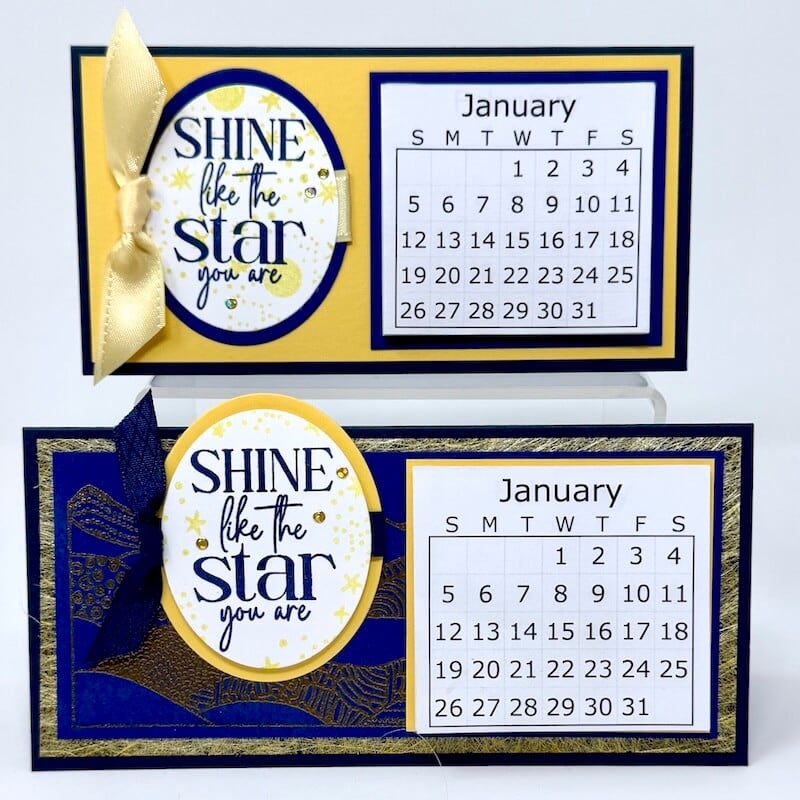
Check out these past blog posts for more calendar ideas!
Are you inspired to make a calendar to display in your crafty space? If so, we would love to see what you make! Share a photo with us on our Club Scrap Chat Group on Facebook. Not a member of the group yet? Simply answer the questions and we will get your request accepted in no time.
Starry Night Stamps

$19.25
Our premium clear photopolymer stamps are ready to use; no prep is required. The stamp sheet measures 6x8" and includes individual images and phrases. Deeply etched for high-quality impressions Clear substrate for easy positioning and accurate stamping Non-yellowing and durable… Read More
Starry Night 12x12 Plain Paper

$1.39
12x12" premium plain scrapbook papers, sold individually, by the sheet.… Read More
CS Watermark Ink Pad

$6.40
This clear ink creates a "watermark" effect on all kinds of papers. Ideal for use with embossing powders and for resist techniques. Create watermark or light shadow images on uncoated card stock Use for Batik-like dye ink resist effects on… Read More
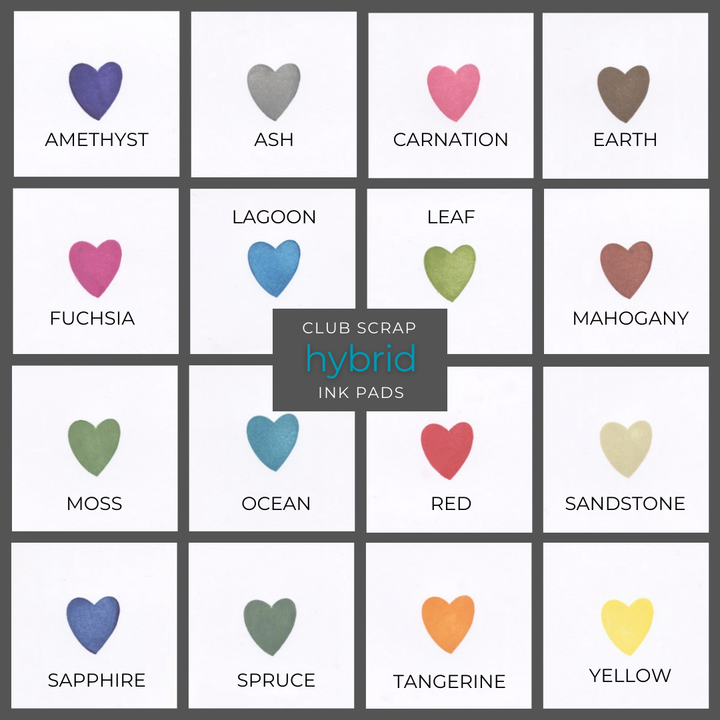
CS Hybrid Ink Pads
$6.35
Exclusively Club Scrap®, this hybrid craft ink combines the most exceptional ingredients of both pigments and dyes for a fine, crisp, fast-drying image! Don't forget to stock up on the coordinating re-inkers. Each ink pad sold separately. Please select the… Read More

