Pin the image below, and then take a walk through my garden of
Dahlia cards!
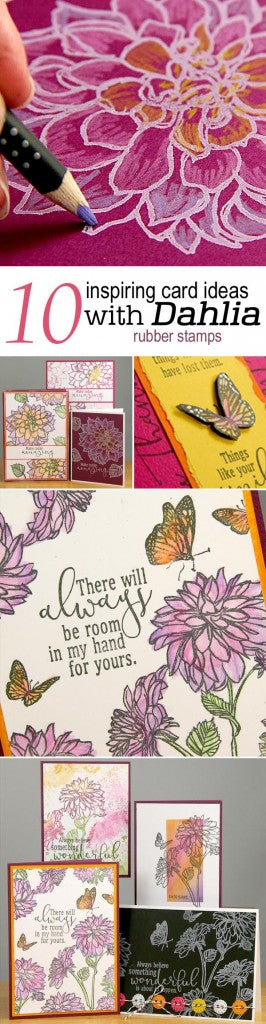
The entire collection of ten cards was created with the
Dahlia Unmounted Stamps and papers.
Let's take a closer look, and I'll share a few tips along the way!
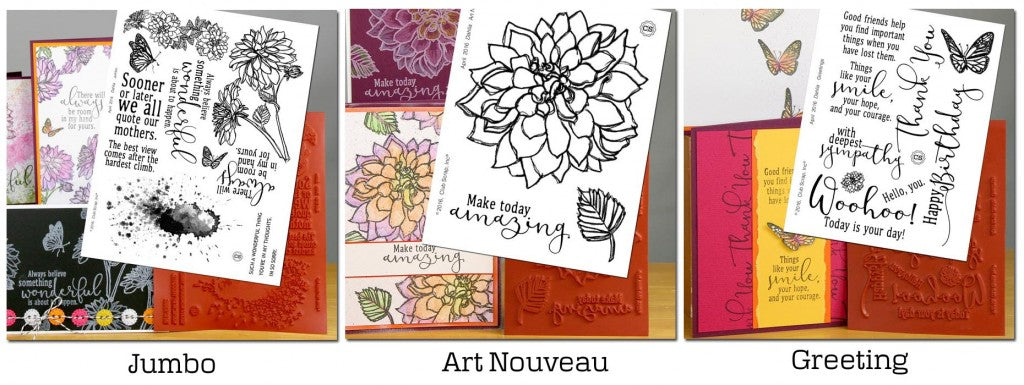
DAHLIA
JUMBO UM
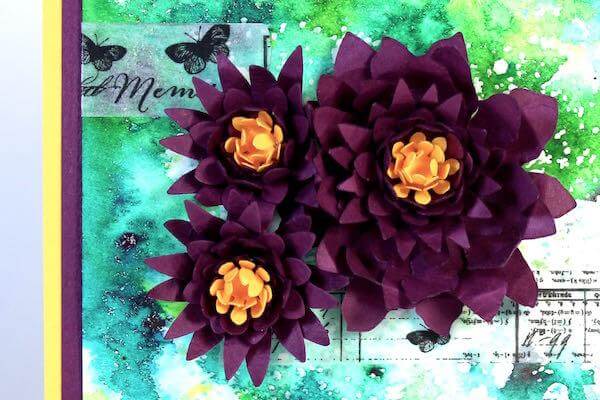
CARD#1
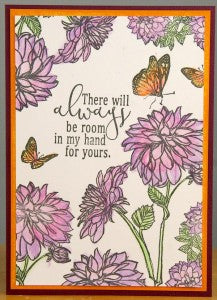
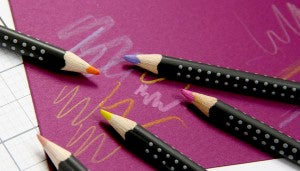
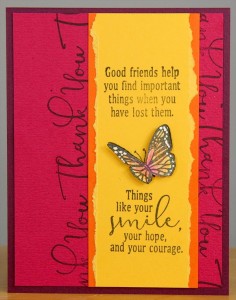
Stamp the greeting first, surround it with dahlia and butterfly images, and color them with coordinating colored pencils.

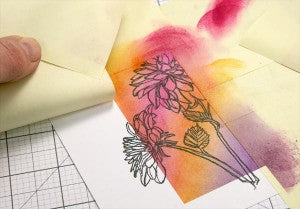
CARD #2
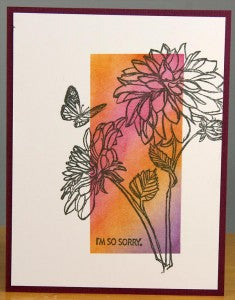
Stamp the dahlia/butterfly image onto a 4x5.25" White card panel with
India Black ink. Create a rectangular mask with Post-It notes and sponge
ink into the opening with a CS
Ink Applicator.
Peel away the mask to reveal a colorful frame.
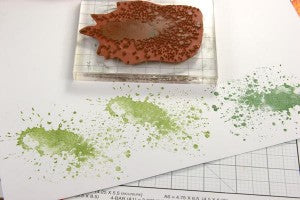
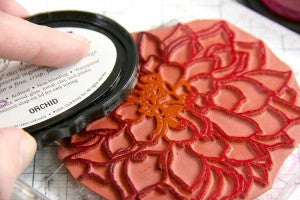
CARD #3

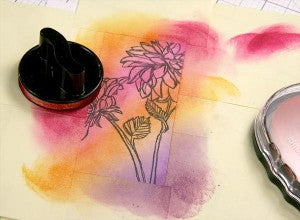
Have a blast creating splatter images with this stamp. (And, without the splattery mess!)
CARD #4
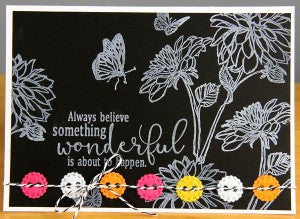
Stamp images and a sentiment onto a 4.75x6.75" Black panel with our crisp
White Pigment ink. Be sure to heat set to prevent smearing. Sew felt buttons onto the panel with twine.
 ART NOUVEAU
 UM
CARD #5
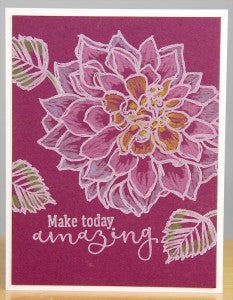
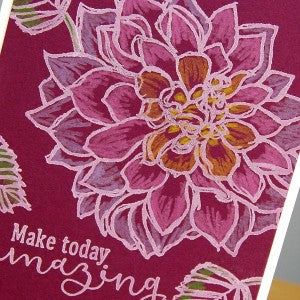
Test the effectiveness of colored pencils on the plain side of a Pink panel.
Stamp the large dahlia image with
White Pigment ink, heat set, and color the petals.

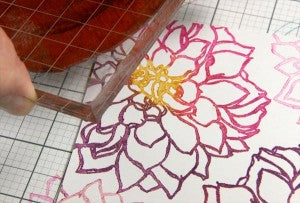
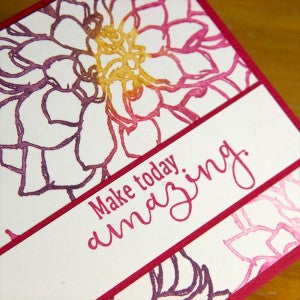
CARD #6
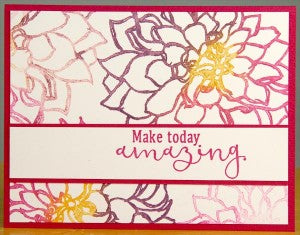
Ink the large dahlia stamp with several colors. Apply Topaz to the center of the stamp, and surround with Fuschia and Amethyst inks on the petals. Stamp the image a second time without re-inking.
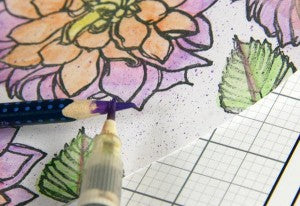
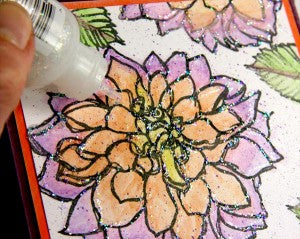
CARD #7
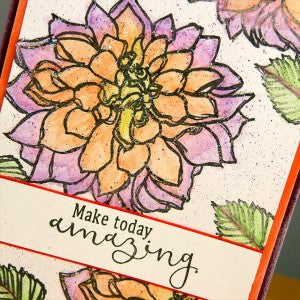
Color the stamped image with watercolor pencils.
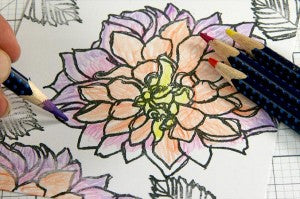
Blend with a water brush.
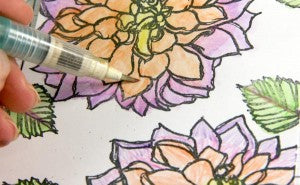
Fill the water brush tip with water, and flick color from the tip of a colored pencil.
Outline the stamped image with glitter glue.
 GREETING
 UM
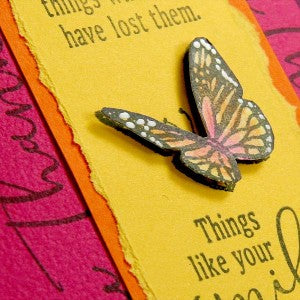
CARD #8
Stamp the butterfly onto the Yellow strip and stamp again onto White Plain. Trim and color the white butterfly and layer onto the Yellow strip with
foam adhesive.
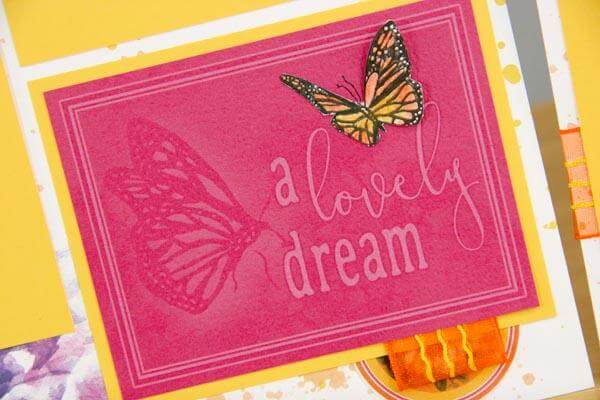
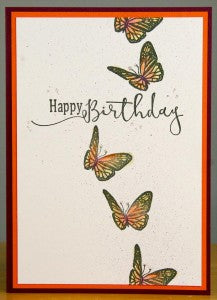
CARD #9
I love this simple card! Simply stamp and color a trail of sweet butterflies above and below the "happy birthday" sentiment.
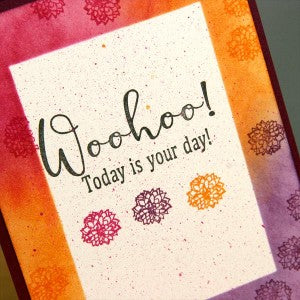
CARD #10
Mask the center of a card panel, and sponge ink onto the outside edges to create a colorful frame.
It's a great day to stamp with
Dahlia!
Kay