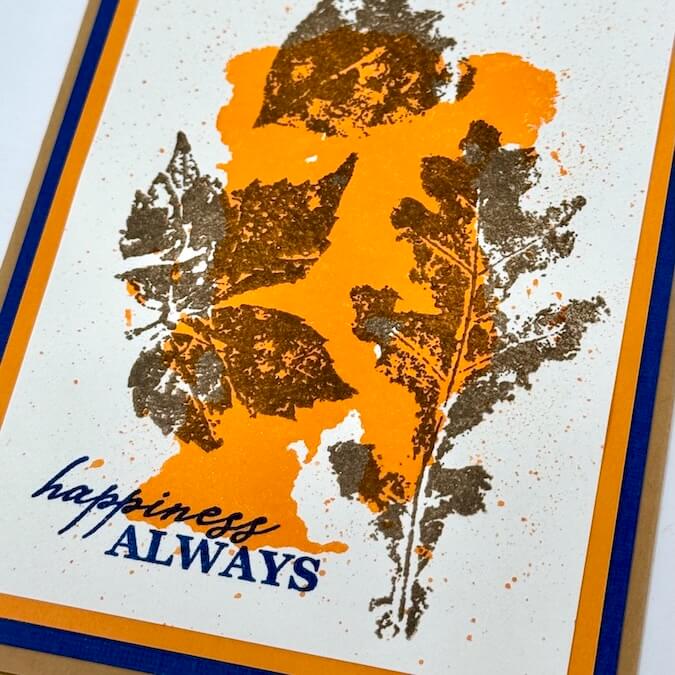
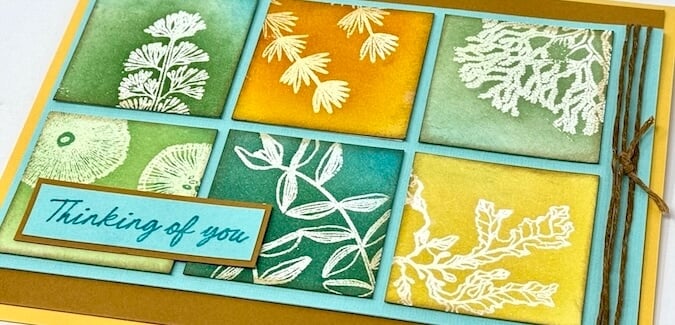
Create unique ocean-themed embellishments to enhance your scrapbook pages with stamps and texture paste.
Stamped Texture Tutorial
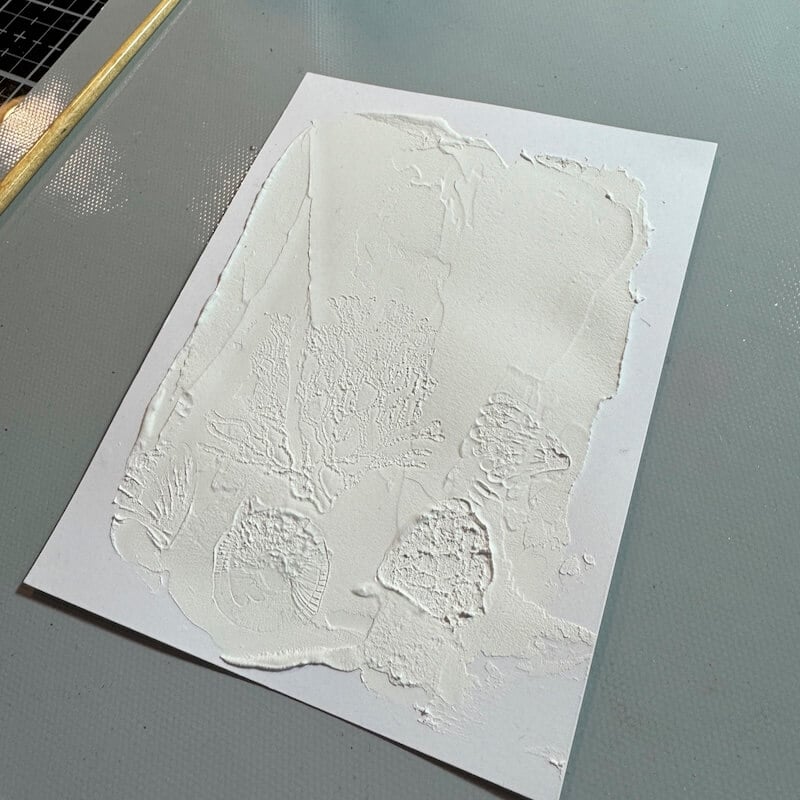
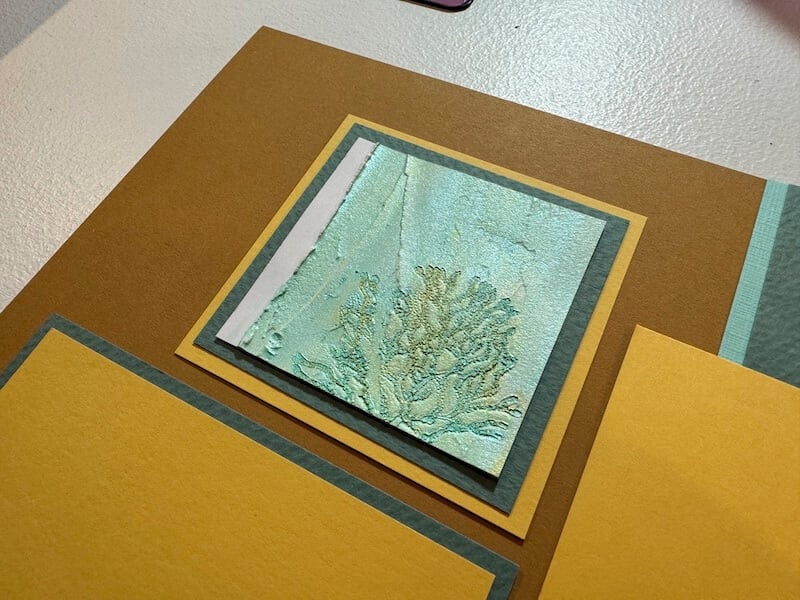
Spread homemade texture paste onto a white panel with a palette knife. Press your chosen stamp into the wet paste, creating a 3D impression. Set the panel aside to dry completely before moving on to the next step.
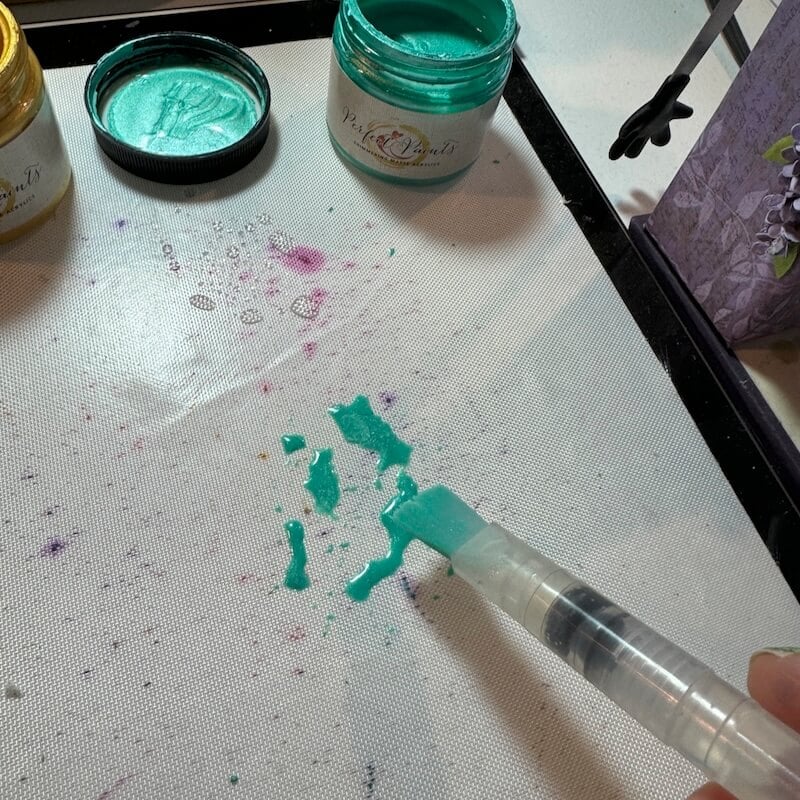
Add small drop of Perfect Paints to a nonstick craft sheet (I used Mermaid Tail). Mix in a bit of water using a water brush.
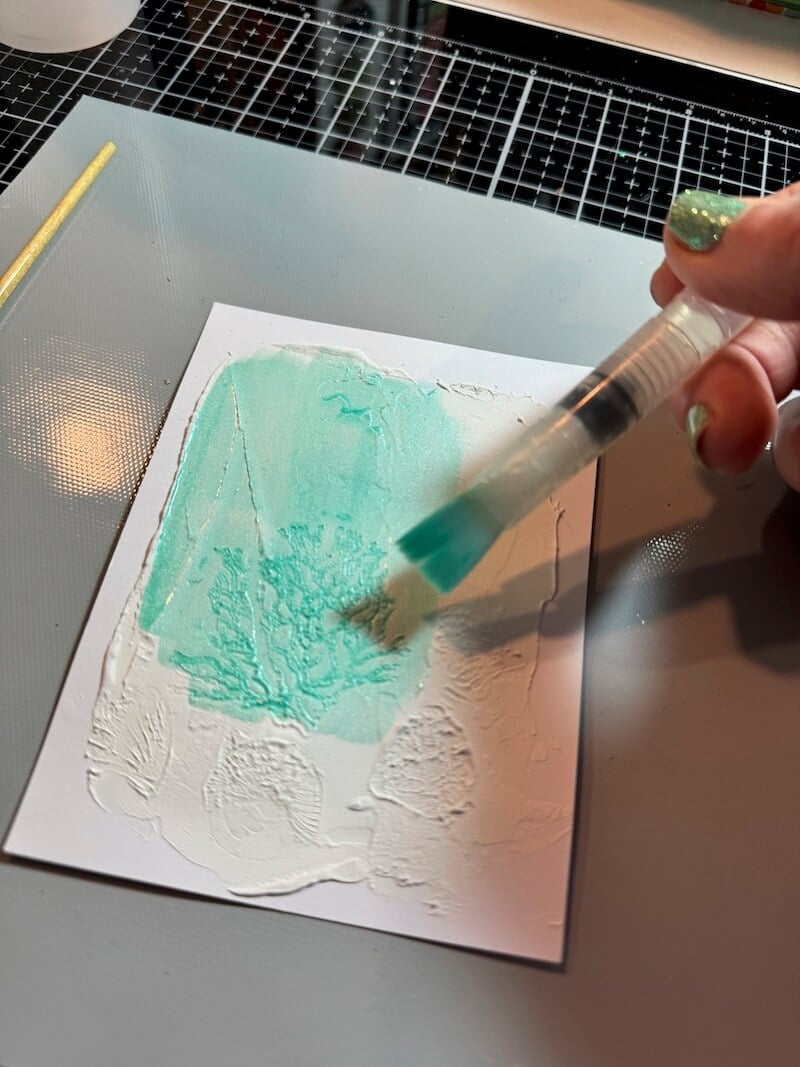
Brush the paint over the dried texture paste images.
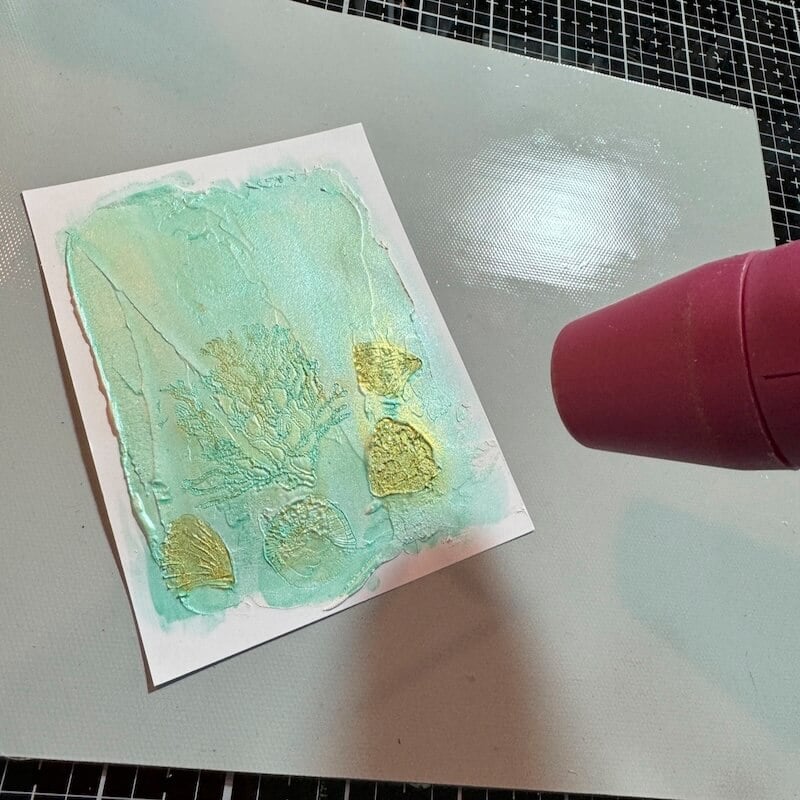
Highlight portions of the stamped images with Bright Gold Perfect Paints with a fine-tipped water brush; set aside to dry. (Or speed up the drying time with a heat tool.)
Page Assembly Tips
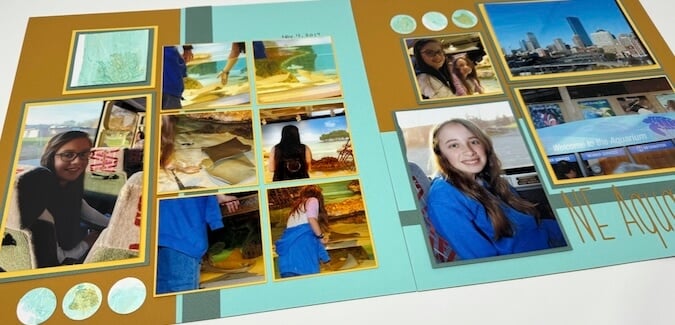
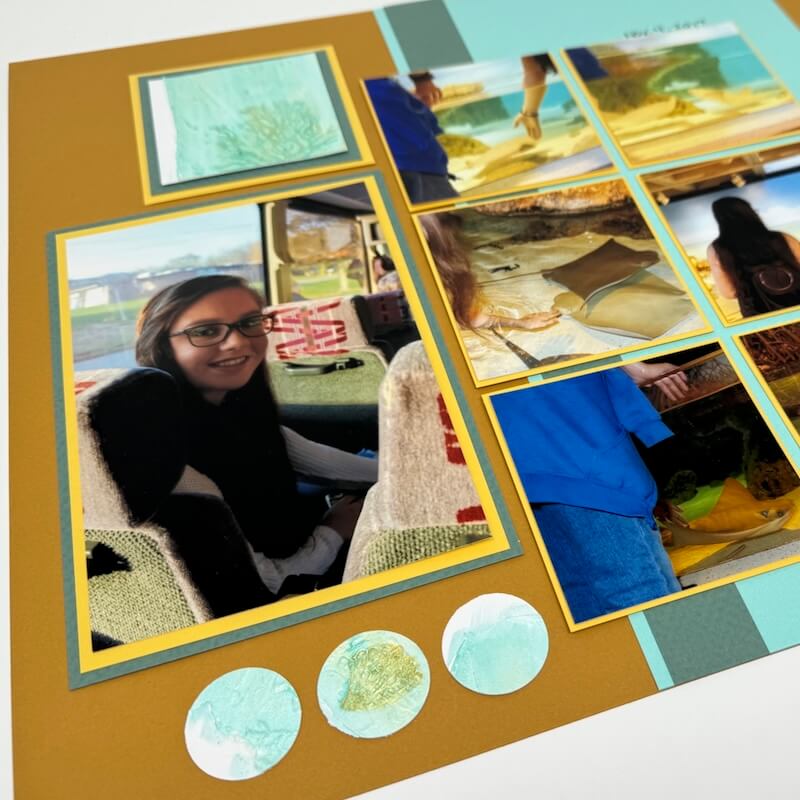
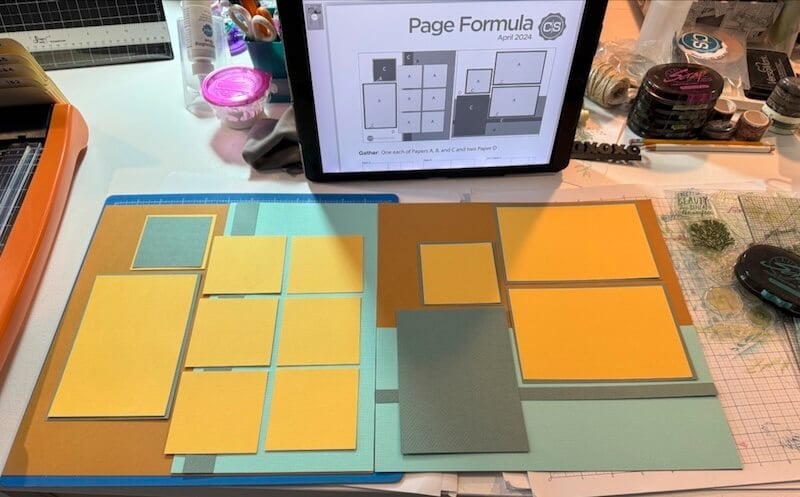
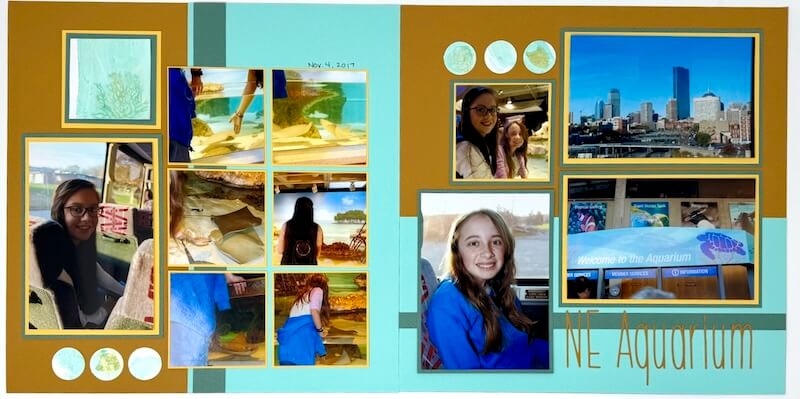
Once your painted textured panel is complete, it's time to incorporate it into scrapbook pages. (I created my layout with Club Scrap's April 2024 Page Formula.)
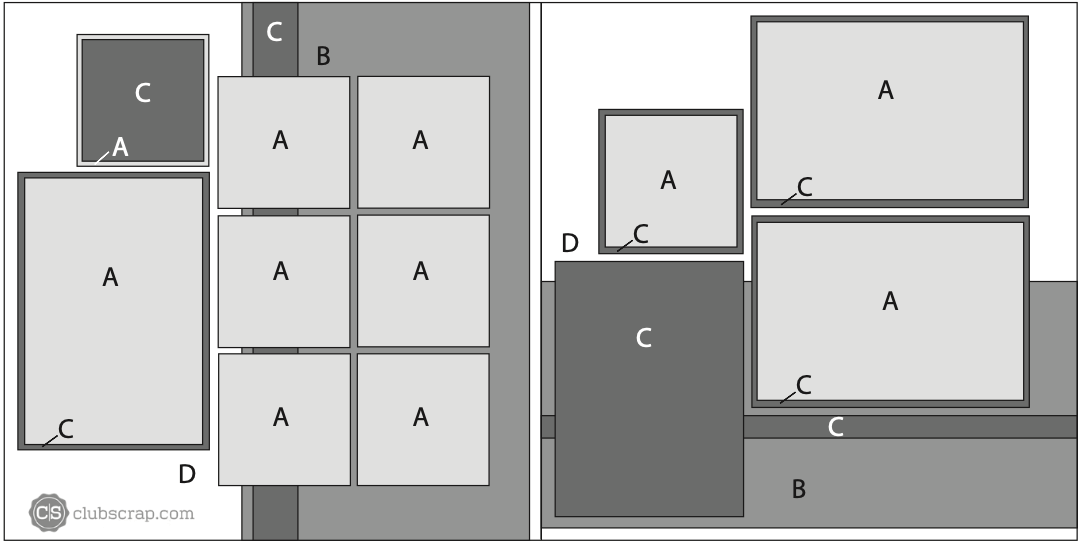
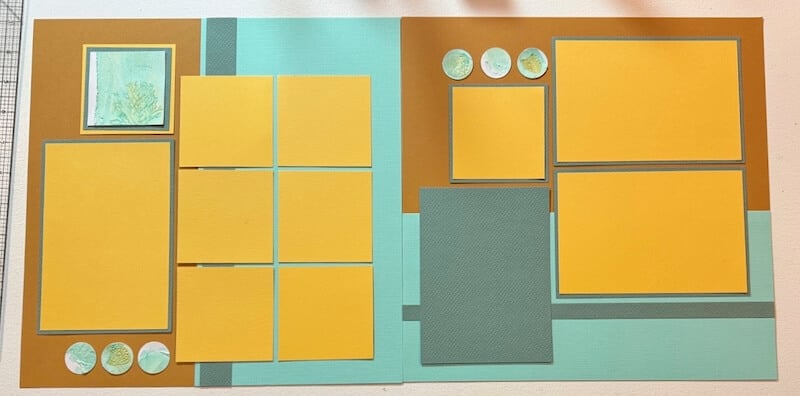
Trim three 12x12" papers (gathered earlier) according to the cutting instructions using the following paper assignments: Yellow (Paper A), Seafoam (Paper B), Green (Paper C), and two Gold (Paper D).
After the paper trimming and sorting is complete, refer to the sketch to dry fit the trimmed pieces.
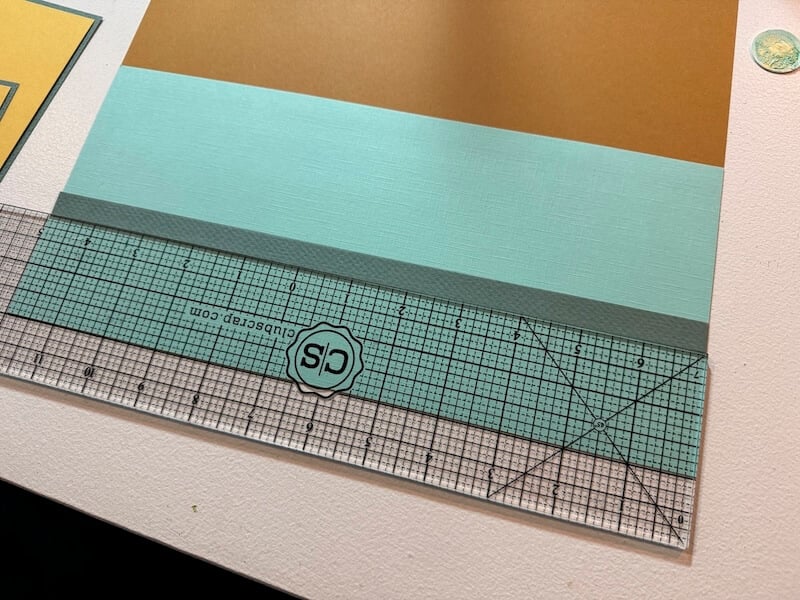
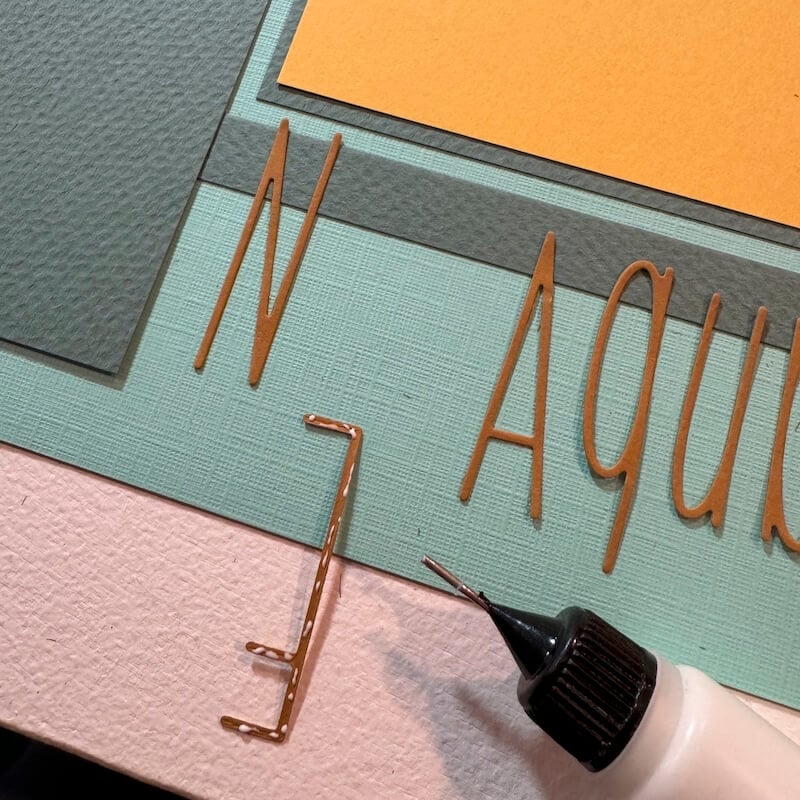
Ensure perfect alignment of the skinny strips using a 3x14 Grid Ruler. Add Bookbinding Glue with a Needle-tipped Applicator to the back of the strips and adhere to the pages.
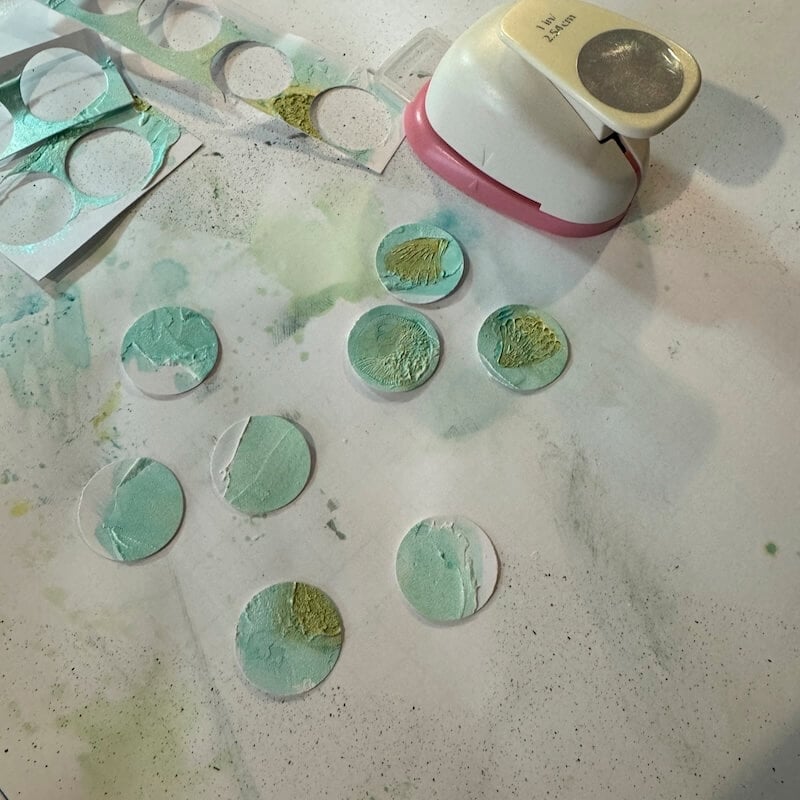
Remove the small stamped images from the panel with a 1" circle punch.
Crop the larger coral image into a 2.5" square with a paper trimmer and nest onto the layered photo mats at the top of the left page.
Arrange the circles in sets of three to accent each side of the layout.
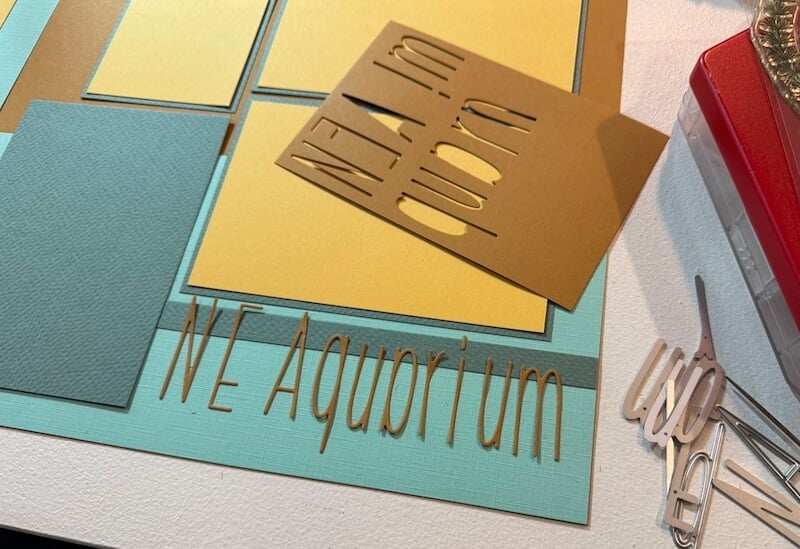
Die cut letters from Gold paper (Reef Pack of Panels) to create the page title.
Before cropping any photos, test fit them on each mat to ensure proper placement.
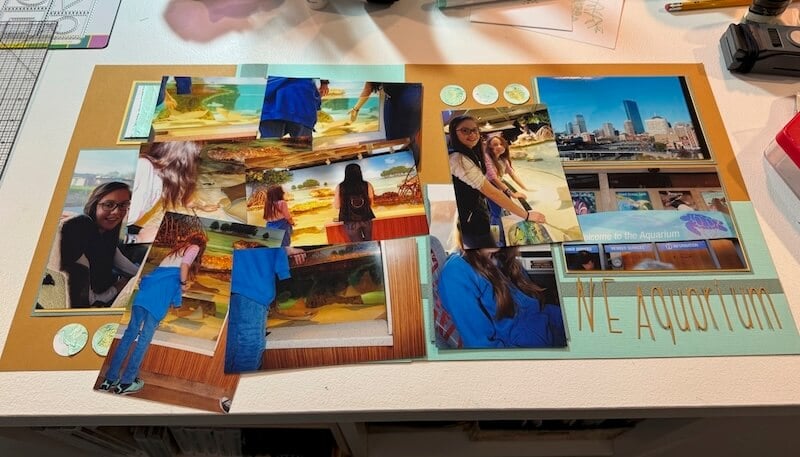
Crop the photos to fit each mat. Finally, adhere the letters to the right page with Bookbinding Glue in a Needle-tipped Applicator, overlapping the green strip.
Let's take a look at the finished pages.
Have you made pages with the bonus formula this month? If so, please share your finished pages on the Club Scrap Chat Group on Facebook. Not a member of the group yet? Simply answer a few questions and we'll process your request accepted in no time.
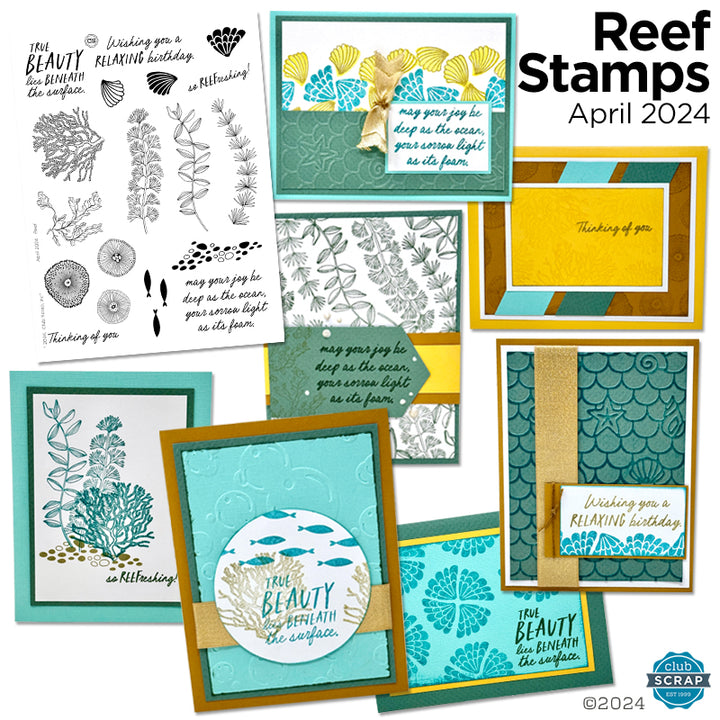
Reef Stamps
$19.25
Our premium clear photopolymer stamps are ready to use; no prep is required. The stamp sheet measures 6x8" and includes 18 individual images and phrases. See how Julie made cards with the stamps on our blog: https://www.theclubscrap.com/a/blog/reef-stamps Deeply etched… Read More

