One of my favorite things about this month's Cantina Deluxe kit is the Party Time stencil! I couldn't wait to jump in and play with it. I wanted to think outside the box a bit and paired it with the Art Nouveau UM rubber stamp set.
Stamped Stencil Technique
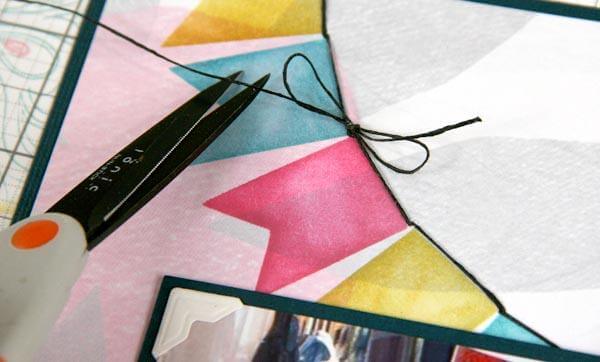
1. Follow the Assembly Line Instructions for layout 4 and stencil the banner onto the Orange background paper.

2. Connect the banners with a black marker line.

3. Cover the binder ring holes and two other banners openings with clear tape.
4. Place the stencil over the image creating a mask and add the Art Nouveau dots with black India Ink.
Voila! A jazzy banner for my scrapbook page.
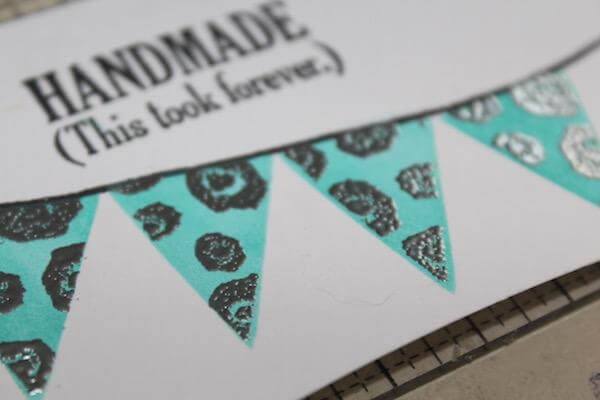
Stamped Stencil Technique with embossing
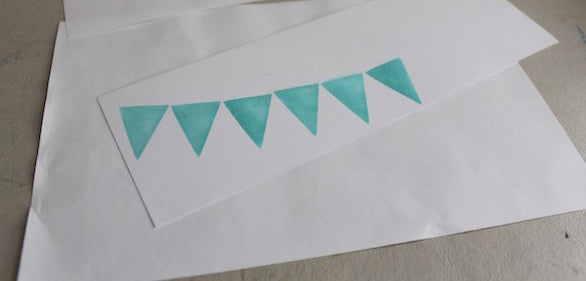
1. Stencil the banner onto white paper with turquoise chalk ink from the Artifacts Lite kit.
2. Trace the banners onto copy paper using the stencil as a template .
3. Cut out the banners to create a mask.
4. Stamp the dots image with silver pigment ink. Add silver embossing powder and heat to melt the powder.
5. Connect the banners with black, fine-tipped marker. Stamp the sentiment with India Black ink.
6. Create a card with the stenciled panel.
Bonus Stencil Technique
This technique sort of came to me while I was playing and didn't really fit the stamped stencil technique, so it's a bonus. Woot!
1. Stencil the banner onto Aqua paper with turquoise chalk ink. 2. Flip the stencil over so the "fizz bubbles" from the champagne details fit inside the stenciled banner.
3. Add "fizz" pattern to banner and connect the banners with black marker.
4. Use the stencil to add a shadow line detail to each banner.
5. Create a card using the stenciled banner and sentiment from the Cantina Collection UM rubber stamp set.
Have you tried any unique stencil techniques? Please share them in the comments section below.
Julie

