
Create a batch of quick and easy Christmas cards with the gorgeous Shades of Winter Stencil. Club Scrap recently re-released this popular stencil from the original 2016 Shades of Winter collection.

Shades of Winter Stencil - Card Assembly Tips
Gather the desired quantity of scored kraft card bases and envelopes from your stash. Each folded card base measures 4x5.5". Please note: These are not standard card size.

Create card panels for each card with the Gnome For Christmas POPs. Trim each color to the following measurements:
3-3/4x4-3/4" Ivory
3-3/8x4-7/8" Red
3-1/2x5" Brown
3-3/4x4-3/4" Green

Position an Ivory panel onto a Club Scrap Grid Paper Pad with low tack masking tape or washi tape.

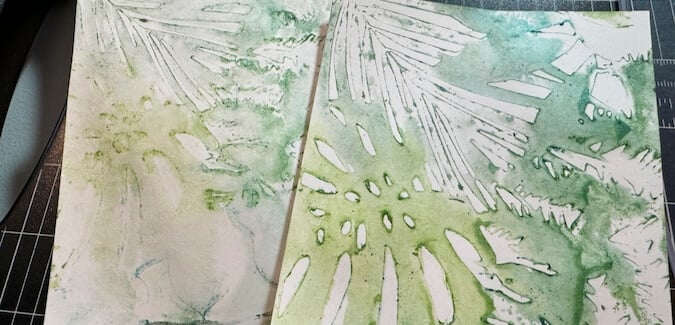
Place the stencil over the panel, positioning the branch portion in the desired location.

Apply Earth Ink in a gentle circular motion to the branches with an Ink Applicator Brush. Color the portion that extends beyond the panel onto to the Grid Pad - this will aid in positioning subsequent stenciled panels.

Pick up the stencil and position the berries over the branches. Carefully apply Red Ink through the openings of the stencil so that the color extends past the edges of the panel.

Reposition the stencil to add more branches to the bottom of the Ivory panel, adding ink past the edges of the panel onto the Grid Pad below.

Add the berries to the panel and beyond, as shown.

Carefully remove the tape and stencil to reveal the completed panel.

Set the finished panel aside. The images left behind on the grid paper pad will aid in proper positioning the stencil on additional panels.

Position a new panel onto the grid paper pad with the low tack tape, using the previously stenciled artwork as a guide.

Align the stencil with the branch image on the grid paper. Add Earth Ink to the branches. Reposition the stencil to color the berries as before.

Continue the steps above until the desired number of Ivory panels have been created.

Place one decorated panel into a stamping platform. Position the sentiment onto the panel where desired. Close the lid of the platform to pick up the stamp. Apply Spruce ink to the sentiment and close the lid to tranfer the sentiment to the panel. Repeat inking and stamping the sentiment until the desired look is achieved.

Repeat the process to add the outer sentiment to each stenciled panel.
Stamp an "innie" sentiment inside each folded card base with Spruce ink.

Nest the Ivory panel onto the Red, Brown and Green Panels.

Adhere to the front of each card base to complete your batch of cards.

Now your cards are ready for mailing. Or, tie a bundle of cards with a ribbon for gifting. The choice is yours!
I'd like to extend a special thanks to Tricia for inspiring this simple, yet elegant, card design.

Stay tuned for more inspiration as we celebrate "12 Days of Holiday Gift Ideas" on the blog this month.
Happy holidays!
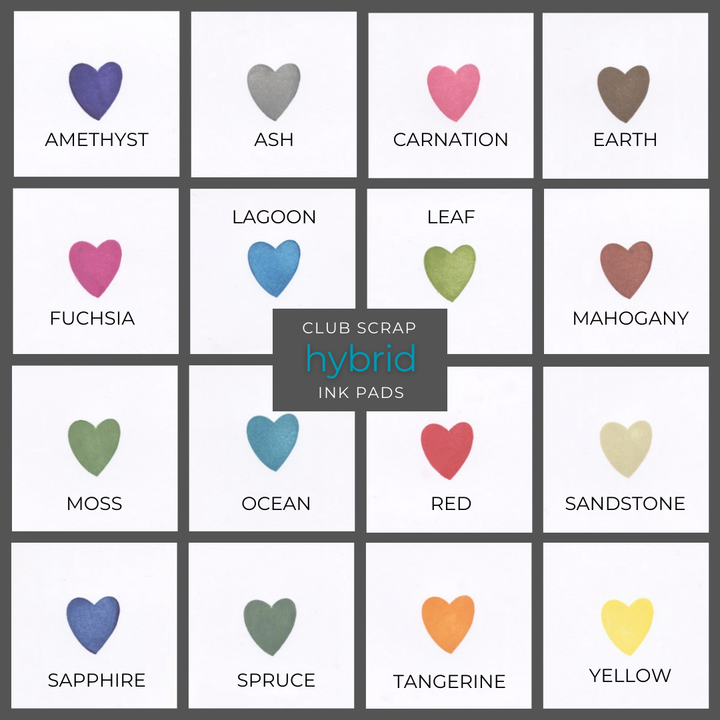
CS Hybrid Ink Pads
$6.35
Exclusively Club Scrap®, this hybrid craft ink combines the most exceptional ingredients of both pigments and dyes for a fine, crisp, fast-drying image! Don't forget to stock up on the coordinating re-inkers. Each ink pad sold separately. Please select the… Read More