
Several years ago, Ann Marie challenged us to create backgrounds using a Shaving Cream Marbling technique. I thought it would be fun to try this messy process again, but with a twist: stencils.

SHAVING CREAM MARBLING WITH STENCILS
1. Start with a paper plate full of FOAM shaving cream. Smooth shaving cream to create a somewhat flat surface.

2. Add several drops of coordinating hybrid re-inkers onto the shaving cream. (I like fall colors so I used Tangerine, Peridot and Topaz.) Optional: Use a toothpick to swirl the colors slightly. I chose to leave them "as is" for my samples.

3. Place stencil onto panel.
4. Use an old credit card or store rewards card to scoop up a section of cream and color. 5. Spread the shaving cream onto stencil in one direction--starting from the top and working toward the bottom--until paper is covered.

6. Clean the card with a paper towel and remove any gobs of shaving cream from your work surface.
7. Remove stencil and set aside to dry.

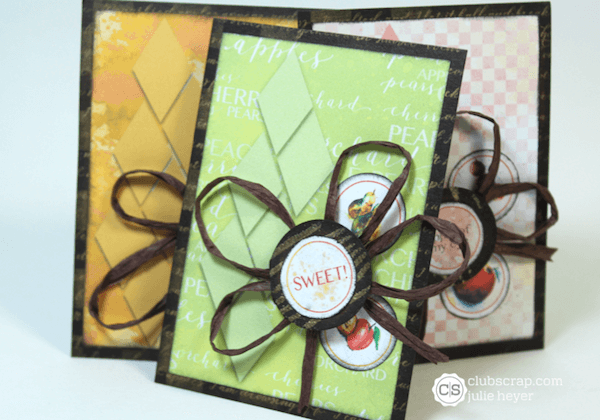
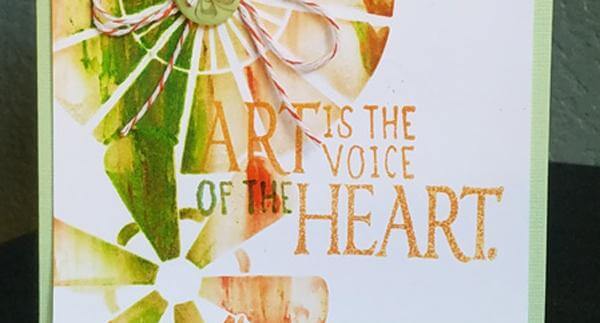
8. Create beautiful masterpieces with your backgrounds. I loved the backgrounds and wanted them to be the focal point of my cards, so I kept the rest of the design simple and minimalistic.


Now it's your turn! Grab your Club Scrap re-inkers and some shaving cream to start creating some amazing art panels.