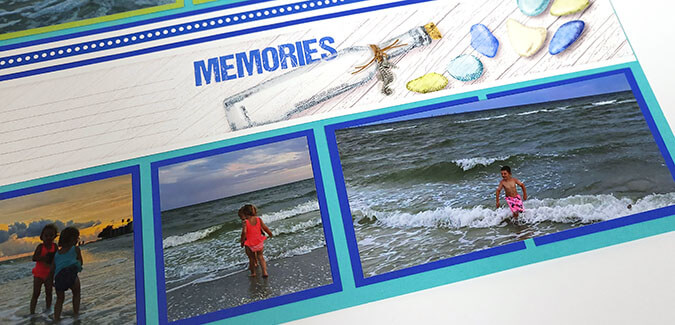

The completed Sea Breeze Remix pages were perfect for documenting my friends' recent trip. I think this is the third rendition of the original theme, and it's no surprise why. The artwork and sentiments are timeless, and the newest color palette is an ideal match for a visit to any body of water, even poolside!
Sea Breeze Remix Page Kit
My friend, Oliver, and his momma, daddy, and twin sisters went to Florida this summer, and their memories from a visit to the beach look fantastic on this collection. The finished pages are fully-embellished and each holds a generous number of photos. I only made minor adjustments along the way to better accommodate the photos. Read on for details and a tour of the finished pages.
Layout 1 & 2
These kids make the cutest photo-subjects ever!

Trim a single vertical photo to span two smaller horizontal mats.

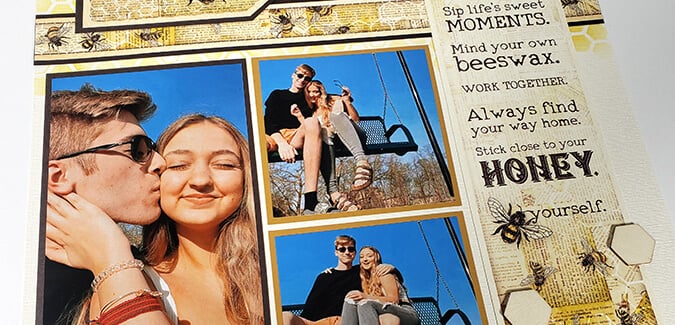
Layout 3 & 4
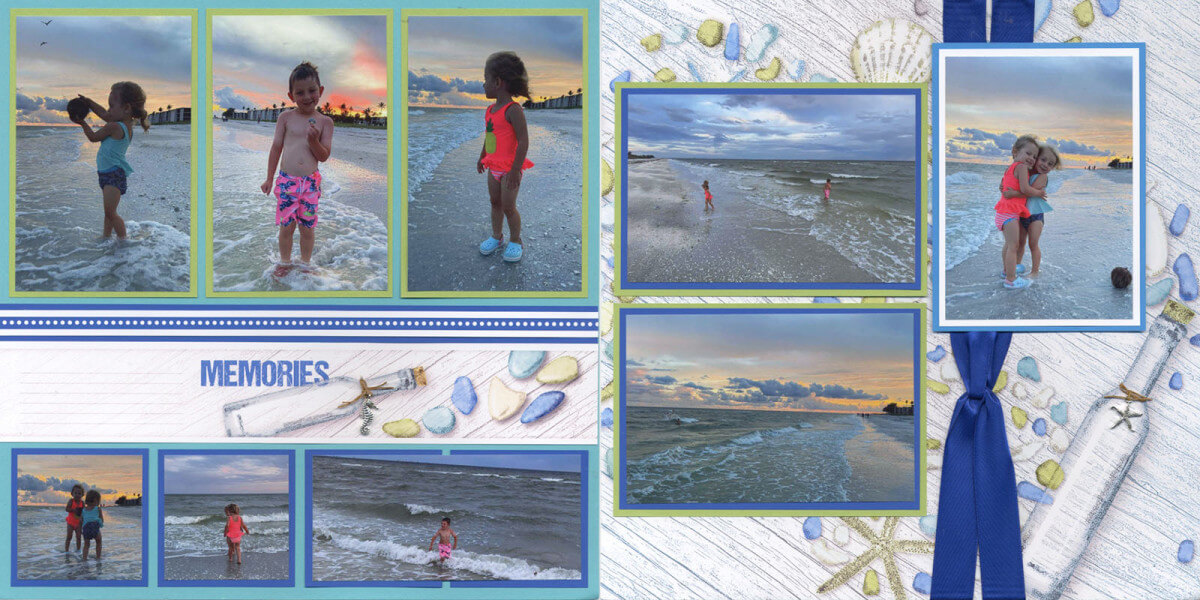
Crop a single horizontal photo to fit across two smaller vertical mats.
There were so many beautiful photos to choose from, I wanted to include them all! I was able to sneak in a few extra with small tweaks to the pages. Don't be afraid to use a cutapart as a "mat". Simply measure the cutapart and subtract 1/4" from the length and width. Crop your photo to that size and voila, a perfect fit.

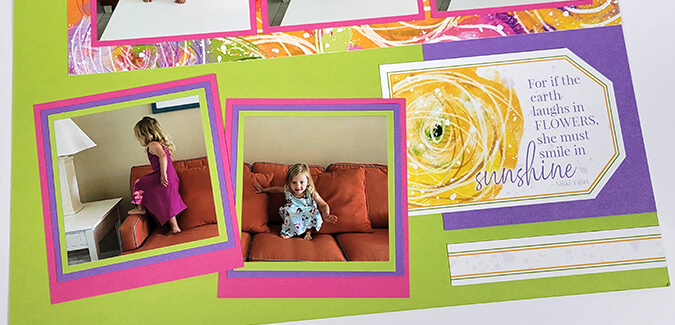
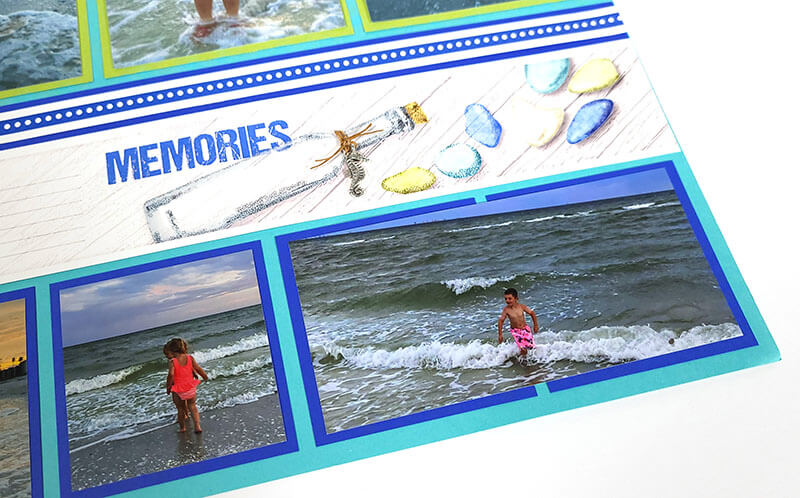
Layout 5 & 6

Measure the journaling space available on the title strip, and crop a photo to fit the space. (In this case, 3x5".) Attach the photo to the cutapart, leaving 1/8" border on the top, bottom and left sides. It works because there's still a place on the right side of the layout for journaling.

I lieu of a small square photo, create a mini collage using fussy-cut artwork paired with a crystal shell.

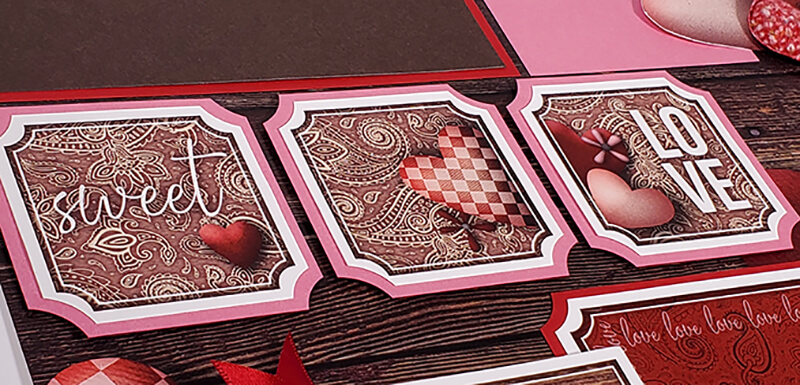
Layout 7 & 8

I tweaked the arrangement of the left layout slightly, and skipped the ribbon bow. (Even with all of Tricia's ribbon tricks and tutorials, I stink at bow-making.) To fill the two blue mini mats, center the "peace" cutapart and accent with a crystal shell.

Due to a fairly common case of "photo verticalitis", changes needed to be made. Simply rotate the right layout 90 degrees before adhering photos. Problem solved!

I hope you enjoyed this quick tour of my finished layouts. I also hope my tips inspire you to make a few adjustments of your own the next time you complete a page kit with photos.
Happy scrapping!