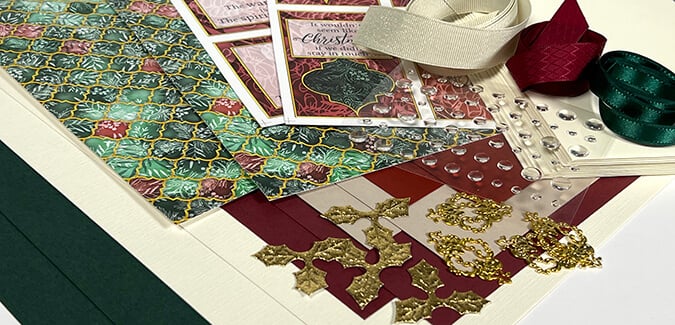

I just love the rustic simplicity of the September collection. While brights will always have a place in my heart, collections that feature earth tones are almost always my favorite. Are you ready to see the assembled Roost Page Kit, before and after photos?
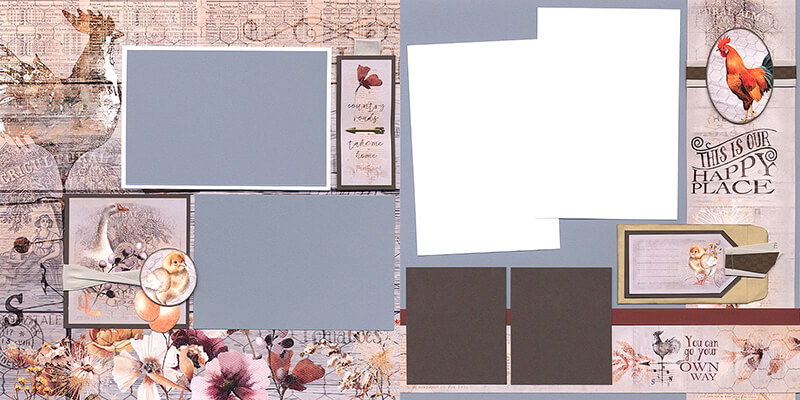
Roost Page Kit
Layout 1 & 2
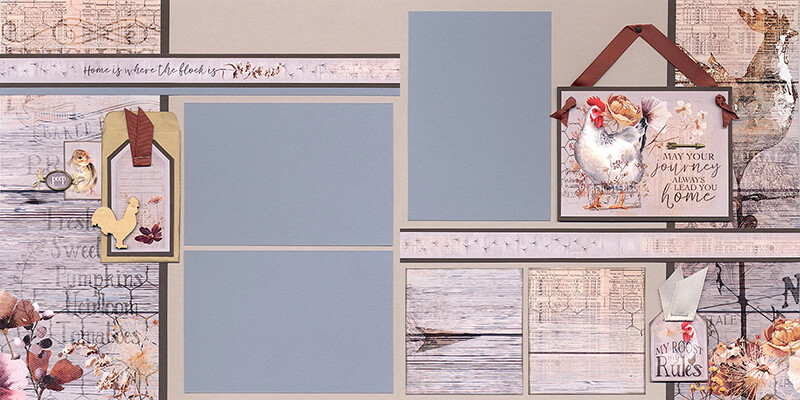
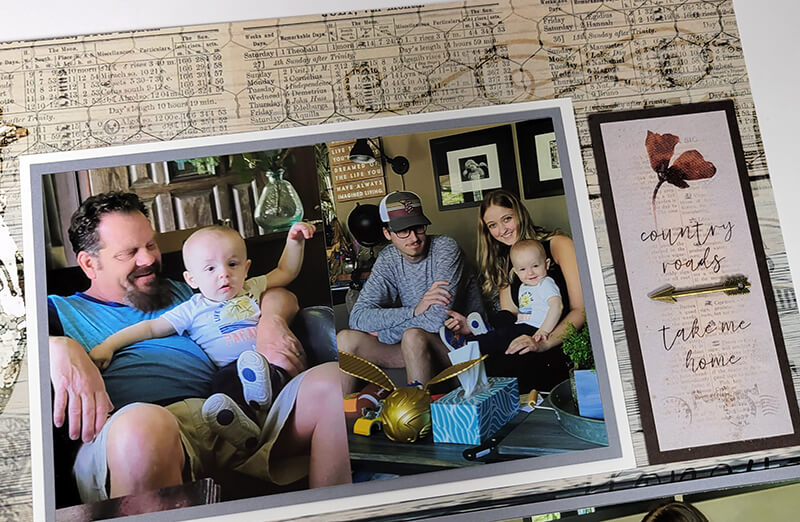
Only minor changes were made to accommodate parade photos from earlier this summer.
I decided to skip the ribbon treatment on the right page. A 2.5x3.5" photo fits the open space next to the sentiment on the Cutpart.
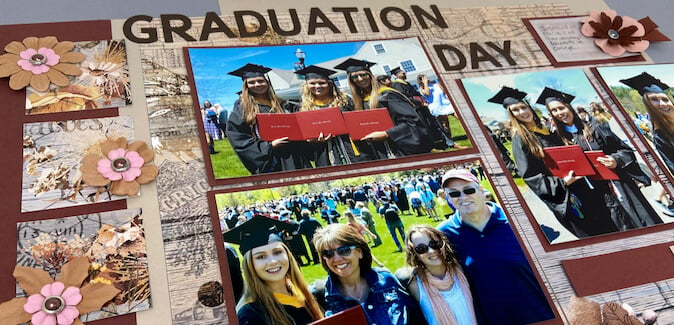
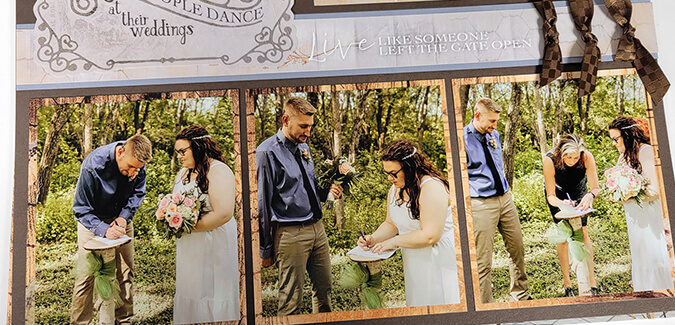
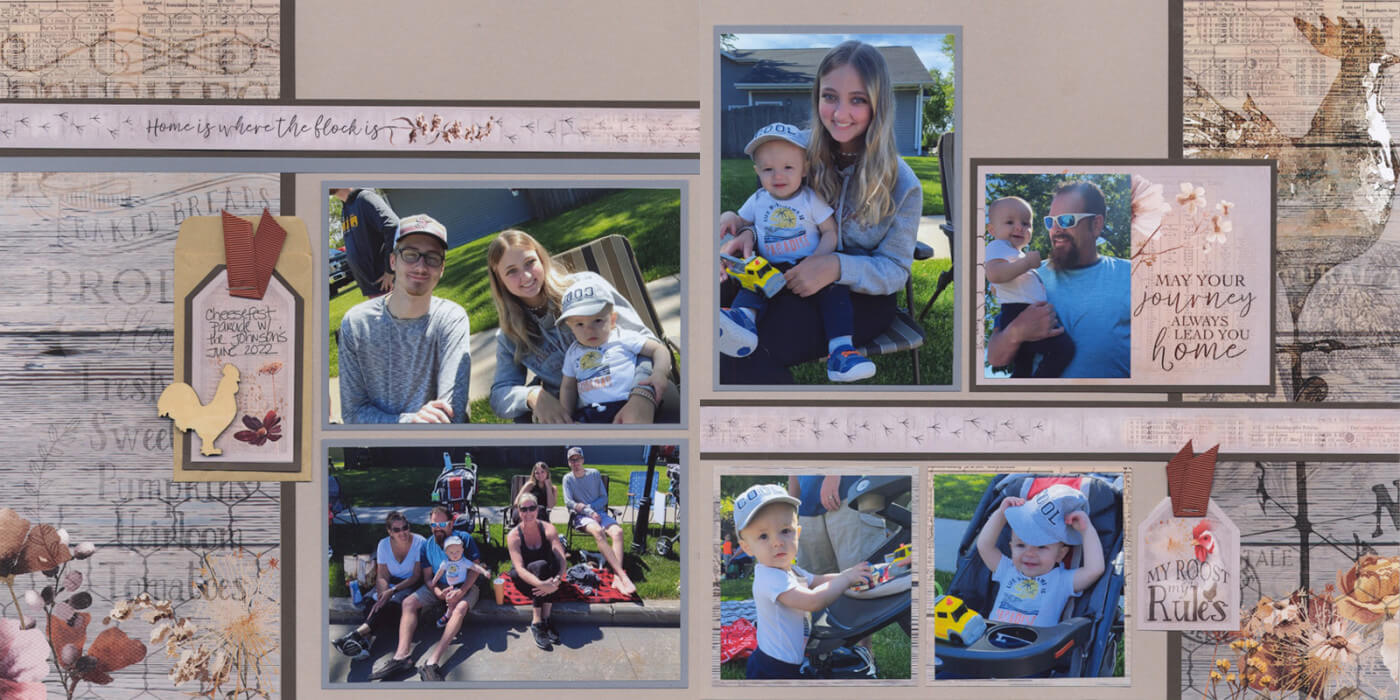
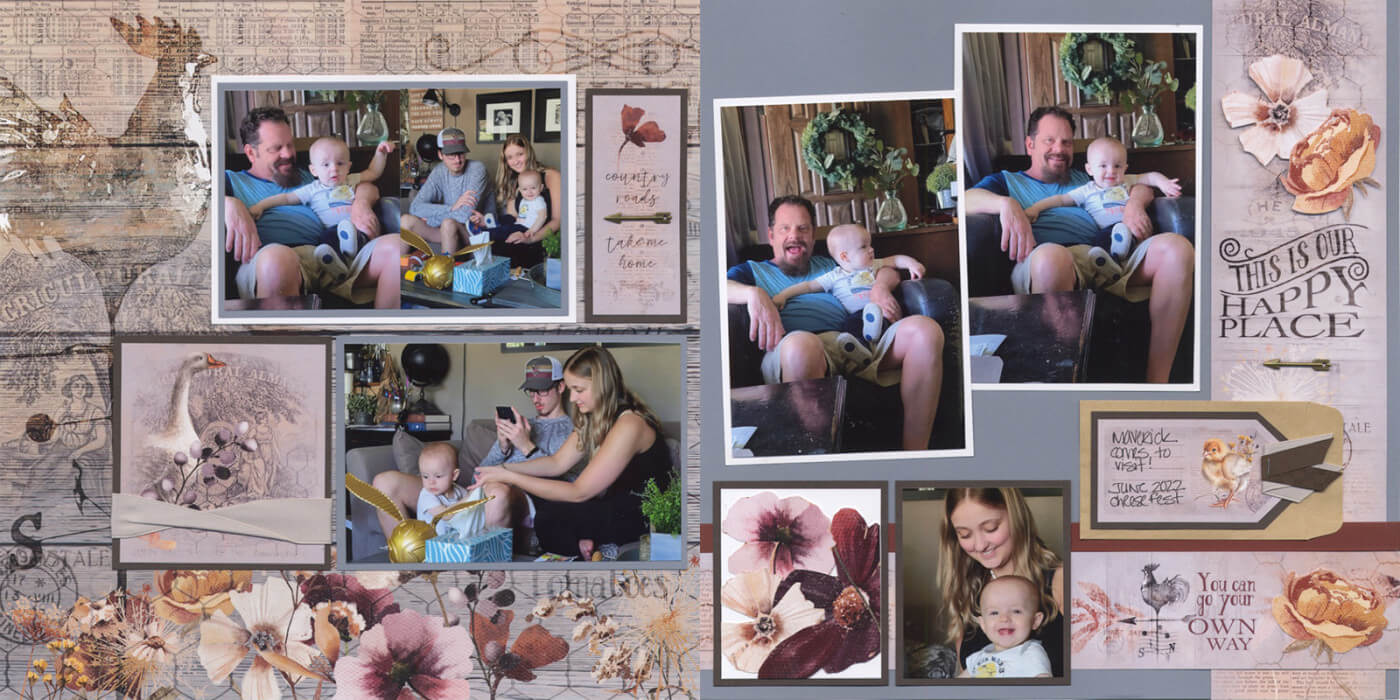
Layout 3 & 4
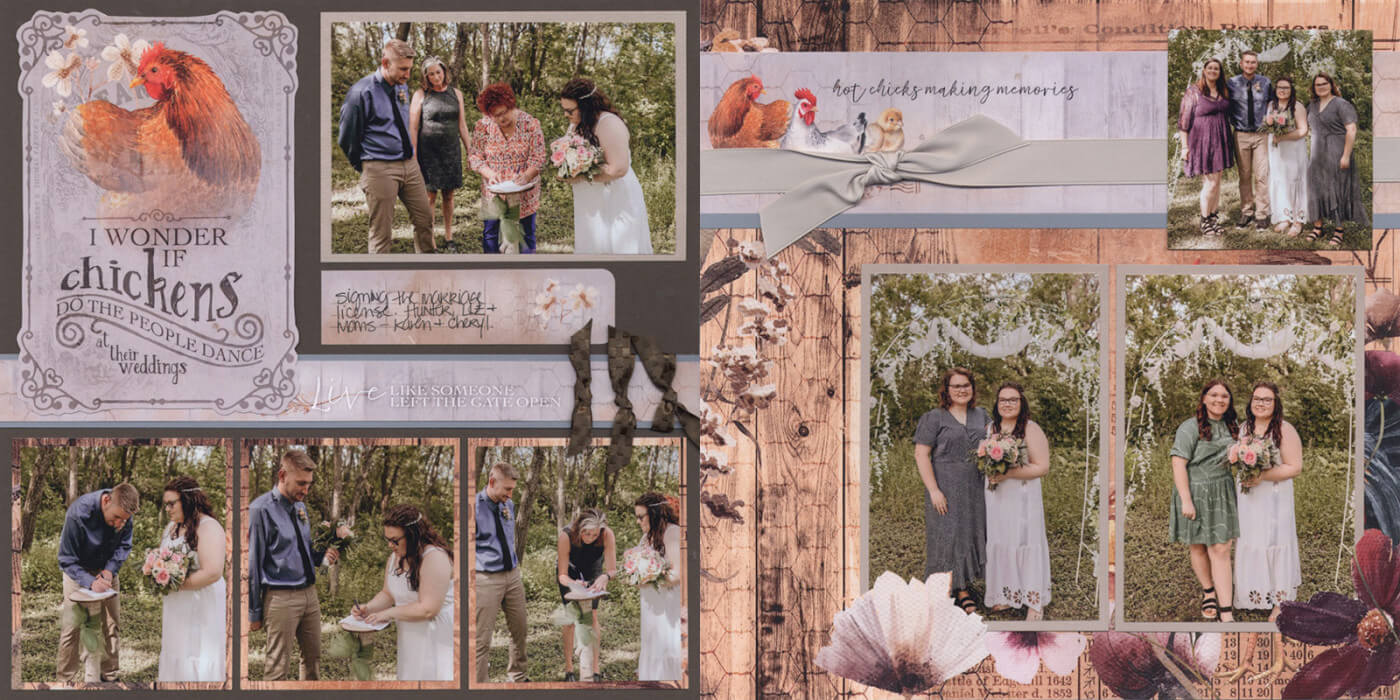
Naturally, this Cutapart sentiment inspired to scrap some of my son's wedding photos. I made very minor changes to Page 3. However, due to the number of vertical photos, I had to do a bit of rearranging on Page 4.
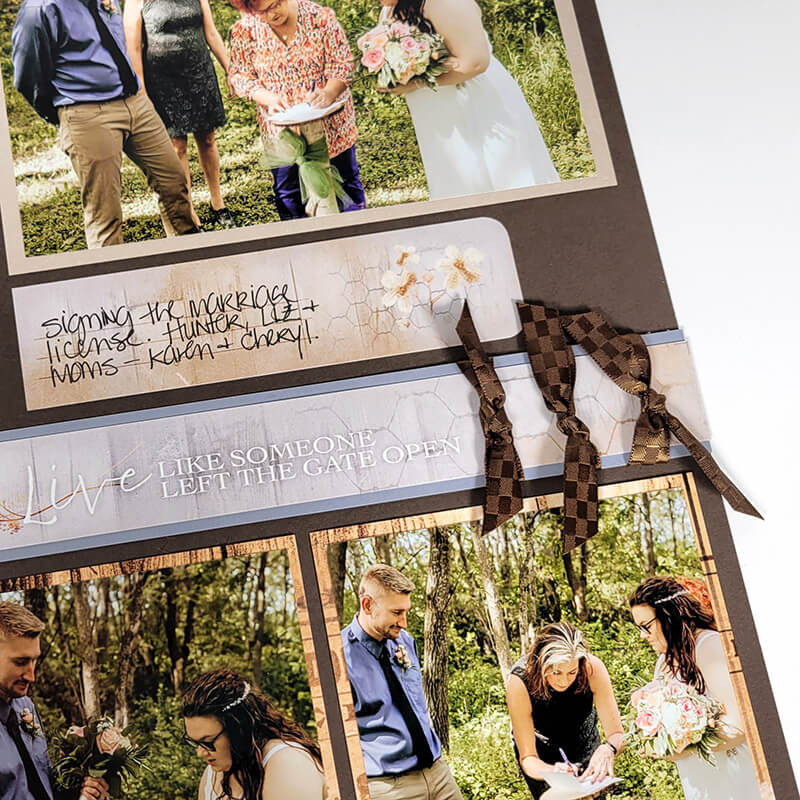
I used a different style of ribbon treatment on the sentiment border strip.
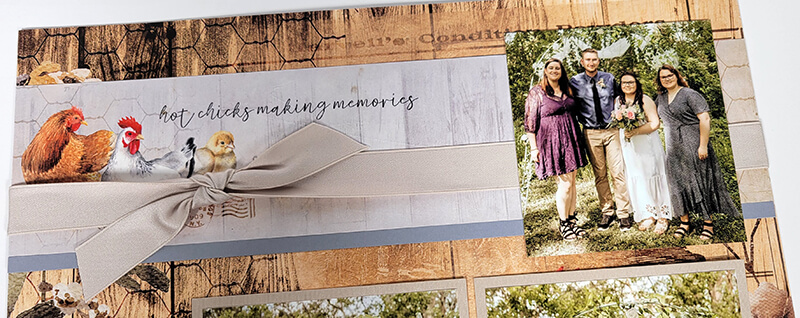
Tie a length of taupe metallic ribbon across the Cutapart border strip at the top of the page. Crop an extra photo to fit the space to the right of the sentiment. (Use your 8x8 Grid Ruler to ensure proper sizing.)
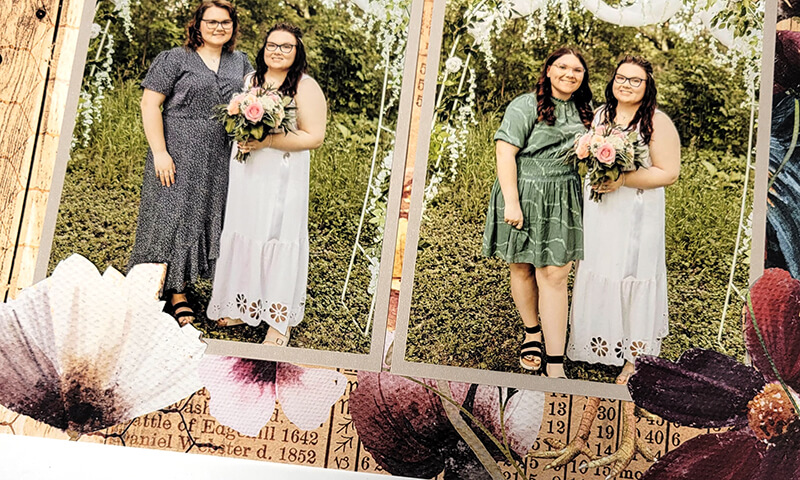
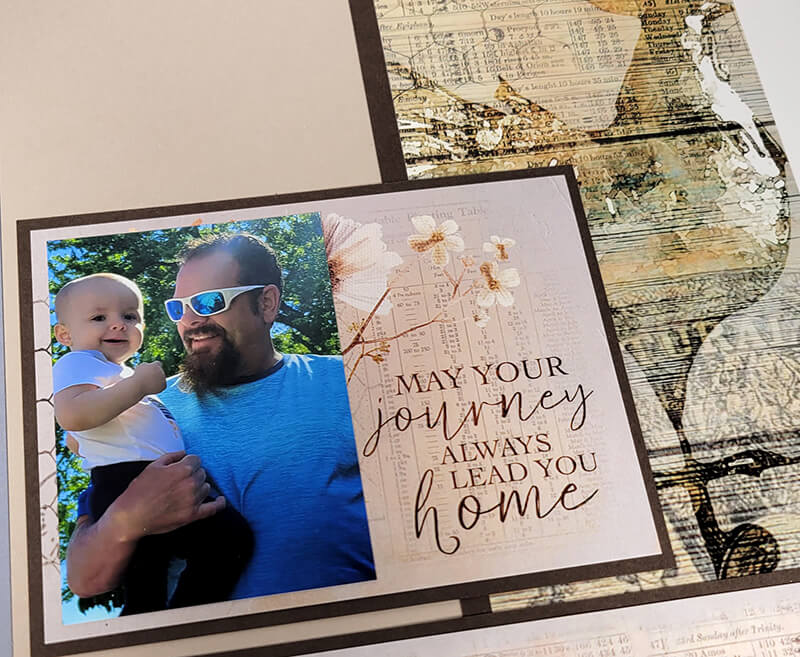
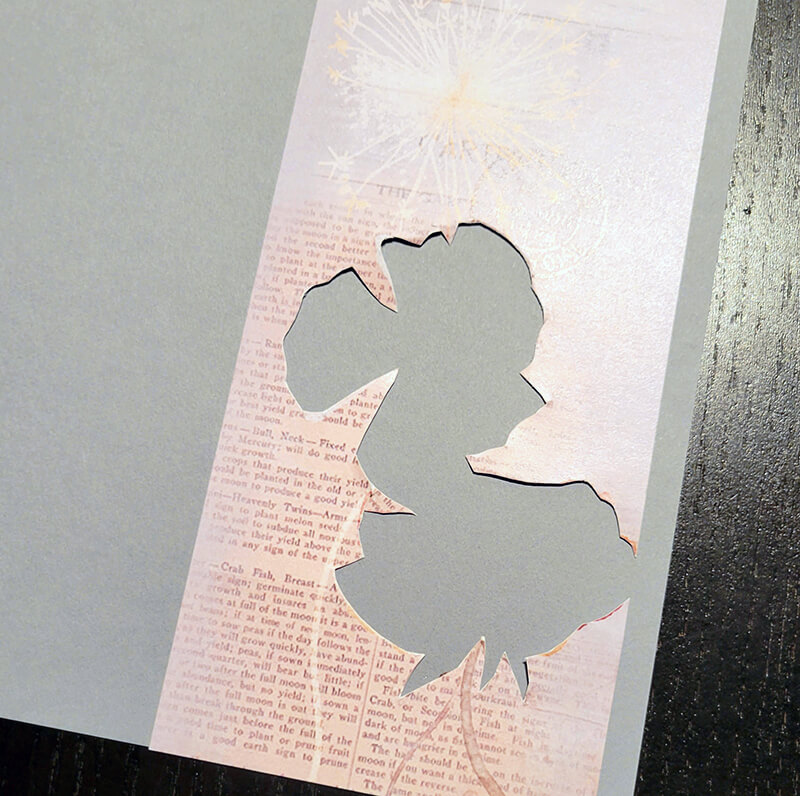
Since I was scrapping wedding photos, I didn't want to cover the gorgeous florals at the bottom of the page. A bit of craft knife "magic" brings select petals into the foreground.
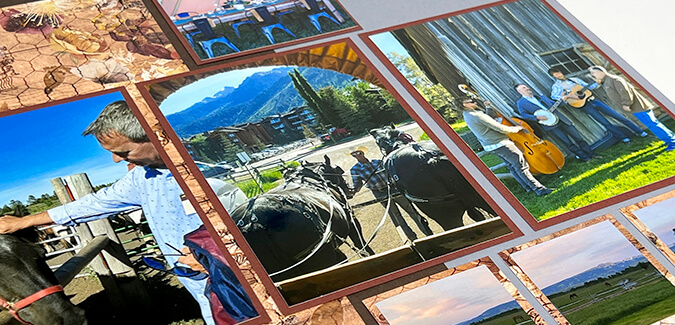
Layout 5 & 6
Again, only minor adaptations were needed on this spread featuring photos of a visit from a special little guy.
In lieu of a single horizontal photo, crop two vertical photos to fit the same space. (In this case, crop one at 3x3.75 and the other at 2.75x3.75".)
Replace the rooster Cutapart with fussy-cut flowers. Where did the flowers come from?
Before assembling the page, remove the flowers from the "Happy Place" Cutapart strip. Don't worry, a slight shift in the placement of the mini seed packet disguises any evidence of the missing artwork.
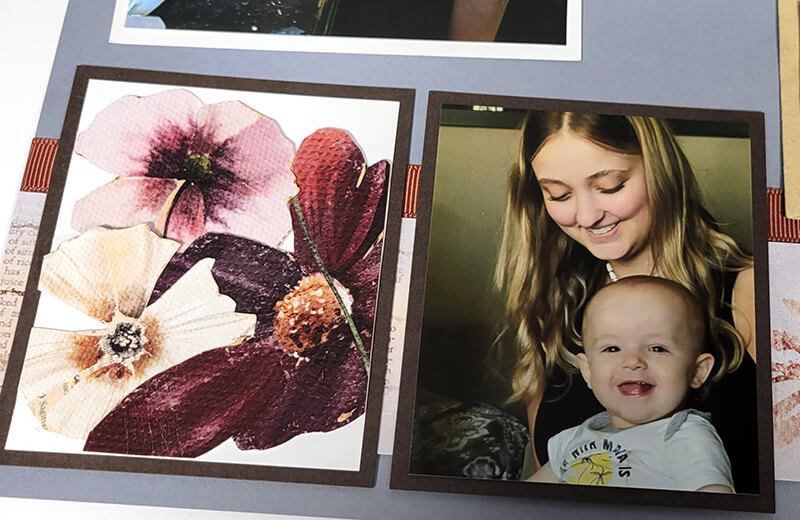
Create a collage of scanned, printed, and fussy-cut flowers to grace one of the small brown mats at the bottom of the page.
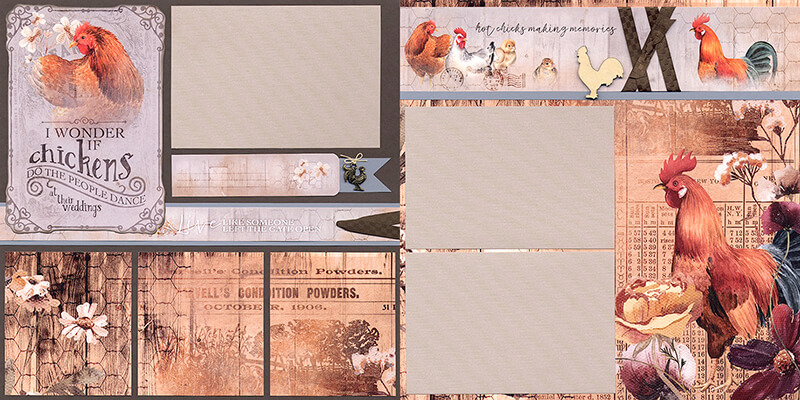
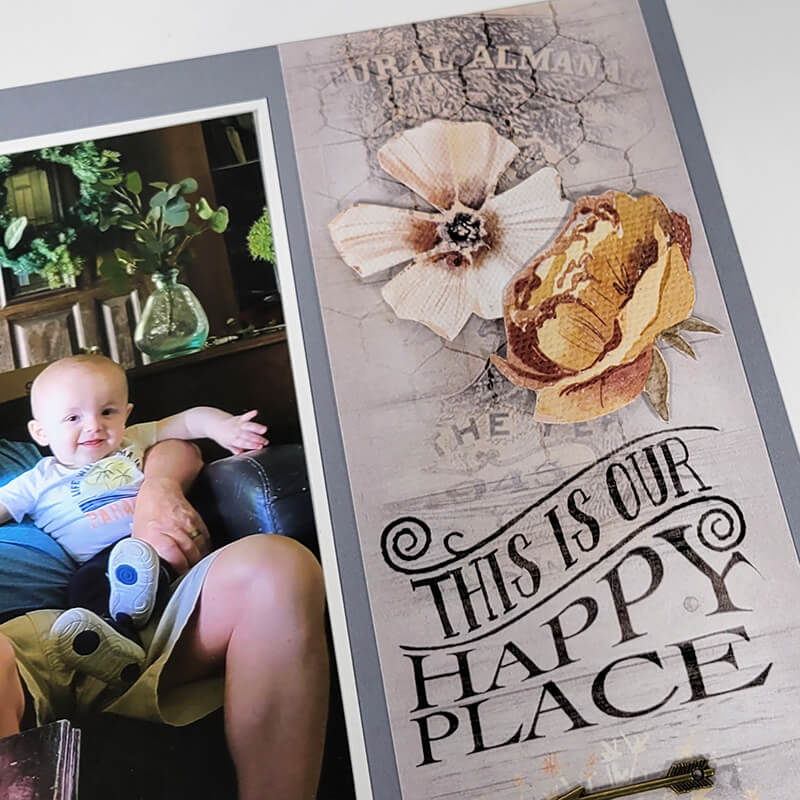
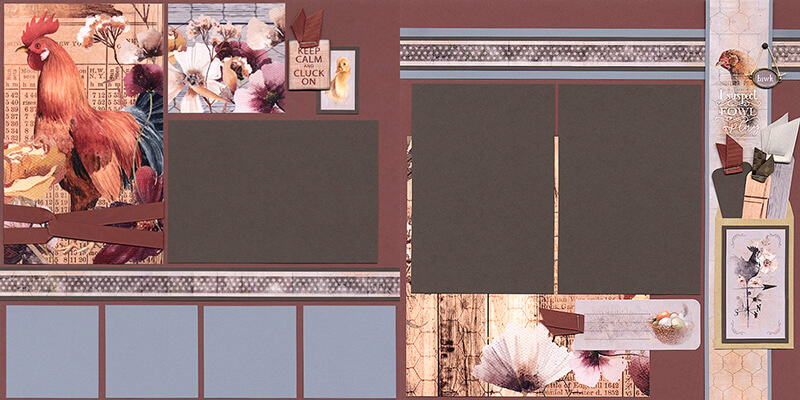
Layout 7 & 8
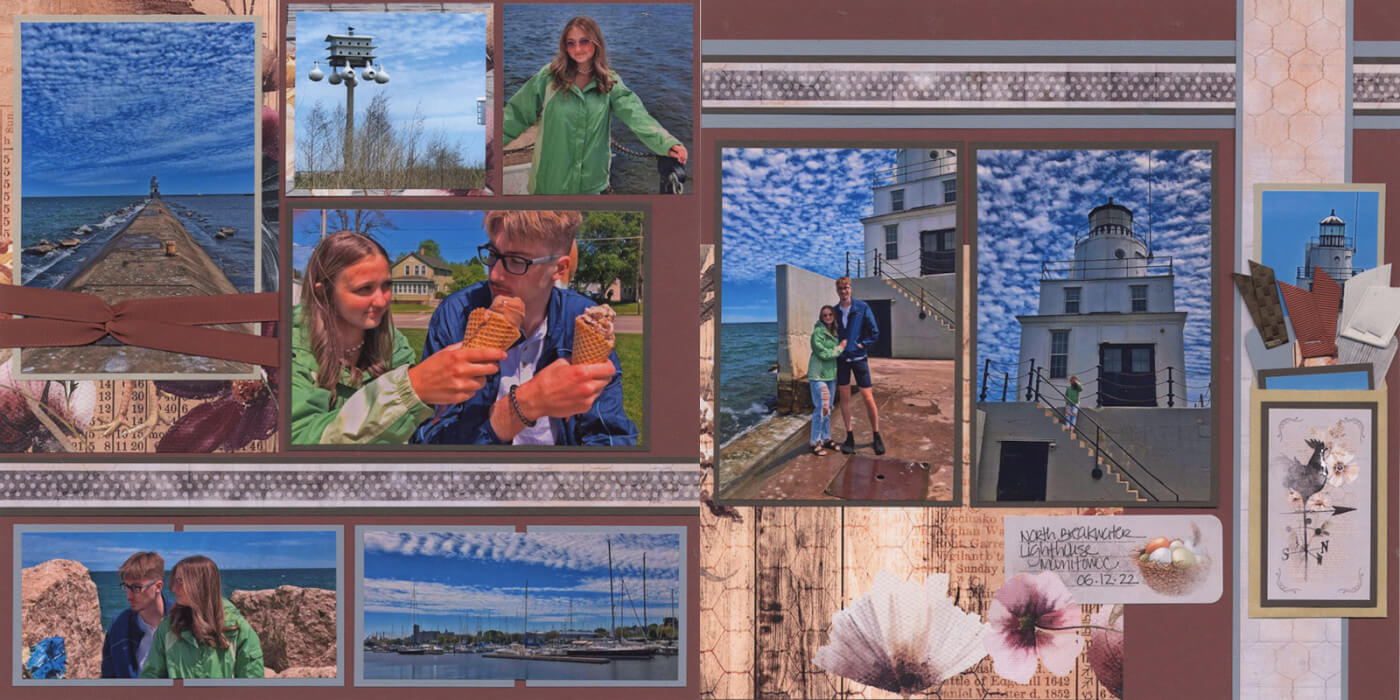
The colors in these photos of my son and his girlfriend are a perfect match for the Roost palette.
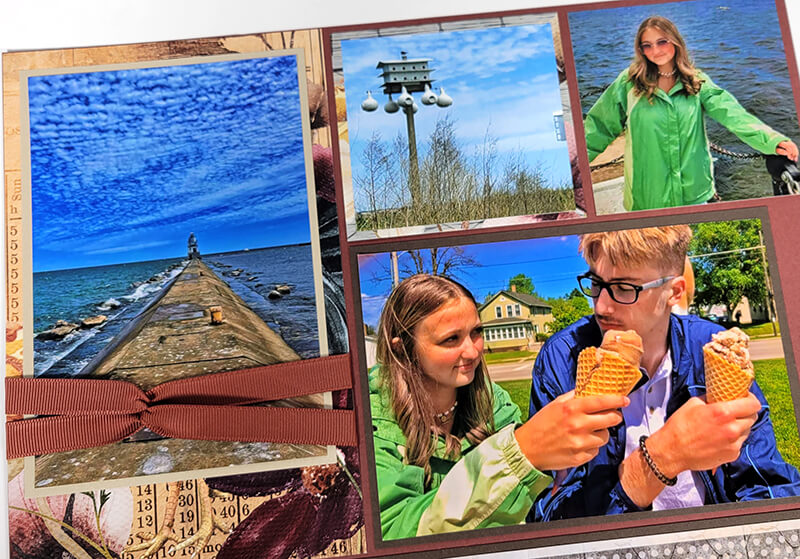
Have extra photos? Grab your handy Roost Pack of Panels! Use one to mat a vertical photo; adhere it to the large be-ribboned section of Rooster Print. Crop another photo to fit the open space in the upper right corner of Page 7.
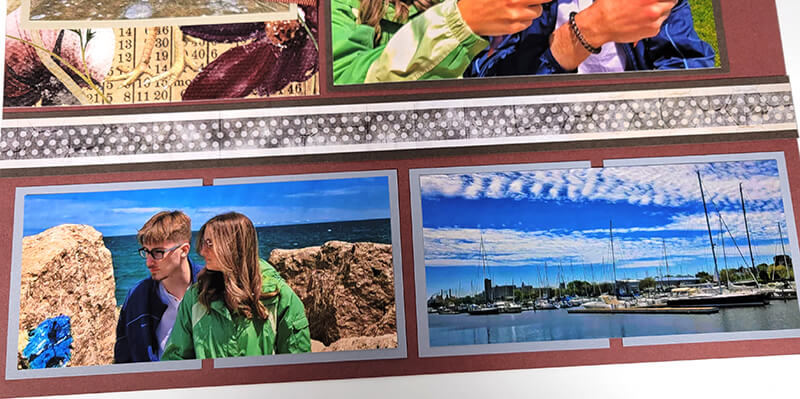
Across the bottom of the page, crop horizontal photos to stretch across two mats each.
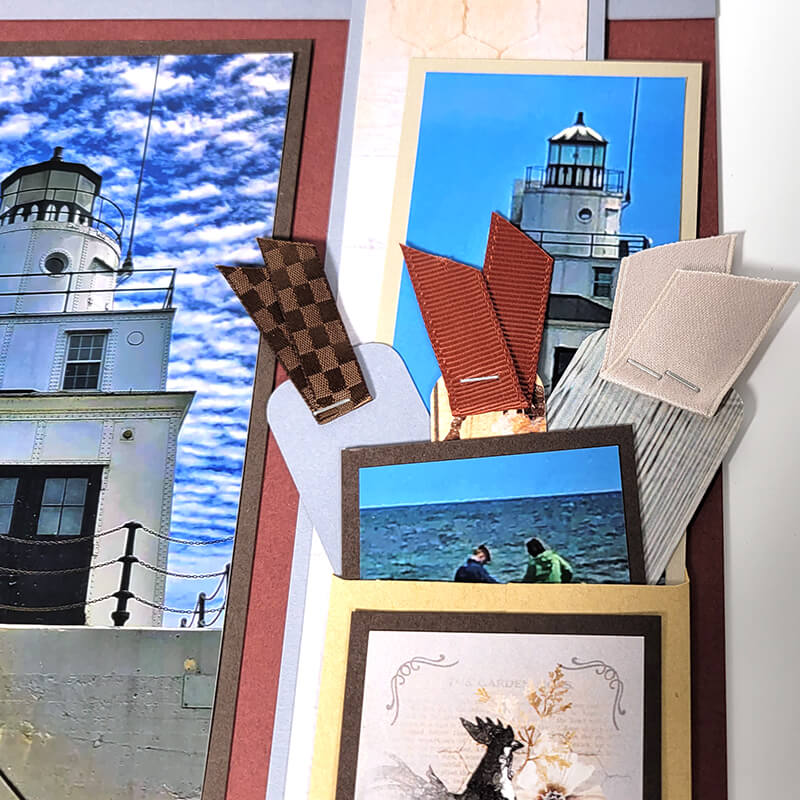
On page 8, rotate the Cutapart strip 180 degrees to "hide" the sentiment. Tuck additional small-scale photos into the mini seed packet along with the "scrap" tags.
And there you have it: Photos from a parade, a wedding, hanging with friends, and a visit to a lighthouse scrapped on a single kit. I hope I've inspired you to "think outside the chicken coop" on this one. Be sure to share your finished pages, cards or other projects featuring the Roost collection on our Club Scrap Chat group on Facebook.
Happy scrapping!