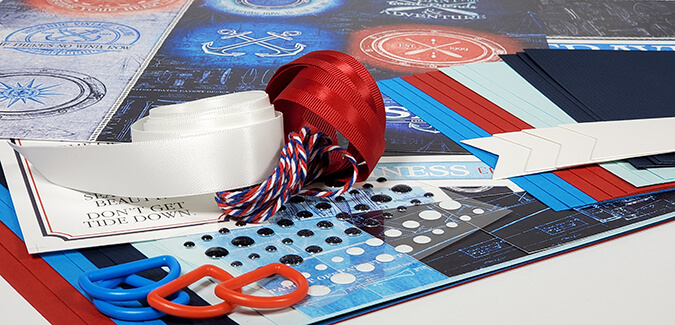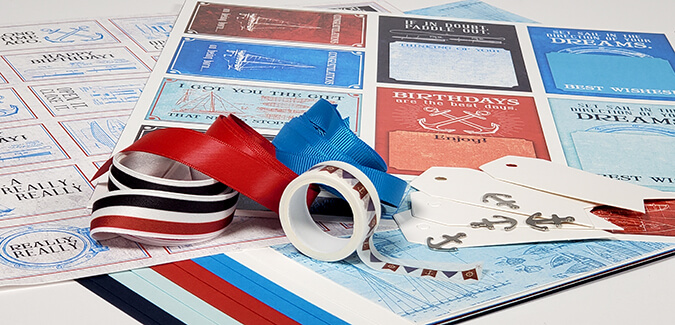

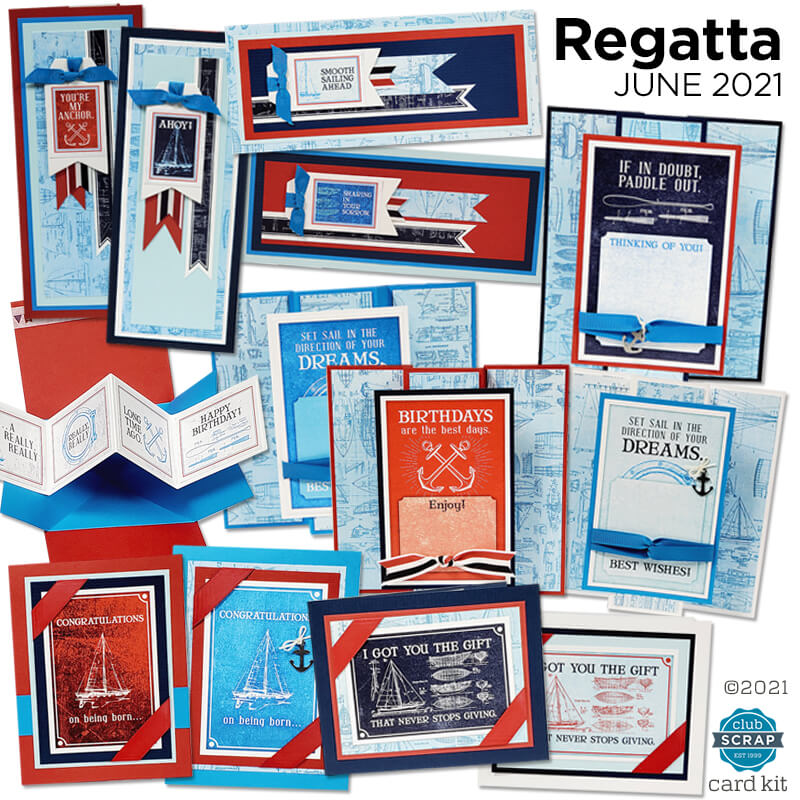
You'll have as much fun making this set of twelve Regatta cards as the recipients will have receiving them!
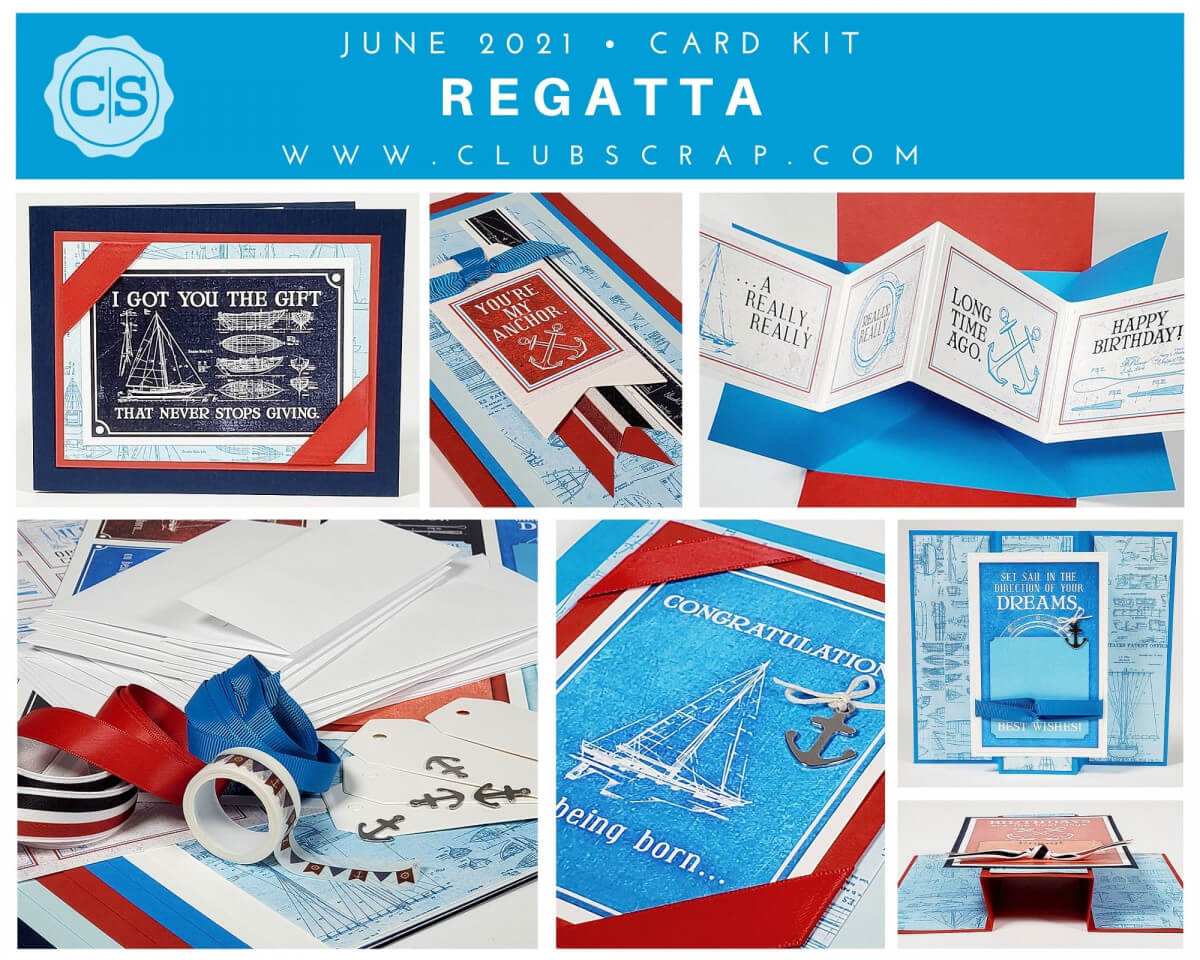
While our card kits always include printed cutaparts mapped to perfectly fit on the twelve card bases and mats, you can always trim them as planned and flip to the plain side to stamp anything you wish!
Let's take a closer look at each card style you'll explore in June . . .
Set A - 4.25x5.5"
Start by making a set of four interactive "explosion" cards. The sentiment pairings will be sure to make the recipient chuckle!

If you've never made an explosion card like this, join me on the workshop video for detailed instructions. I've broken it down into very simple steps, and I'll guide you through each one. The printable instructions include photo steps, as well, so you can keep them handy when you want to create more explosion cards.

Add strips of nautical washi tape to the inside of the cards for a little extra zing.

Set B - 4.5x6.25" Stand-up Cards

This clever stand-up card style is created by simply adding four score lines and creasing them to create two valley folds and two mountain folds. The card flattens perfectly for mailing, and the sentiment is adhered to the center column.

Adorn the remaining cards with the set with the super-thin anchor charms and ribbon we've included in the kit.

Set C - 3.5x8.5" Slimline Cards

In this month's trimming instructions, you'll find the recipe for another fun slimline card style. This one includes plentiful nesting panels finished with a decorated banner tag and assorted scraps remaining after the trimming process. Cut a chevron into the end of the strips, and match the style with ribbon to finish it beautifully.

Follow through by adding more strips on the inside of the card to anchor the sentiments. The inside of each card is shown in the instructions and on the video, if you're looking for inspiration!

I hope you have fun with this month's Regatta cards and that you continue to build on and expand your skills as we navigate our craft together!
'Til next time . . .
Tricia