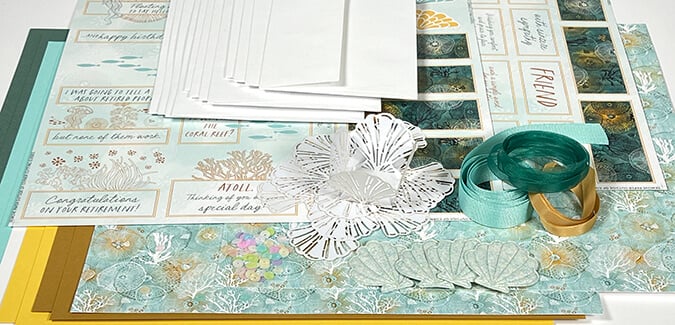
Each Club Scrap bonus formula makes it easy to transform your paper stash into completed layouts. So much more than a page sketch, we provide step by step trimming and assembly instructions to create a two-page spread. Just add photos!
Members: Have you downloaded your April Bonus Formula yet? If you're not using this valuable membership benefit, I encourage you to give it a try!
Not sure where to find it? Check your inbox for your monthly member-exclusive email with important links to the page formula, instructions, video tutorials and more. It is sent to active members* on their scheduled shipping day and looks like this:

*An active member is defined as one who paid for and received the current monthly kit.
April Bonus Formula
Layout Sketch
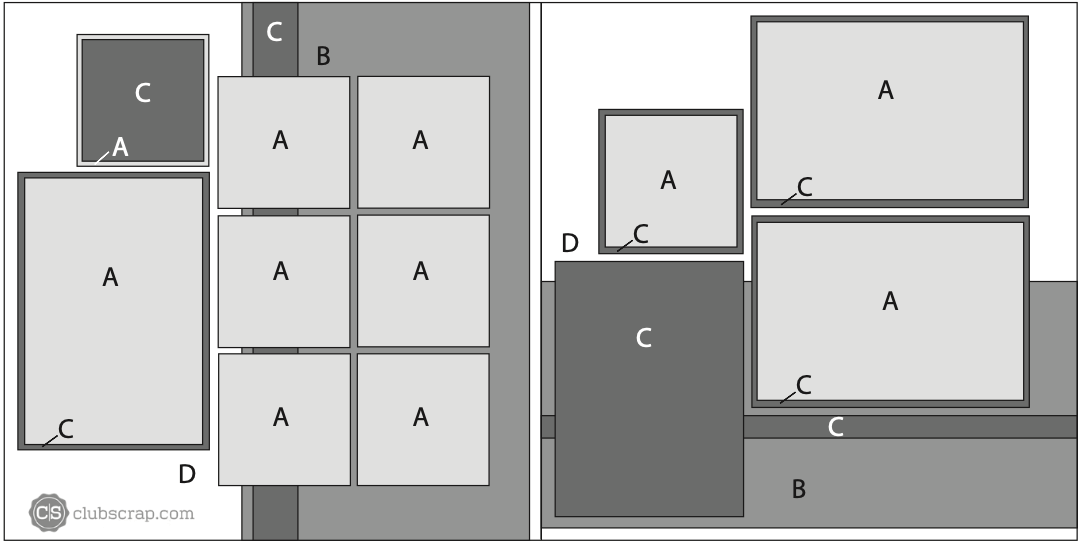
Create a well-balanced two-page spread to showcase a minimum of twelve photos. To make the layout, gather five coordinating 12x12 papers. Follow the trimming instructions on the printable document, then assemble the pages using the sketch as a reference.
Have you noticed the updates Tricia made to the document? It's never been easier to follow the step-by-step instructions!
April Bonus Pages - Before Photos
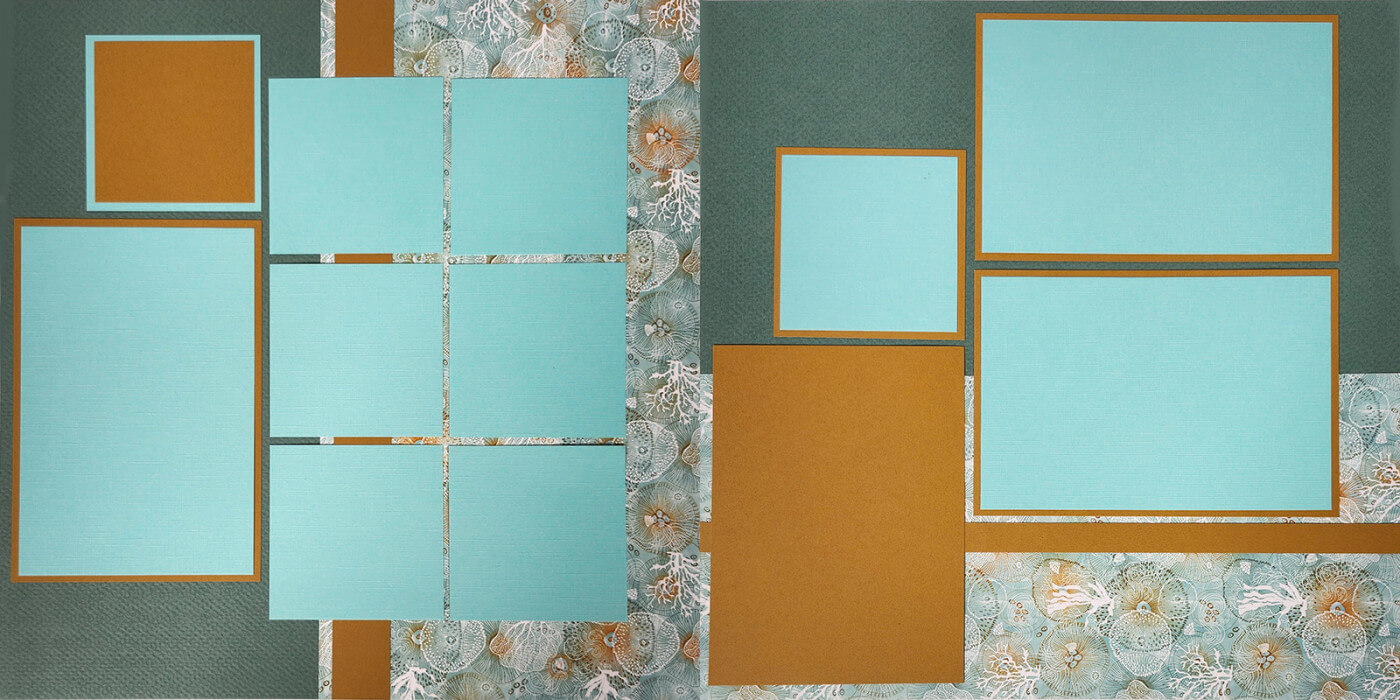
To replicate my layout, gather the following Reef papers: Seafoam (Paper A), Card Print (B), Gold (Paper C) and two Green (Paper D).
Completed Reef Bonus Layout
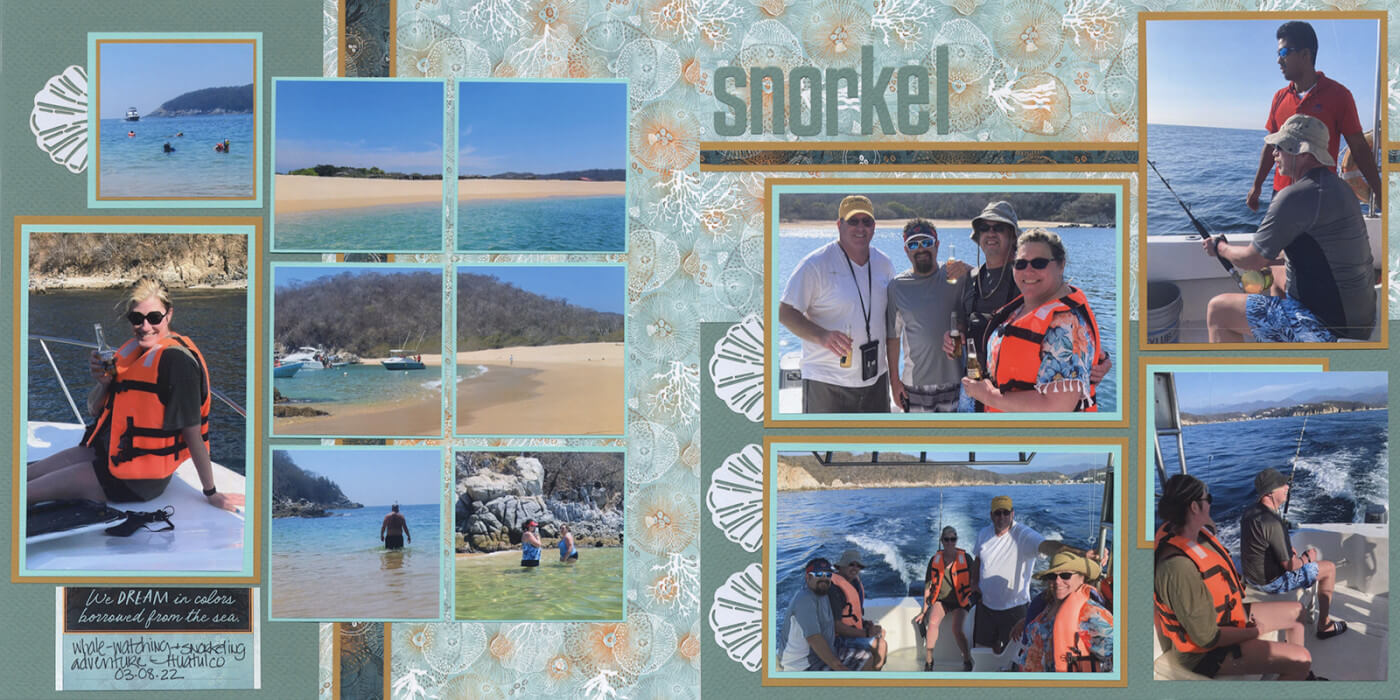
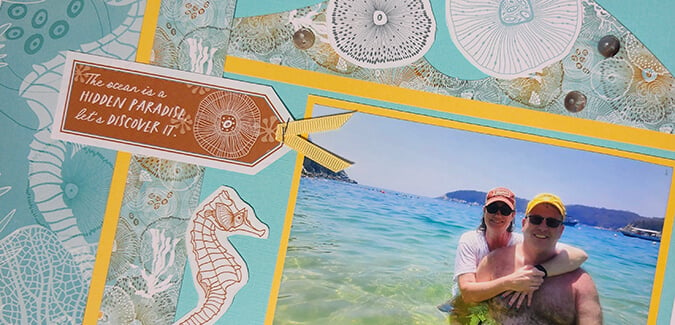
This layout features photos from a whale-watching and snorkeling adventure in Huatulco, Mexico. The shades of the sea and sand coordinate perfectly with the Reef color palette.
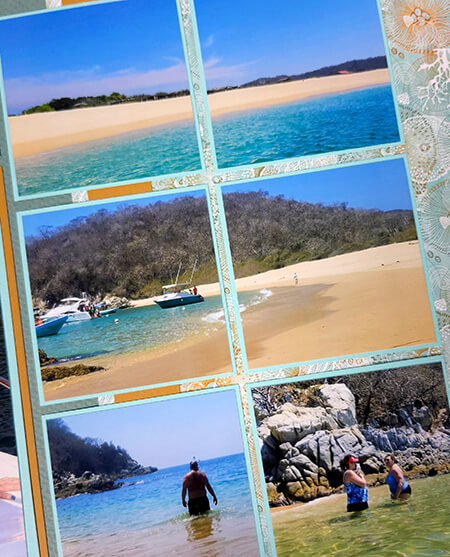
Maximize the size of the square photos by trimming them to 2-7/8, rather than 2-3/4". Crop individual photos, or trim 4x6 photos into "pairs" to fit the mats.

A Laser Cut Shell tucks underneath the square mat in the corner.
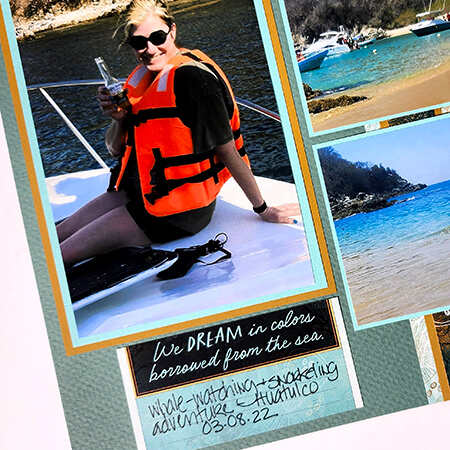
Trim the sentiment/journaling combo portion from the border strip cutapart (Page Cutaparts); add to the bottom of the page.

There are so many ways to make these layouts your own, even after the main page elements are assembled and adhered. Rotate the right page 180 degrees from that shown in the sketch. Doing so orients the border strip at the top of the page - a perfect place for a page title created by pairing the Pack of Panels with alphabet dies.
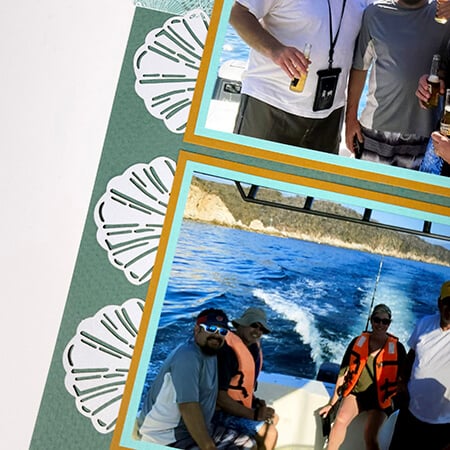
Adding the Laser Cut Shells on both the left and right pages creates balance. Embellish the right page with a trio of shells tucked underneath the left edge of the horizontal mats.
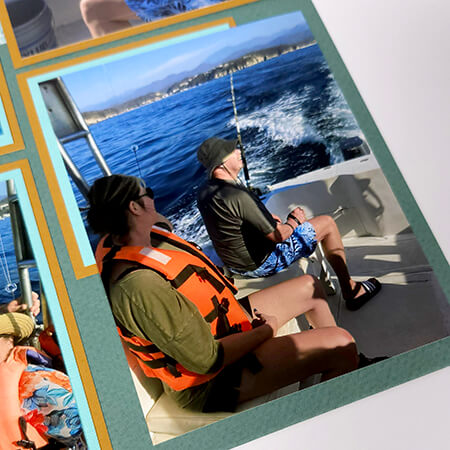
Crop a photo to 4x5.25" to fit perfectly into the lower right corner, using the nested square mats as an anchor.
Club Scrap's clever formulas are designed to help you make even more scrapbook pages utilizing paper and supplies you already own.
Have you scrapped any of your 2024 Page Formulas yet? If so, inspire others by sharing your work on the Club Scrap Chat Facebook group.
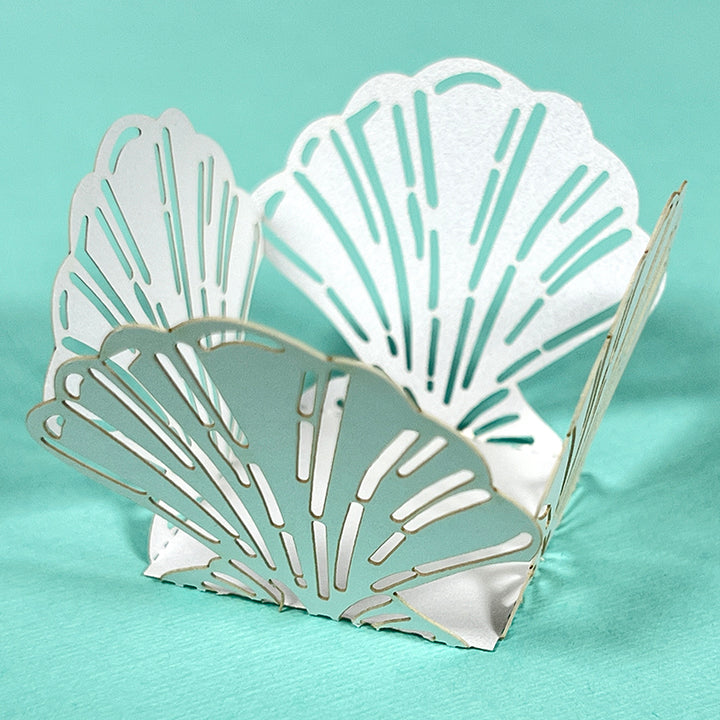
Reef Laser Cut Shells
$3.95
Package of four 4-part White Pearl laser cut shells. Trim into four separate pieces to embellish your cards, pages and other projects.… Read More
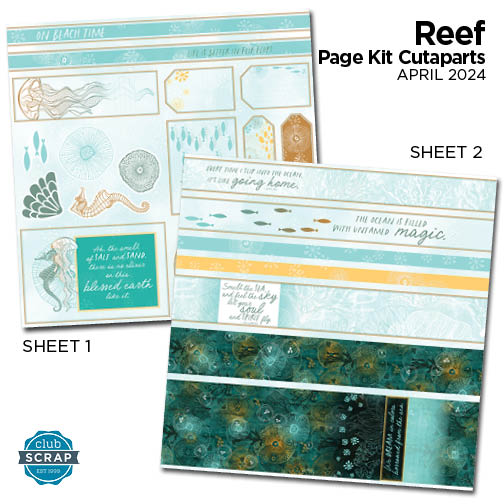
Reef Page Cutaparts
$3.30
Easy-to-use, non-bulky embellishments for your scrapbook pages, cards and other projects. Beautiful artwork and meaningful phrases are printed onto cover stock. Simply trim for a lovely assortment of decorative elements. Includes: (2) 12x12 Printed Cutapart Sheets: 1 each of 2… Read More

