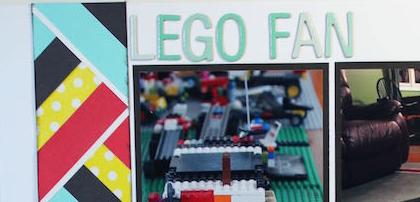
Turn your paper scraps into an eye-catching border for a scrapbook layout using this easy-to-follow quilting template.
1. Adhere four strips of 50s Kitchen plain papers and Sunny Polka Dot Washi Tape to scrap paper with ATG adhesive.
2. Cut into squares.
3. Trim each of the squares in half diagonally, alternating the direction of the cuts each time as illustrated in this diagram.
4. Cut Staples brand sticker paper into 1/8" strips.
5. Adhere the triangles to a 3x12" black border strip. Separate each triangle with the 1/8" sticker strip.
6. Trim off overhanging triangles and sticker paper ribbons from the black paper backing.
7. Create a layout with the quilted border strip.
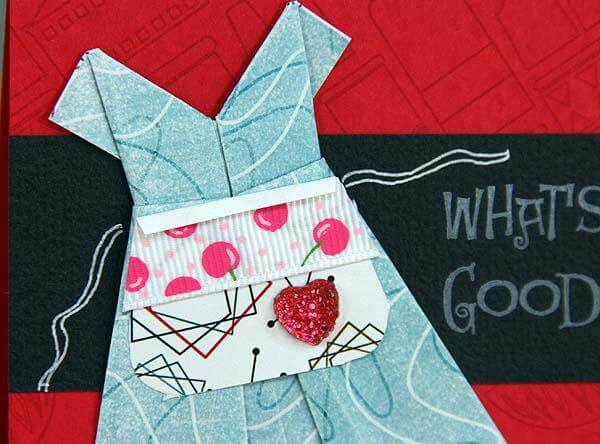
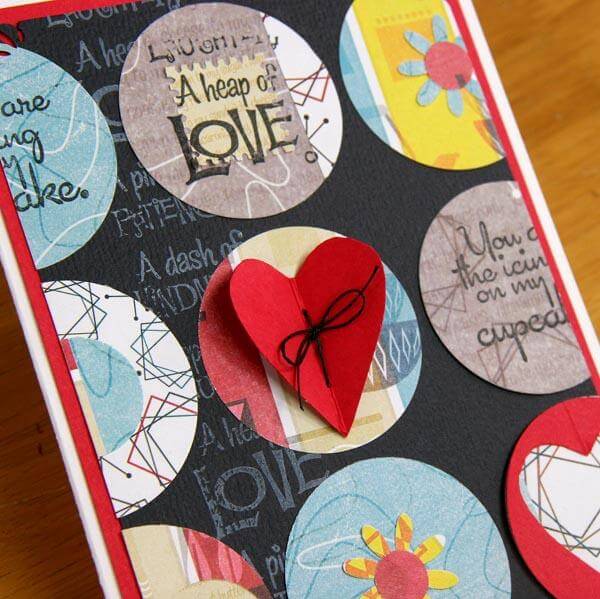
I would love it if you shared your "quilted" creations with me on the Forum. Upload your artwork to the gallery and then post it to my Quilt Card thread HERE. Check out these previous posts on quilt-inspired artwork.
Quilt Inspired Cards (Carpet Tape Chronicles Revisited)


