Create a beautiful card with the richly detailed Peony blossom stamp. Simple masking and coloring techniques make the flower come to life.
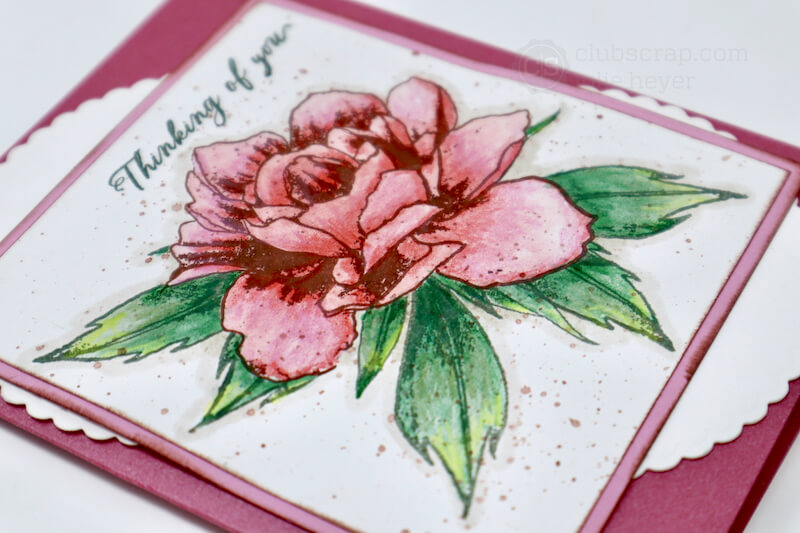
Peony Blossom Card
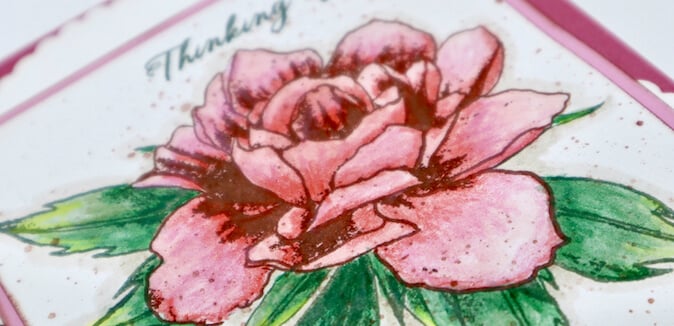
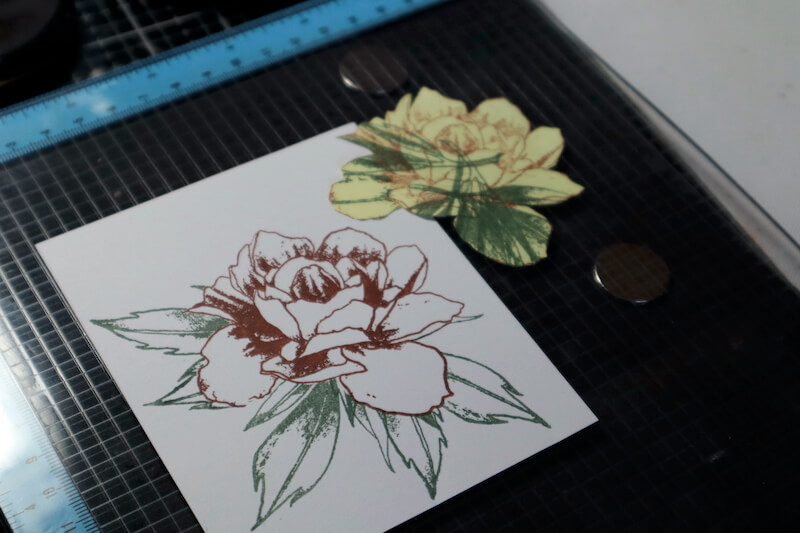
Stamp the large blossom image on a Post-It note. Fussy cut the flower to create a mask and set aside. Stamp the same flower onto a white watercolor panel in Mahogany Ink. Lay the mask over the image and stamp leaves over the mask with Spruce Ink. Be sure to check out Tricia's vintage video tutorial, circa 2011, for lots of tips and tricks!
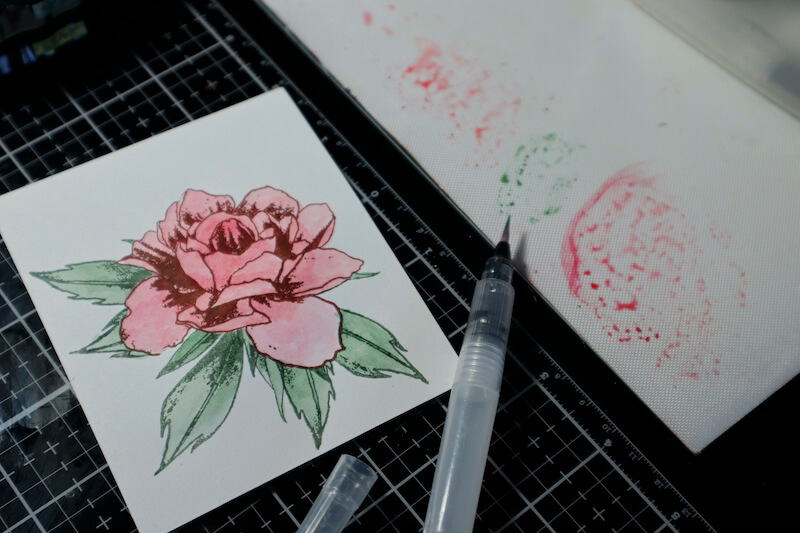
Scribble a variety of Distress Crayons onto a nonstick craft sheet. Pick up the colors with a waterbrush and paint the image. Allow the panel to dry completely and then proceed to the next step.
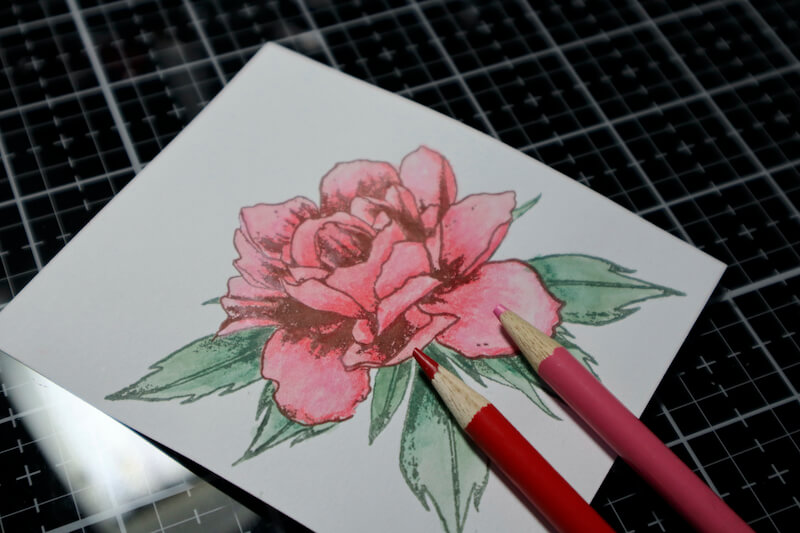
Continue to add color to the image with pencils in coordinating colors to create depth in the layers of the petals and leaves.
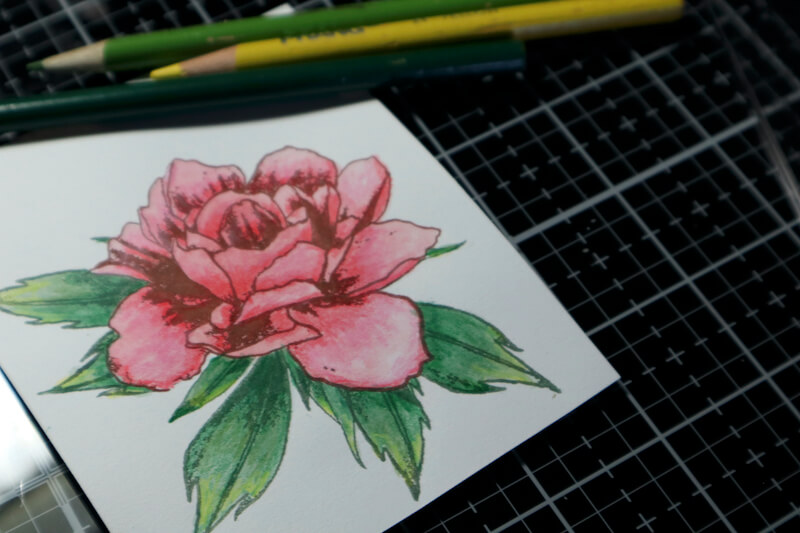
Trace around the perimeter of the flower and leaves with a light gray marker.
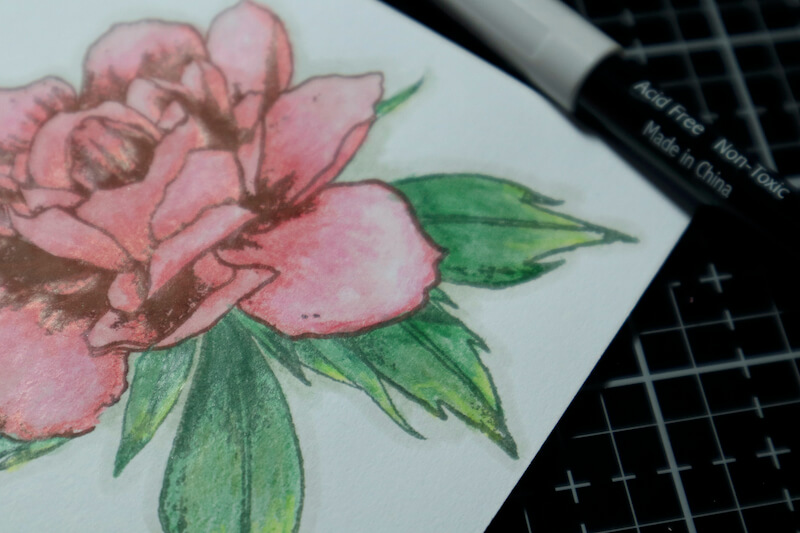
Swipe a bit of Mahogany Ink on a nonstick craft mat and spritz lightly with water.

Dip a splatter tool into the wet ink and speckle the blossom image with drops of color. Dry the image with a heat tool.

Layer the completed artwork onto a Lt. Pink panel. Trim a Scalloped Coaster in half and adhere to opposite corners of a Sparkle Pink card base.
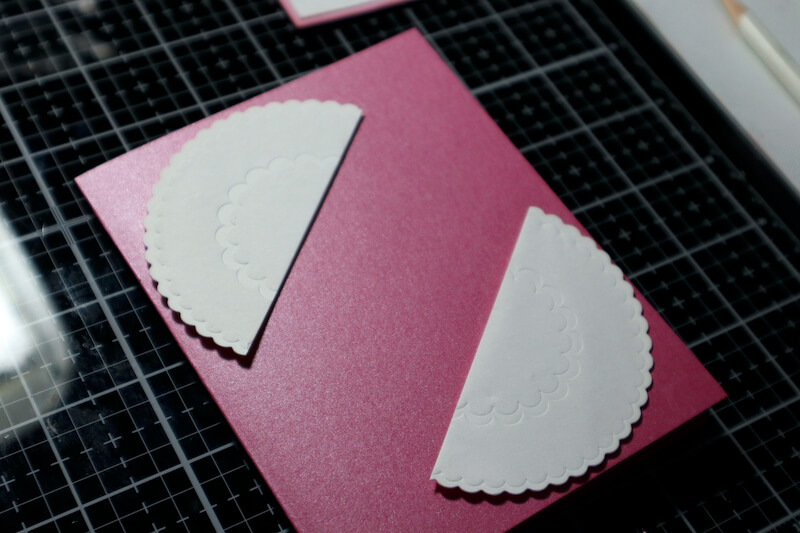
Add the artwork over the coasters and stamp a sentiment in Spruce Ink to complete the card.
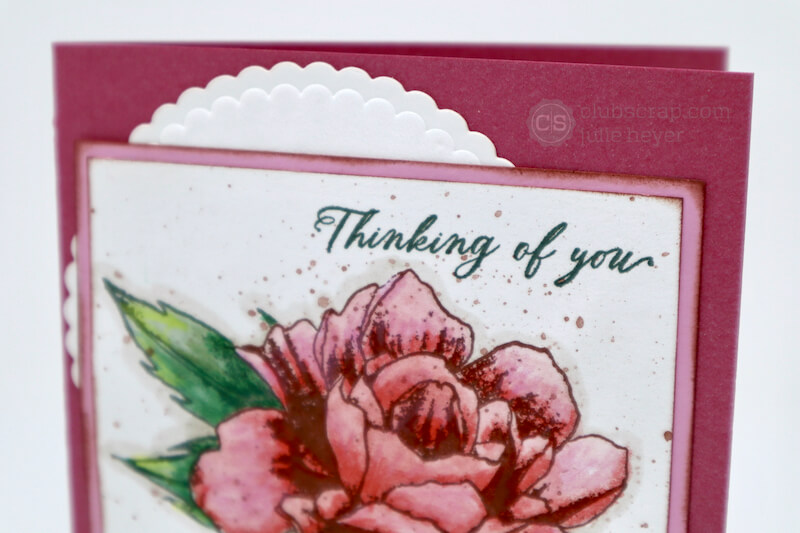
Let's take another look at the finished card.
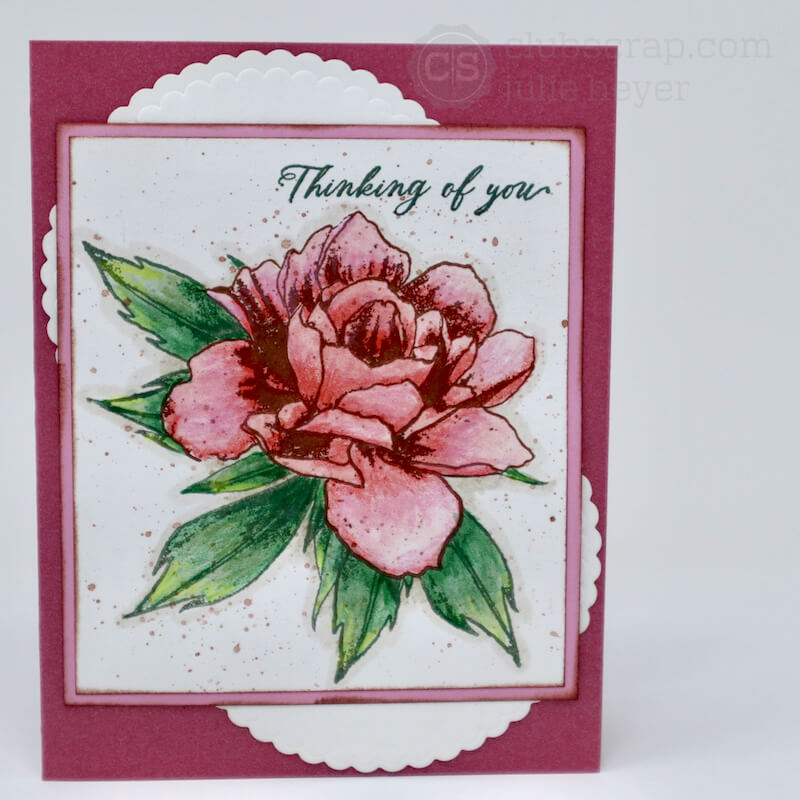
I just love how realistic the blossom images are in this month's Peony collection. I hope you will give some of these stamping techniques a try and share them with us on the Club Scrap Facebook Chat Group. Happy Stamping, Masking and Coloring!
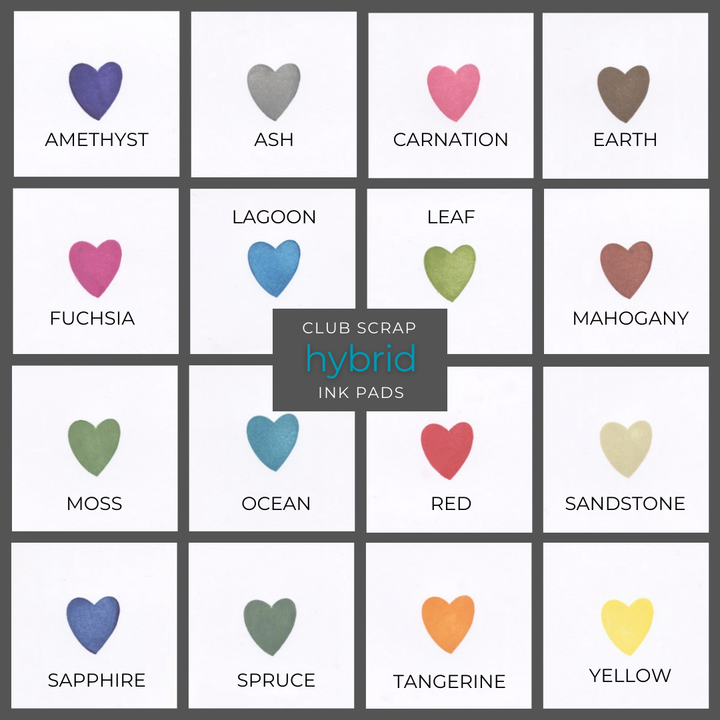
CS Hybrid Ink Pads
$6.35
Exclusively Club Scrap®, this hybrid craft ink combines the most exceptional ingredients of both pigments and dyes for a fine, crisp, fast-drying image! Don't forget to stock up on the coordinating re-inkers. Each ink pad sold separately. Please select the… Read More

