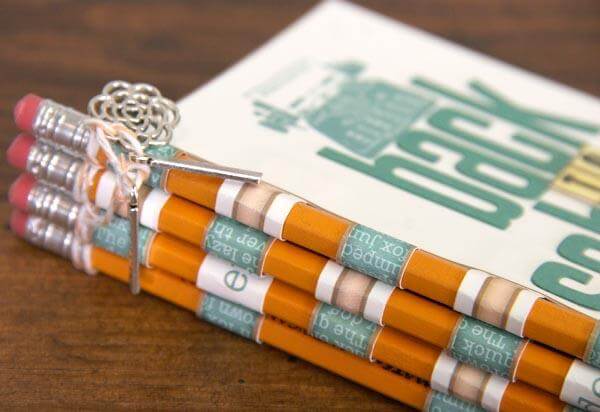
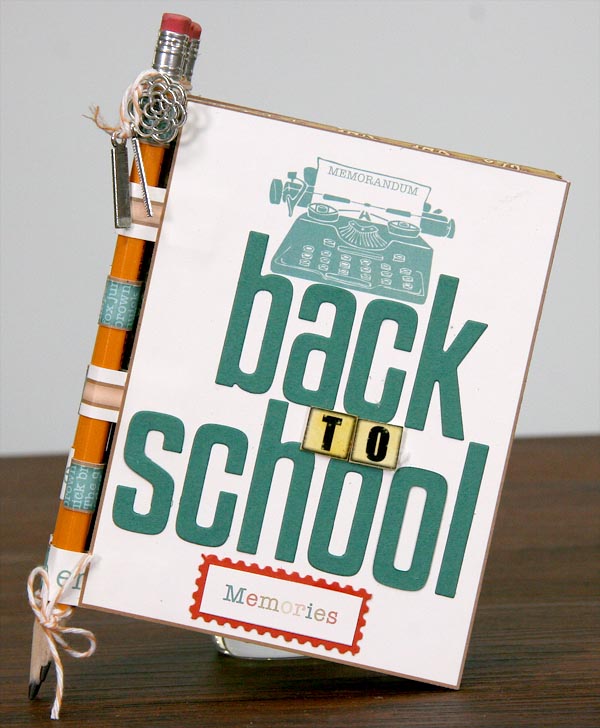
I'm so happy with how this Office Space "Back to School" project turned out!


To make one of your own pencil-bound books, gather the following supplies: (4) 3.75x5" Mat Boards (8) 3.75x5" Office Space Paper Panels (21) .5x3" Paper Strips Office Space Coral and White Twine (4) Pencils Assorted Silver Charms

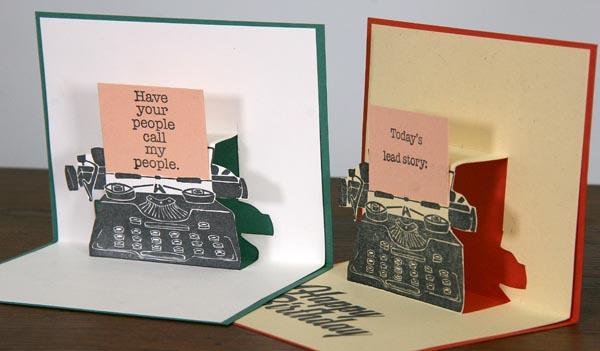
1. Trim the large Lite cutapart panel with the typewriter image to 3.75x5" and use for the outside front cover of the book.

2. Trim .5x3" strips from the Lite cutaparts.

3. Cut a total of (21) .5x3" strips, six each for three of the pages and three for the front cover.

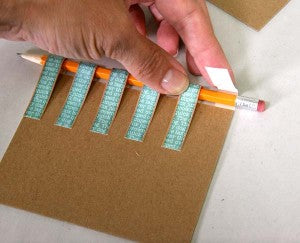
4. Identify the center of one long edge of a 3.75x5" mat board with a CS Grid Ruler. Distribute six equally-spaced strips onto the board and mark placement with a pencil.

5. Adhere the strips to the board, as shown.

6. Use the first mat board as a template for two additional boards.


7. For the mat board to be used as the front cover, attach only three strips in the first, third and fifth positions.

8. Your prepared mat boards should look like this . . .

9. Flip over a mat board and place a pencil onto the strips, resting against the edge of the board. Apply adhesive to the edges of the paper strips and wrap around the pencil.

10. Remove the pencil from the paper loops and repeat for the remaining three mat boards.

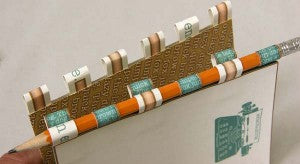
11. Adhere a paper panel to each side of the mat boards to conceal the edges of the strips.

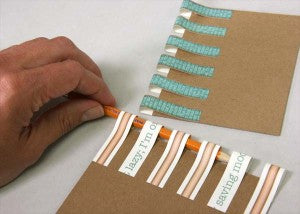
12. Place the cover next to a second page with the paper loops aligned. Thread a pencil onto the first loop of the second page, and weave through every other loop to the bottom.


13. Place a third page onto the stack.
14. Connect the pages by threading through the loops with a second pencil in the same manner.


15. Attach the fourth and final page with the third pencil.

16. Weave the fourth pencil through the three remaining paper loops.

17. Weave thread around the pencils at the top and bottom of the book to hold them in place and tie a knot.

18. Add a few silver charms to the thread tails at the top of the book.

19. Glue the threads to the pencils to prevent slipping.


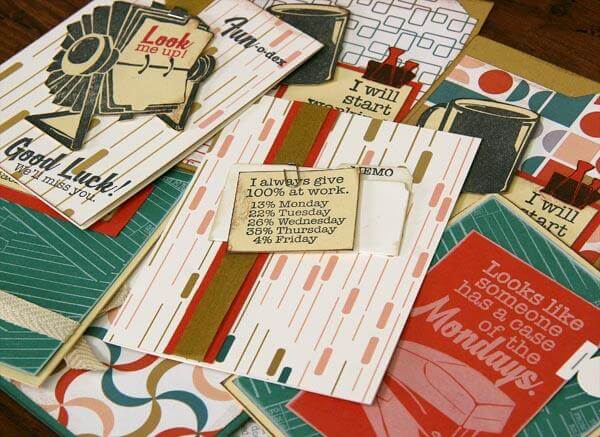
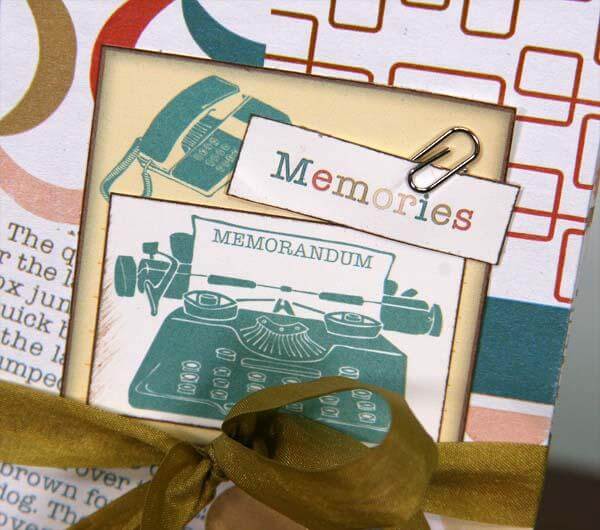
20. Decorate the cover and inside of the book with back-to-school memories!

Pencil some time into your crafting schedule to create this fun mini album. Don't forget to pick up your Office Space Lite kit!
Kay