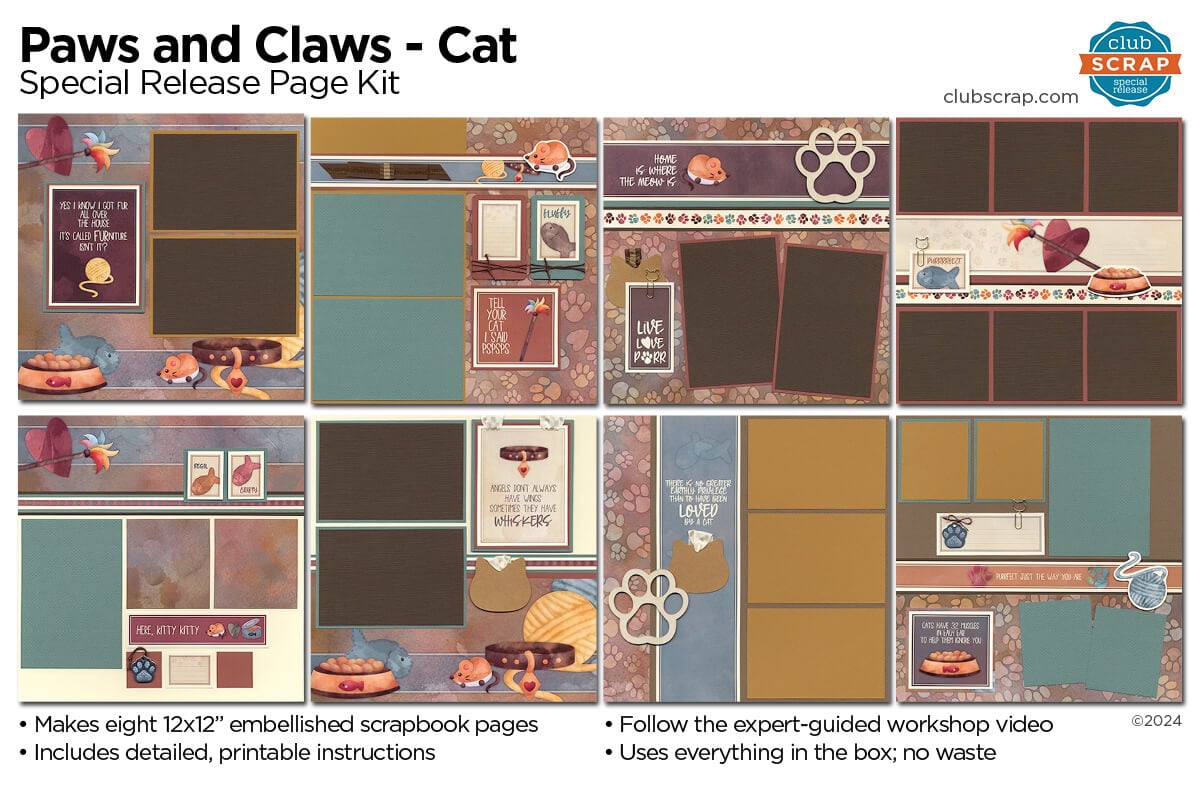
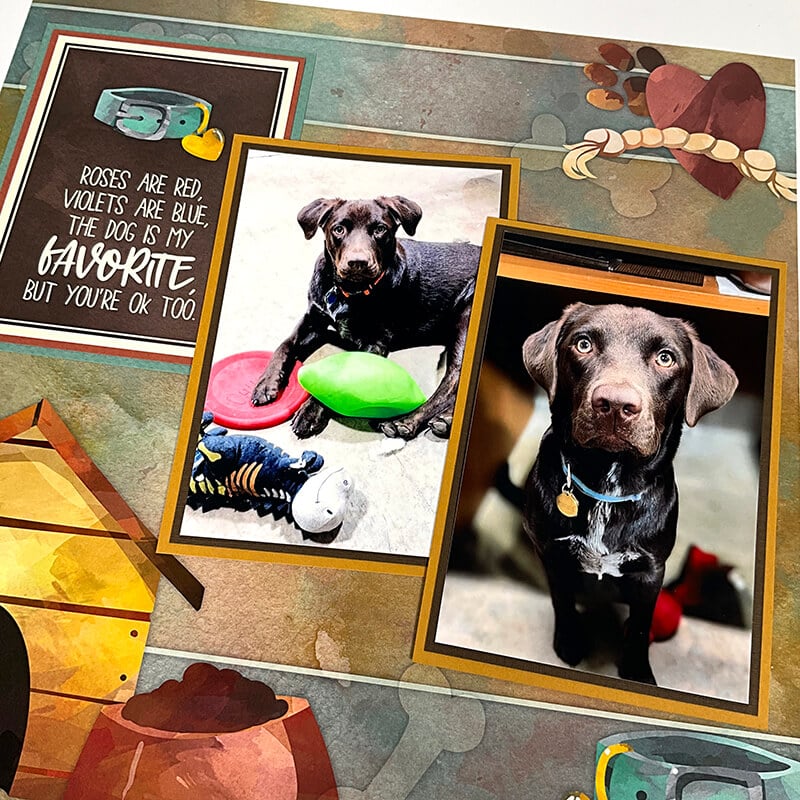
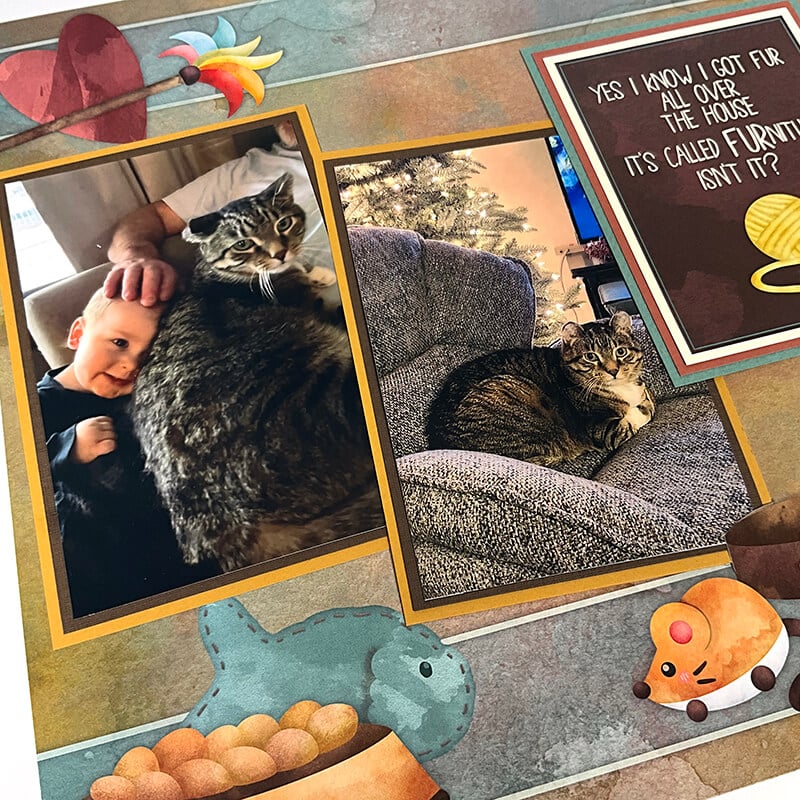
Capture memories of your favorite four-legged friends with our Paws and Claws - Cat and Paws and Claws - Dog Page Kits. Both charming collections feature an earthy palette paired with a mix of whimsical designs featuring hearts, paw prints and other adorable images synonymous with our furry friends and family members.
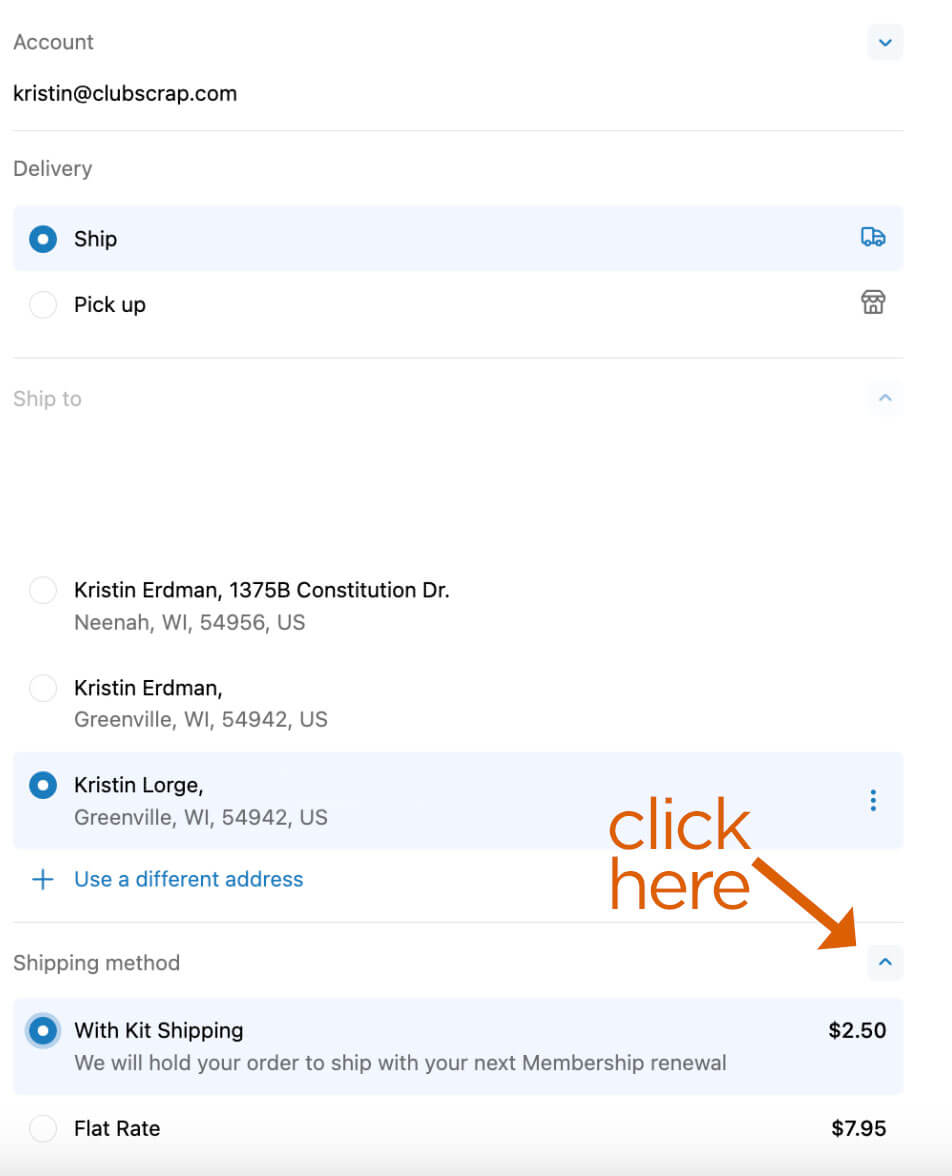
Members: This is a special release collection and will not ship automatically. If you'd like, you can choose "ship with my next kit" at checkout, and we'll be sure to include it in your next box. (Scroll to the bottom of this post for more information on how to choose your shipping preference.)
Paws and Claws - Cat Page Kit
Here's a quick visual tour of what you'll find in the collection.
Let's take a closer look at the eight pages you'll make when you follow the printable instructions included with purchase. In addition, I'll guide you through the assembly process. A link to my video workshop is provided in the instructions document.
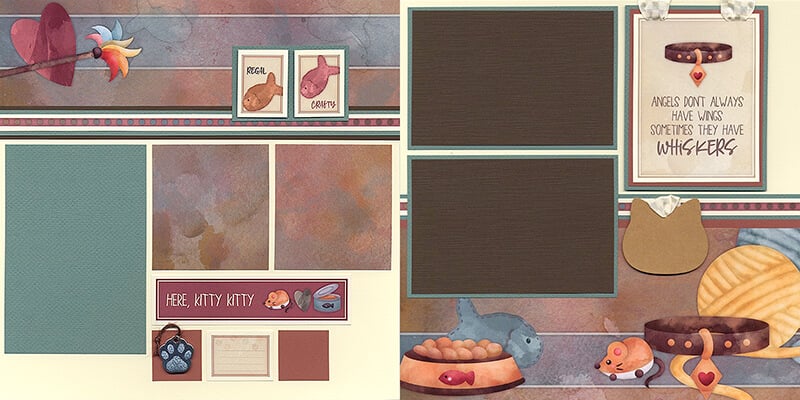
Layouts 1 & 2
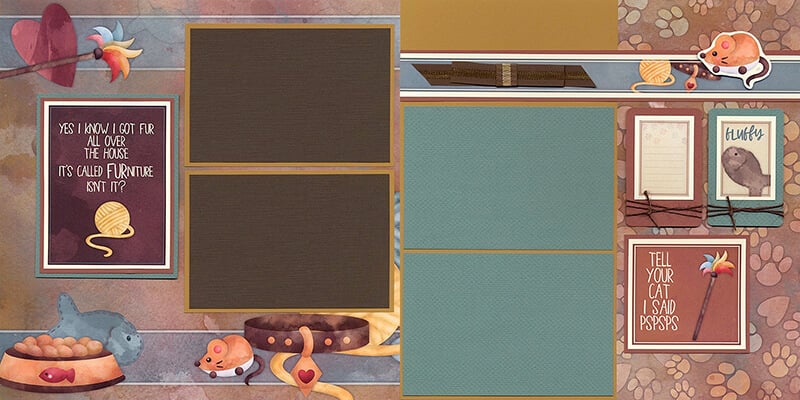
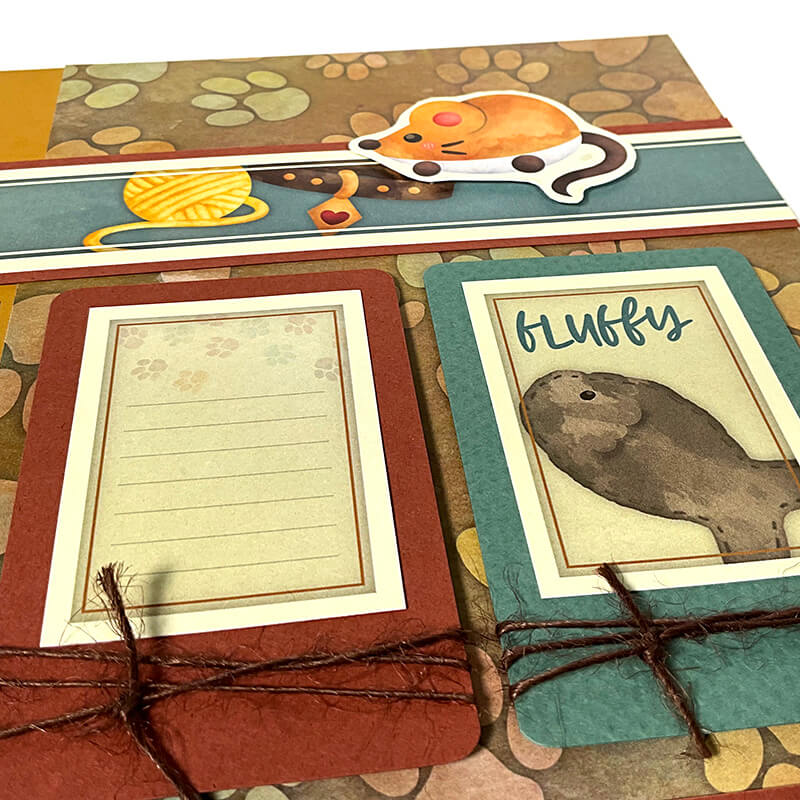
Round the corners of the rectangular papers with the smallest punch on our 3-in-1 Corner Rounder, add the cutaparts, and tie jute around the bottom portion of the element for a nice touch.
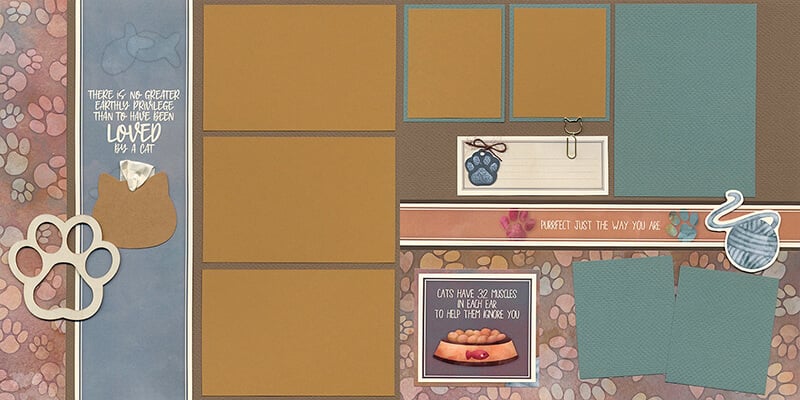
Layouts 3 & 4
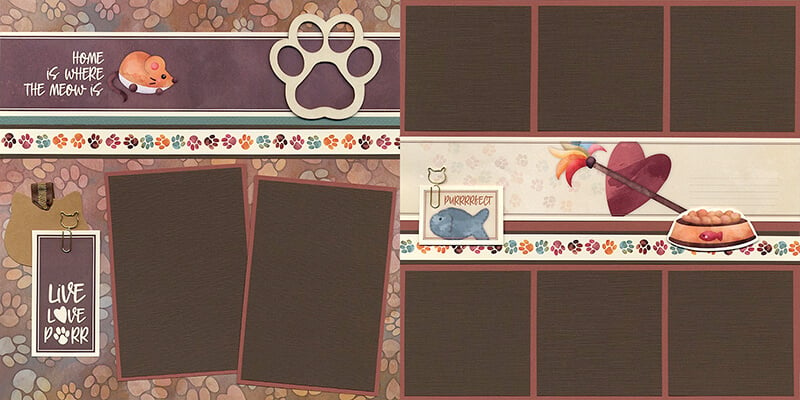
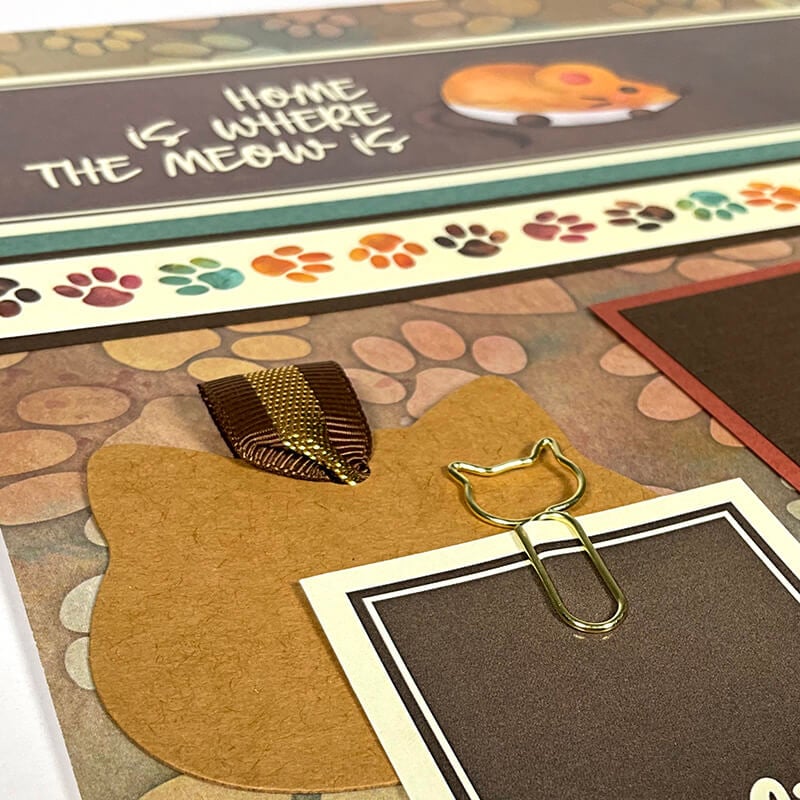
Top the cat-shaped Kraft tag with a small loop of ribbon, and slide the adorable gold paper clip onto the top of the printed cutapart.
Layouts 5 & 6
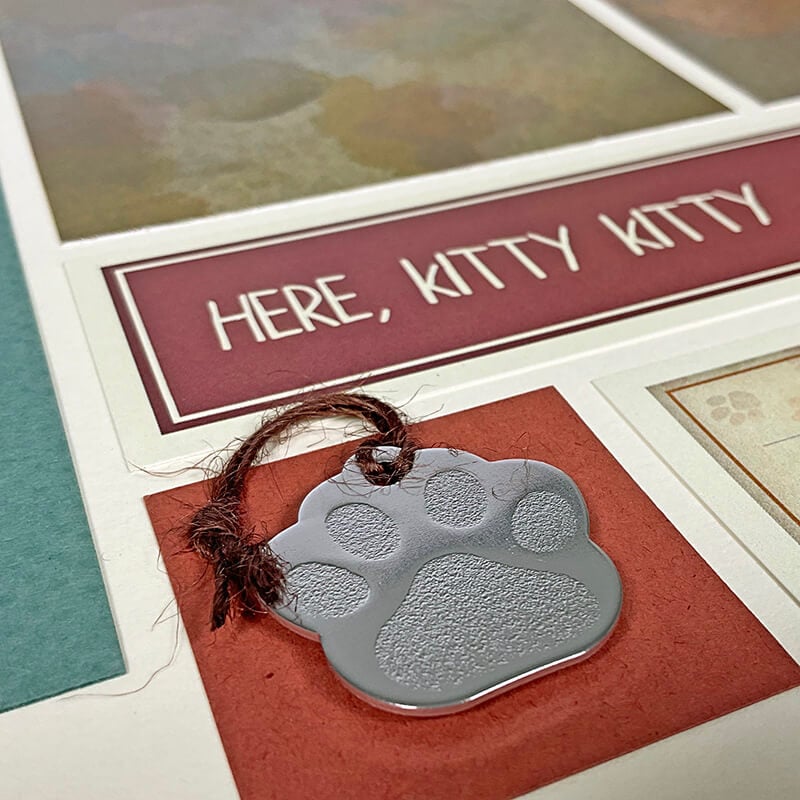
I managed to salvage a pair of 1.5" squares from the Rust paper. Top one square with the silver paw charm added with foam adhesive and topped with a loop of brown jute. Tack down the knot in the jute with a small dab of CS Bookbinding Glue.
Layouts 7 & 8
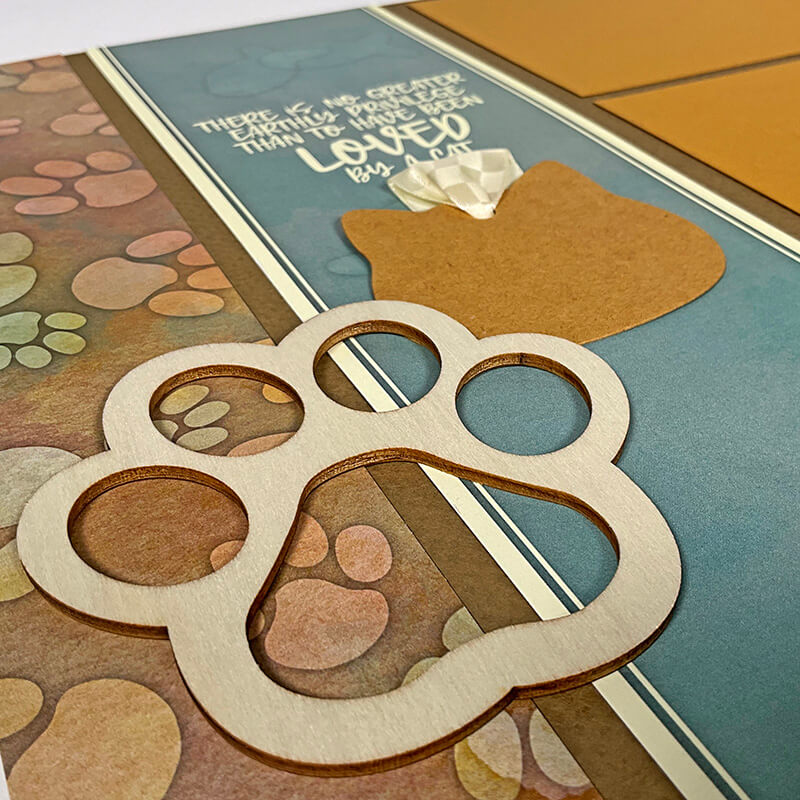
Add one of the eye-catching paw-shaped woodcuts to the left side of the page, slightly overlapping the Kraft cat tag looped with ribbon.
Paws and Claws - Dog Page Kit
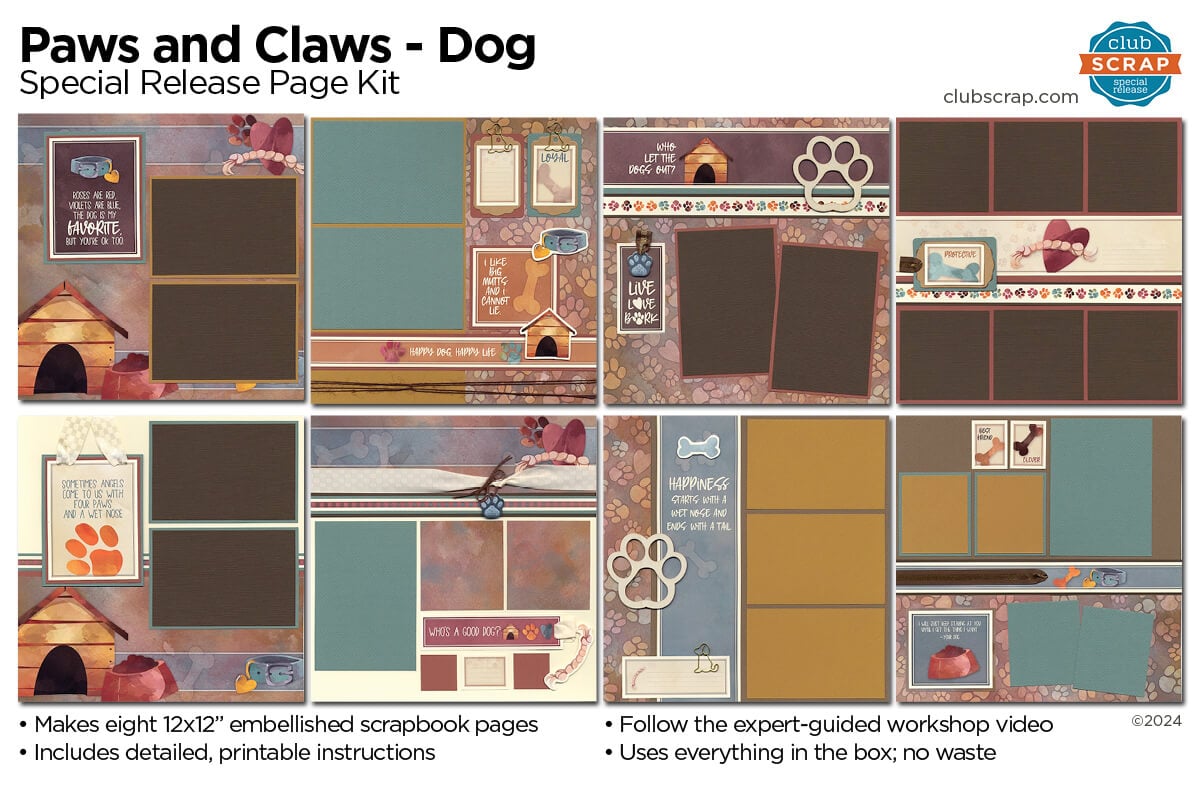
Here's a quick preview:
Layout 1 & 2
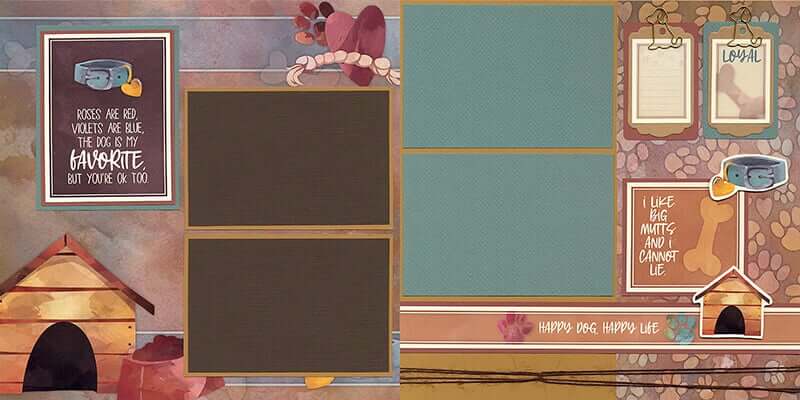
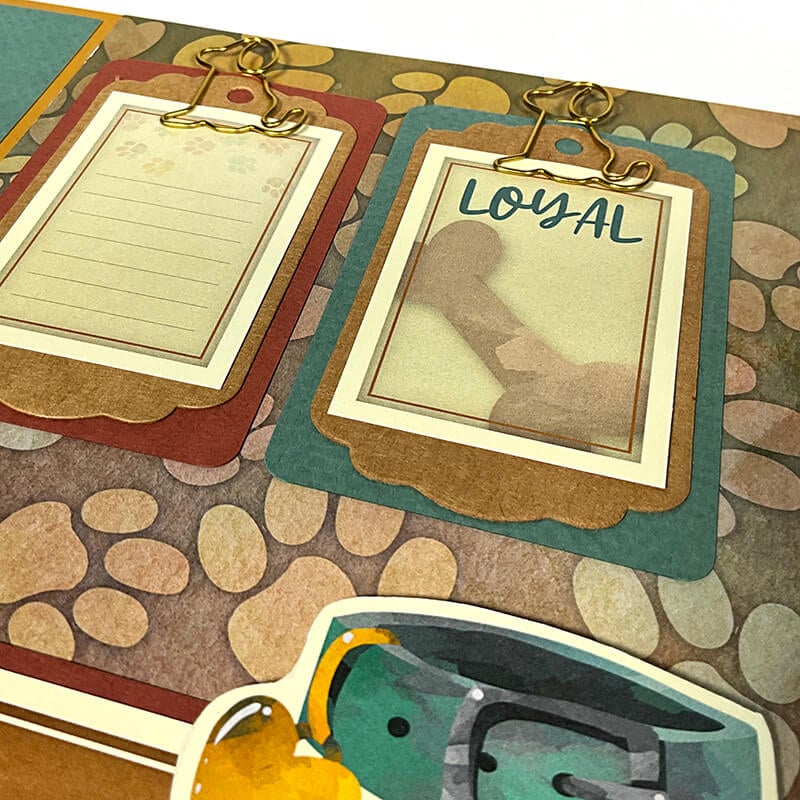
Add two sweet doggie paperclips to the top of the Kraft tags. Just like the cat pages, round the four corners of the mats to create a softer look.
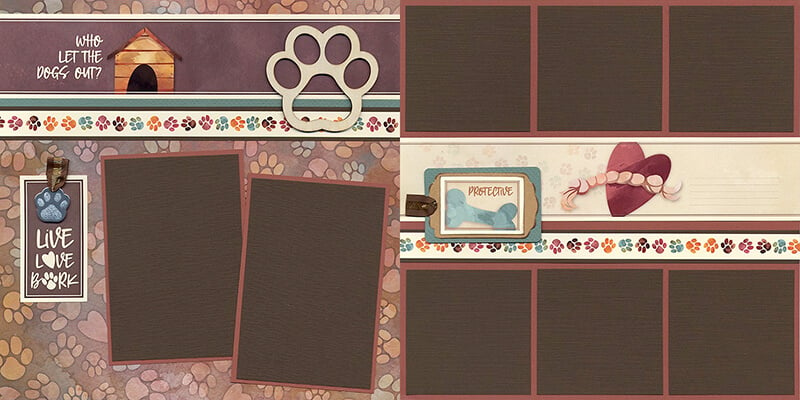
Layout 3 & 4
Loop the gold/brown grosgrain ribbon through the top of the silver paw charm. Add the charm to the top of the cutapart with foam adhesive and secure the ribbon ends on the back with tape.
Layout 5 & 6
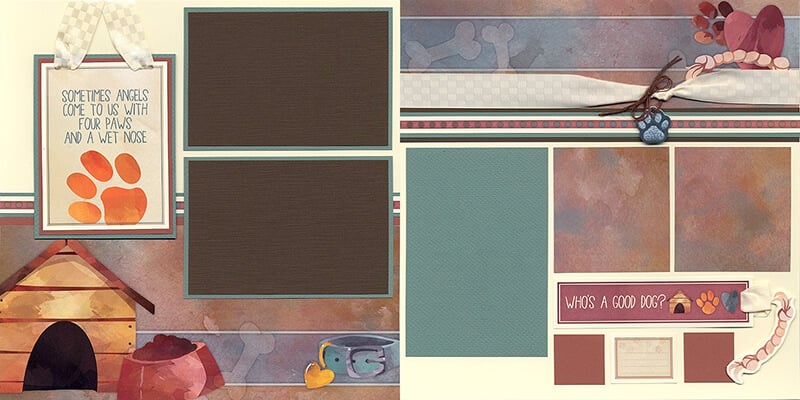
Use your slot punch to add two slots to the upper left and right edge of the nested cutapart. Thread with a loop of ribbon and wrap the center of the loop around to the back of the layout.
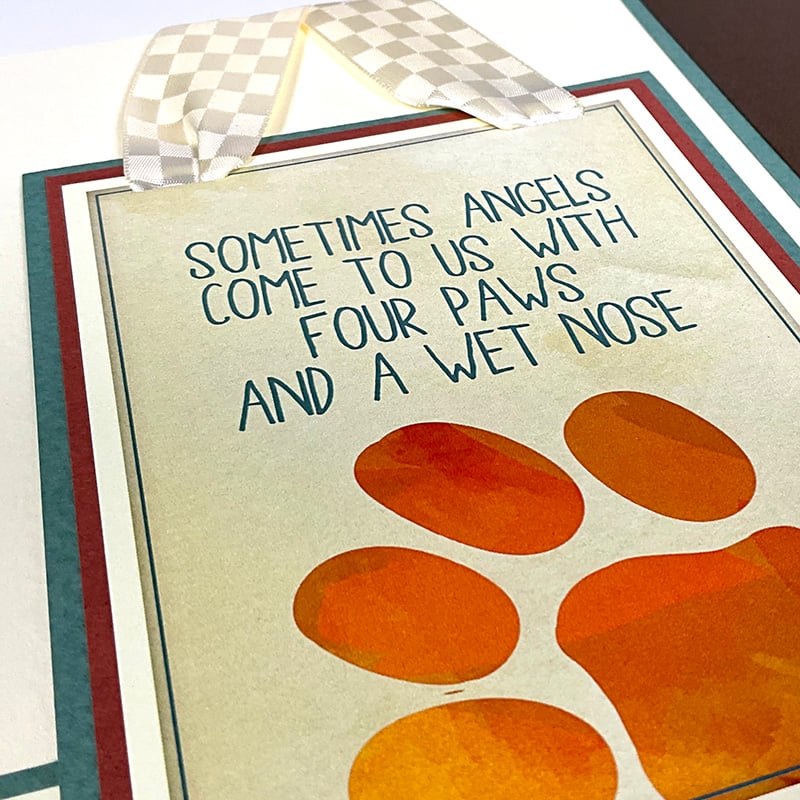
Layout 7 & 8
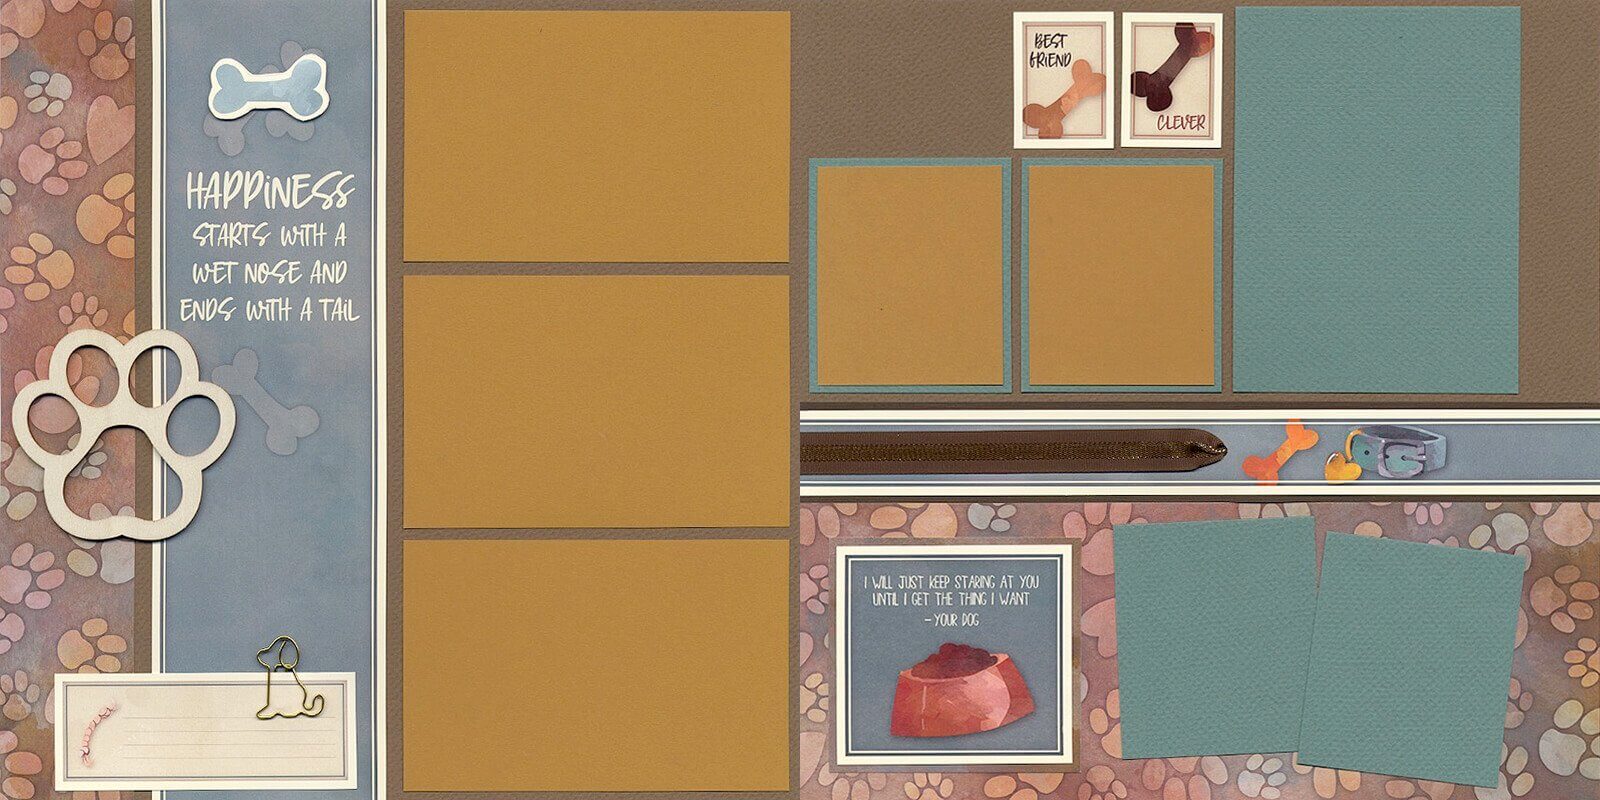
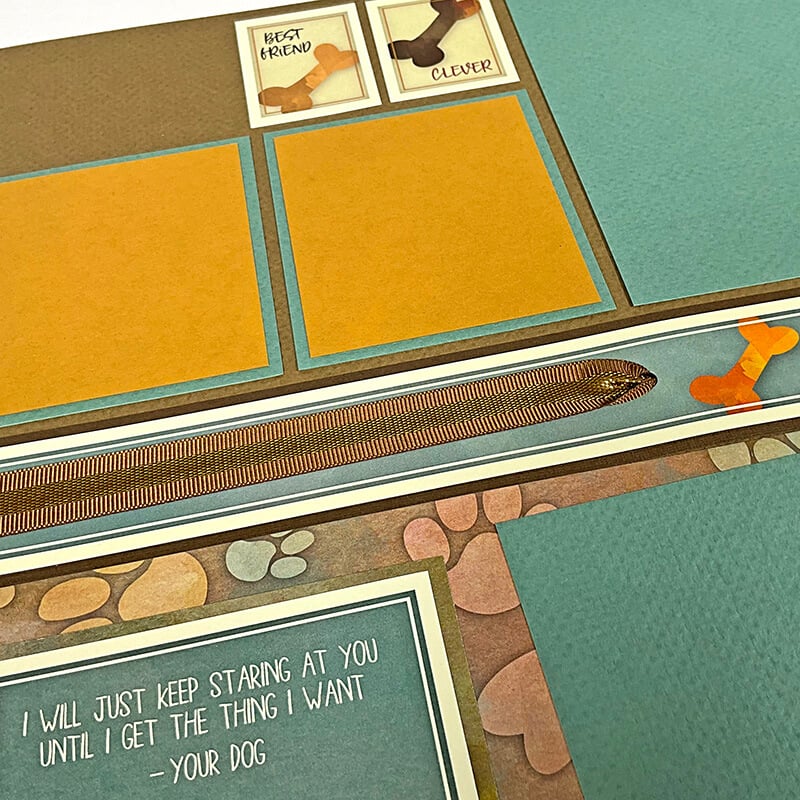
Prior to attaching the border strip on the right page, punch a 1/4" hole to the left of the dog bone. Thread ribbon into the hole and secure the end about 1" past the hole. Wrap the ribbon around the left edge of the strip and secure the other end on the back of the strip.
Paws and Claws Stamps
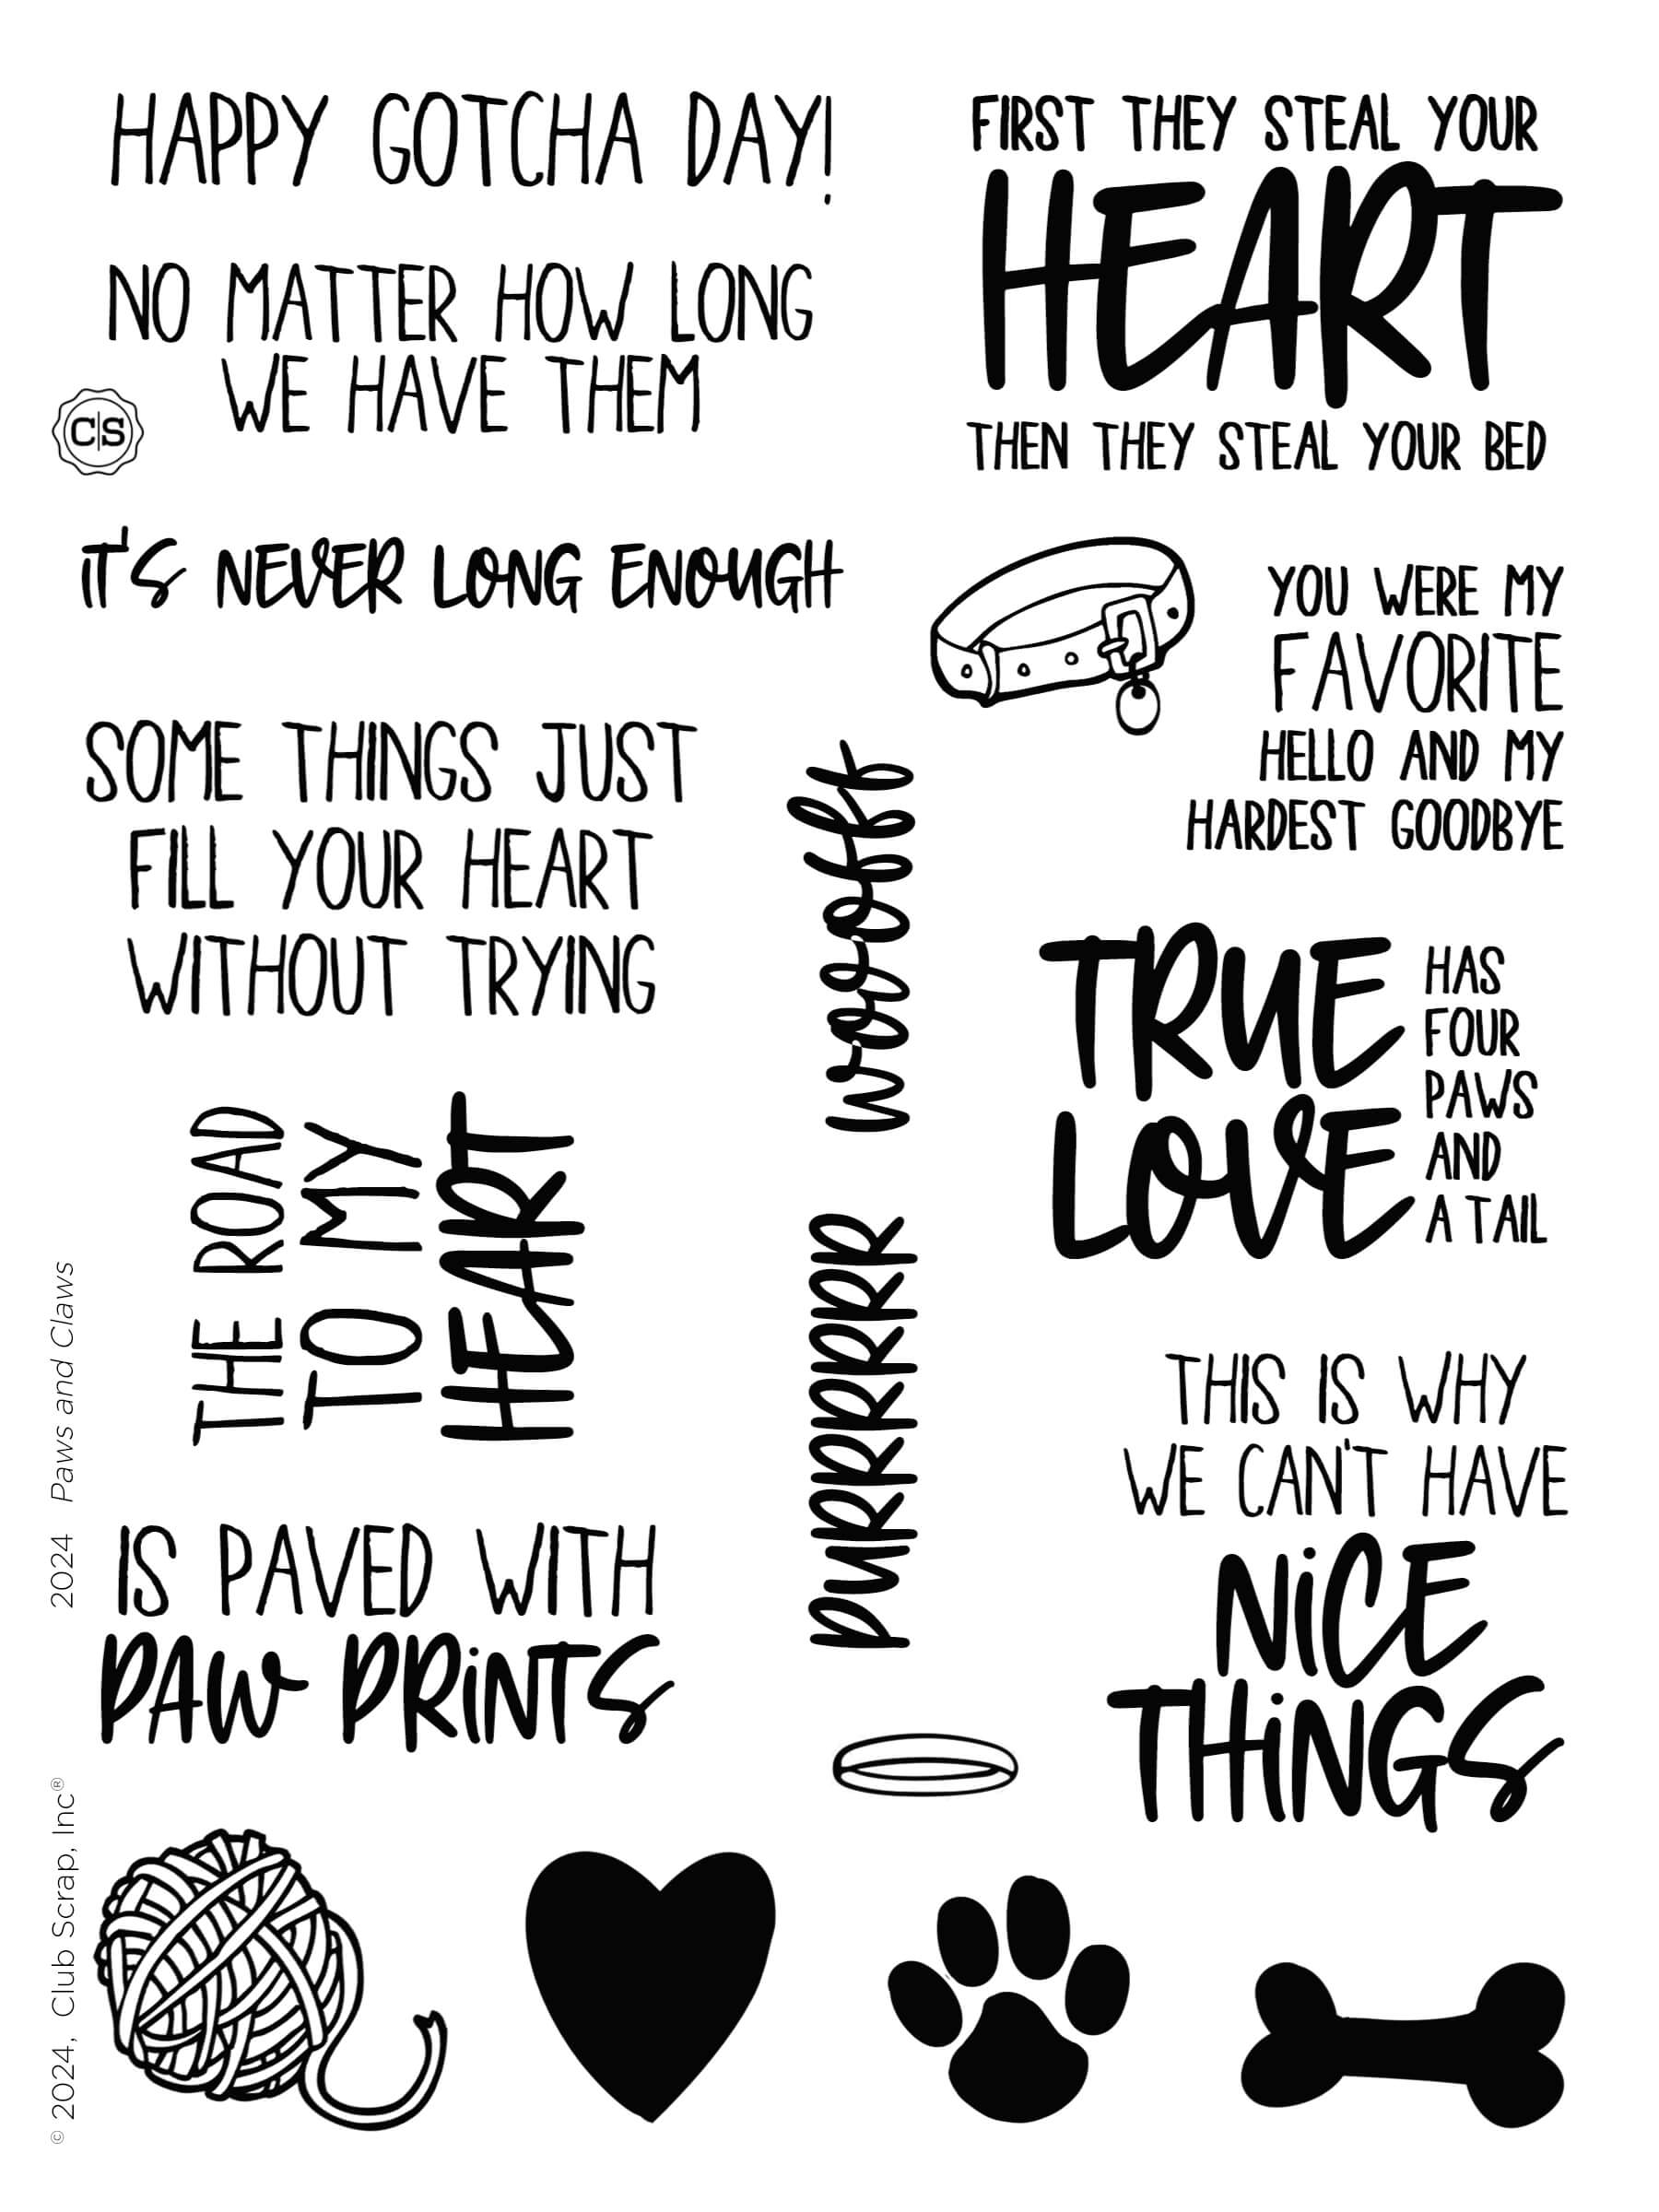
You'll be very happy to know we've got a sheet of our wonderful clear stamps available for this collection. We've included several loving sympathy phrases to use in the event that a friend loses their treasured furry family member. Be sure to grab the stamps...supplies are limited!
Stay tuned to the blog to learn more about Karen's adorable stamped cards (incidentally using our brand new ink colors!)
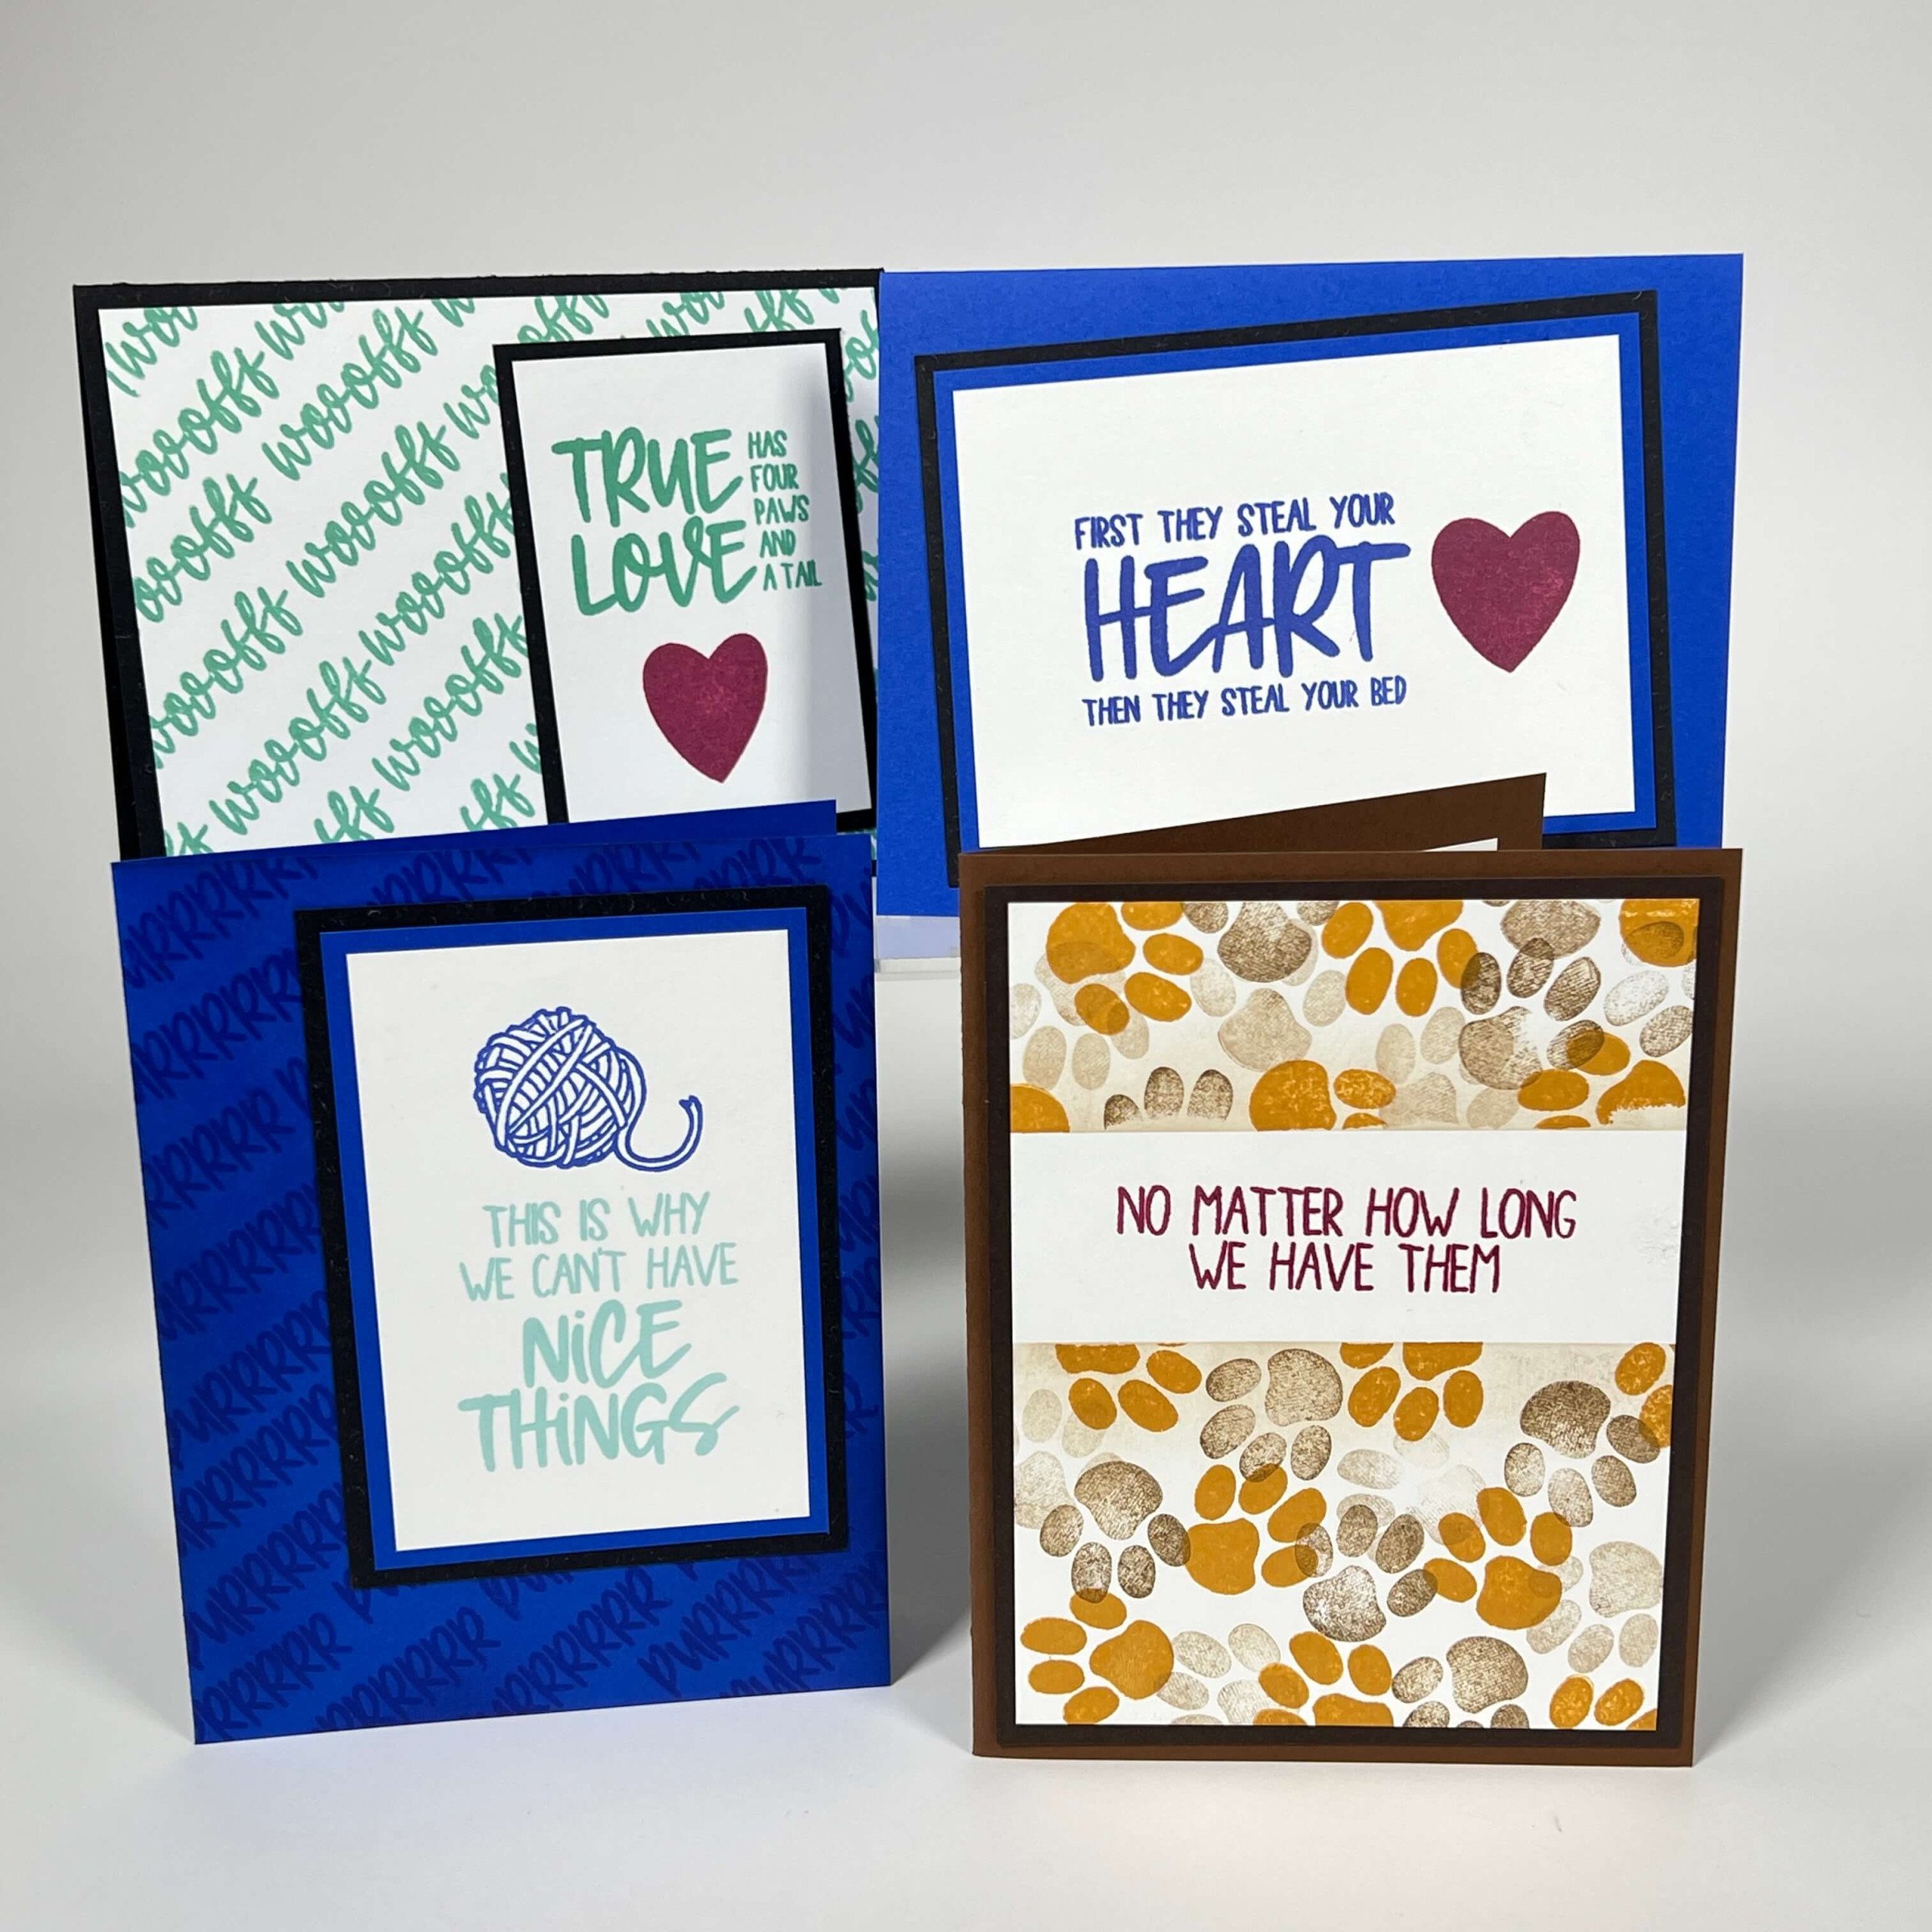
Scrap and stamp your favorite fur ball with a touch of fun and nostalgia. Whether you're a cat person or dog person, we have you covered! If the Paws and Claws collection isn't quite right for you, no problem. This special release won't be delivered unless requested.
Members, place your orders now, and when you choose "ship with my next kit", we'll add this gorgeous collection to your next monthly box! Don't forget to select your preferred shipping method from the drop-down menu before checking out!
Tricia


