Pattern Play Lite Pages
LAYOUTS 1 & 2
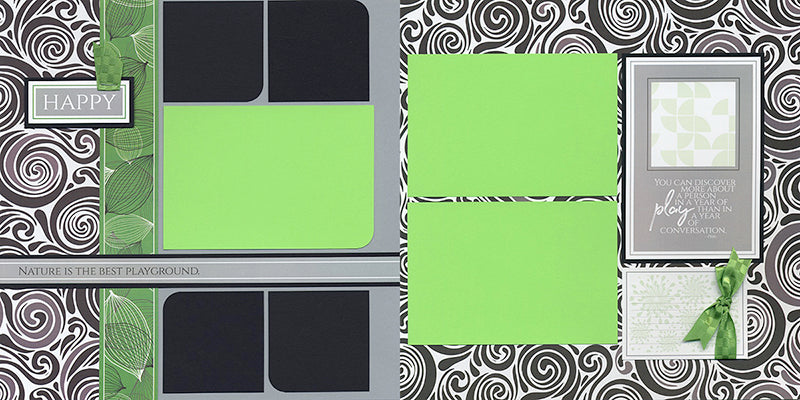
Remove just one corner for each Black square with a Corner Rounder on the 1/2" setting for a "mod" look. Avoid placing two adjacent rounded corners together on the layout.

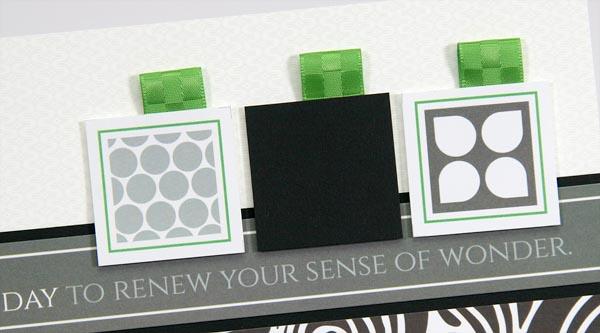
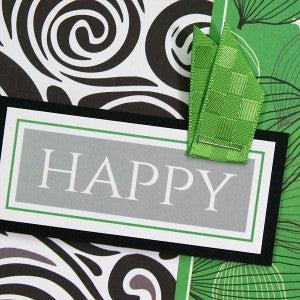
I was thrilled to rescue a scrap of Black paper when I discovered it was the perfect height for this "happy" cutapart. Trim a 2" length of the green checked ribbon, fold in half, and staple to the top right corner of the cutapart.
LAYOUTS 3 & 4
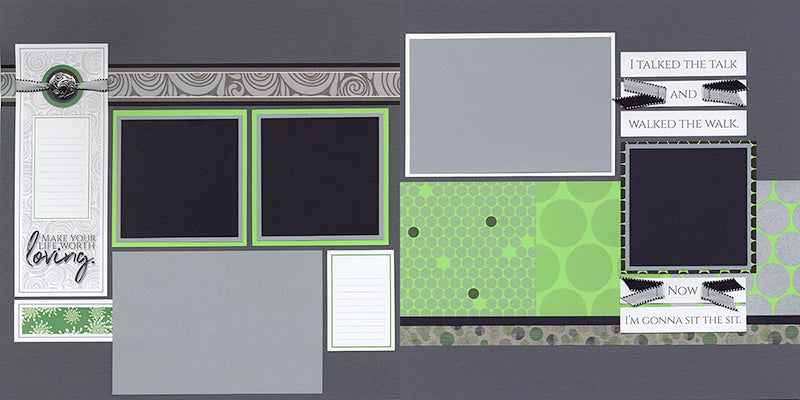
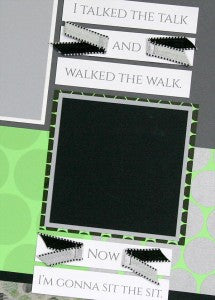
You're going to love the two-sided, saddle stitched ribbon included in your kit. Arrange the fun cutaparts in a vertical stack above and below the photo mat. Cut and fold four longer lengths of ribbon and staple to the right and left of the "and" and "now" cutaparts.
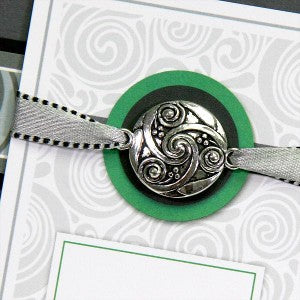
Thread ribbon through the loops on each end of the silver spiral charm. Glue the charm to the designated spot on the cutapart and tape the ribbon ends to the back.
LAYOUTS 5 & 6
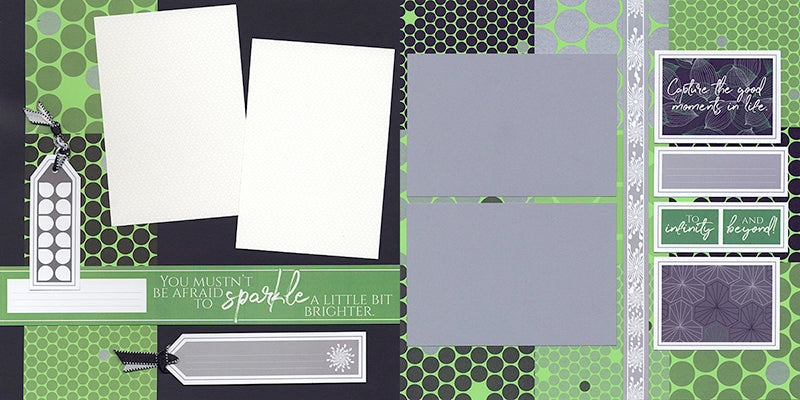
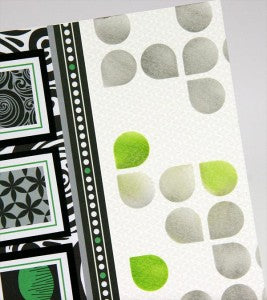
Stencil the pattern onto the right edge of the layout with Ash and Peridot inks and a CS® Ink Applicator.
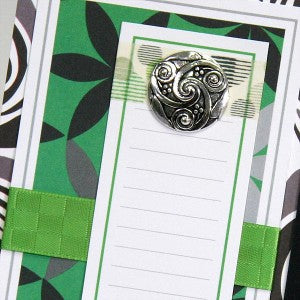
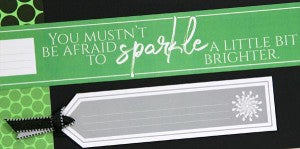
Snip the two metal loops from the silver spiral charm. Wrap the journaling prompt with washi tape and top with the charm.
LAYOUTS 7 & 8
Piece together a set of four cutaparts to finish the right edge of the layout. Remember, if you have plenty of photos to go around, use the cutaparts as photo mats.

I loved working with this collection and hope these insights assist you in final layout assembly! It's incredible how this kit can showcase photographs from any reason or season. Get the Pattern Play Lite kit today . . . I have a feeling it will disappear quickly!
Tricia


