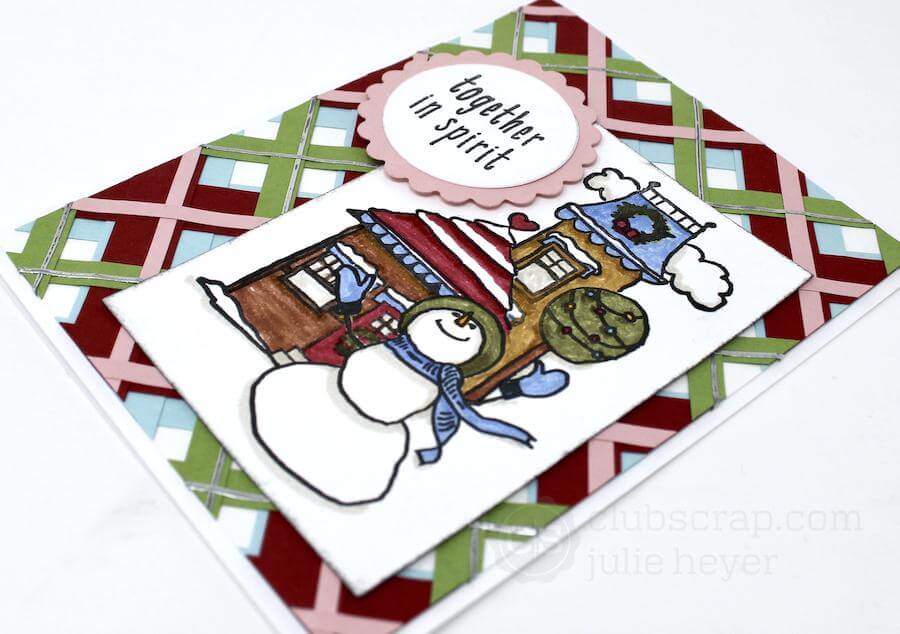

Create a lovely layered background with the paper strips plaid technique. I think we all have a pile of scrap paper (well, maybe not if we are following Tricia's efficient cutting instructions) hanging around. Now is the time to use it!

Paper Strips Plaid technique
Gather paper scraps from a recent project. (I'm working with papers from the Christmas In The Neighborhood Page Kit.)

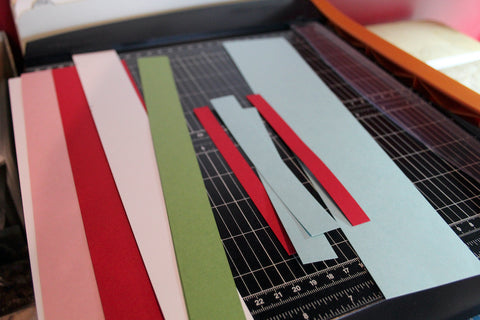
Trim each paper color into the following widths: Blue - 3/4", Red - 1/2", Green -1/4", and Pink - 1/8".


Line up the bottom edge of a 4 x 5.25" white panel with the 45 degree angle mark on the 8x8" Grid Ruler.


Cover the back of the first strip with a bit of Bookbinding Glue dispensed from a Needle-tipped Applicator. Adhere to the white panel with the grid ruler as the guide.


Move the ruler over the blue strip so that it is aligned with the 3/4" mark.

Continue to add the blue strips in the same fashion.


Flip the white panel to see and trim away the excess paper.


Rotate the grid ruler with the angle in the opposite direction. To keep your work surface free of glue, apply the adhesive to the art panel rather than the strip.


The red, green, and pink pieces can be placed using the blue strips as a guide.


Continue to place the strips until the pattern is complete.


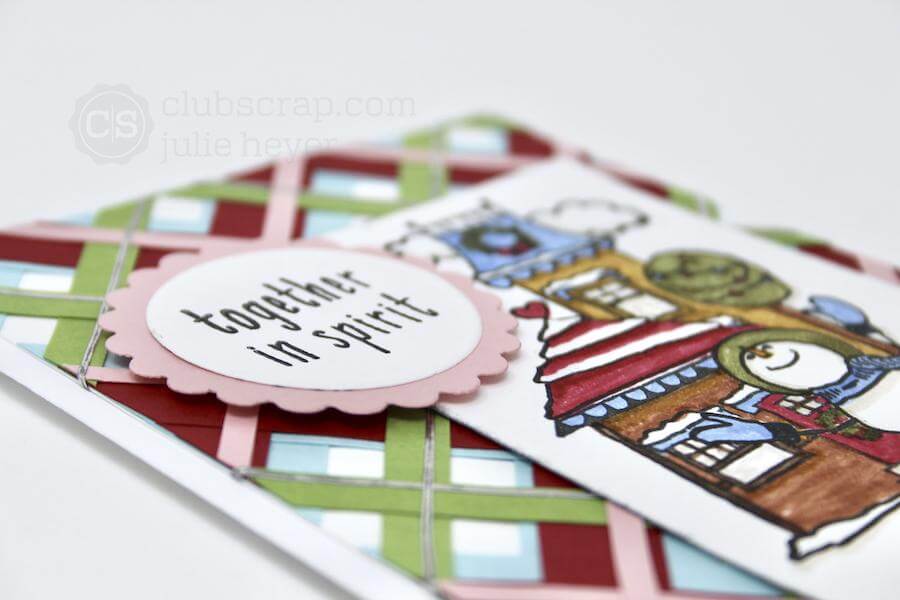
Add an extra bit of sparkle and shine with thin line Silver Dazzles from the Geodes collection.

Wrap the excess strips around to the back of the panel to secure.


When the background is complete, add it to the front of the card along with a stamped scene and matted sentiment.

Join me next week in part two to learn how I made the adorable stamped scenery for the front of this card. Happy Paper Crafting!

Julie