
Create a gorgeous three dimensional Paper Peony Wall Hanging with papers and embellishments from the Peony Collection. I was enamored with this project by Paula Cheney and was immediately inspired to gather my Peony supplies and recreate it as a wall hanging.

Paper Peony Wall Hanging

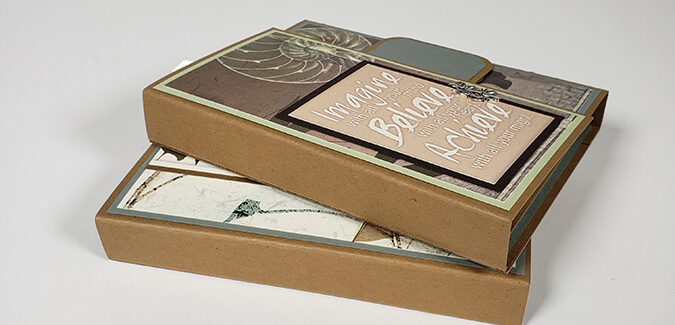
Pizza Box Prep
Trim a Club Scrap pizza box into two 9 inch squares, four .5x9 strips, and four .5x8" strips. Laminate the pieces together with Bookbinding Glue in sets of two with the fluting of the cardboard running in opposite directions to increase strength and stability.


Adhere the .5" strips around the perimeter of the back of the 9" base. Cover the base with packing kraft paper.

I didn't have enough Pizza Box materials to cut four 9" squares so this technique gives the illusion that the base is much thicker.

Distress the edges on the front of the base with Spruce Ink.

Paper Pieced Background
Trim Peony prints and Green, Metallic Pink, and Lt. Pink papers into 1.5" squares with a paper trimmer.

Distress the edges of the squares with Spruce Ink.

Arrange the squares on your work surface in a pleasing order.

Apply Bookbinding Glue to the backs of the squares with a Needle-tipped Applicator and transfer to the base.

Working in rows, continue adhering the squares until the front of the base is covered.


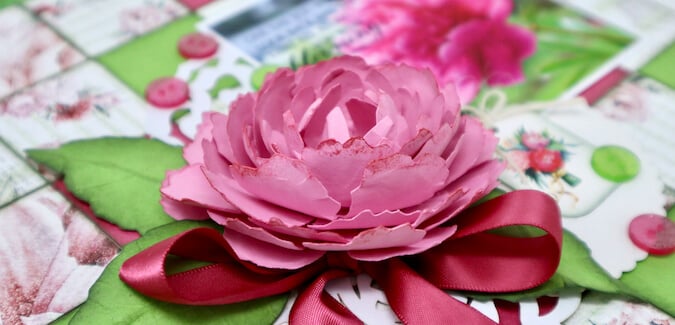
Paper Peony
Die cut several flower shapes with Lt. Pink panels and three leaves with a Green panel. Shape the petals and leaves with a ball stylus and foam sheet. Trim apart the larger flowers into individual petals. Adhere together to form a large base flower.

Glue additional petals, gradually moving closer to the center of the flower.


Distress the edges of the leaves with Spruce Ink. Glue the leaves onto the back of the peony.

Add Carnation ink to the petals of the peony with an Ink Applicator Brush.

Embellishments
Adhere a grouping of three Peony embellishments to act as an anchor for the paper peony.

Stamp or digitally add a quote to the front of photo of a pretty pink peony. I chose to alter the photo prior to printing into a square to coordinate with the theme.

Trim the photo into a square. Adhere to the board paired with the paper peony, buttons, a tag and a satin ribbon tied into a lovely bow. (Thank you, Tricia, for the tips in the Ribbon Basics Video.)

Adhere the buttons with a dot of Bookbinding Glue.


Complete the piece with a small green ribbon hanger adhered to the back of the base. Let's take a look at the finished project.

Do you love home decor projects as much as I do? Be sure to visit these posts for more inspiration.
Happy Camper Pizza Box Project
 Julie
Julie