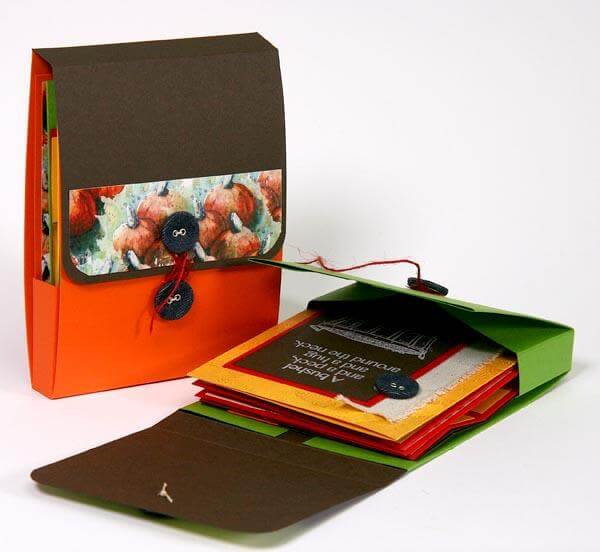
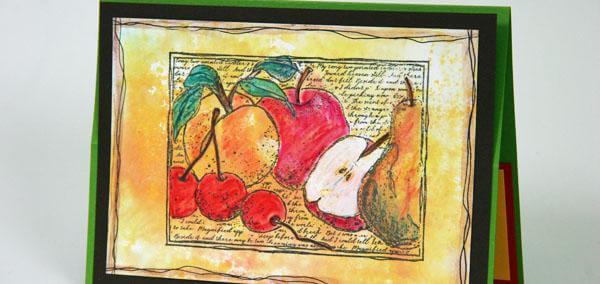
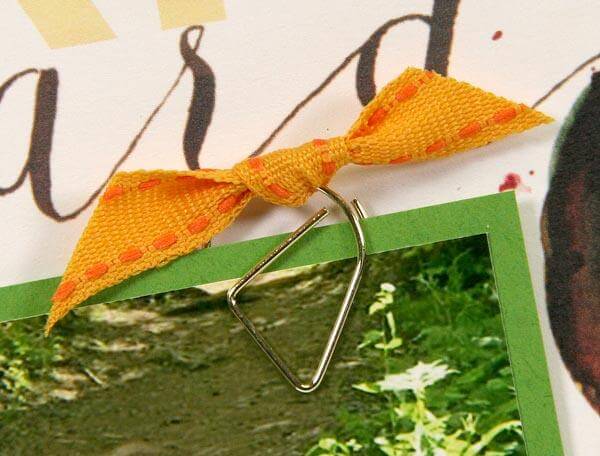
The Orchard Club Stamp kit will make two adorable card folios perfect for gifting and a set of eleven cards. (All from just twelve sheets of paper!)
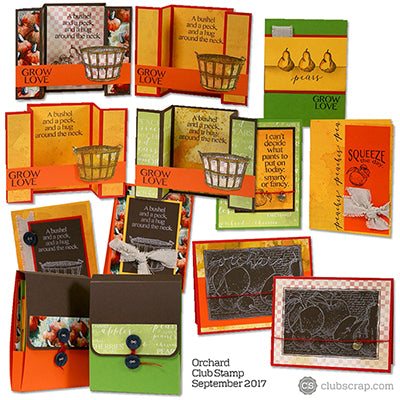
Click on the file link below to download your card assembly instructions. After trimming the papers carefully, view the cards to determine how to organize and stamp the panels.
Orchard Club Stamp Instructions
Orchard Club Stamp Folio and Cards
FOLIOS
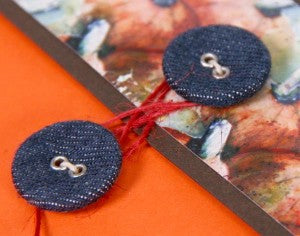
Transform the denim covered buttons into a clever closure for the folio. Simply sew them onto the flap and the bottom portion of the folio with waxed linen thread, and wrap with thin jute fiber.
The folio holds at least four cards and four A2 envelopes.
And, hey, if you're making one, might as well make another!
For helpful tips on folio assembly, take a look at this video.
CARDS 1-4
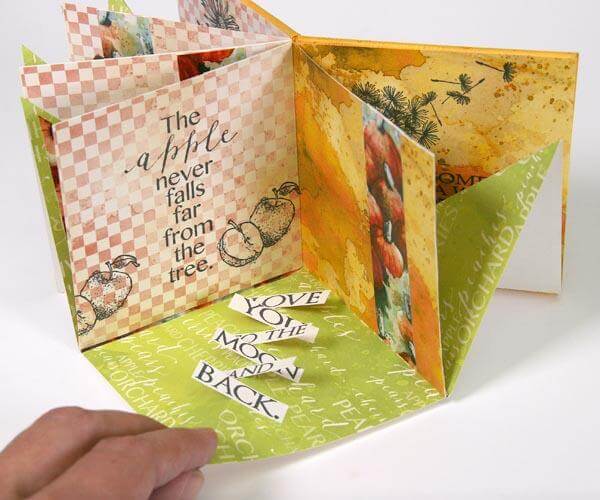
With a bit of clever scoring, make a set of four "bridge" cards. The best part? The cards flatten easily for mailing.
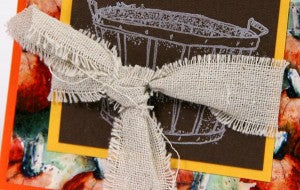
Stamp the basket image onto a portion of the quad print, cut around the image, and adhere to the right edge of the card. Color the staves of the barrel with a brown marker. (Note: I performed a google search to find the word "staves.")
CARDS 5-6
Tie a bronze apple charm onto the jute fiber and stretch across the lower portion of the card.
Stamp the word "orchard" onto the upper portion of the brown panel with black ink, and outline with a white gel pen.
CARDS 7-8
Tie a bow of frayed edge ribbon to the card panel on the left. Trim two ends into a "v" shape and layer onto the card on the right.
CARDS 9-11
Utilize the remaining cards and panels to create three final cards. For the "pear" card, stamp three pears in a row, draw a horizon line with a black marker and ruler, mask the pears, and shade beneath the line with Earth ink.
Order your Orchard Club Stamp kit today if you're not already a member! It includes a jumbo-sized sheet of stamps, twelve sheets of our beautiful paper, and the fibers and charms, too!

