After many years of creating pages with Club Scrap kits, I have come to realize that some collections "scrap" more easily than others. The Mumbai Page Kit was exceptionally cooperative as I designed the eight layouts.
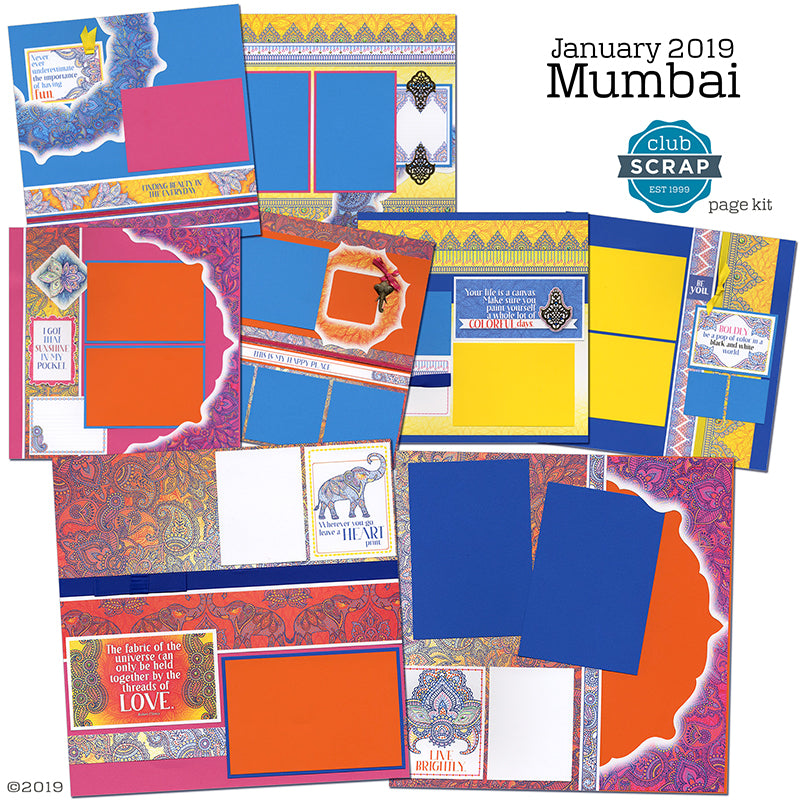
The printable instructions can't always convey some of the more intricate details of how the layouts are put together. Let's take a tour!
Mumbai Pages
LAYOUTS 1 & 2

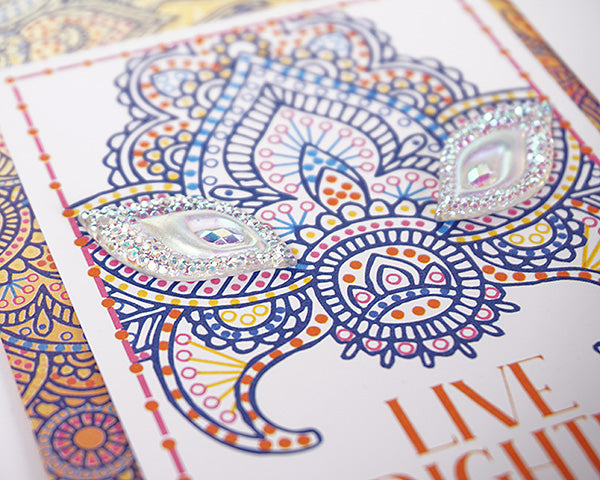
The set of five jewels in the page kit add a bit of sparkle while blending perfectly with the art. Adhere two gems to the "live brightly" cutapart with CS® Bookbinding Glue.
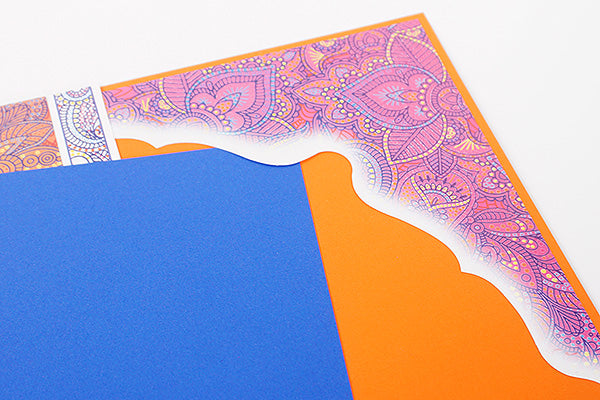
After trimming the outer portion of the printed die cut into four corner-shaped pieces, adhere two corners to the right edge of layout two. Slide the upper right corner of the Dk. Blue photo mat beneath the die cut.
LAYOUTS 3 & 4

There is plenty of beautiful ribbon included in this collection! Tie the blue satin ribbon around the 3x4" cutapart and trim a "v" into each end.

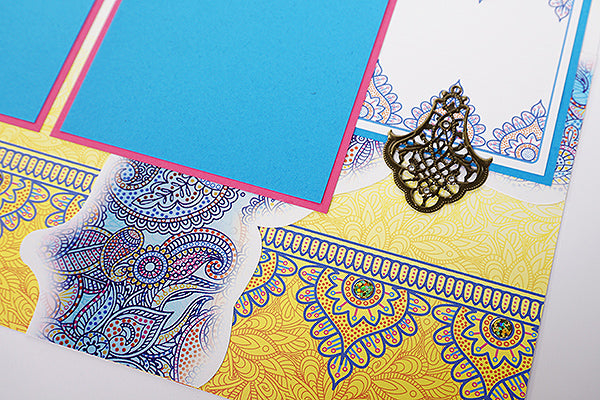
Check out how the filigree swag nests into the cutapart on layout three. There are five indentations in the swag that could be a fun spot for jewels, rhinestones, glitter glue or Nuvo Drops you may already have on hand.

LAYOUTS 5 & 6

Add three jewels to the center portion of the die cut on the upper left corner of layout five. The jewels nest together perfectly.

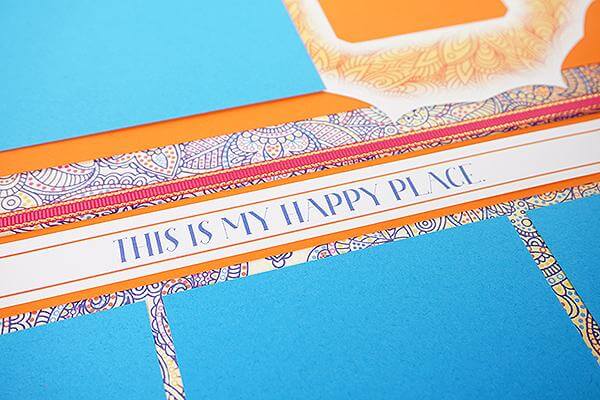
Next, apply glue to the outer edges of the elephant head charm and adhere to the upper right corner of the die cut frame. Tie gold-edged pink ribbon to draw the eye to the gorgeous embellishment.

LAYOUTS 7 & 8

Finally, be sure to watch the video tutorial (included with purchase) to learn how to cut the frame into two pieces to fit into the upper left and lower right corners of the spread.
Have a colorful, creative day! See you back here tomorrow for more details about the fabulous Mumbai Card Kit.
Tricia

