I stamped up a storm with the unmounted images from the
Office Space collection and created a super-fun batch of cards. Check them out!
 JUMBO
JUMBO UM

The "vector-style" images have large solid surfaces. For best results, ink the stamp by first twisting the pad on the image and then tapping repeatedly to smooth the ink application. Place your panel onto a highly cushioned surface such as a mouse pad, thick magazine, or stack of scrap paper.
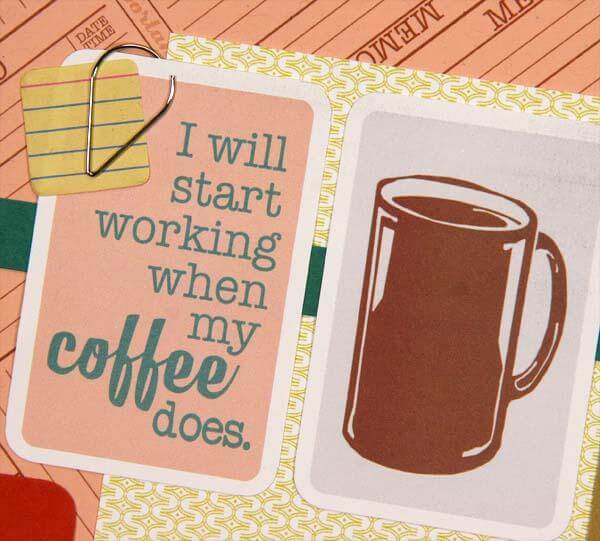
For this card, stamp the coffee mug three times onto Manila plain with
Earth ink and trim each one out with a craft knife. Color in the coffee with colored pencil. To create a rounded look for the mugs, add foam squares to the center of the coffee cup, and glue down the left and right edges.

The
Greetings to Go kit includes some adorable laser cut
Wood Tags that say "thank you." Adapt them for your own use by stamping on the reverse side with sentiments from your stash.

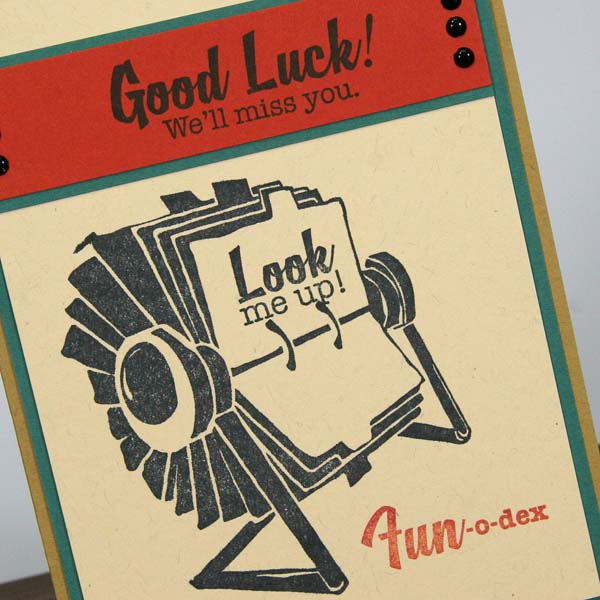
The Rolodex image has two plain cards showing. Stamp the "Look me up!" sentiment onto the blank card, or handwrite your own message.
 ART NOUVEAU
 UM

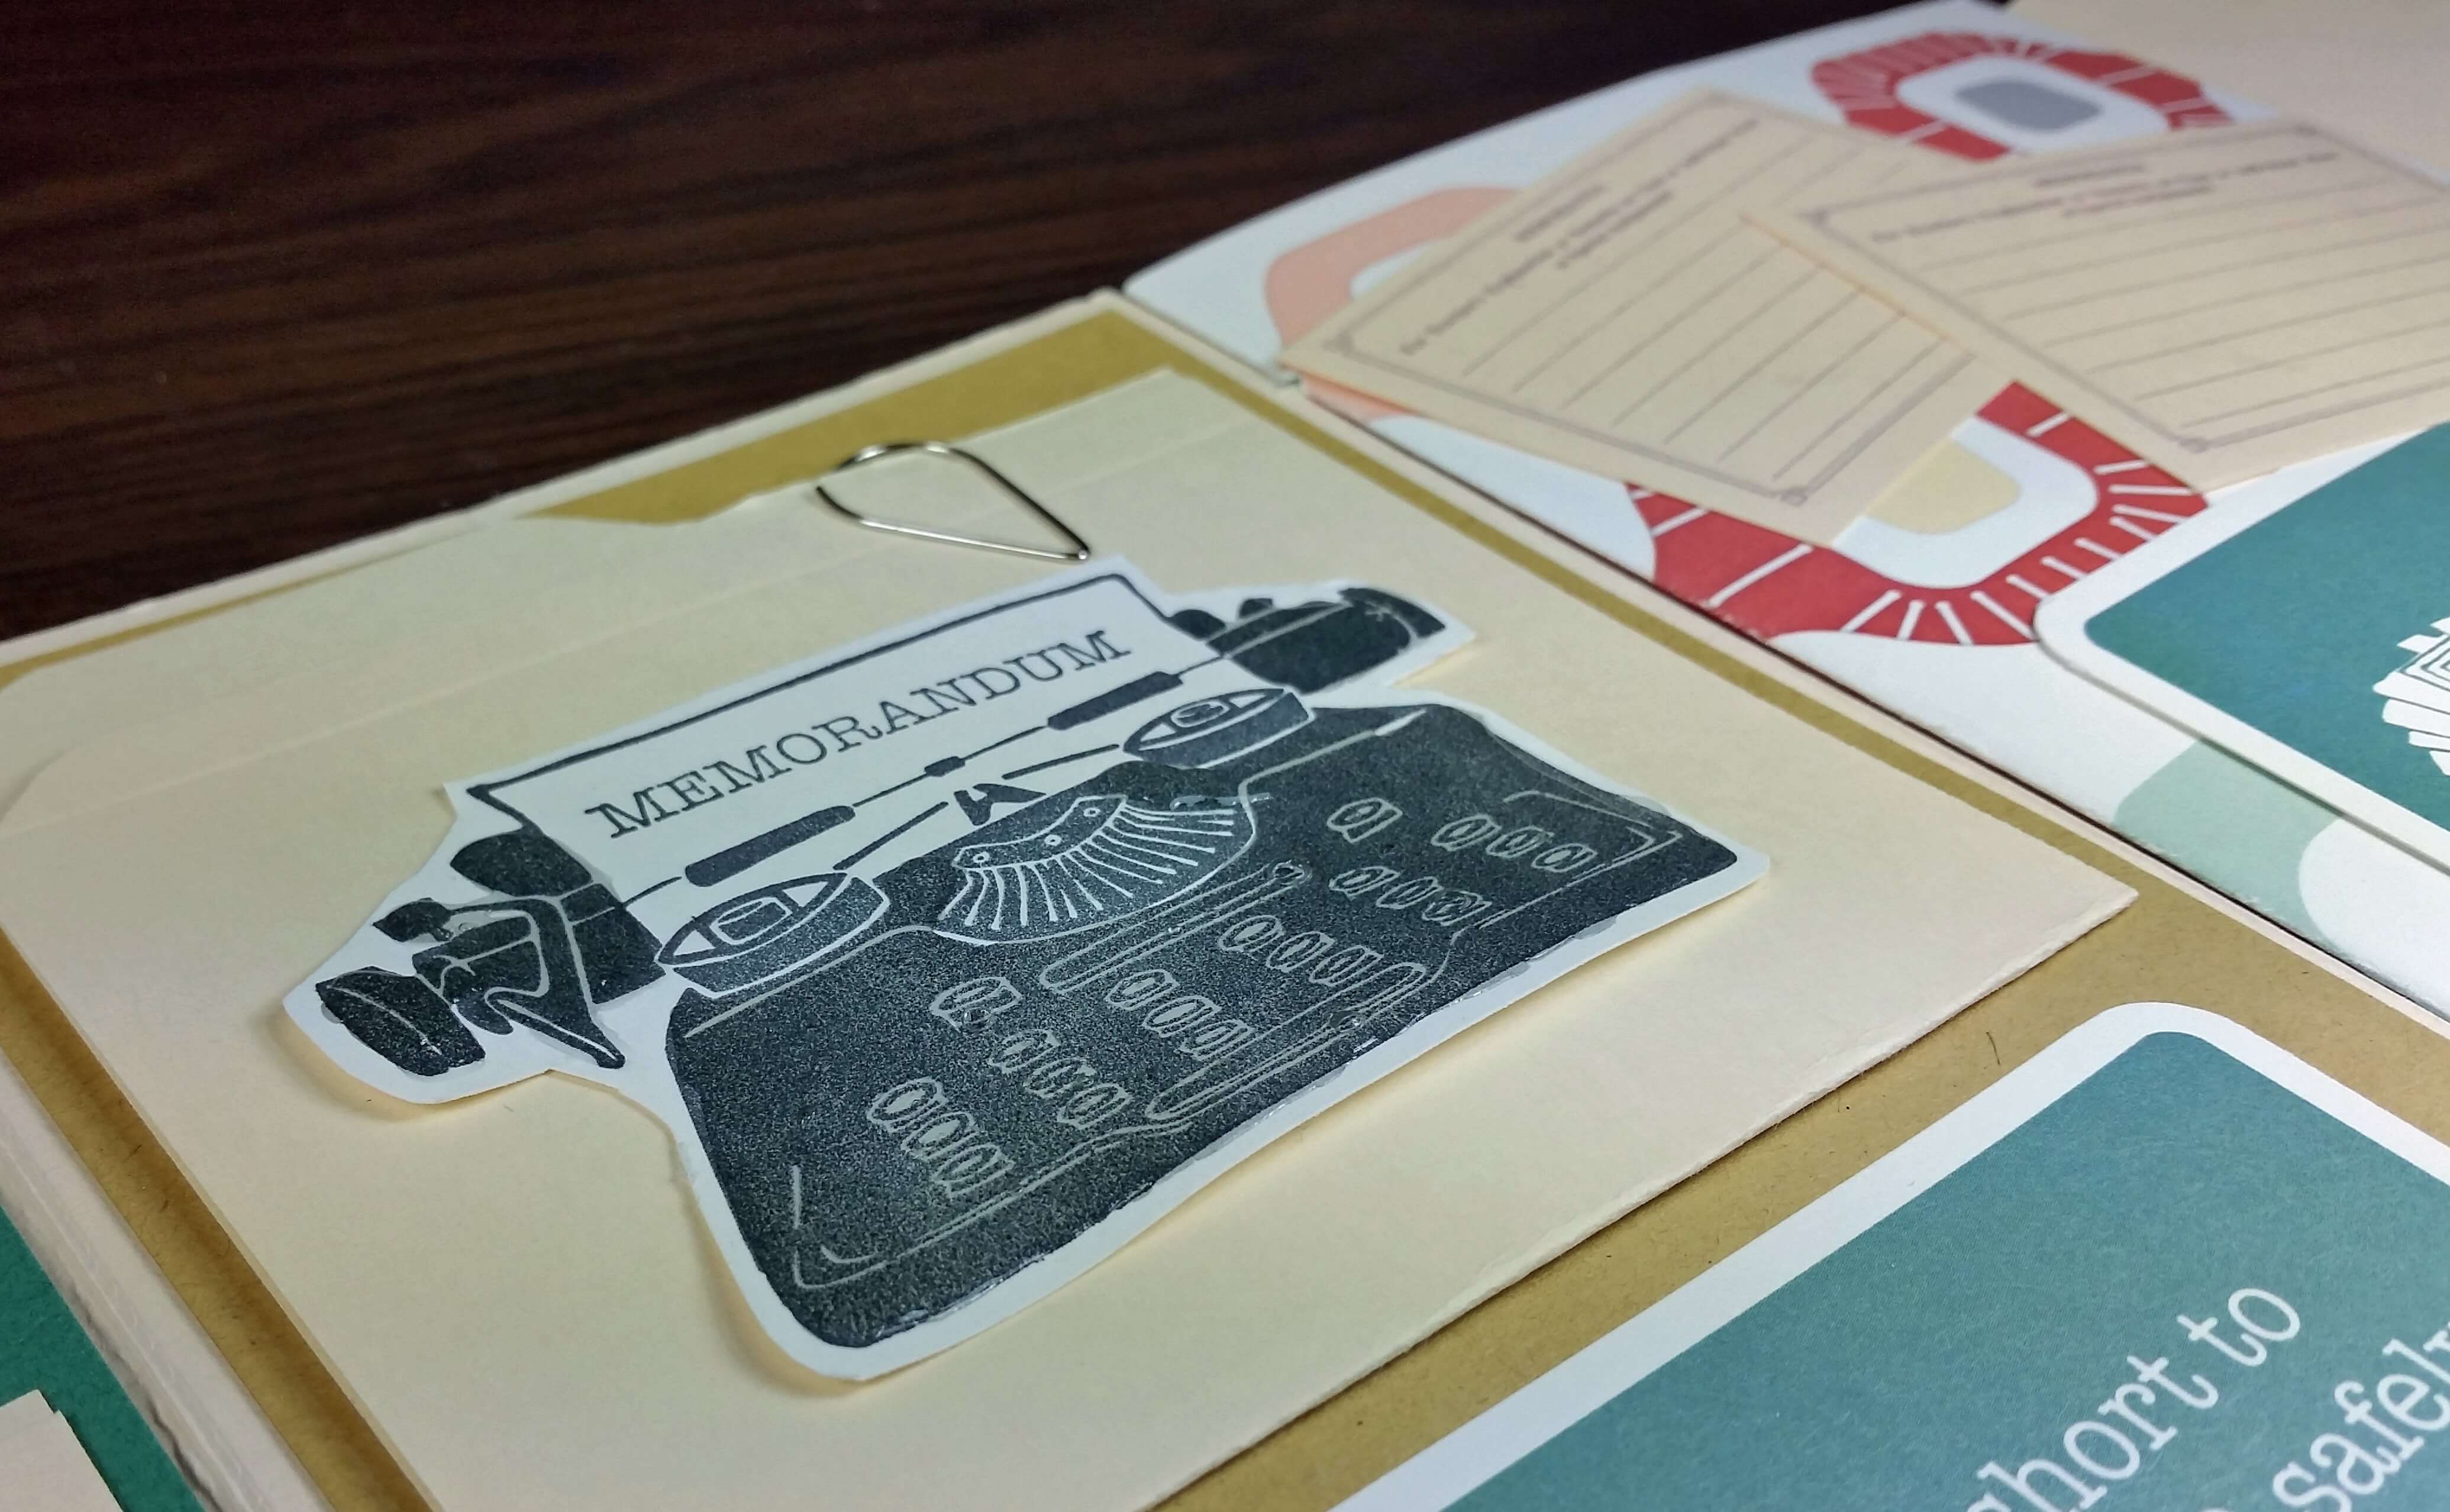
I love the typewriter image on this sheet and the
"You're my type" pun. I incorporated the mini memo sheets, a torn dictionary page, and a die cut file folder to complete the card.

Stamp a second typewriter onto Orange Plain, and trim out the "paper" portion from the typewriter.

Place foam squares near the top edge of the paper and glue the bottom to make it appear as if it's feeding through the typewriter.


The sheet includes tons of different expressions that fit into the paper on the typewriter. Stamp three times onto Jade Plain with
White Pigment ink and choose a unique message for each image.

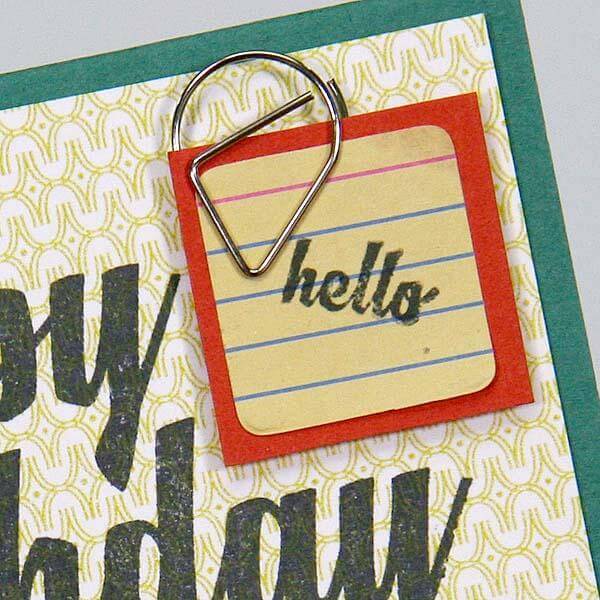
Clip four
Mini Memo Stickers to the card and add a hand-cut initial or image to the top for a perfect finishing touch.

Cut around the typewriter paper with a craft knife and slide the ribbon behind the image.

Use a Post-It note to make a mask of the typewriter image. Stamp onto card panel, cover with the mask, and stamp additional text into the background.
 GREETING
 UM

Rubber stamp the cooler image onto
Boardwalk Sea Blue and Avocado Plain with black ink. Trim out the images with a scissors or craft knife and layer onto the card with foam squares. This is such a
cool card!

This belated birthday card is so cute, you might intentionally mail it late!

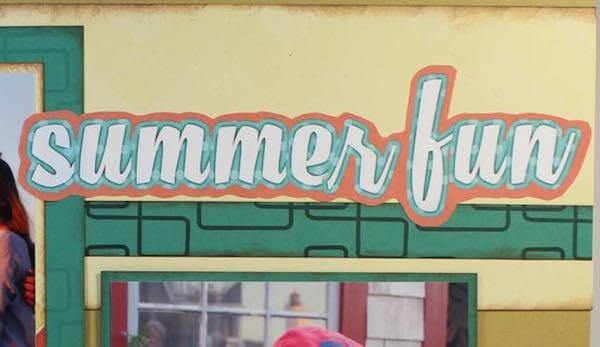
I like this color blocked card format. Create three sections of three different colors for stamped images, a greeting, and a sentiment.

Now that I've completed all of these cards, I think I'll go take a break by the water cooler!
Kay