
Members: Have you downloaded your July Bonus Page Formula yet? You'll find this valuable members-only free-bee in your inbox on or around the first of each month. The email looks like this:

Not a member? Join today and receive one bonus formula each month as a member-exclusive benefit. If you're not quite ready to join, you can visit our online store to browse our entire selection of downloadable page (or card making) formulas from the past.
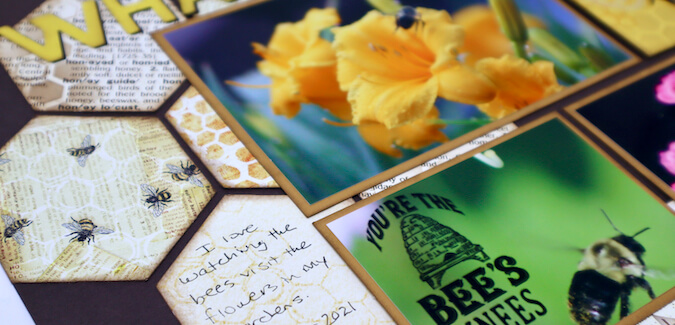
I shared all eight layouts I made with the page kit on on the blog earlier this week. I made two more coordinating pages using the monthly bonus page formula and five sheets of paper from the Let It Bee collection.
Let It Bee Bonus Page Formula Sketch
To get started, download the July 2021 Bonus Formula to learn how to create a quick 'n easy two-page spread. Gather five 12x12 papers in coordinating colors; trim according to the instructions. Arrange the cut pieces as shown in the finished page sketch.

Let It Bee Bonus Formula Layout
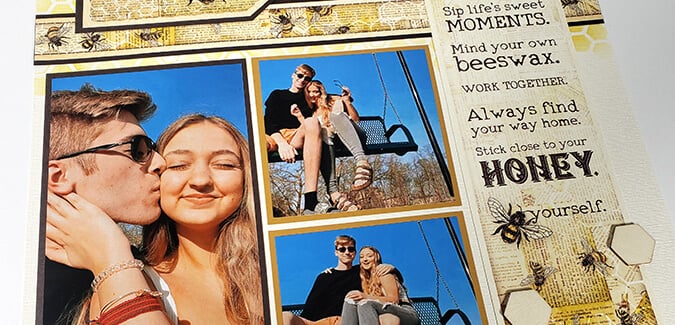
To replicate my layout, use the following paper assignments: One Let It Bee Card Kit Print (C), one Dk Brown (A), one Lt. Yellow (B), and two Ivory (D) plains.
During the dry-fitting process, I decided I preferred the arrangement when I swapped the left and right pages.

For a fun twist, trim the ends of each long narrow strip into a banner shape.

Fussy cut the bee image from the cutaparts; adhere using foam adhesive circles to create dimension.

In lieu of smaller photos, trim a single vertical photo to fit across the two smaller horizontal mats on the right, and crop one horizontal photo to span the space created by the two brown square mats on the left.

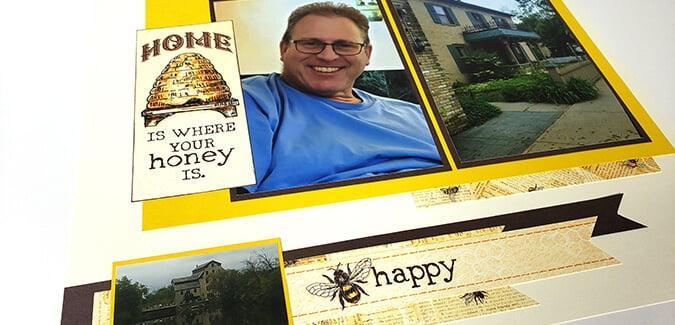
On the right page, trim the "Home" cutapart to remove the border and journaling lines. Ink the edges using Earth Hybrid ink, and attach to the open space to the left of the vertical photos. Crop the journaling lines remnant, mat with a yellow scrap (Let It Bee Pack of Panels) and adhere to the brown panel in upper right corner.

Trim the right end of the "bee happy" title strip into a banner shape. Tuck the left edge underneath smallest photo in the lower left corner.

This formula is so versatile! I envision a lot of different ways to arrange the trimmed pieces - don't be afraid to play around with the individual elements to fit your photos.
I hope you'll give this formula try with papers from your stash. When you complete a layout, I hope you'll consider sharing your work on our Club Scrap Chat Facebook group.
Happy scrapping!