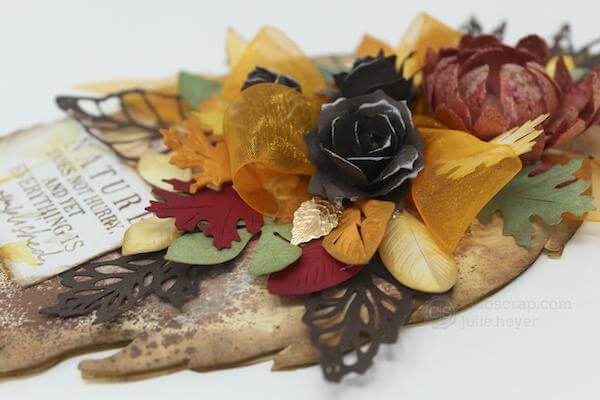
Create a dimensional Leaf Wall Hanging using the Falling Leaves collection. I often find inspiration on Pinterest, so when I saw this piece, I knew it would be perfect paired with the September kit.
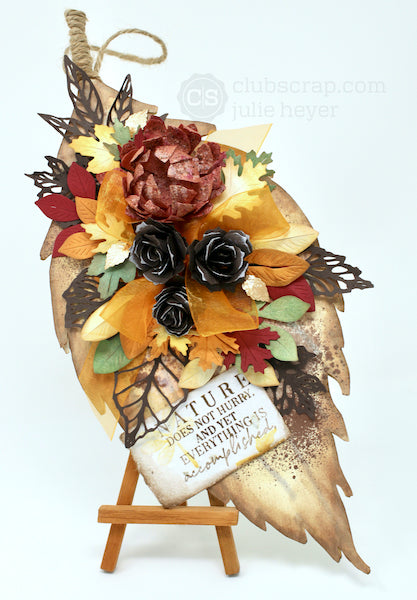
Leaf Wall Hanging Tutorial
Create a Base
Purchase and download the Falling Leaves Hybrid Kit and Leaf Collage Cut File. Open the digital stamp file from the hybrid kit using photo-editing software. Select a small skeleton leaf. Duplicate the image, increasing it to the desired size, and decreasing the opacity.
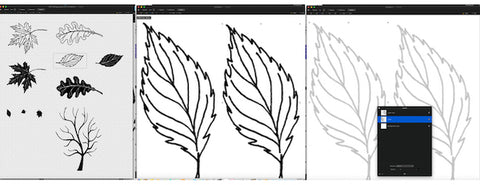
Print the two leaves onto a 12x12" Cream Texture plain paper. Note: The size of the paper will depend on the capabilities of the printer used.


Fussy cut the leaves with a pair of scissors.


Roughly trace the leaf image onto a piece of pizza box cardboard. Use scissors to trim inside the lines so it's slightly smaller than the paper leaf.

Brush Bookbinding Glue onto the cardboard leaf and center over one of the Cream leaf shapes.

Add glue to the other side of the cardboard and top with a second fussy cut leaf shape, creating a triple-layered rigid base.

Add Decorative Elements
Using a Brother Scan n Cut (or similar electronic cutting machine), open the Falling Leaves SVG file. Resize the leaf collage image to 6.5 inches and cut from 12×12" Brown Plain.

Separate the leaf collage into sections using a pair of scissors.

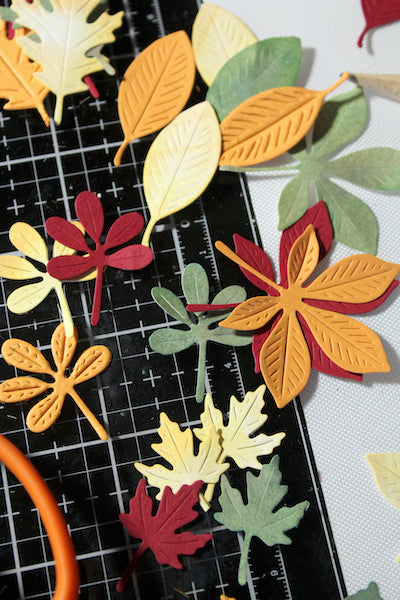
Die cut leaves with the Falling Leaves Die Set using each paper color from the collection. Note: Green leaves are Ivory text weight paper altered with Distress inks.
Cut a 12" piece of twine and adhere one end to the back of the leaf base with hot glue.

Make a small loop. Add a thin layer of glue in a Needle-tipped Applicator to the front of the leaf stem.

Wrap the twine around the stem starting at the leaf base, ending at the top of the stem.

Place the leaf base into a spray tray (aka: empty pizza box). and Apply a variety of inks and spritz with Opaque White and Burnt Umber Stipple Mists. Allow the piece to dry completely before moving onto the next step.

Tie the orange ribbon into a double bow. Adhere to the center of the leaf base along with the leaves from the SVG file.

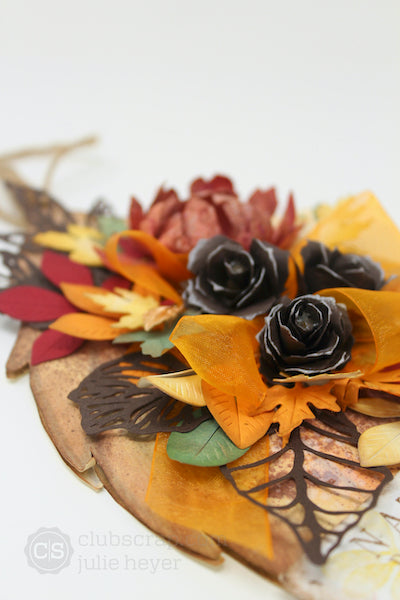
Continue to build the piece by adding die cut leaves, a layered handmade paper flower, pinecones, and a stamped sentiment.


Let's take a closer look at the finished project. The tiny Rose Gold Leaf Charms add a bit of sparkle.

I hope you fall in love with this project like I did! Happy crafting.
Julie

