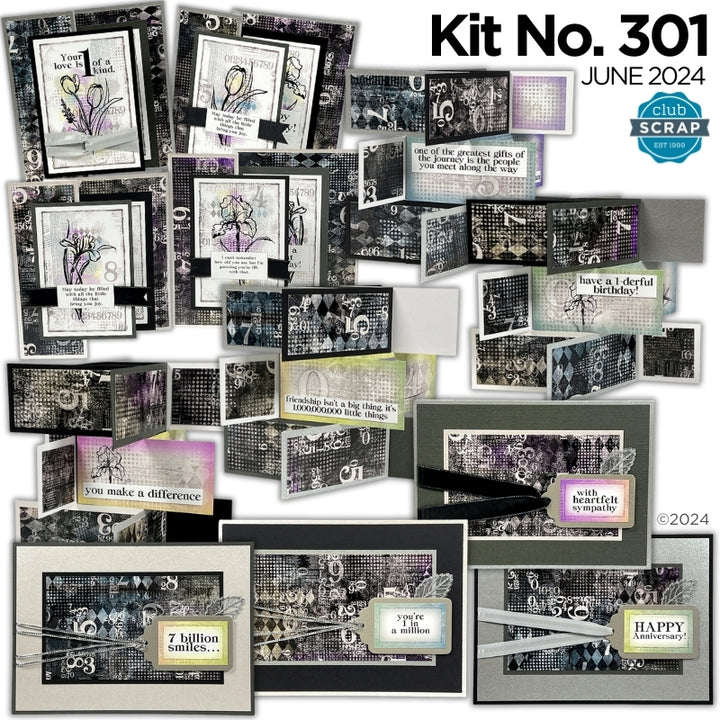
Make an elegant storage solution (and ten beautiful cards) when you pair Club Scrap's Kit No. 301 Card Kit with the 5x7 Card Caddy Components.
Project Prep
The Components kit includes downloadable instructions, a link to a video tutorial, and the supplies needed to build the basic card caddy structure.
In addition, you'll need two prints and nine plains to decorate the caddy and complete eight bonus cards. Since the Kit No. 301 Card Kit includes two prints and eight plains, I added two 12x12 Lt. Aqua Plains from my stash. (The extra sheet allowed me to make TEN cards instead of eight.)
To replicate my version of this project, use the following paper substitutions for each step in the instructions:
1-3 = (5) Card Caddy Black Plains (in components kit)
4-5 = (2) Charcoal
6-7 = (2) Card Print
8 = White Pearl, Lt. Aqua (stash), Silver, (2) Black
9 = White Pearl, Lt. Aqua (stash)
10 = Silver
Once the paper substitutions are determined, completing the project is easy. (Be sure to tune in to Tricia's 5x7 Card Caddy video tutorial if you need extra support.)
- Trim the papers according to the cutting diagrams.
- Follow the instructions to assemble the caddy.
- BONUS: Cut the 6x12 Black (left from Step #3) at 8 and 4". Trim one 4x6 at 4".
- Sort and dry fit the trimmed papers to create the cards.
- Distribute the Cutapart artwork and sentiments to complete each card.
- Embellish as desired.
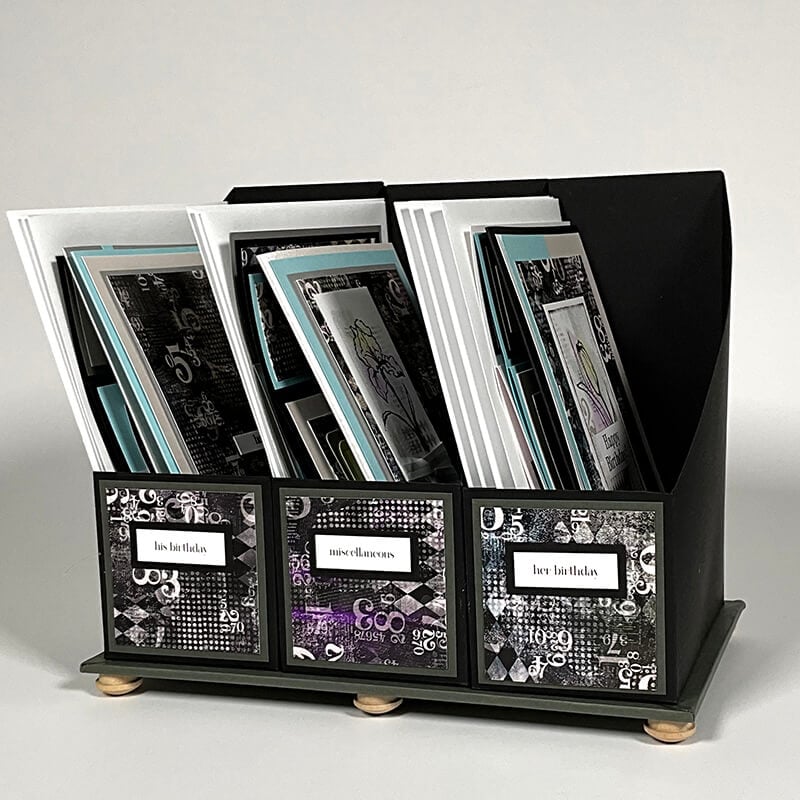
Kit No. 301 Card Caddy
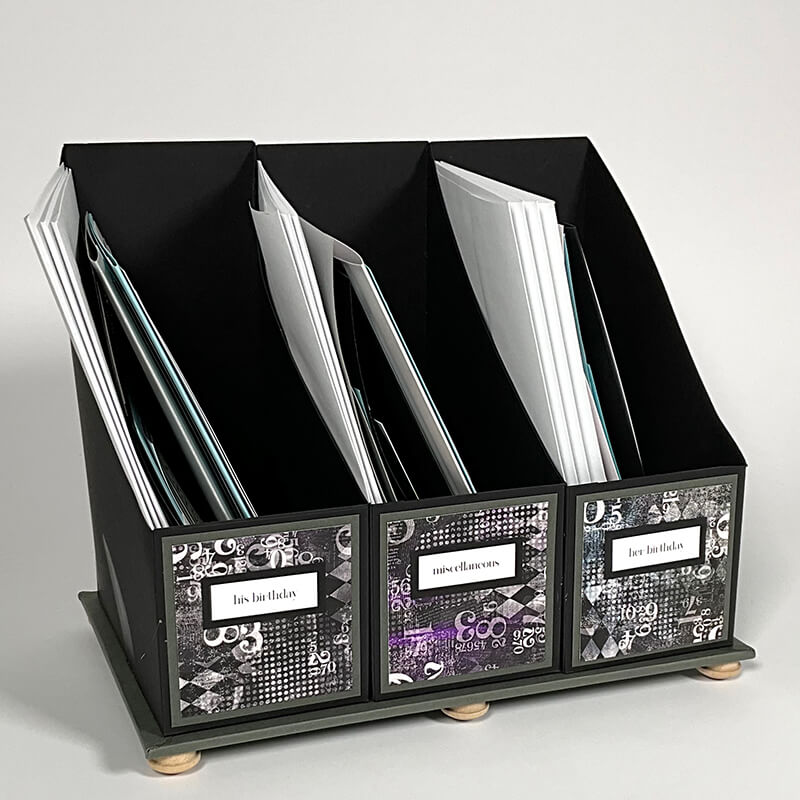
Customize the caddy to fit your needs with your choice of label for each divided section.

Even the back side of the caddy gets the decorative treatment!
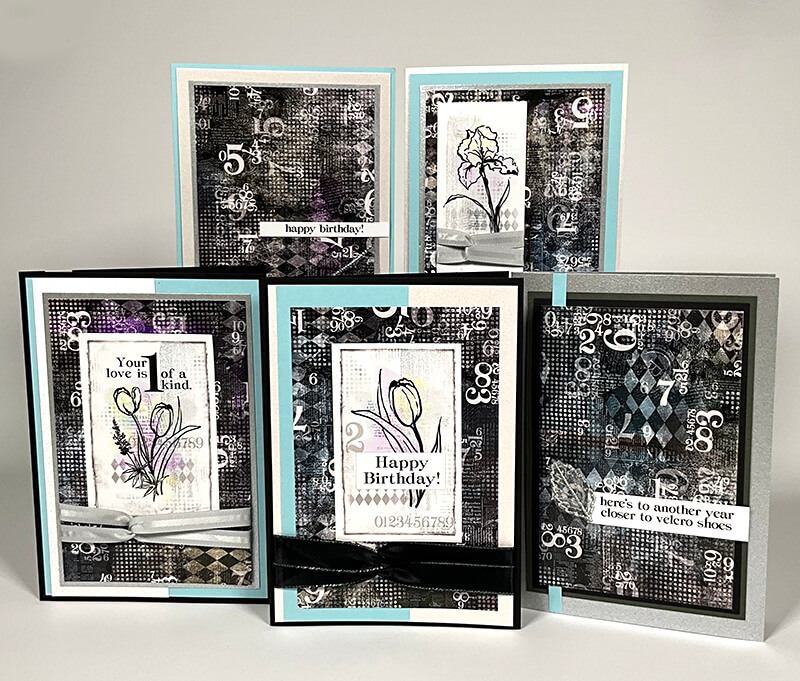
Kit No. 301 - 5x7 Cards
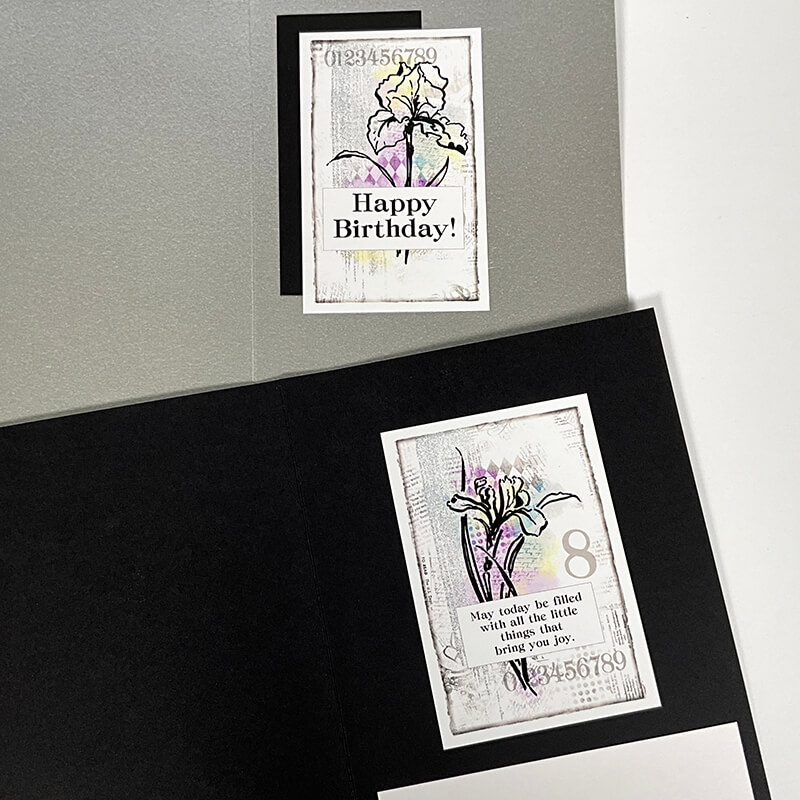
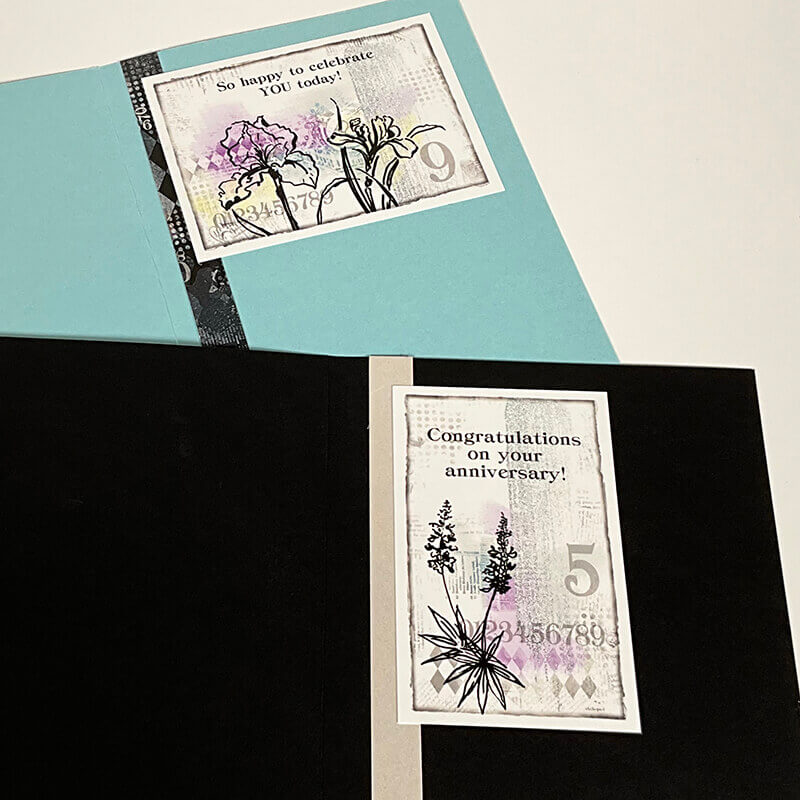
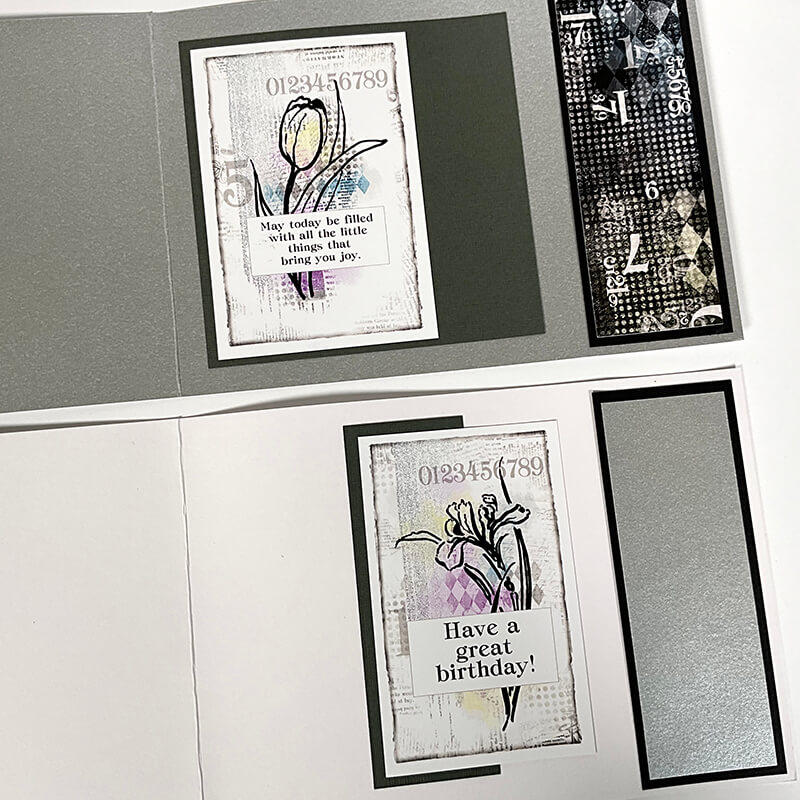
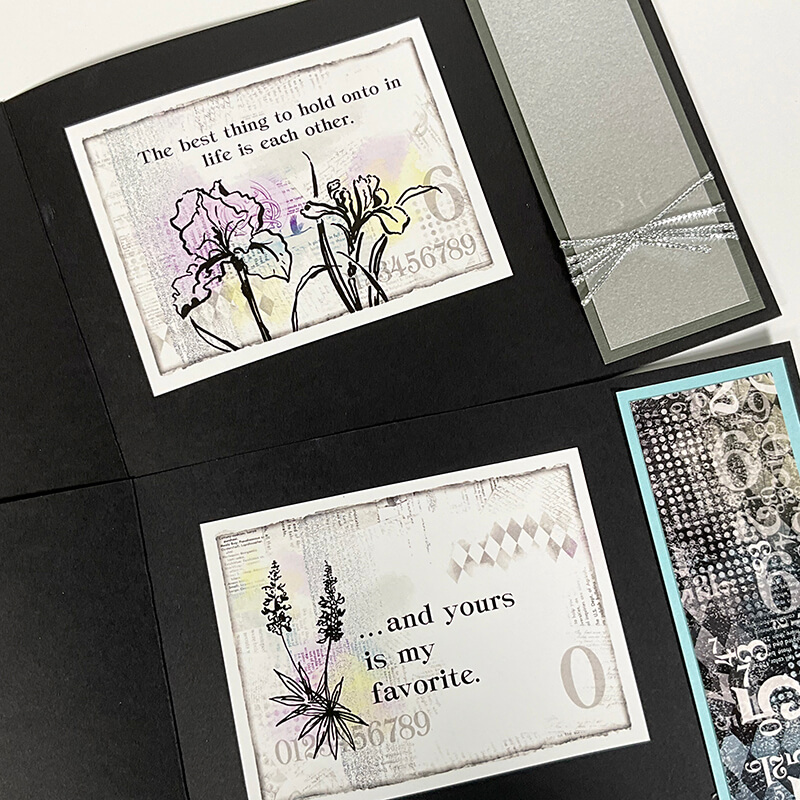
Once the card bases and panels have been sorted, consult the sample photos in the instructions as inspiration for assembly. Add Cutaparts to the exterior and interior of each card, making modifications as necessary. Note: Trimming the extra 12x12 and left over 6x12 will create FIVE of each card style.
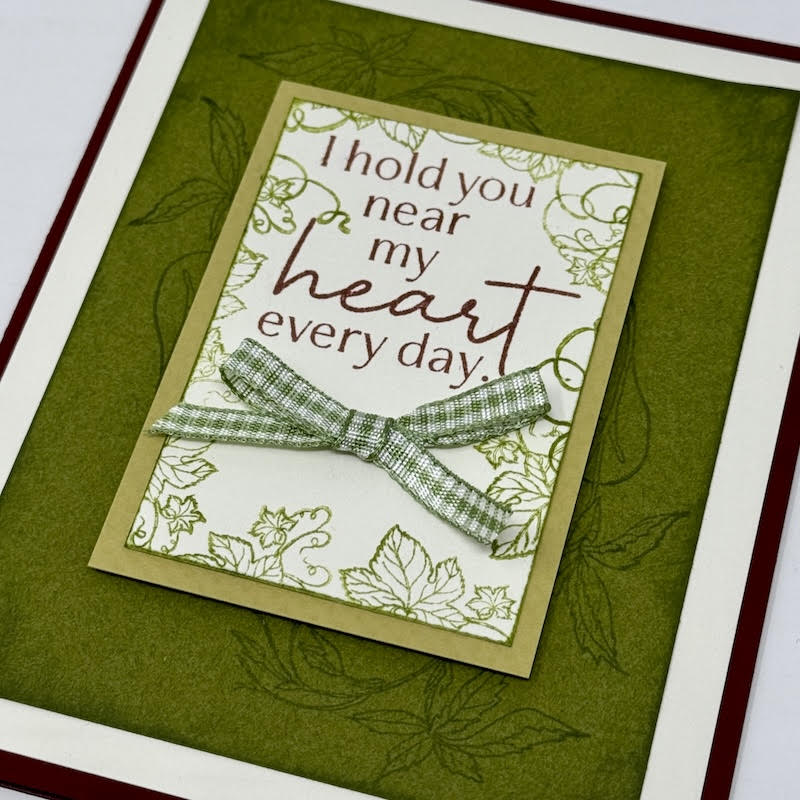
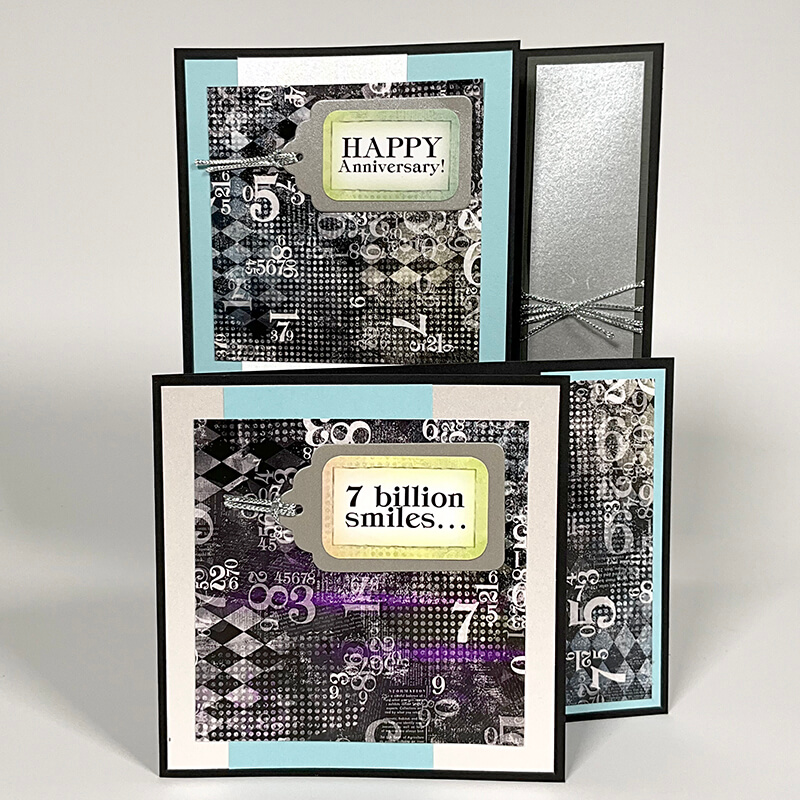
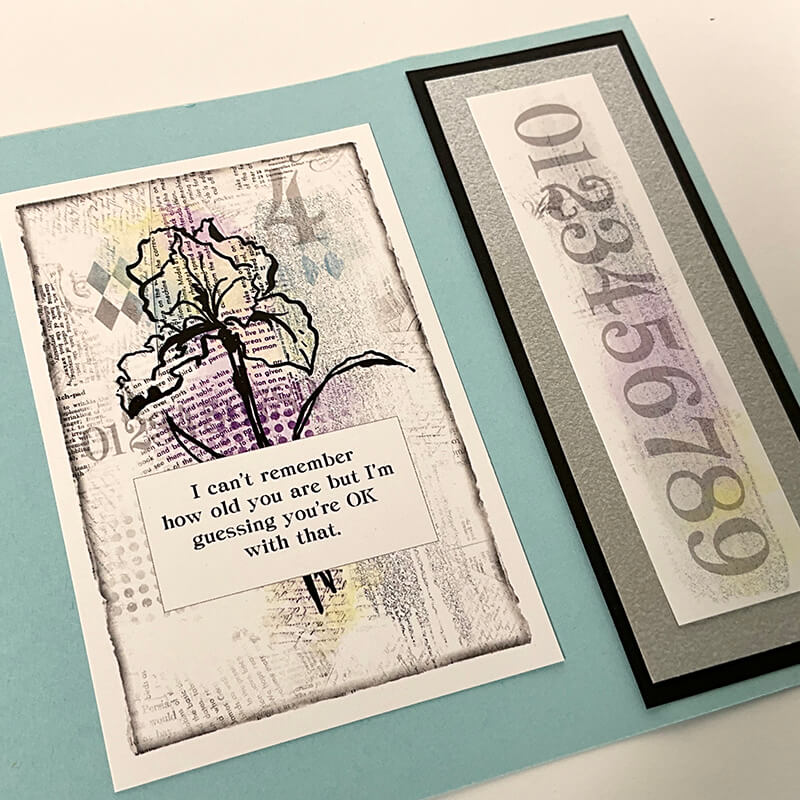
Set A: Single Fold Cards
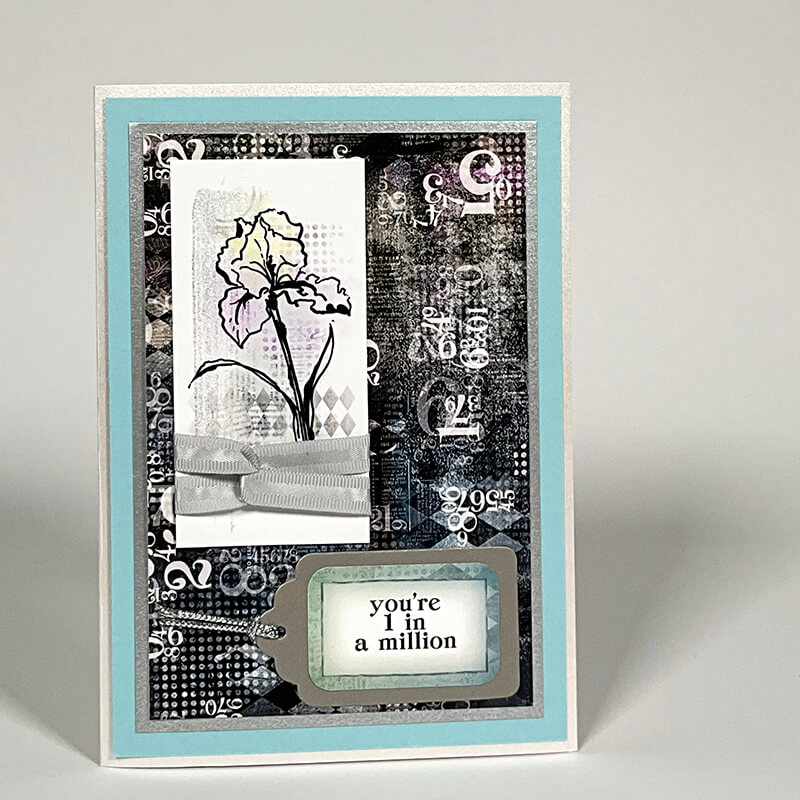
Wrap a double loop of gray satin ribbon around the iris Cutpart. Adhere the sentiment to the silver tag and tie with silver cord.
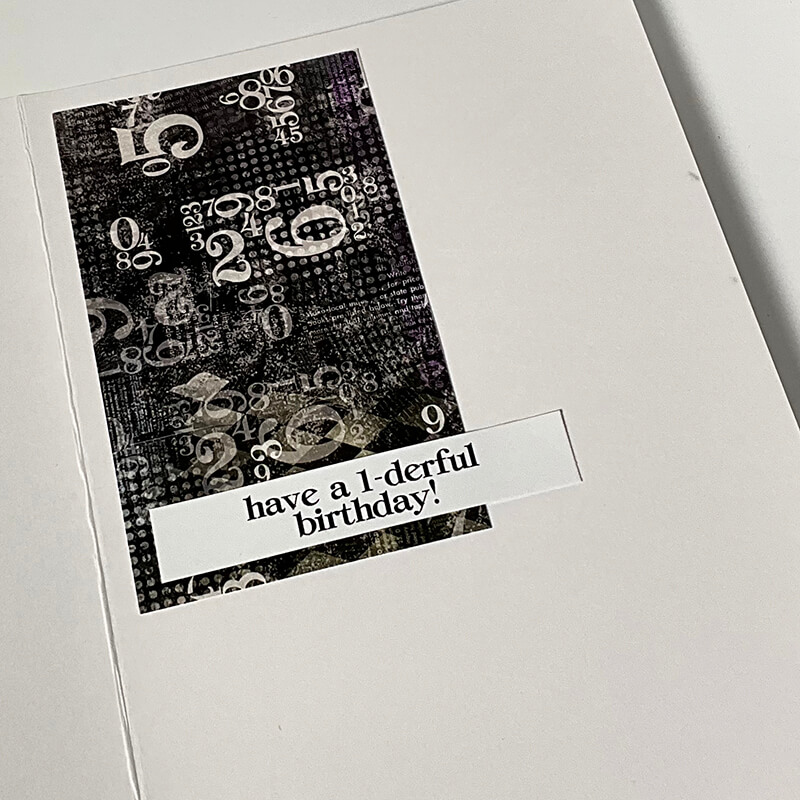
Inside, anchor the coordinating "innie" sentiment with a leftover paper strip.
Alternate between the sentiments from the Cutaparts sheet and those from the Word Art Strip.
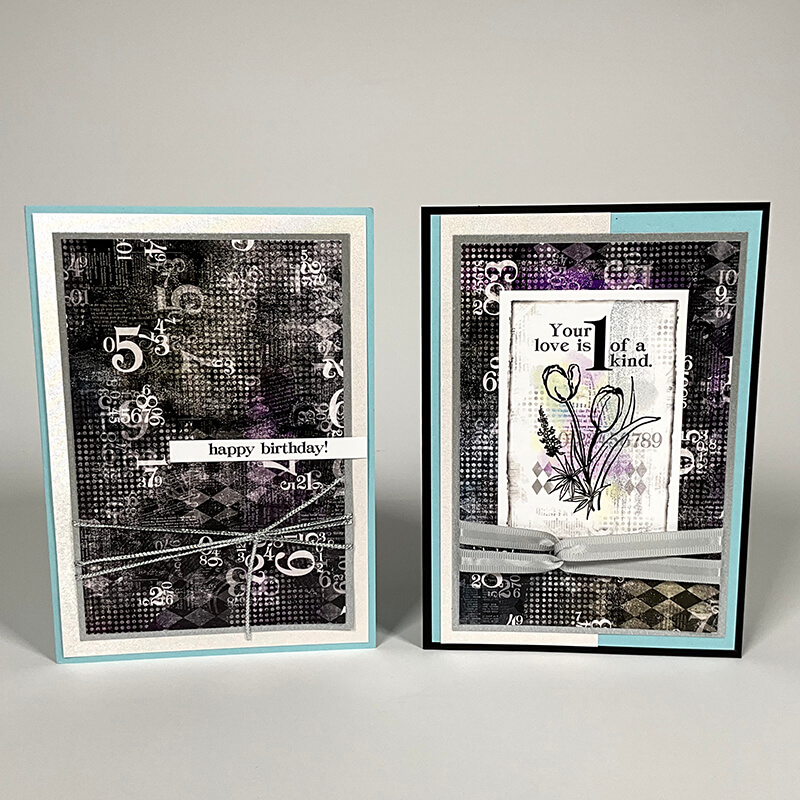
Utilize ribbons in different ways to embellish each card.
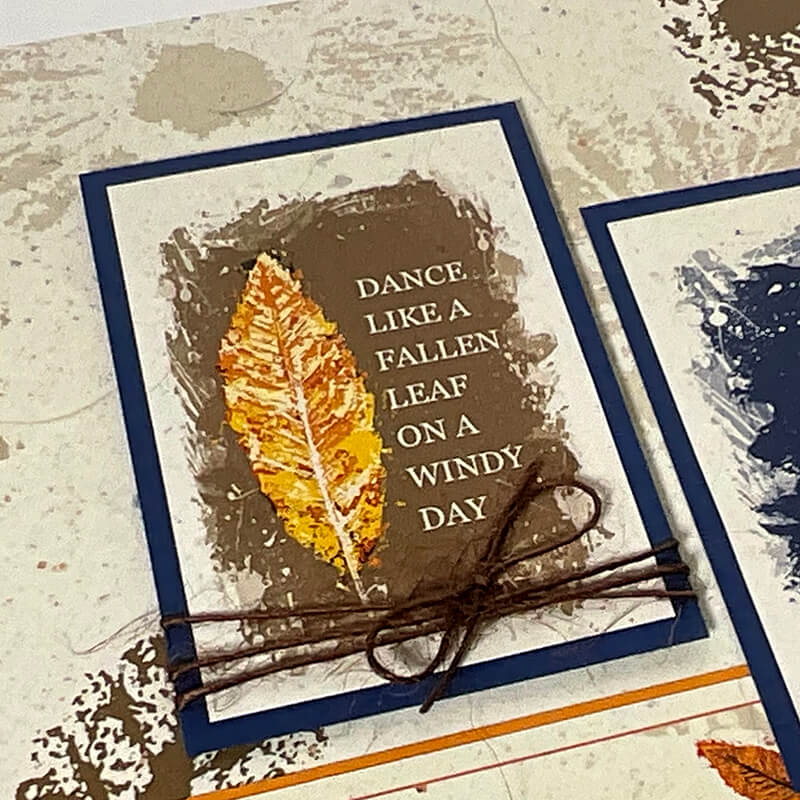
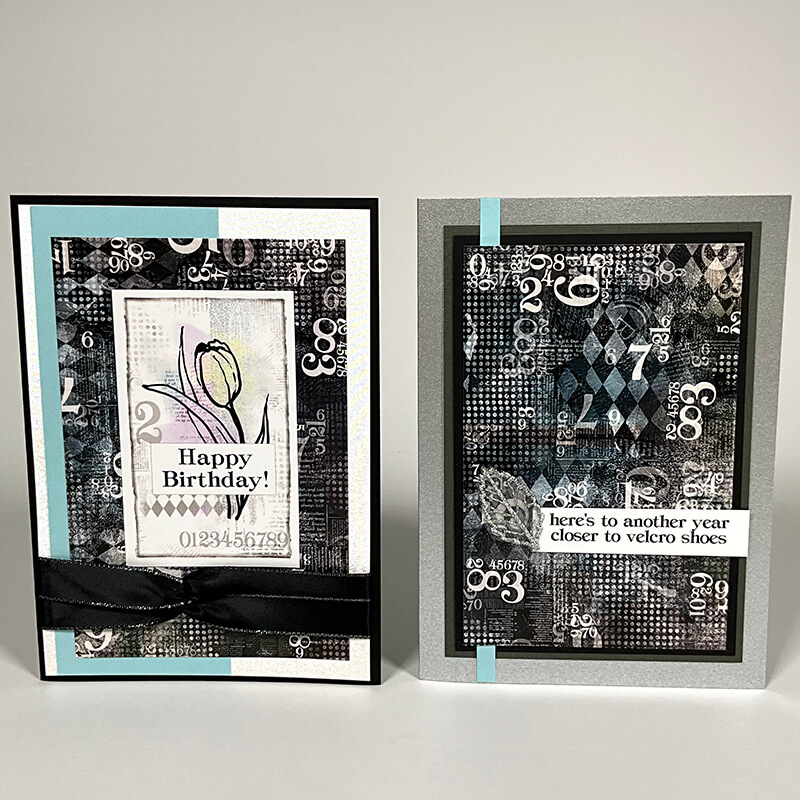
Set B: Square Flap Cards
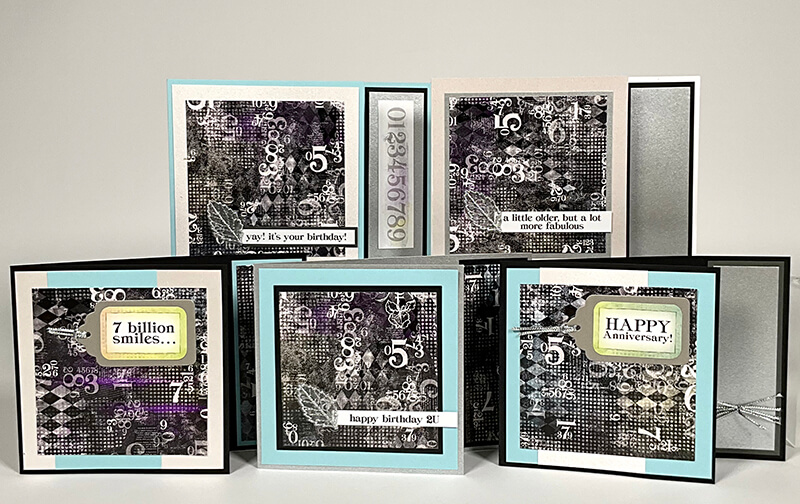
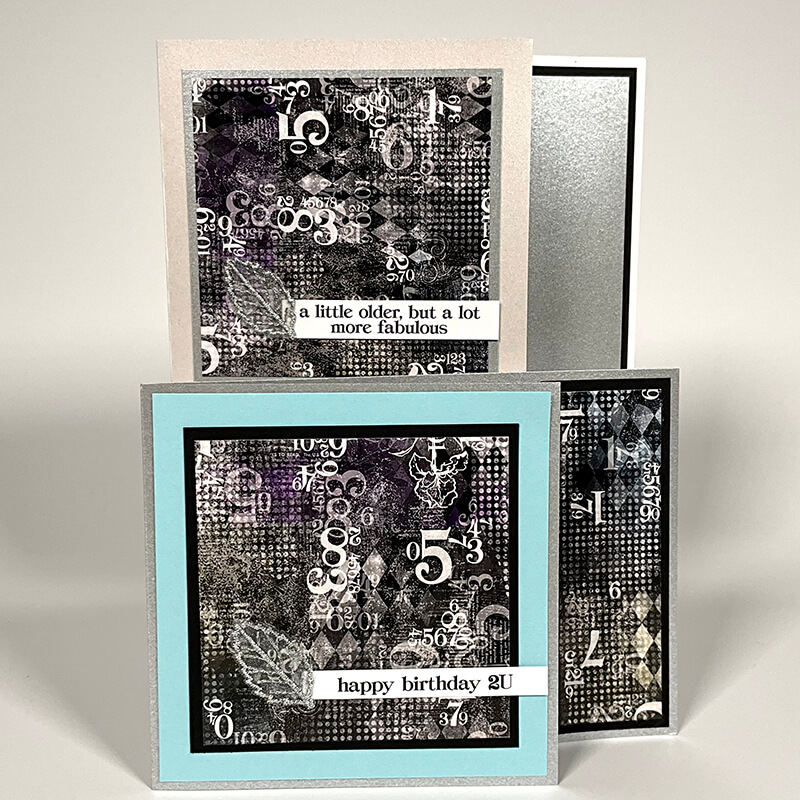
Accent the Word Art sentiments with embroidered leaves.
Add smaller sentiments to the silver tags and tie with silver cord.
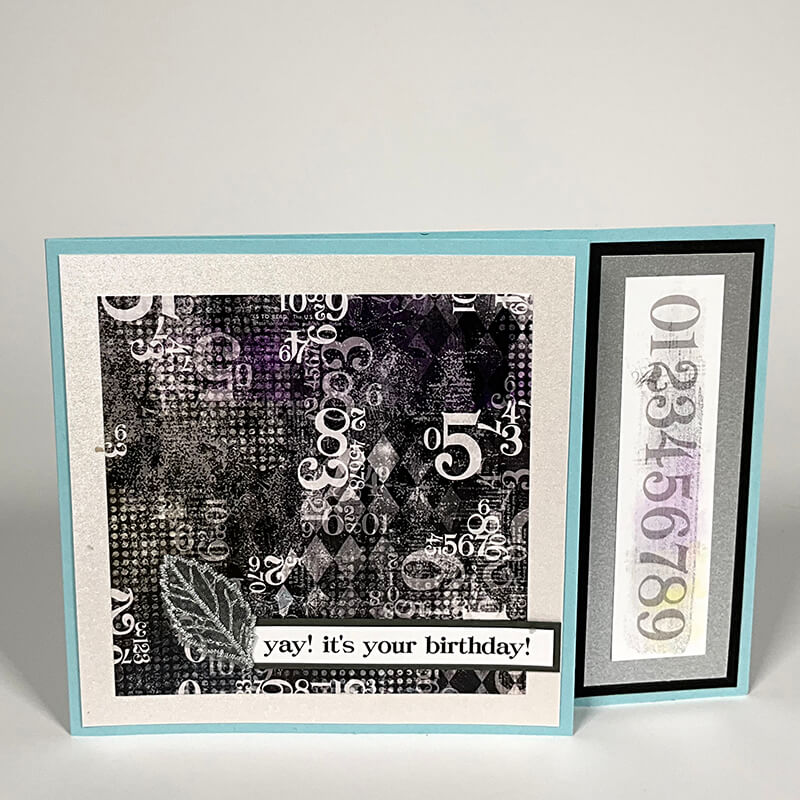
The numbers Cutapart nests onto the side panel perfectly!
I just love how beautiful the finished caddy looks on my work table - and such a great storage solution, too!
Have you made a card caddy recently? If so, be sure to share photos of your finished project on our Club Scrap Chat group on Facebook. It's the perfect place to inspire - or be inspired by - fellow paper crafters.
Kit No. 301 Card Kit
$35.95
An all-inclusive pack requiring no additional stamping supplies* to complete twelve greeting cards. *If you’re more inclined to create your own artwork, all pre-printed Cutaparts can be flipped over to the plain side for your decorating enjoyment. … Read More