One of my go-to spots for creative inspiration is Club Scrap's YouTube channel. Tricia was a frequent host on CraftTV Weekly's Scrapbook Lounge, and even though they are no longer producing the show, I can still view the old episodes.
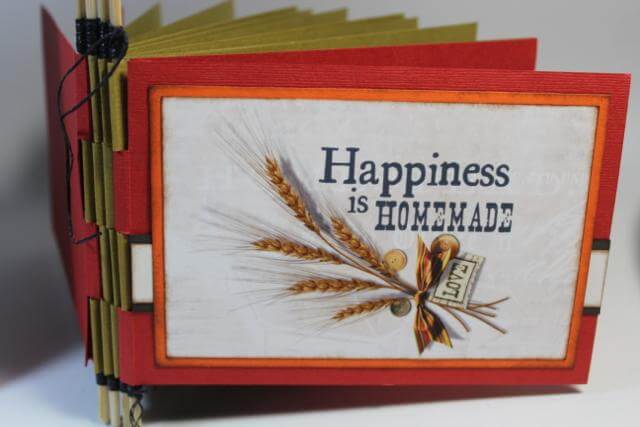
I watched Tricia's Piano Hinge Album episode and made this little book with the Homestead collection. I sent the image to Tricia, and it turned out our creative minds were on the same track. She told me her plans for the Lakes Lite kit project--the piano hinge album. Great minds think alike!
If you're up for the task of measuring, scoring, cutting and folding, take a walk down memory lane and check out Tricia's Scrapbook Lounge episode HERE. Here are the steps to make one of your own.
Gather two Green and one Brick 12x12" papers and trim each at 8 and 4".
Score the resulting six 4x12" Green and two 4x12" Brick papers horizontally at 6".
Flip each paper over and score horizontally at 5.75" and 6.25".
Fold each paper on the 6" score line.
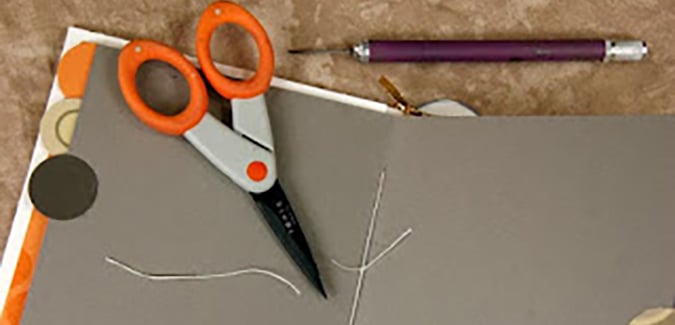
Make a small slits at 1, 2, and 3" along the short folded edges. Carefully cut up to the score line (1/4" long) with scissors or a craft knife.
Reverse the fold of every other tab to form the hinges.
Rotate every other page so that the hinges are opposite the one adjacent to it. Check out Tricia's new Piano Hinge Album Video for details!
Use four wooden skewers (I purchased these at my local supermarket for making Chicken Satay) to create the piano hinge.
Thread the skewers through pairs of interlocking pages to make a total of four page sets.

Stack the skewer secured sets together.
 Weave black waxed linen thread around the skewers to bind the pages together.

Add a dab of book binding glue to either side of the waxed linen thread on both ends of the spine to attach permanently to the skewers.

Remove the pointed tips of the skewers with a serrated scissors.
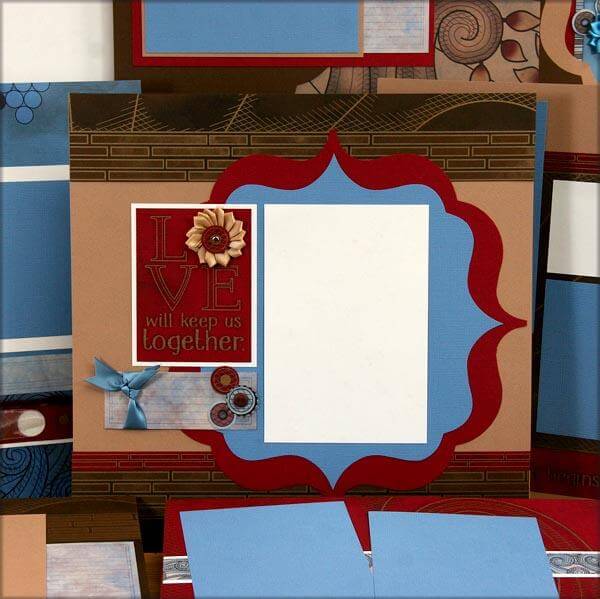
Print a collaged Homestead image created with any digital scrapbooking application (I use iScrapbook) onto white 8.5x 11 cover weight paper. You might remember this same sheet used in my Homestead card and Blog Hop project.
Layer the trimmed digital print with a Pumpkin panel. As an additional embellishment, layer Brown and digital print strips together and adhere beneath the matted digital image. Color the edges of these panels with Earth Ink.
Here is the completed album ready for photos.

I hope you will give this unique and fun binding style a try.


