
Create the illusion of depth and dimension on any project with this quick and easy hidden ribbon technique.

Hidden Ribbon Card Tutorial
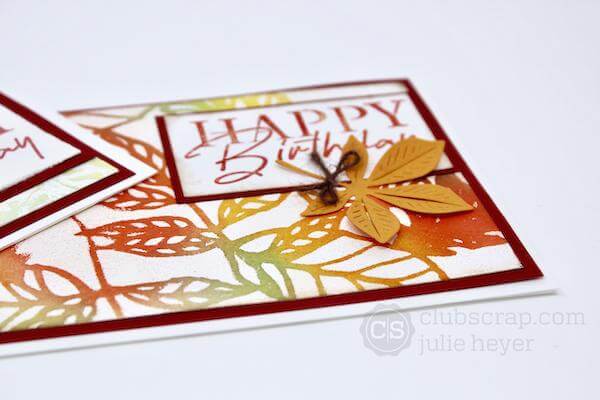
Add Falling Leaves stamped images to a white panel with the Emboss Resist Colored Pencil technique. Be sure to visit this post for a detailed tutorial.

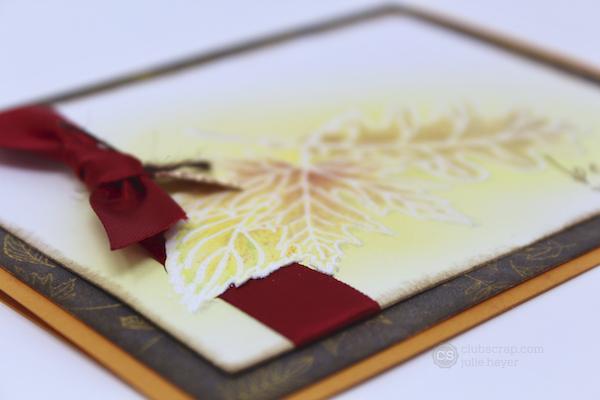
Carefully cut a slit wide enough to accommodate the width of the red satin ribbon. For best results, use a craft knife and cutting mat. You may find it helpful to temporarily place the ribbon over the image, and make a light pencil mark to indicate the width of the ribbon.

Select the quad background image from the Falling Leaves Hybrid kit and print onto an 8.5x11" Super Smooth White Cover Stock paper.

Trim the dark brown print quadrant to 4x5.25" and layer behind the embossed panel cut to 3.5x4.75".

Add a stamped sentiment with Earth Ink onto the front of the white panel. Adhere the panels to a folded 4.25x5.5" Falling Leaves Orange plain card base.

Embellish the ribbon with a gold leaf charm tied onto the red satin ribbon with a small piece of dark brown jute.


I made a second card featuring the In Bloom stamps with the same Hidden Ribbon technique.


Visit my Craft Knife Magic post for more inspiration with a similar technique.
Happy Crafting!
Julie