Create more Happy Life pages when you pair the papers and stamps with the January bonus formula.
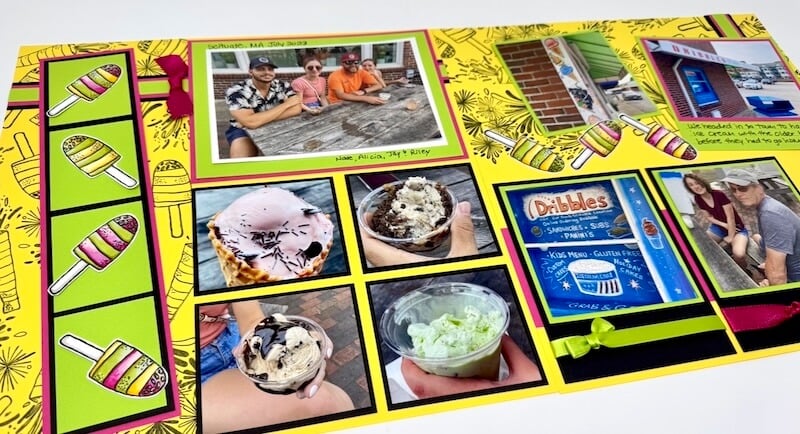
I'll show you how to make custom prints for the base papers and adorable embellishments with the stamps. Grab inks, markers and the bonus formula and let's get scrapping!
Happy Life Pages
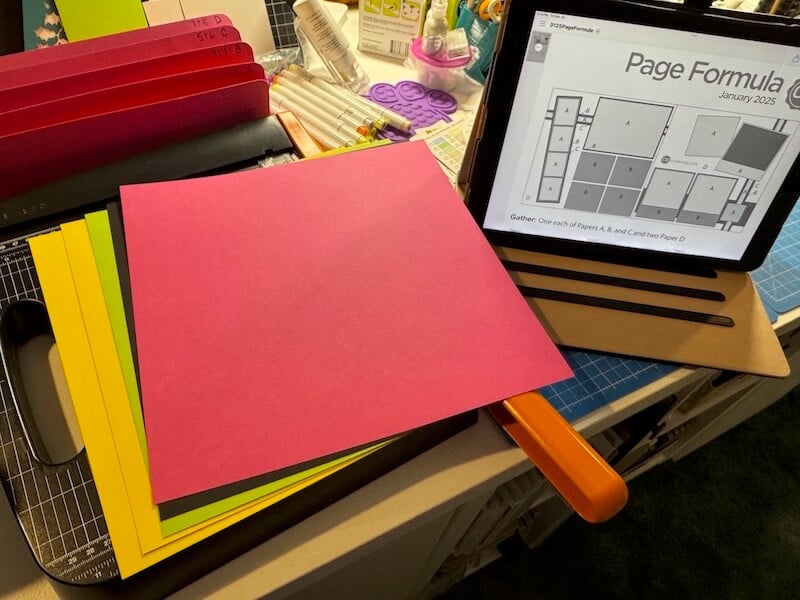
Gather five plain papers from the Happy Life collection as indicated in the January formula, using the following paper assignments: Lime (Paper A), Black (Paper B), and Pink (Paper C). Two Yellow (Paper D) will serve as the left and right bases of the layout.
Custom "Print" Tutorial
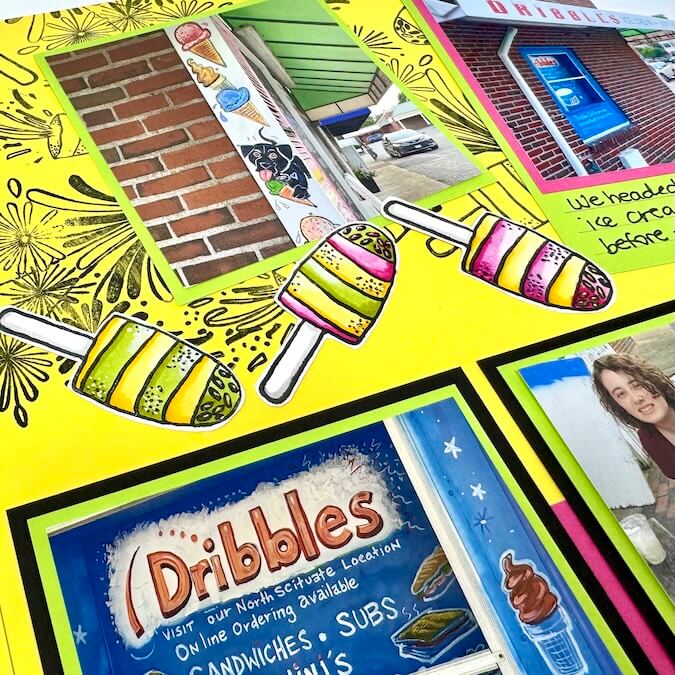
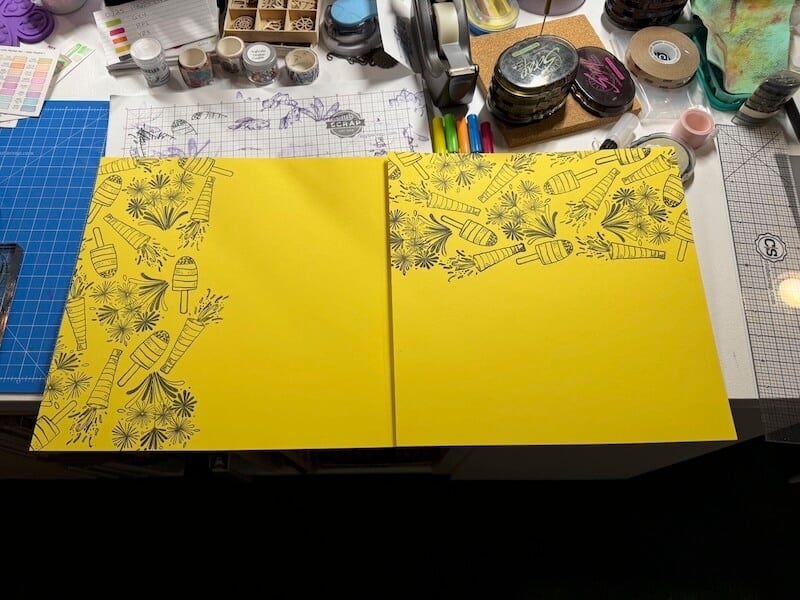
Separate two Yellow (Paper D) from the paper selections prior to trimming. Stamp the popsicle, confetti horn, and fireworks images along the edges of each sheet with India Ink.
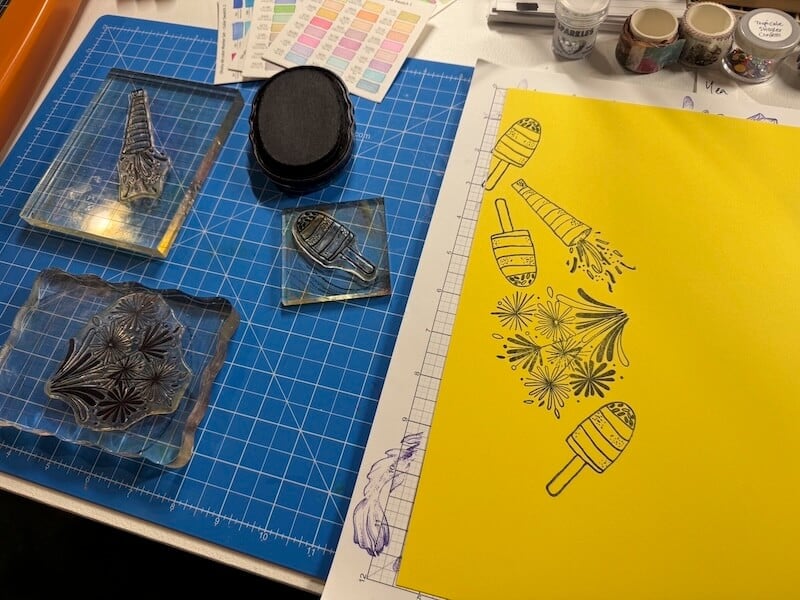
Allow some stamped images to "fall off" the edges of the paper to mimic a real "print".
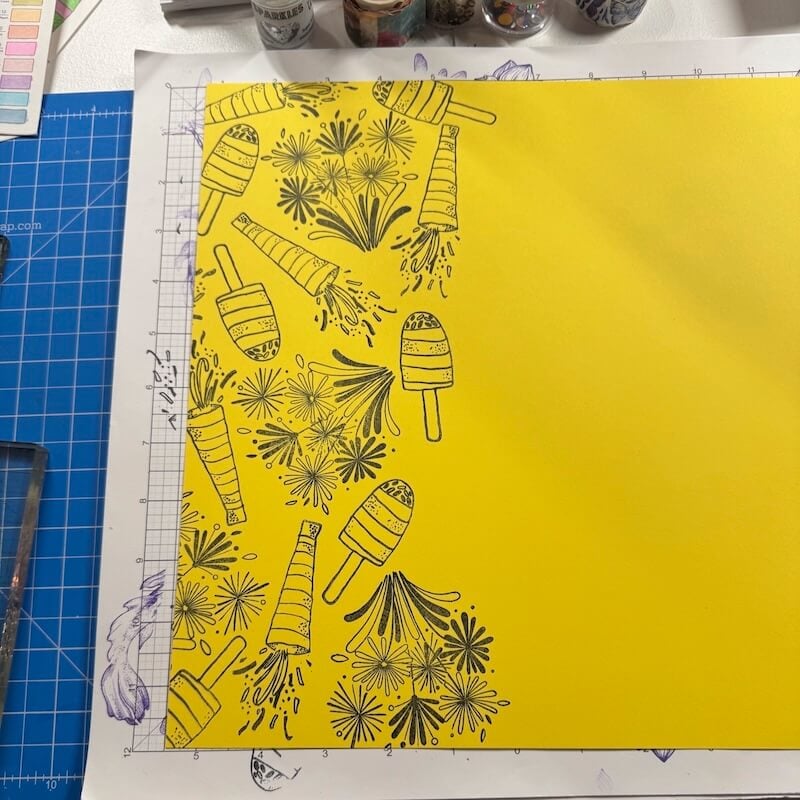
Once your "prints" are complete, it's time to cut the remaining papers according to the instructions in the formula.
Trimming and Assembly
Trim and sort the three remaining 12x12" papers: Lime (Paper A), Black (Paper B), and Pink (Paper C).
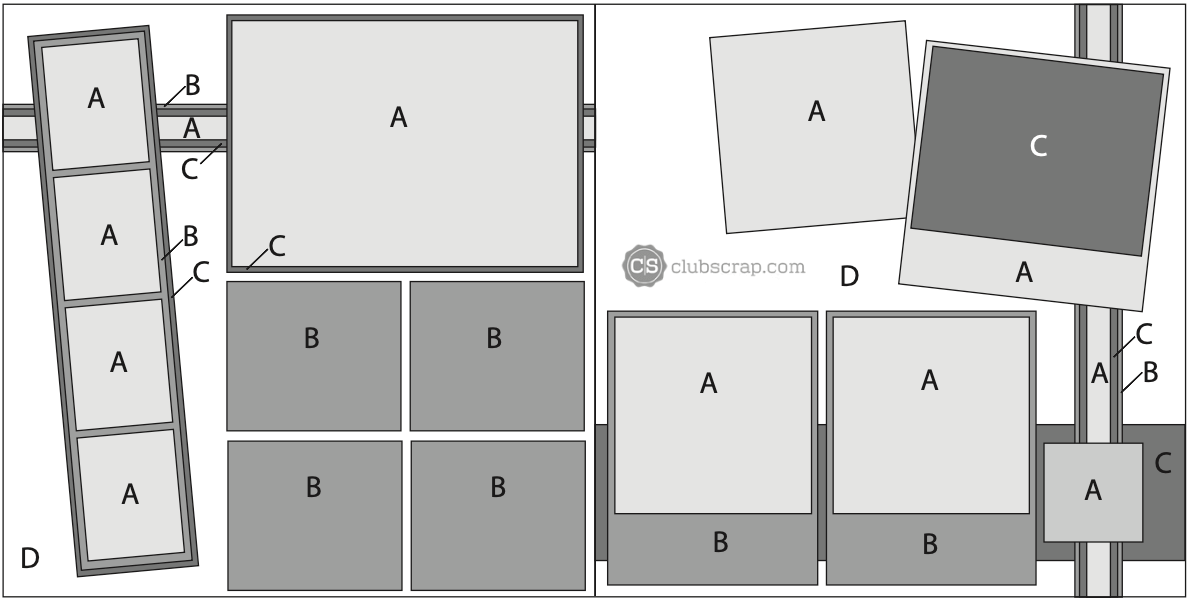
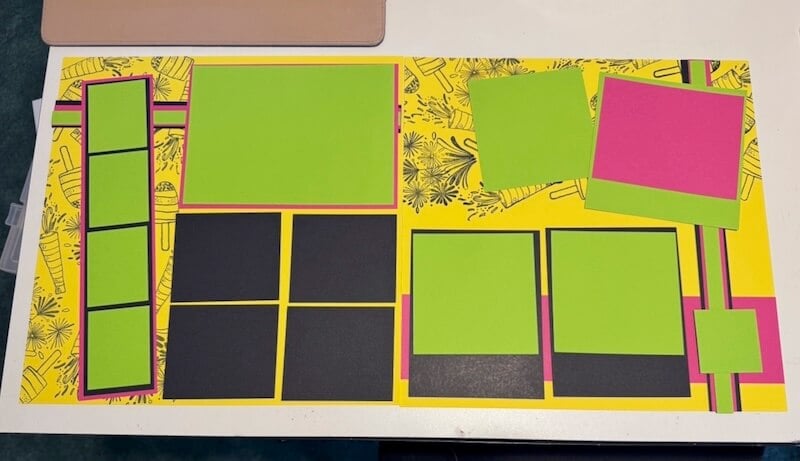
Once the trimming is complete, refer to the sketch to dry fit the trimmed pieces.
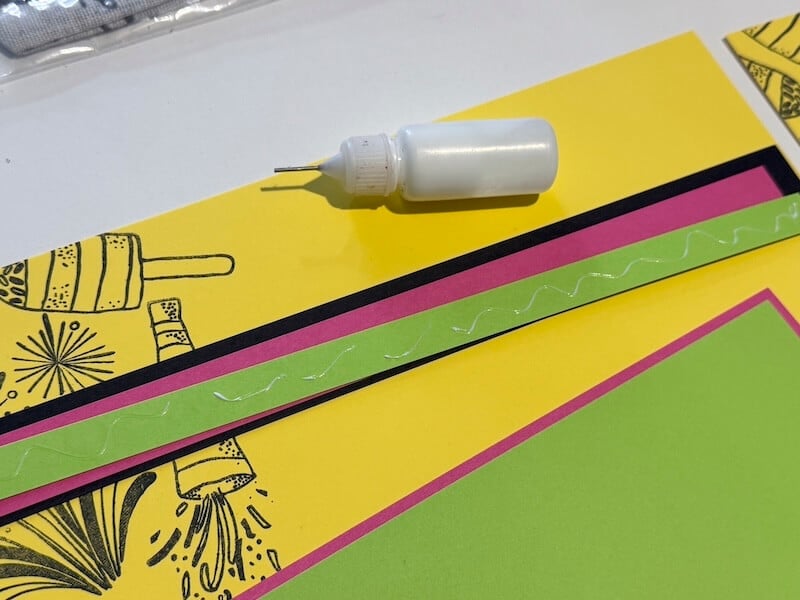
Adhere skinny border strips with Bookbinding Glue dispensed from a Needle-tipped Applicator.
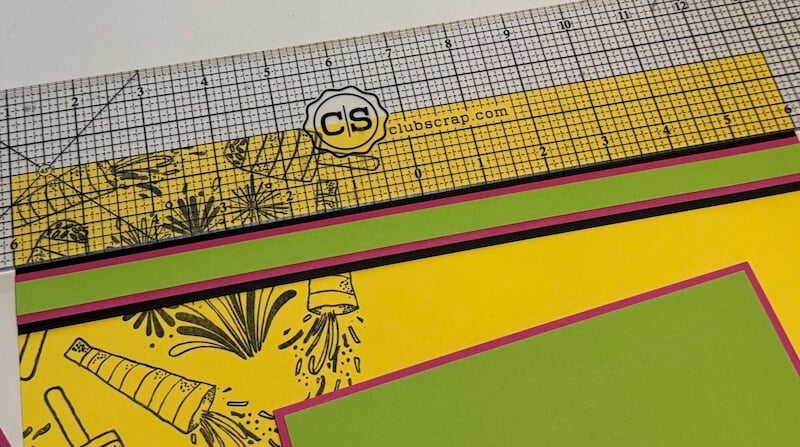
Ensure perfect alignment of the border strips and mats with the help of the zero center on a 3x14" Grid Ruler.
Stamped Embellishments with Alcohol Markers
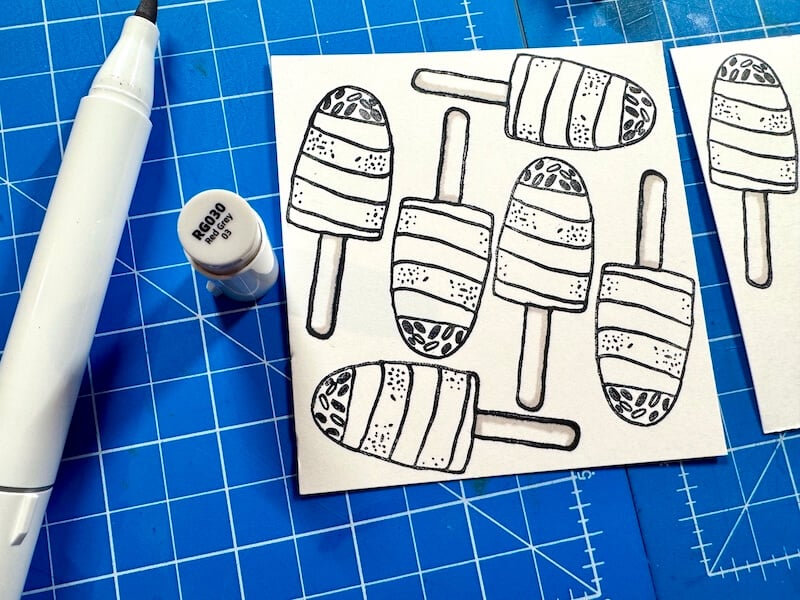
Add multiple popsicle images to a white panel with India Ink.

Add a "drop shadow" to each popsicle stick with a Lt. Gray Ohuhu Alcohol Marker*. (Actual color names/numbers will vary based on what set of markers you use.)
*As an Amazon Associate, Club Scrap may earn a commission if you make a purchase through links on our site. Thank you for supporting us!
Begin with the top of the popsicle and add Dk. Pink to the shaded side of the image. Blend with a Medium Pink and finish the coloring the area with the Lt. Pink.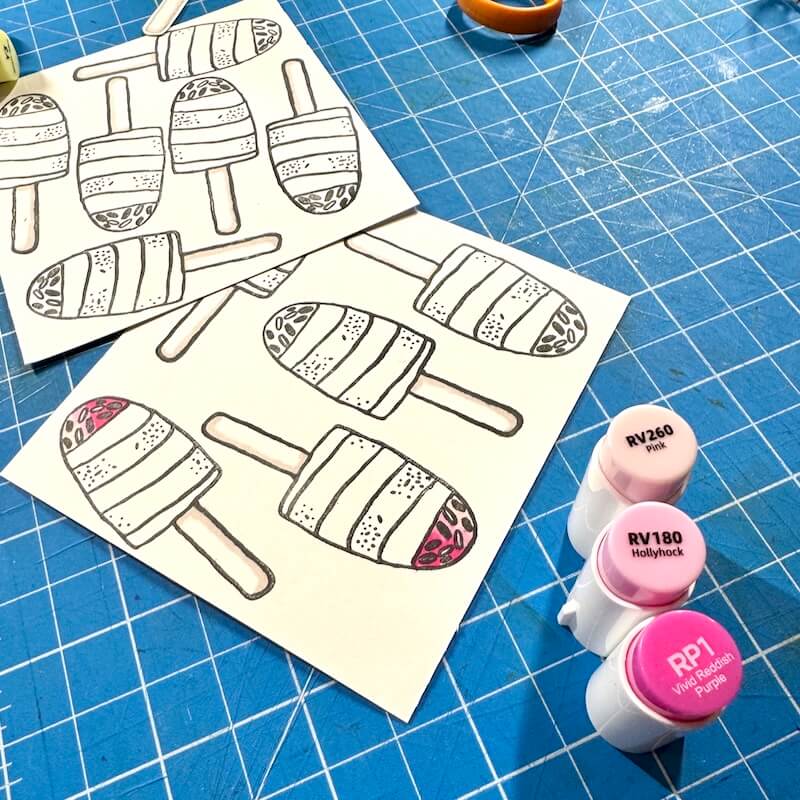
Continue this technique with the other stripes on the popsicle making sure to keep the imaginary light source on the same side of the images.
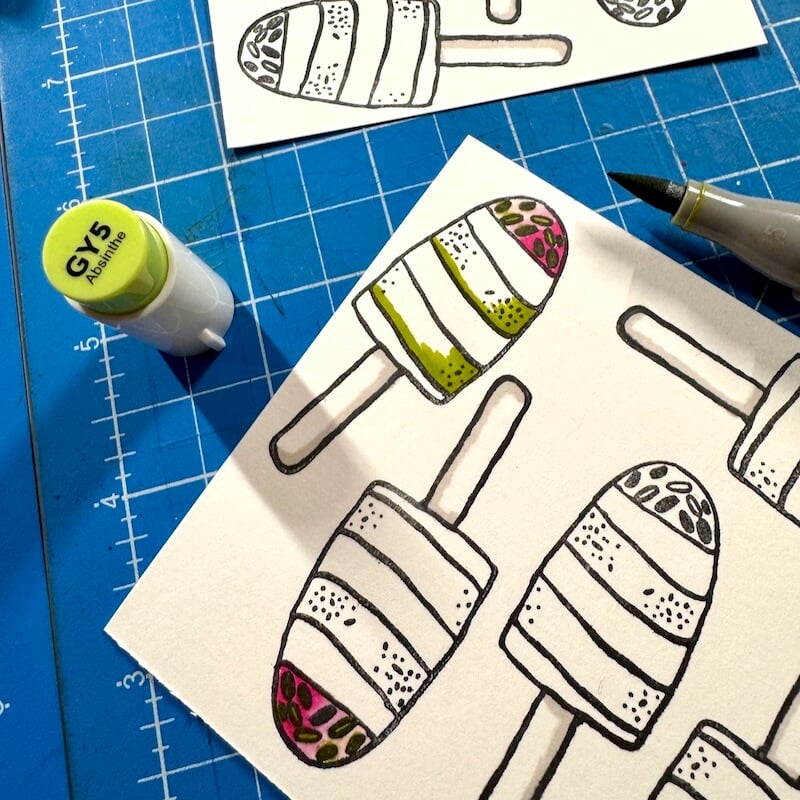
Continue to add more color to the image until you are satisfied with the results.
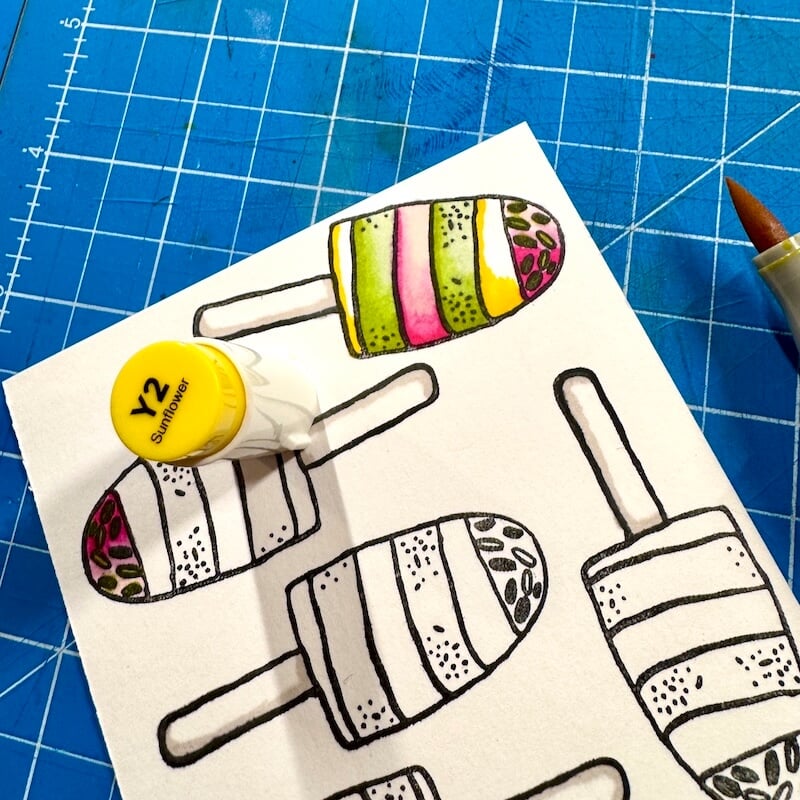
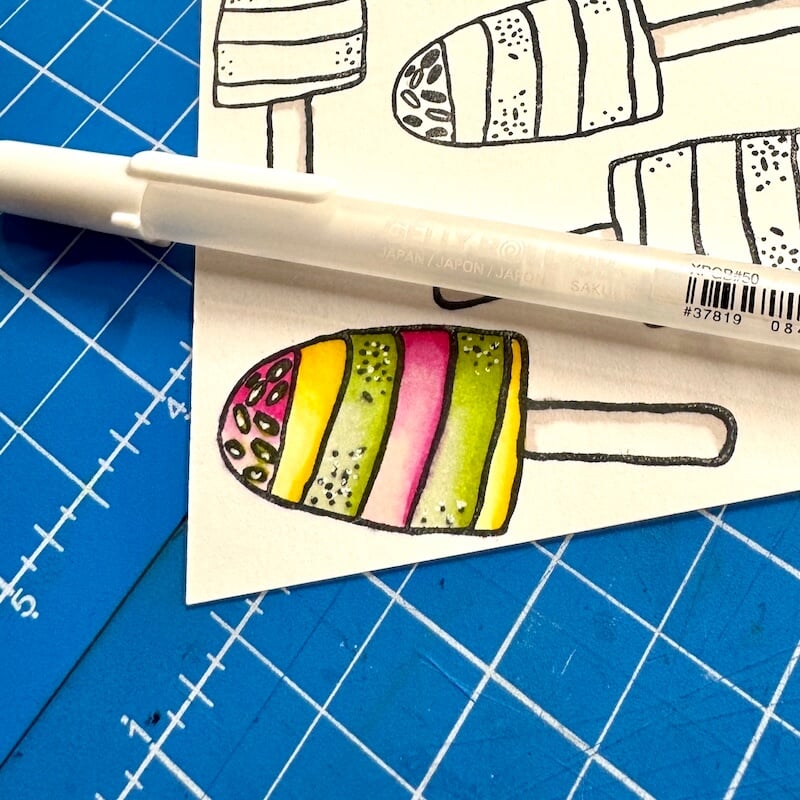
Add highlights with a white gel pen.
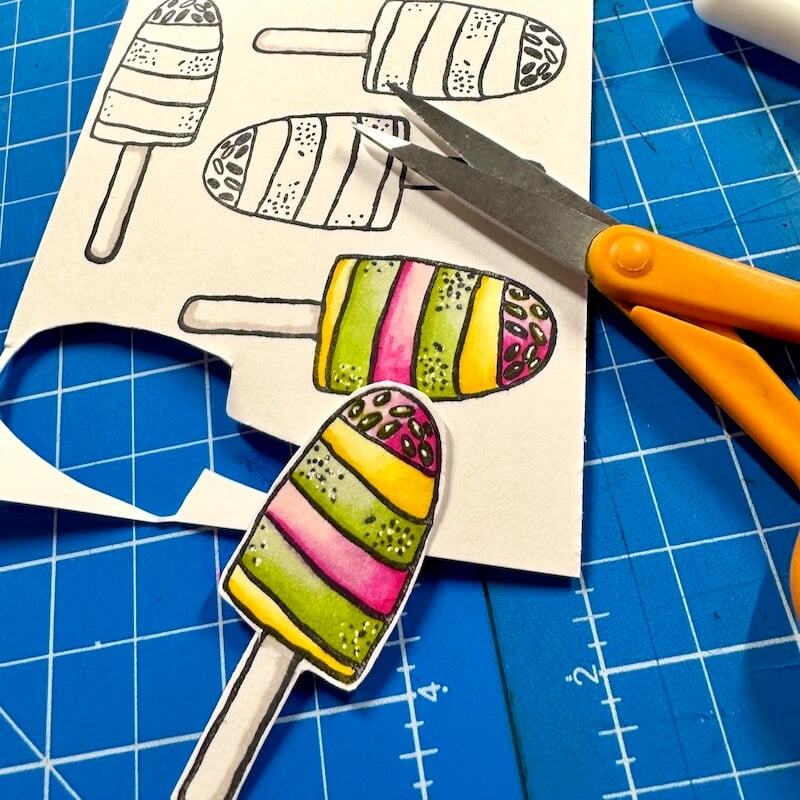
Fussy cut each popsicle with small detail scissors.
Assembly Tips
Before cropping your photos, test fit them over each mat to ensure proper placement.
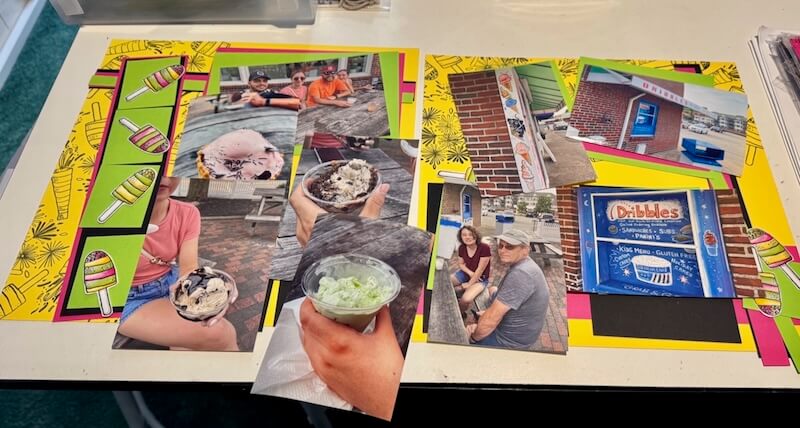
Add a 4.25x6.25" white panel (from my stash) behind the photo on the left page.
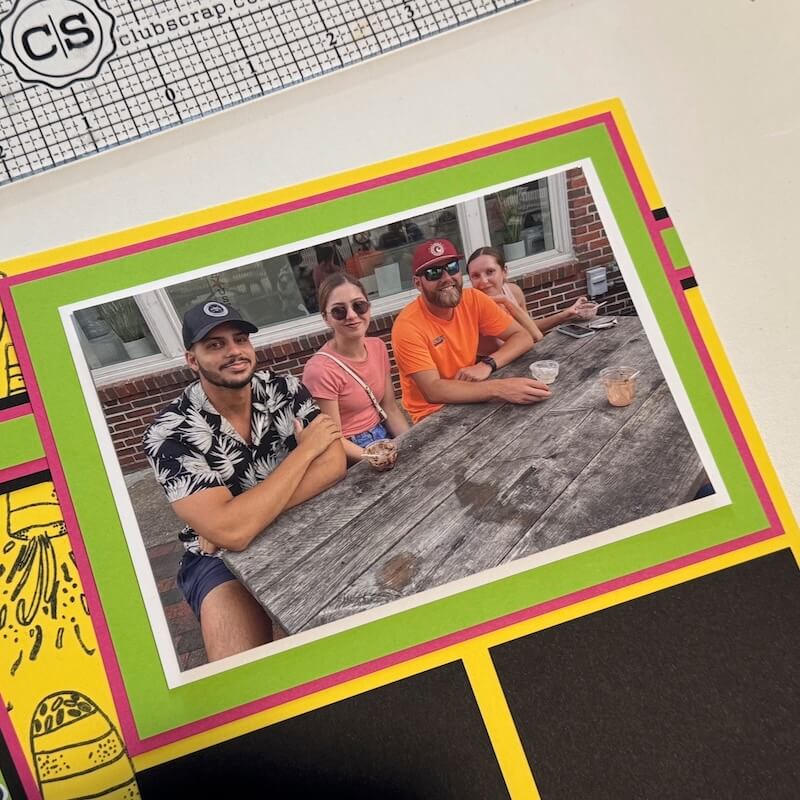
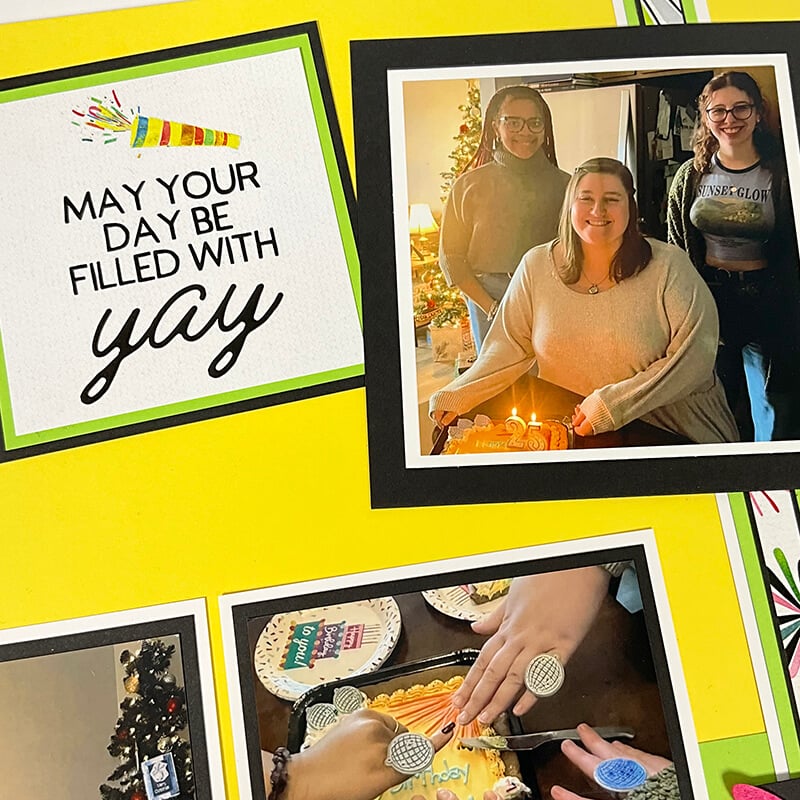
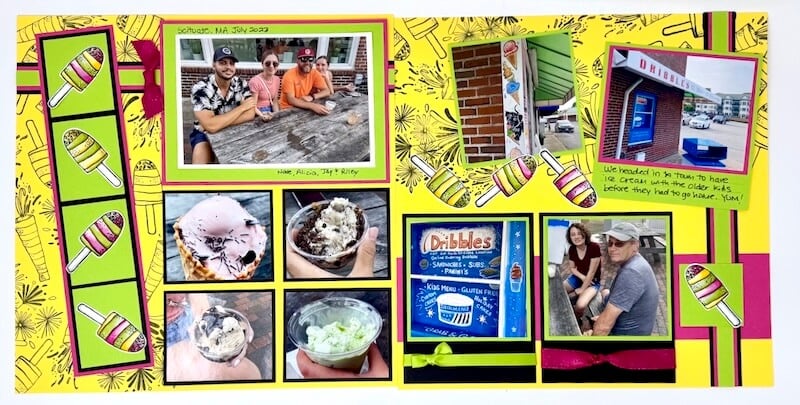
Add the popsicle embellishments to the small green mats on each side of the layout. Tie coordinating ribbons to the border strip on the left page and around the bottom of the Black mats on the right. Crop the photos to nest onto each mat; adhere in place.
Happy scrapping!
We invite you to share your finished projects with us on our Club Scrap Chat Group on Facebook. Not a member of the group yet? Simply answer the questions and your request will be accepted in no time.
Happy Life 12x12 Plain Paper

$1.39
12x12" premium plain scrapbook papers, sold individually, by the sheet.… Read More
Happy Life Stamps

$19.25
Our premium clear photopolymer stamps are ready to use; no prep is required. The stamp sheet measures 6x8" and includes individual images and phrases. Deeply etched for high-quality impressions Clear substrate for easy positioning and accurate stamping Non-yellowing and durable… Read More

