
Happy February, everyone! I been having such a good time playing with the Fun and Games collection. Last week I shared cards I made with the stamps, and today I'm excited to share the layouts I completed using the Page Kit.
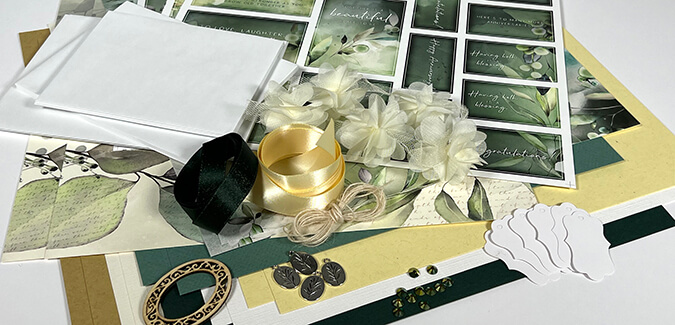
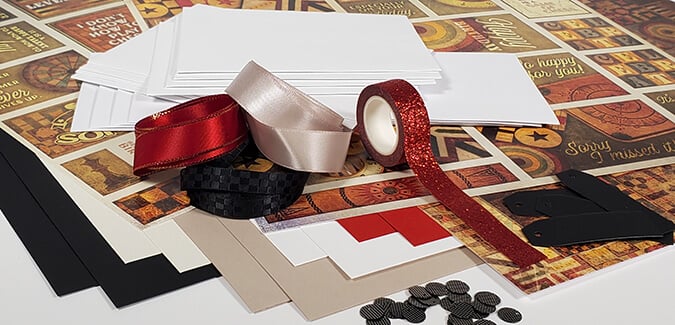
Fun and Games Page Kit
Let's take a closer look at each two-page spread. First I'll share Tricia's original layout sample, then my layouts, completed with photos and journaling. I'll also include tips and any adjustments I made along the way.
Layout 1 & 2
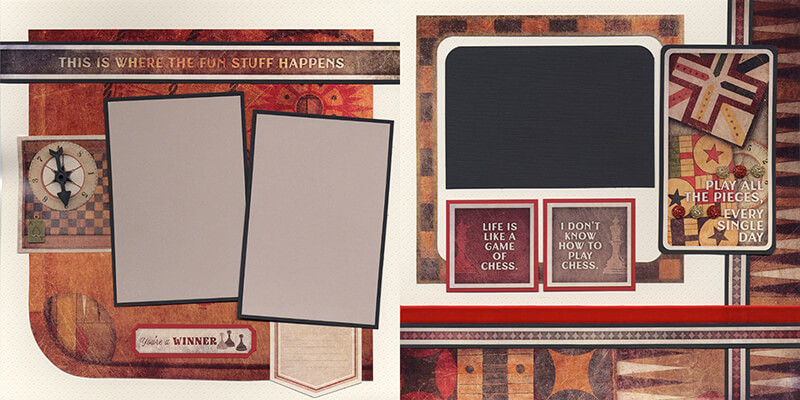
I didn't make many changes to the first two-page spread. A length of Red Glitter Washi Tape (Card Kit) on both the left and right pages adds a touch of sparkle.

Additional photos top of each of the three cutaparts on the right page.

Since I had covered the larger cutapart with a photo, I relocated the Glitter Gems - three for each side of the layout.

The first layout features a very real, super fun game spinner. It's a rather dimensional item, so you could easily skip it if you prefer. I loved the idea, so I included it. However, I did want folks browsing my scrapbook to fully experience the interactive nature of the spinner, so I customized a page protector using the steps below. Club Scrap Page Protectors are so thick and durable, you can make customizations like this without worry of tearing or other damage.

1. Remove "arrow" portion of the spinner. Insert the layout into the page protector. Press the top of the circular area of the spinner firmly with your fingers to create an impression.
2-3. Remove the layout. Insert a cutting mat into the page protector underneath the impression left by the spinner. Carefully trim around the area with a craft knife.
4-5. Place the layout into the page protector, making sure to align the spinner with the opening.
6. Re-attach the "arrow" portion of the spinner. Ta-da! Now you have a fully functioning interactive element in your scrapbook.
Layout 3 & 4

This two-page spread worked well with photos from a visit to another brewery.

Crop a photo to fit the top of the square backgammon board cutapart.

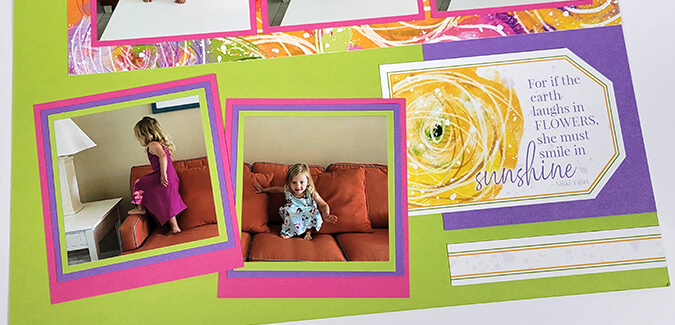
Layout 5 & 6


When browsing potential photos for this spread, I realized I a bad case of "verticalitis" on my hands.

The solution? Rotate the page clockwise 90 degrees = vertical mats for the win! Cover the (now sideways) cutapart sentiment with "Aim high" using foam adhesive circles. (Make sure your bottle cap "checkers" are facing the right way!)
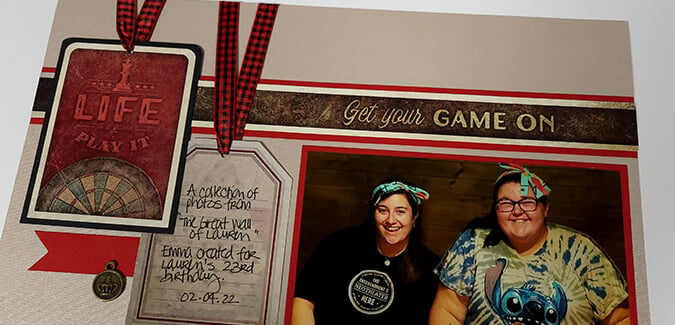
Layout 7 & 8

The "Life is short..." cutapart sentiment inspired this layout showcasing photos of my daughter and her bestie.

Since the photos on this spread are compilation of photos from different occasions, I skipped adding the "Date" cutapart. Instead I trimmed the small red rectangle into a banner shape and topped it with a bronze charm.
I hope you're as inspired by Fun and Games as much as I am. Our team would love to see what you're creating with this collection. Be sure to share your pages, cards and other projects on the Club Scrap Chat Facebook Group.
Happy scrapping!
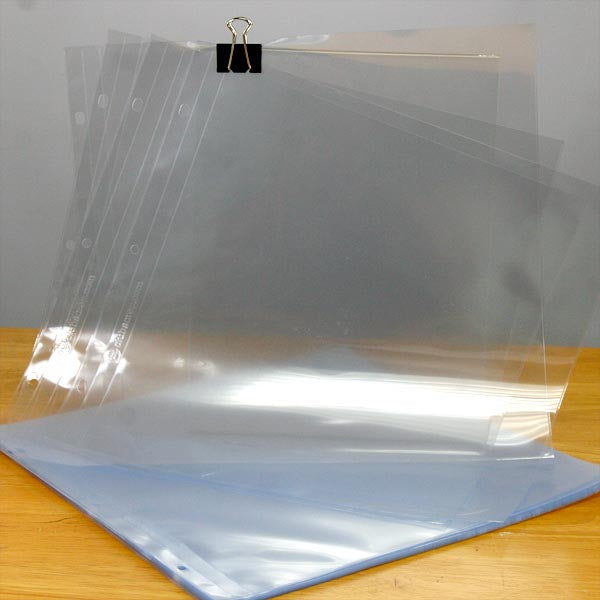
12x12 CS Poly Page Protectors - 25 Pack
$27.78
Our exclusive page protectors are extremely durable and feature a specially designed gusset so pages lie flat in your album. They are made extra roomy so you'll never have to trim your pages! Package of 25. Archival. PVC-free. Designed to… Read More