
In the midst of preparing for February's monthly collections, we managed to sneak in a beautiful special release scrapbooking kit: French Quarter! Whether you've been to New Orleans or recently returned from exploring the streets of Paris, this collection is going to be perfect!
Members: This is a special release collection and will not ship automatically. If you'd like, you can choose "ship with my next kit" at checkout, and we'll be sure to include it in your next box.


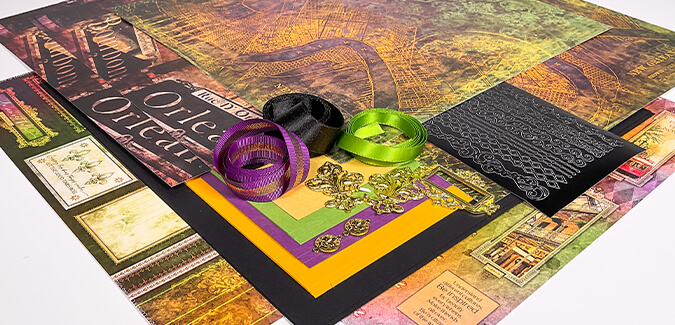
French Quarter Page Kit
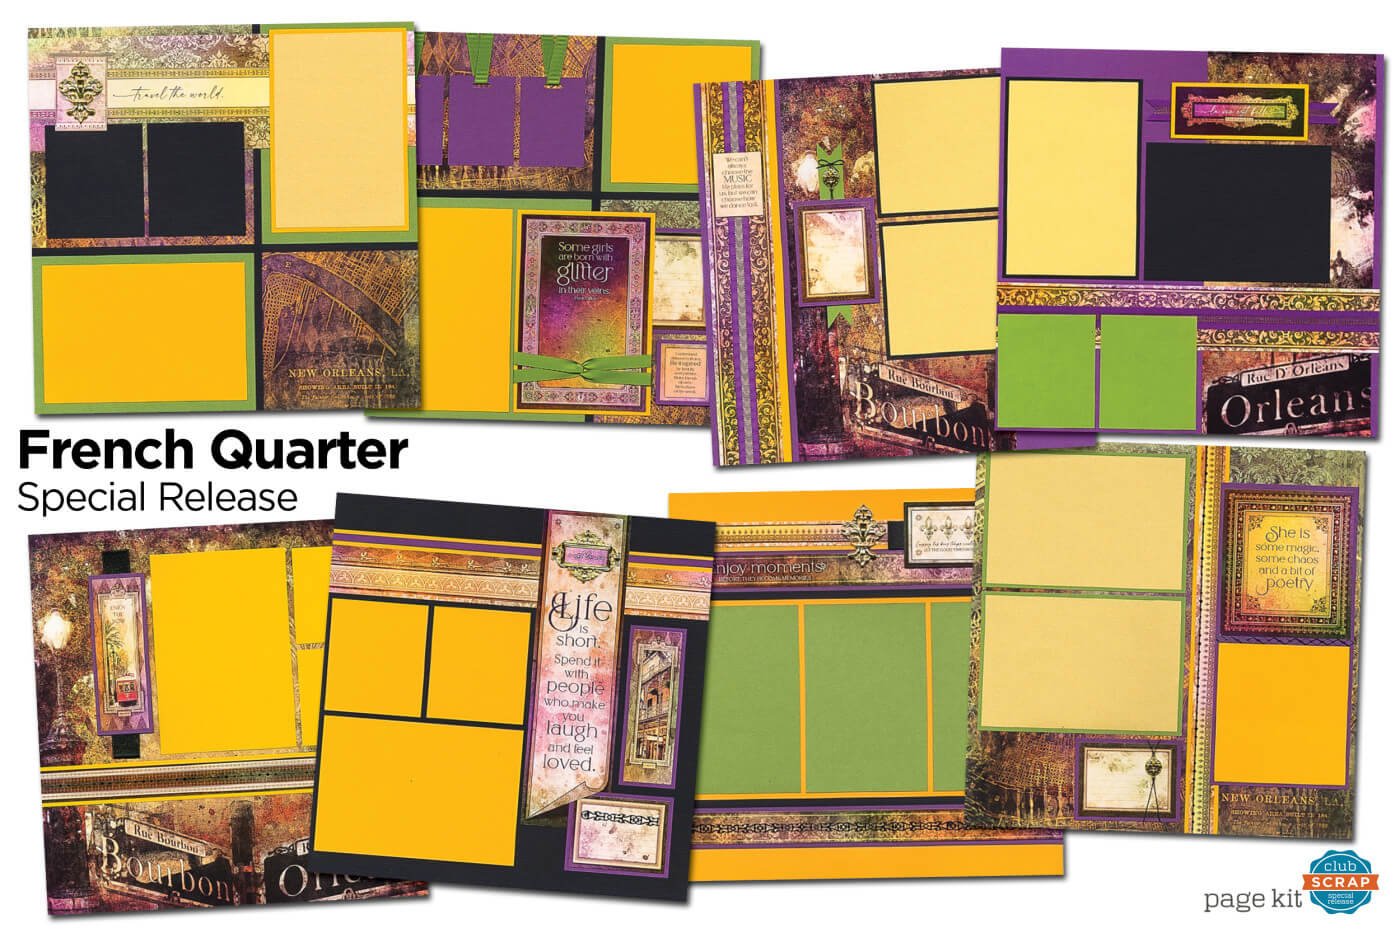
Here's a quick tour of what you'll find in the box!
Check out the eight pages you'll make if you follow our video workshop and printable instructions.
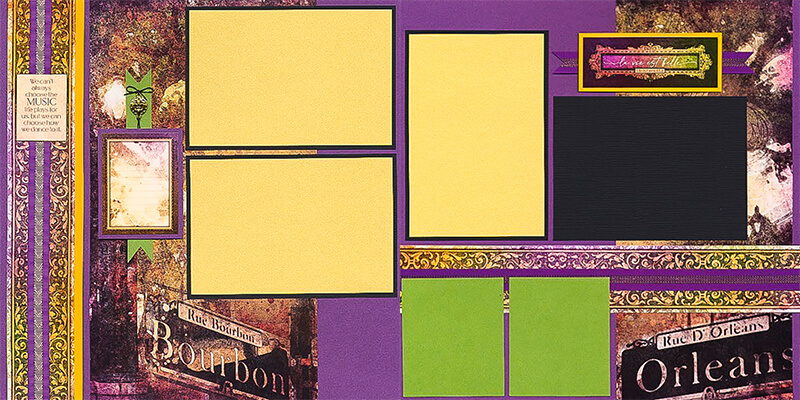
Layouts 1 & 2
After an extensive search, we located this perfectly-sized gold frame to include in the box. We've added two gold mini brads, and Jacqueline designed the insert to fit perfectly. And that's what life is all about!

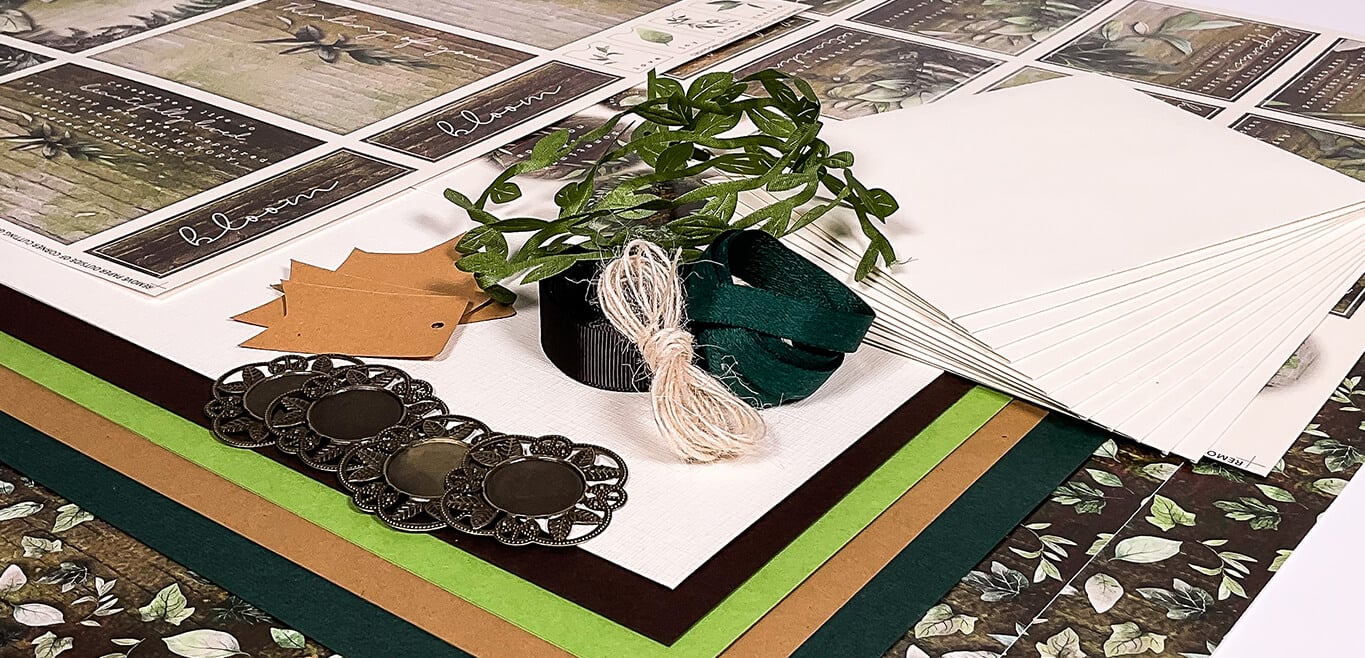
Layouts 3 & 4
Another great find for the collection includes this nifty fleur de lis embellishment. To attach, simply apply bookbinding glue to the raised areas on the bottom of the plate with glue in a needle-tipped applicator. To draw the eye to the cutapart, tape a loop of black metallic ribbon to the back of the left and right side.

Keep some waxed linen thread or waxed cord on hand for moments like this! Thread a piece onto each loop of the fleur de lis charm and wrap the ends around to the back. Also, note the strip of black Dazzles placed along the border strip on the right.

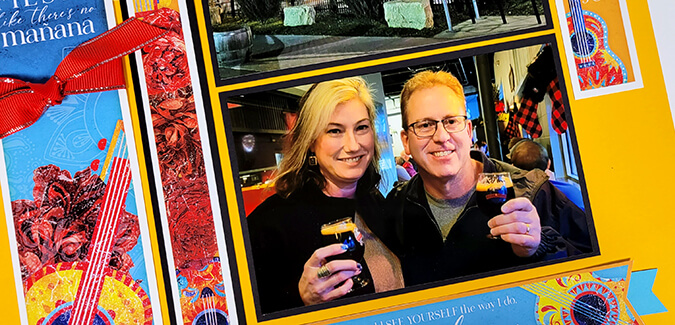
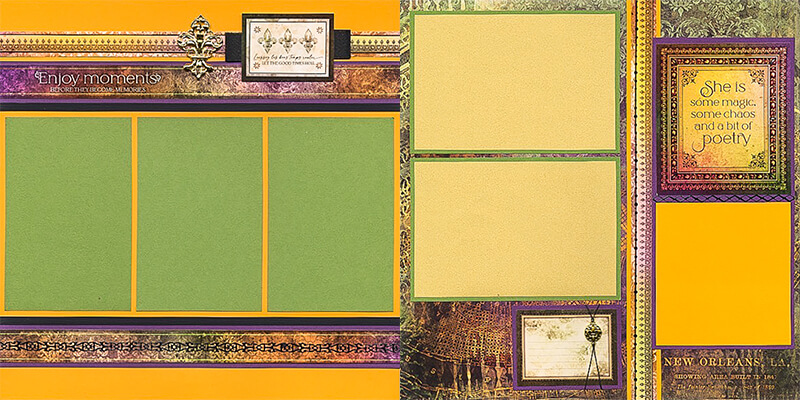
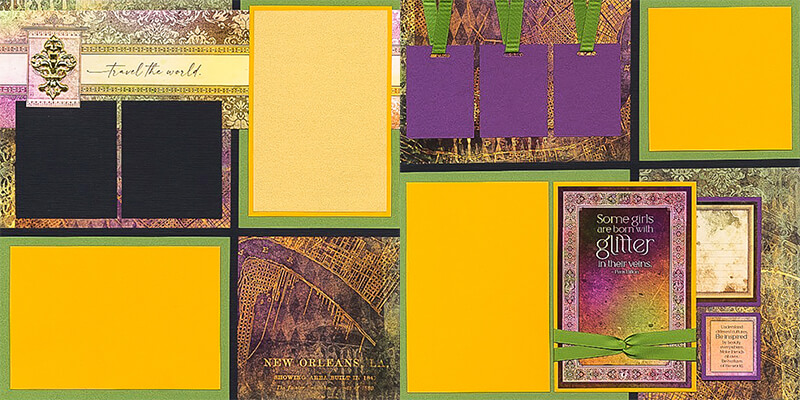
Layouts 5 & 6
Craig located a perfectly-matched purple ribbon for the collection. To creatively feature it along the left border strip, use a craft knife to create a slit along the top and bottom edge of the "music" quote. Next, thread the ribbon through the slots, and trim the piece long enough to wrap and tape the ends onto the back side of the strip.

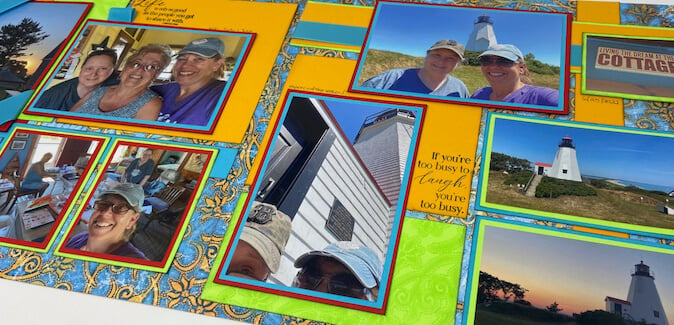
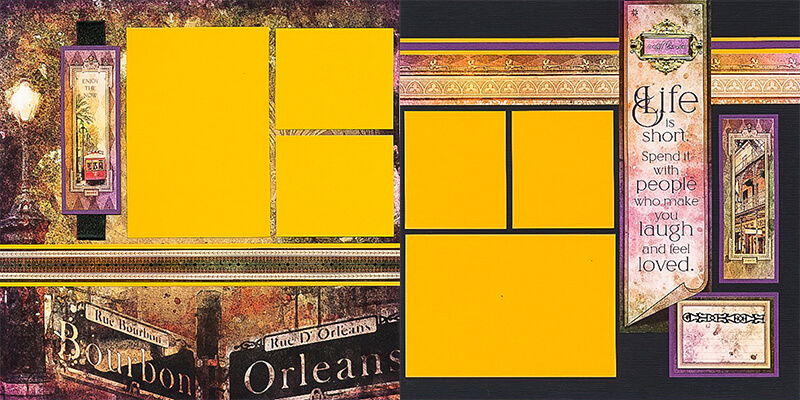
Layouts 7 & 8
It's been a hot minute since I've utilized my "5/7" layout trick, but this paper was perfect for the job! The formula is easy. Trim a print at 7". Rotate and trim each 12" piece again at 7". This gives you four shapes that can be distributed over a double page spread. Then, simply cover the seams between each section with a 1/4" paper strip for a cool effect. Each section is perfect for a 4.25x6.25" photo, with room for embellishments and more photos, too!

We are once again offering the prints and cutaparts from the collection in a la carte portions, so now is the time to stock up while supplies last.
Again, this is not a monthly collection and won't ship automatically since the scope of the theme may not apply as well to everyone, but we certainly hope it strikes a chord with you!
Bon jour!
Tricia