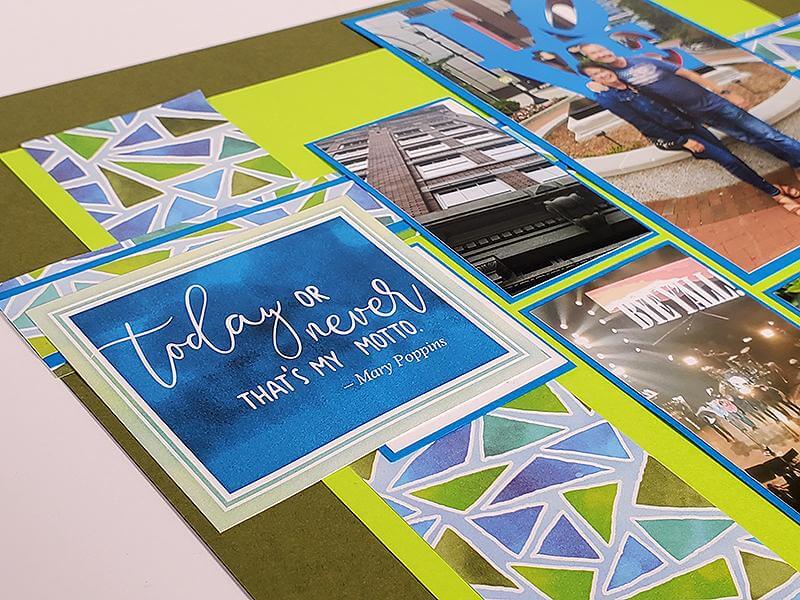

How fun and uplifting is the new Fly a Kite collection?!? While browsing Pinterest recently, I found instructions to make an adorable kite-shaped card. I can't wait to share it with you!

To create the card base:
1. Trim card stock to 4 x 11".
2. Use a pencil to mark your card stock at the center (2") of both short sides.
3. Mark the both long sides at 3.75" from the top and bottom.
4. Using a craft knife and grid ruler, make a diagonal cut from the 3.75" mark to the 2" center mark to create a point.
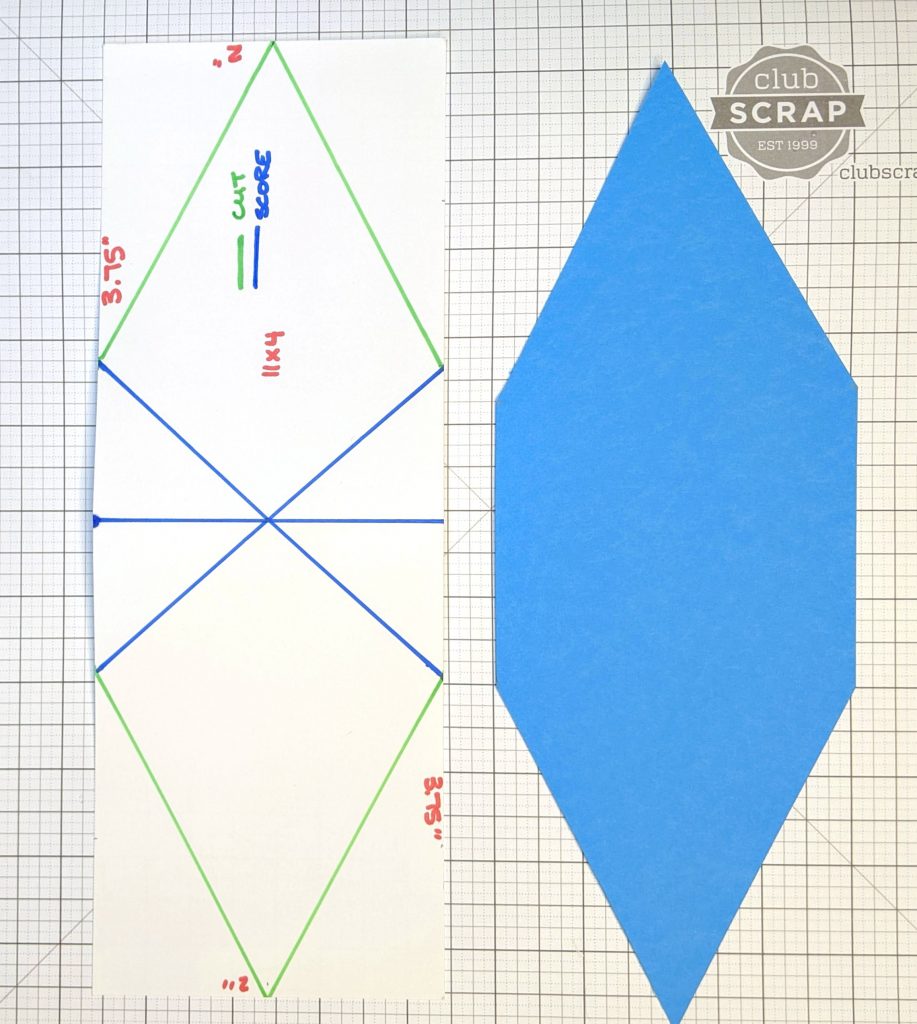
5. Score diagonally from one side point to opposite side point with a grid ruler and bone folder.
6. Repeat for the opposite side. Score the card horizontally at 5.5". Fold along all of the score lines.

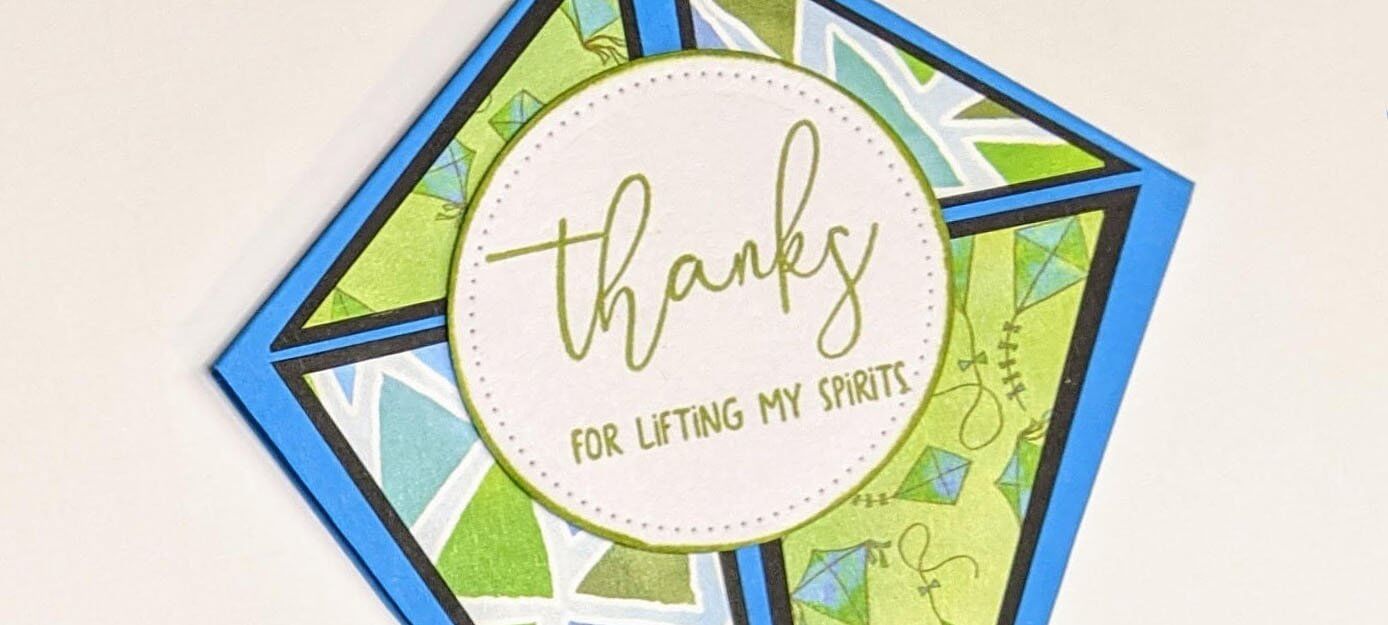
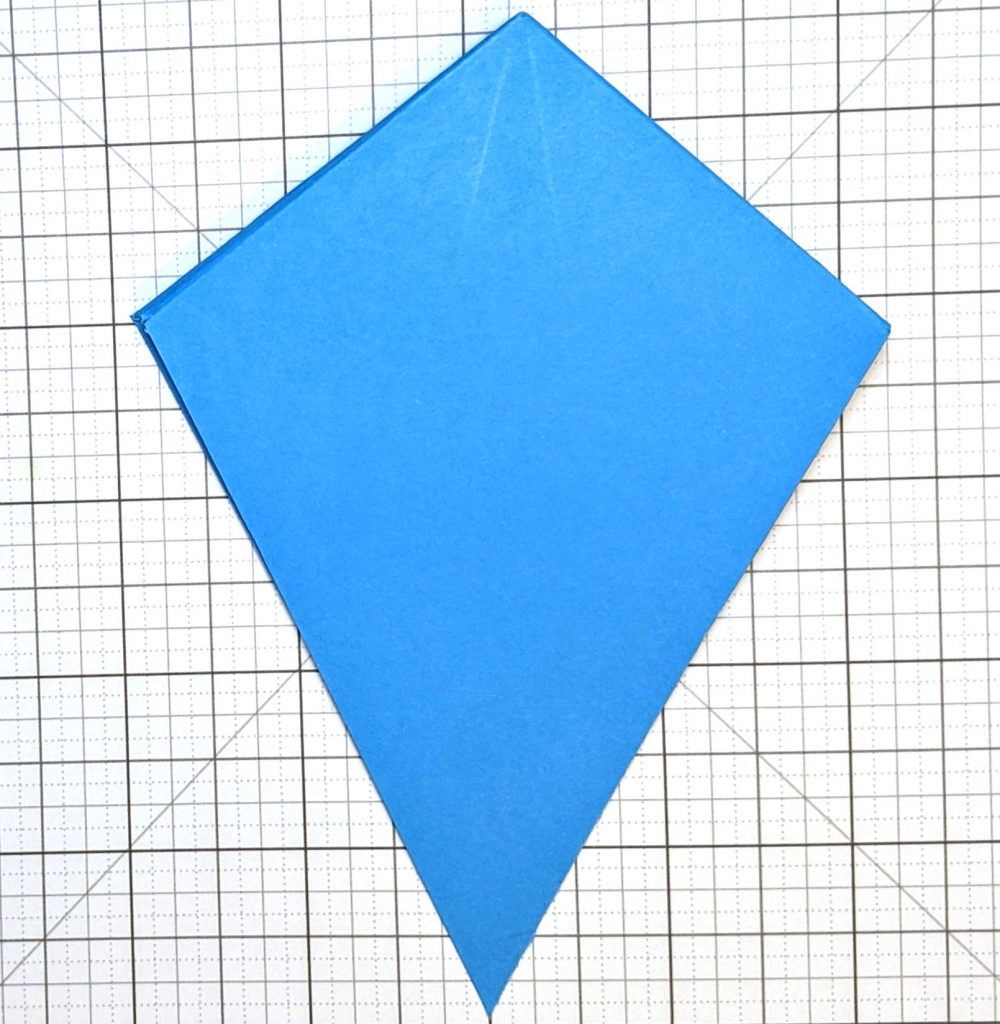
7. Use your fingers to fold the triangles inward toward the center, Closing the card creates points at the top, bottom and sides of the card, just like a kite!
Outside Panels:
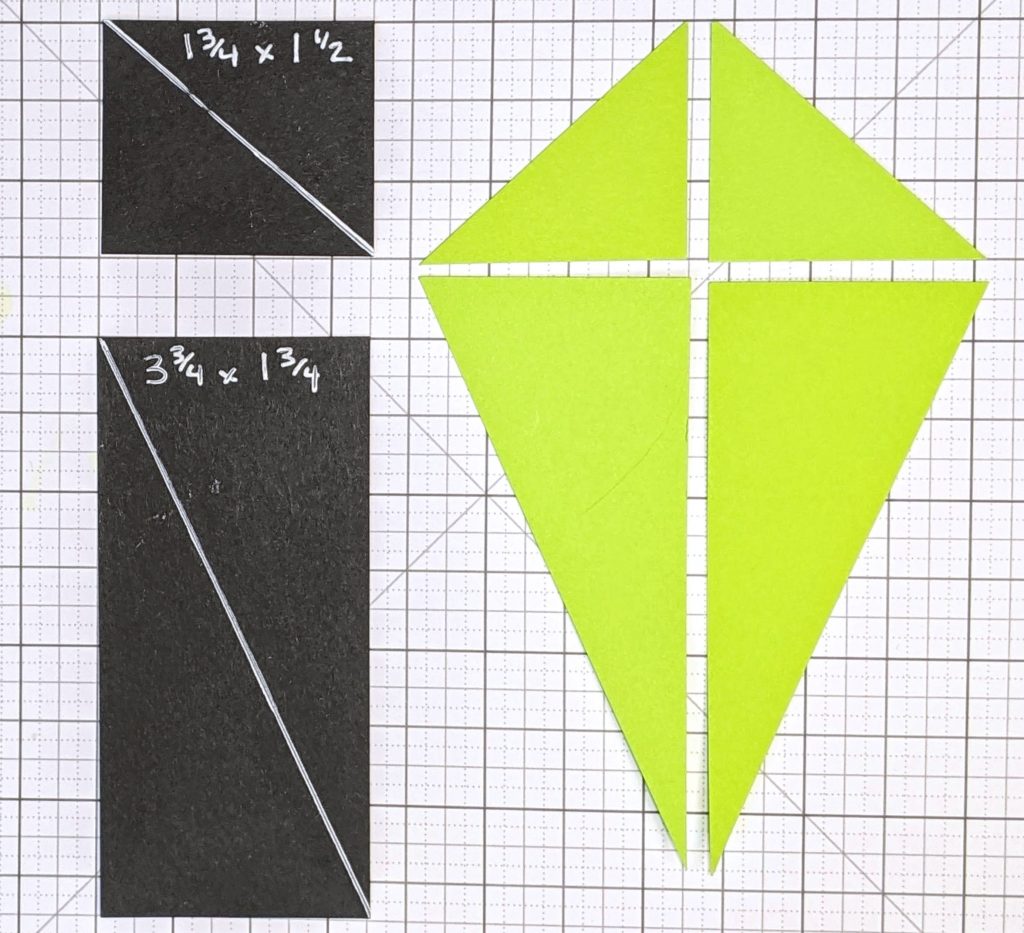
1. Trim card stock to 3.75 x 1.75" and 1.75 x 1.5".
2. Cut each diagonally from corner to corner.
3. Rotate the pieces as shown below.
Outside Nesting Panels:
Cut one 3.5 x 1.5" and one 1.5 x 1.25". Trim as above.
NOTE: If using double-sided paper, like the Fly a Kite Bonus Duplex print, cut TWO each of the sizes above. Cut the each second rectangle from the opposite corner and down so they fit correctly. (Use leftovers to create a second card!)
Inside Panels:
For inside panels, cut card stock to 3.5 x 5". Create the kite shape by cutting diagonally from 1.75" at the top and bottom to 1.5" down from each side.

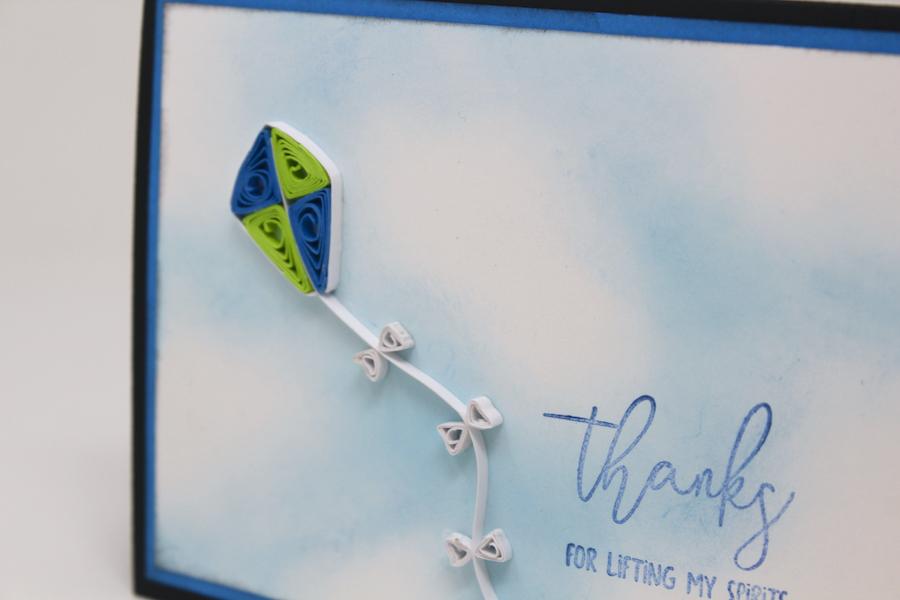
Tape baker's twine (or string) inside the top flap. Hide the tape and string with the inside panel.

Assemble card and embellish as desired. Die cut nesting circles and stamp sentiment with Leaf Hybrid ink. Add mini bows to baker's twine for a finishing touch.

Have fun playing with this fancy fold. I hope you enjoy making a few kite-shaped cards of your own!
Lisa