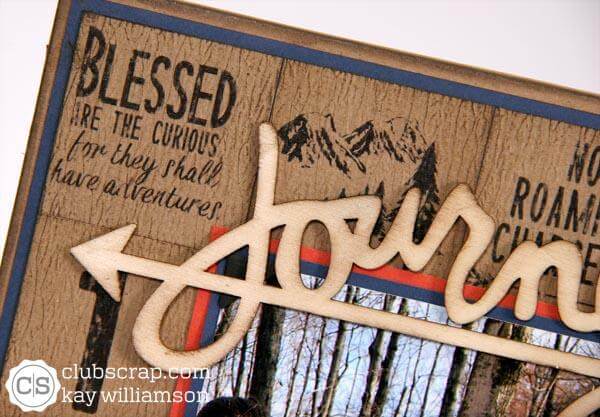
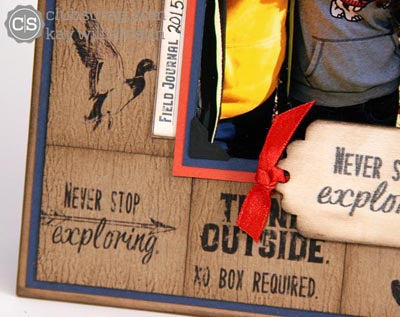
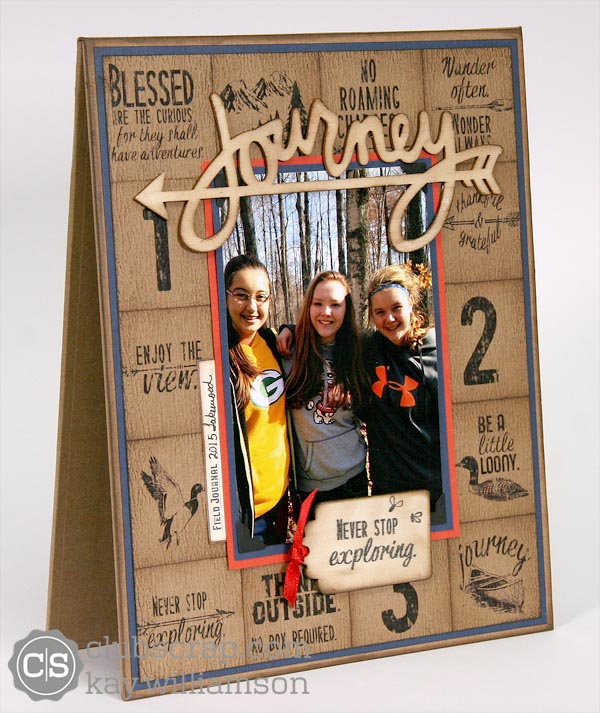
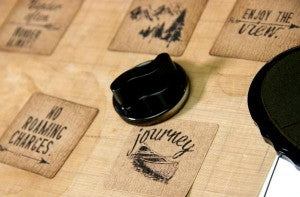
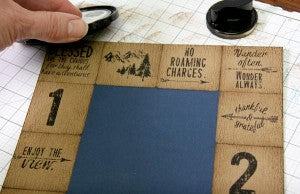
Create a faux veneer frame with the 2" stickers included in the Adirondacks Lite kit. The highly textured finish of the stickers is perfect for the job!
Use our sturdy book board to create the structure for the easel.
Making the Easel
1. Cut two 8.25x10.25" pieces of book board with a cutting mat, grid ruler and utility knife (with a sharp blade.)
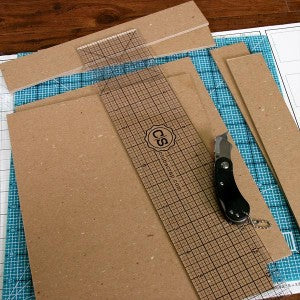
2. Trim 10.25x12" and 10.25x10.25" outside cover wraps from two sheets of Adirondacks 12x12 Kraft Plain. Adhere one piece of book board to the center of the 10.25x12" Kraft paper with CS® Bookbinding Glue. Place the second piece of book board next to the first, with the short edges 1/4" apart. Use a ruler to mark the spot where the edge of the Kraft paper meets the board.
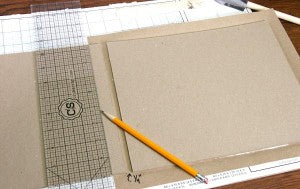
3. Apply glue within the marked area.
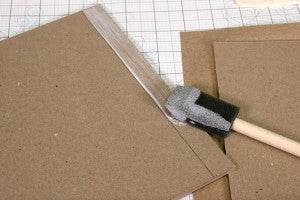
4. Adhere to the lip of the Kraft paper, being sure to maintain a 1/4" gap between the two boards.
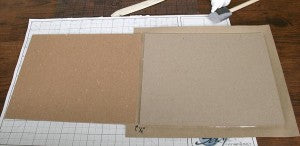
5. Flip the unit and apply glue to the remaining exposed book board.
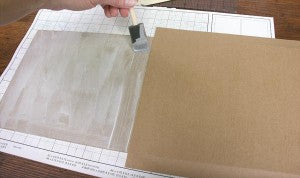
6. Place the 10.25x10.25" Kraft wrap onto the glued area, centered from top to bottom and level with the other wrap.
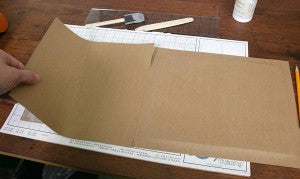
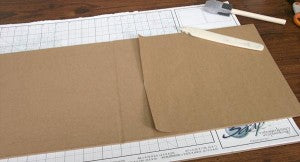
7. Flip the unit and wrap the Kraft paper flaps around the boards.
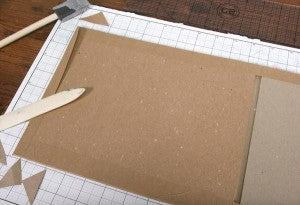
8. Trim Kraft Plain to 8x10" and 8x8.25" to create inside covers. Adhere to the boards, centered from top to bottom and with equal margins on all edges.
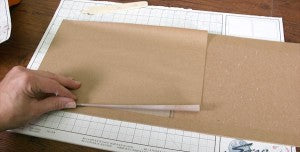
9. Burnish each piece to the boards with a bone folder.
Installing the Mechanism
1. To create an easel mechanism, trim a 5x5" piece of cover weight paper. Score and fold with the grain at 1, 2.5 and 4".
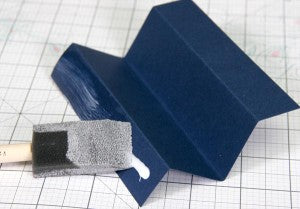
2. Apply glue to the 1" end flap and adhere to the inside of the frame, about 1.5" from the bottom edge and centered from left to right. Be sure the valley fold is facing the bottom edge of the frame.
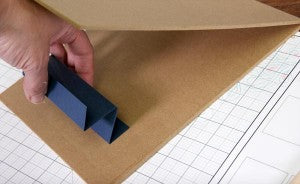
3. Brush glue onto the other 1" flap. Flatten the mechanism and close the frame to adhere in the perfect spot.
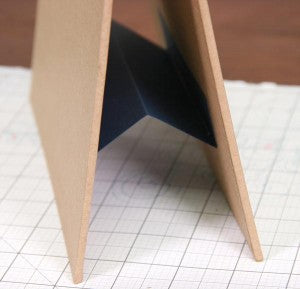
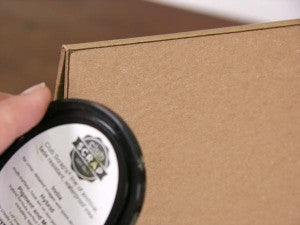
4. Rub Earth ink directly from the pad to the outside edges of the frame.
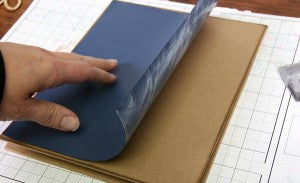
5. Nest an 8x10" Blue panel onto the frame.
Making the Faux Veneer Frame
1. Place fourteen Adirondacks Kraft Stickers onto a non-stick craft sheet. Rub Earth ink onto the edges of each sticker with a foam applicator.
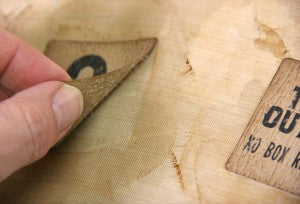
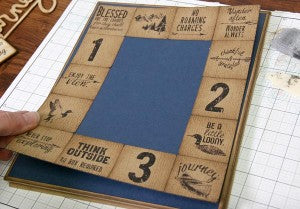
2. Apply stickers to the perimeter of a second sheet of 8x10" Blue Plain.
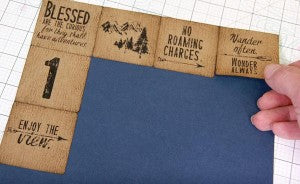
3. Trim 1/8" from each outside edge of the panel to create a 7.75x9.75" panel with perfectly aligned edges.
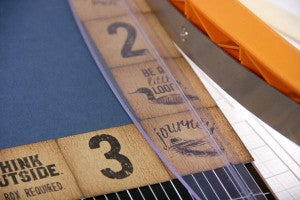
4. Apply Earth ink to the trimmed edges.
5. Nest the art piece onto the Blue panel on the front of the easel.
6. Nest a 4x6" photo onto Blue and Poppy, and adhere to the center.
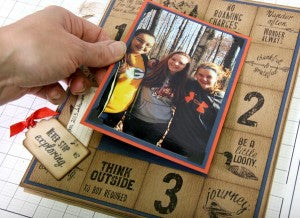
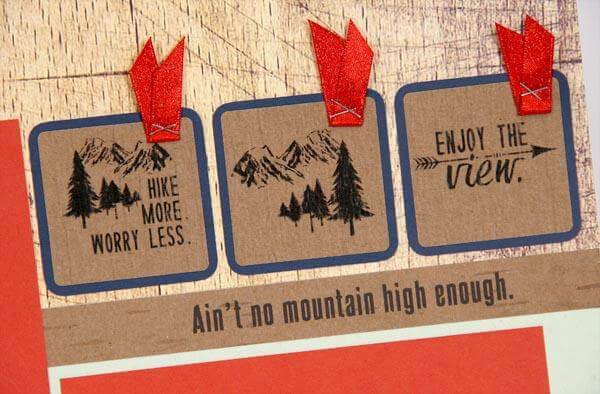
7. Stamp a sentiment onto a Wood Tag with India Black ink and layer onto the frame with Foam Adhesive Circles.

8. Finally, add the Wood Word (from the Deluxe kit) and the "Field Journal" image from the Lite Cutapart sheet.
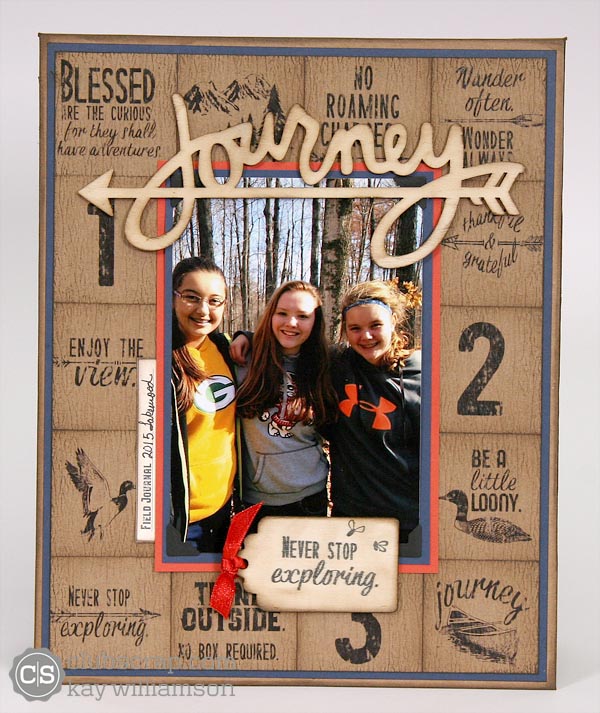
If you're in the mood, decorate both sides of the frame and enjoy from every angle.
Keep exploring!
Kay


