The Damask Guest Artist is long-time member, Cathy Gray. Cathy used the Damask card kit, page kit and stamps to make gorgeous greeting cards.
CATHY'S GUEST ARTIST CARDS
The Damask cards are so beautiful when made following the directions. I just added a few personal touches to theses already wonderful cards.
Set A: Dark Blue Split Flap Cards
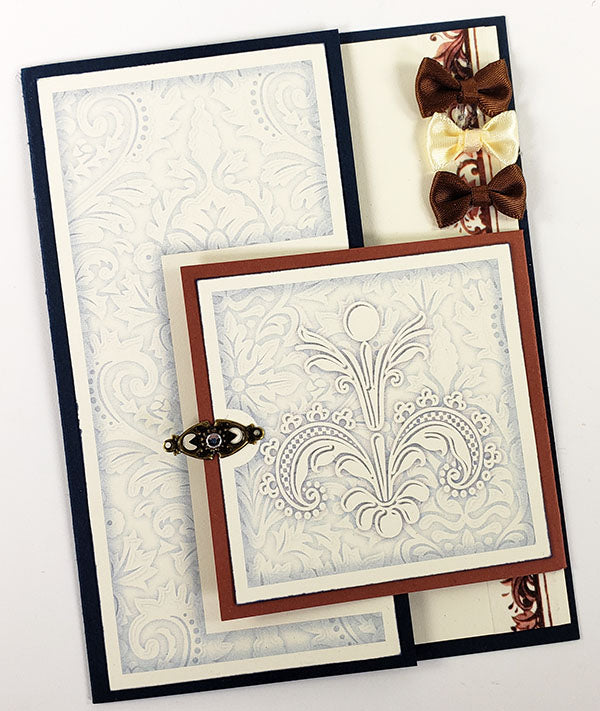
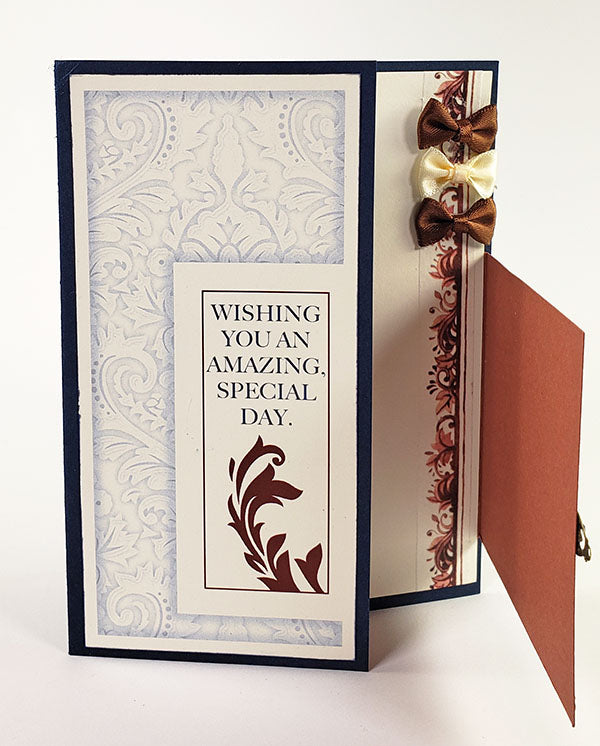
For a touch of glamour, add bling to the center of the bronze buckle. A strip of washi tape and three petite bows (Trattoria) complete the look.
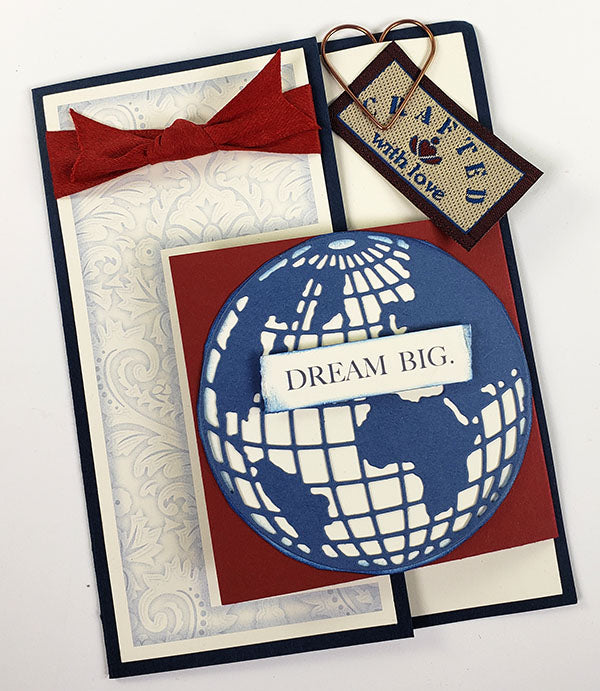
This card is all about inspirational words. Adhere a die cut globe topped with "Dream Big" from the page kit cutaparts. The edges of the word strips are torn and inked for dimension. The heart paperclip and fabric tag are from my stash.
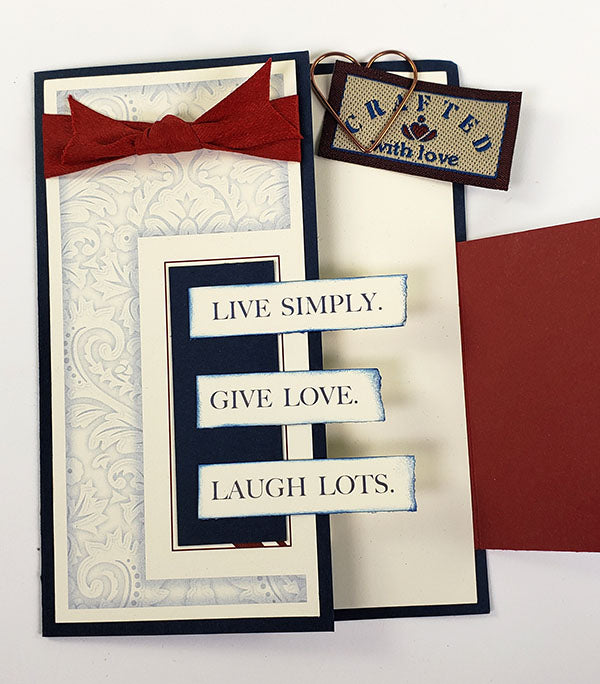
Open the card to reveal more inspirational words inside.
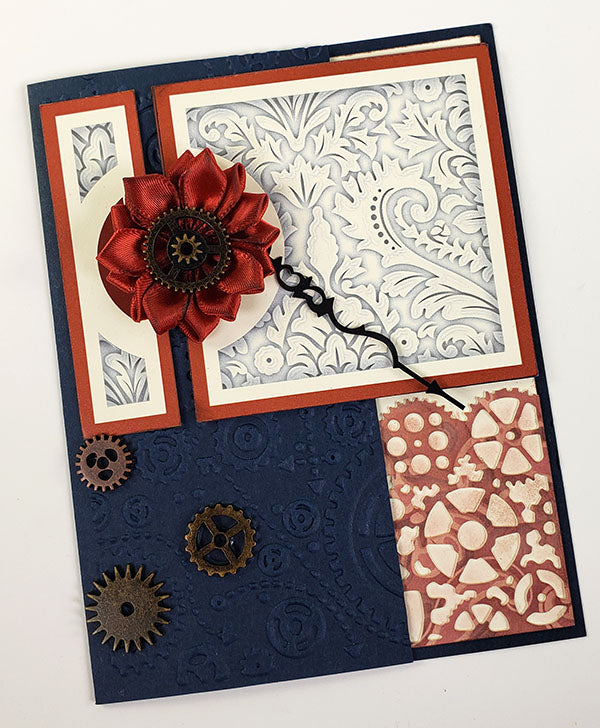
This card has more of a Steampunk feel. Use a gear-patterned embossing folder to add texture to the dark blue card base and ivory panel. Ink the raised areas of the ivory panel with Mahogany ink. Adhere metal gear charms (Steamworks) to the card base. Adorn the ribbon rosette with a gear charm and finish the card with a clock hand.
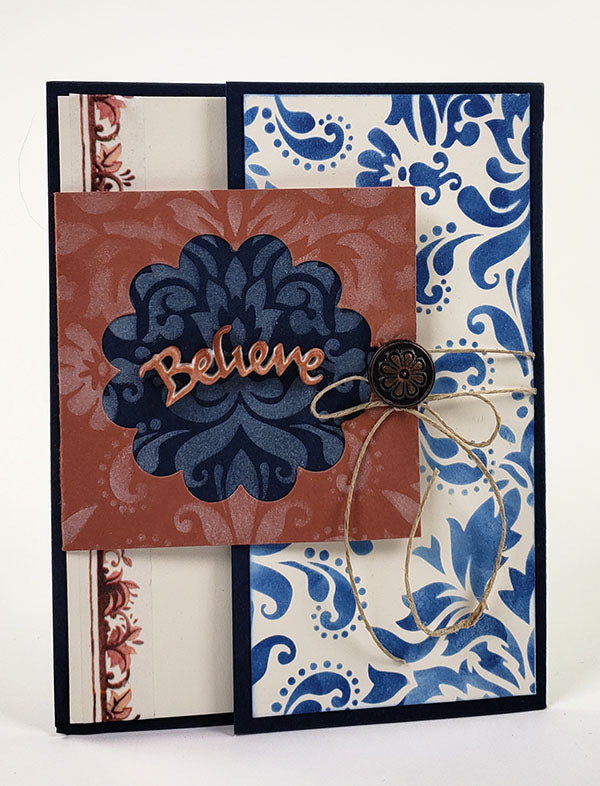
This card has more of a Southwest mood, and features the filigree stencil used in several different ways.
If you look closely, the dark blue stenciled area inside the punched flower aligns perfectly with the light red outside frame. Each piece was stenciled separately with pigment ink, and then carefully lined up.
Use a stipple brush to add Sapphire ink to the ivory panel. Apply washi tape to the ivory panel inside the card. The "Believe" sentiment is from a past kit.
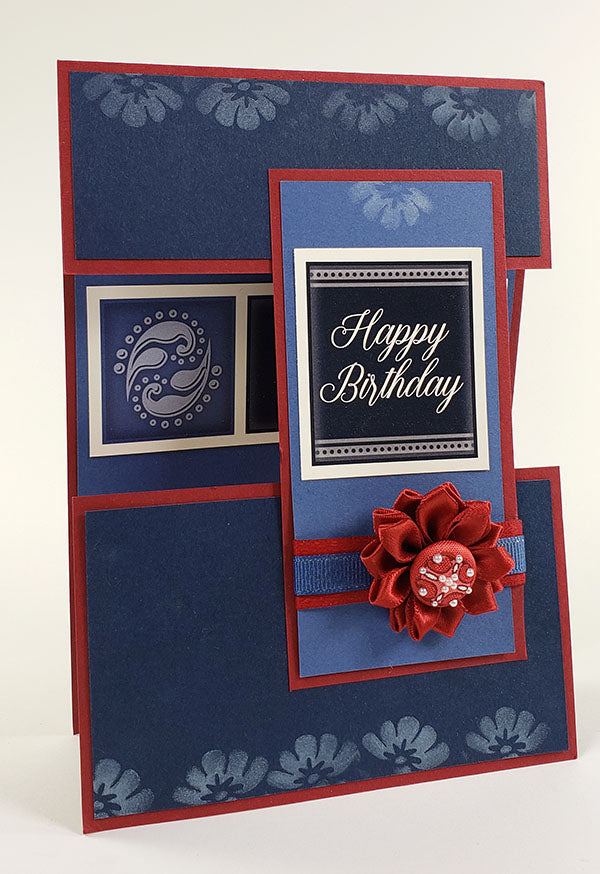
Set B: Dark Red Vertical Hinge Card
The vertical hinge card is one of my favorite card styles, as it never fails to "Wow". Using only a tiny portion of the filigree stencil, add a flower to all of the blue panels using pigment ink. Wrap the narrow light blue panel with ribbon over a red paper strip, then adhere a rosette topped with a fabric-covered button.
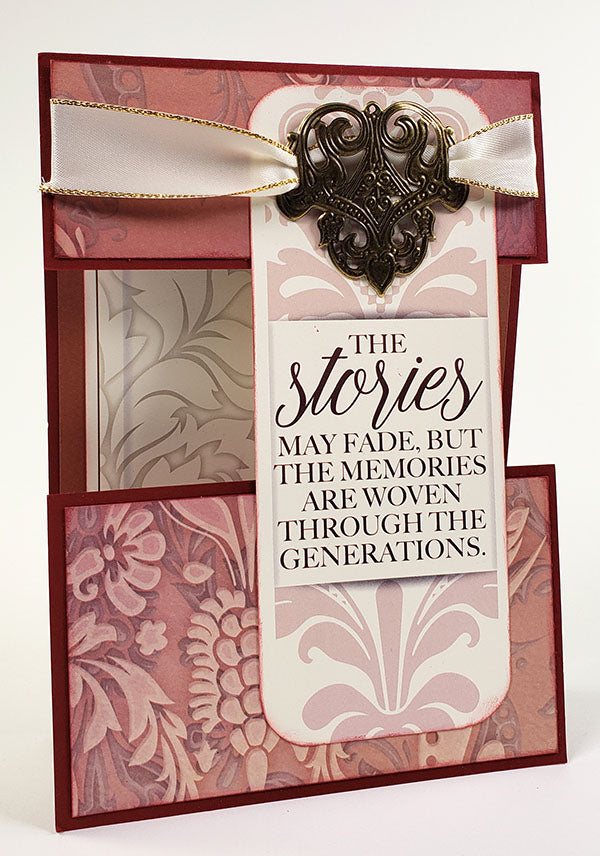
For this card, replace the blue panels with some cut from the Ivory Print. It is so nice to have the panel sizes included in the card kit instructions! It's great when you want to swap out panels or replicate the card using papers from your stash. The bronze medallion, ivory ribbon, and cutapart are from the page kit.
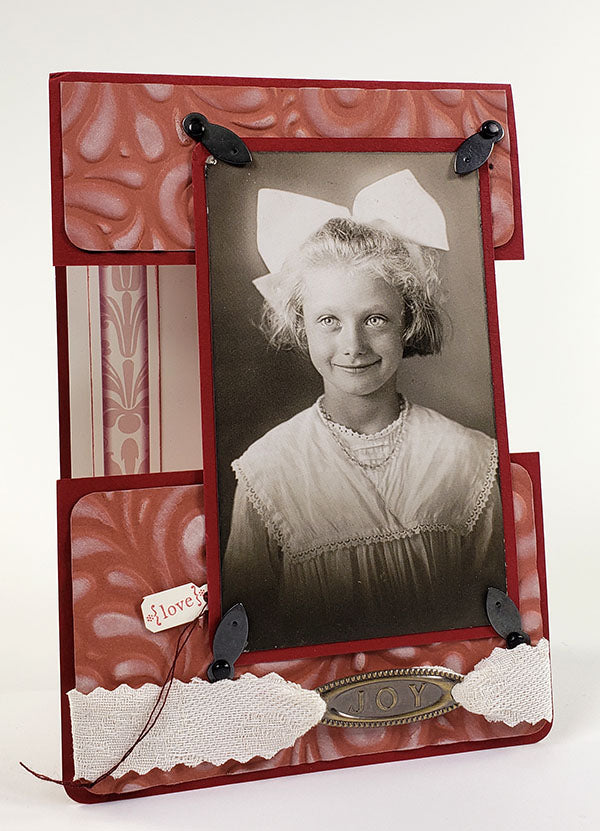
I love the vintage feel of this card. Trim light red panels to replace the dark blue. Add texture with an embossing folder and ink the raised areas. The grinning girl image is from a Found Relatives card deck. Finish card with ribbon, a JOY charm, jewelry tag and photo turns.
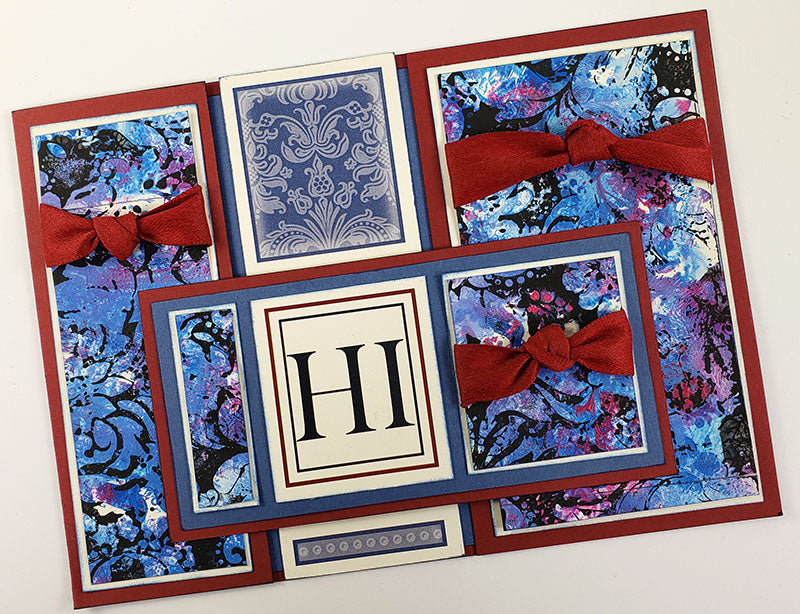
It was great fun to play with the stencil to create this bright card! Create the background using the stencil and acrylic paints on Ivory plain. Trim to create nesting panels for each section of the card.
Set C: Tall Ivory Cards
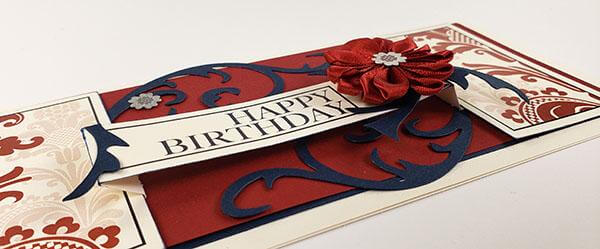
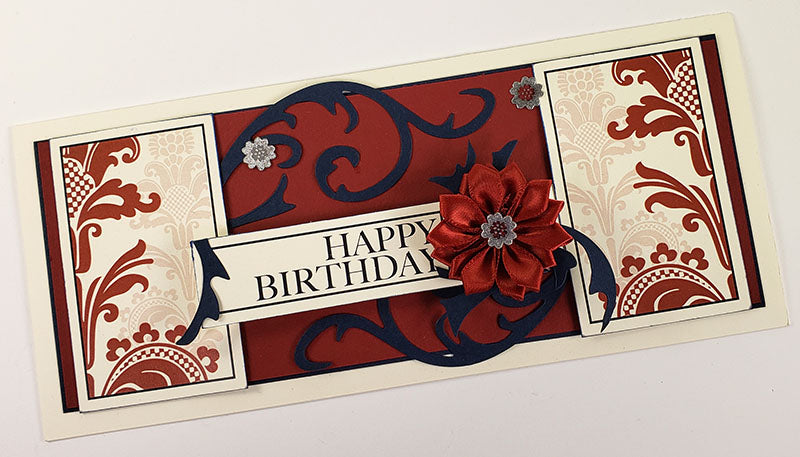
The dimension added by the pop-up sentiment is so awesome on this card. Add scrolls die cut from dark blue. The gorgeous red silk rosette is accented with little metallic flowers from my stash.
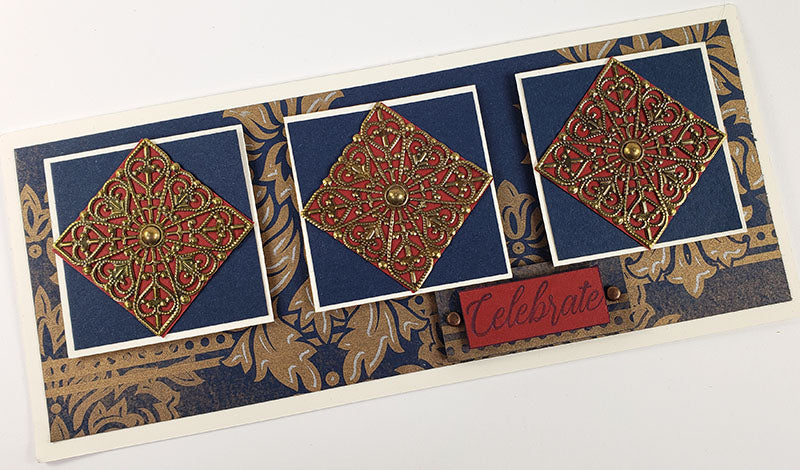
The Dark Blue Print is so pretty I knew I wanted to use it for a classy card. Trim to 3-1/4x8-1/4” and adhere to ivory card base. Cut ivory and dark blue square nesting panels. Add three filigree medallions (Blueprints) attached to dark red mats using brads. Stamp "celebrate" sentiment onto dark red strip.
Trim an additional dark red nesting panel for the front of this card. Add sheer red ribbon and flower brads (from my stash).
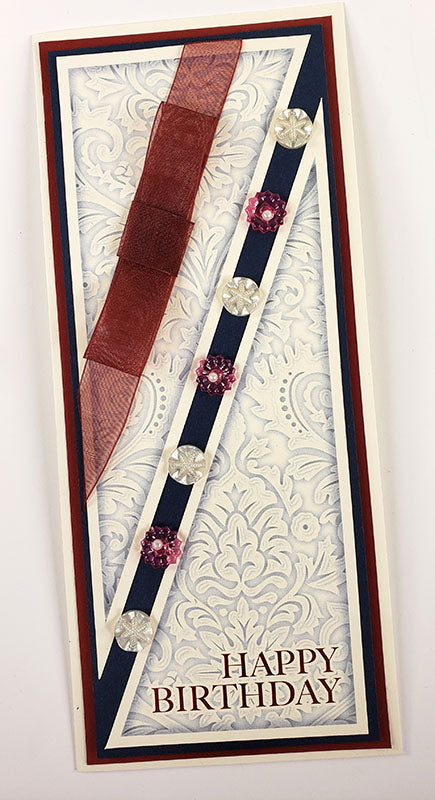
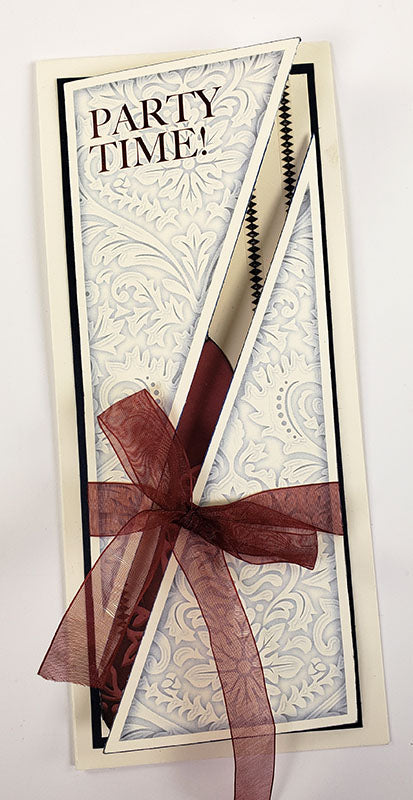
The last card was actually the first one I started on. I knew exactly what I wanted to do with this long card. Create paper hinges and add a closure using the pretty red ribbon.
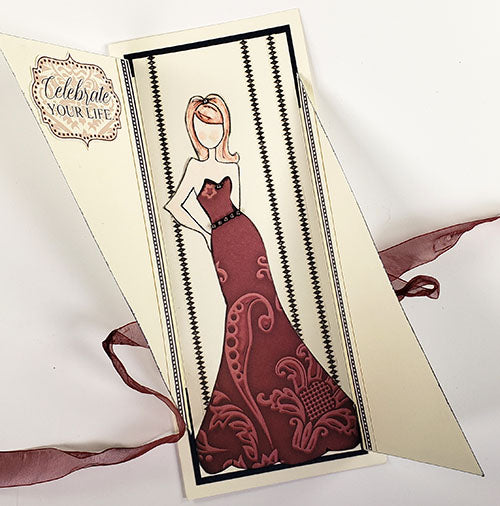
This Julie Nutting doll is the surprise inside of the card. The Ivory print makes a beautiful dress, finished with a rhinestone belt and accents. Her backdrop was created using washi tape from my stash.
The Damask collection has so many personalities. Whether you go classic, vintage, steampunk, southwestern, artsy or fun, Damask does it all. I hope you enjoy making cards with this kit as much as I did!
Cathy

