
There is always room for you to infuse your own creativity into our pre-planned pages, especially this month with a beautiful 8.5x11 White raised print. You get to add the colors of your choice!
DAHLIA DELUXE KIT
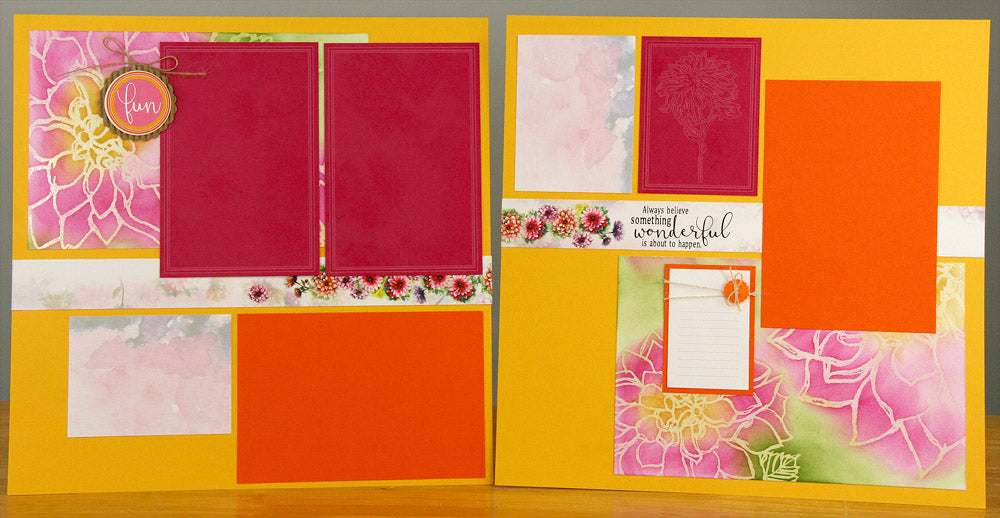
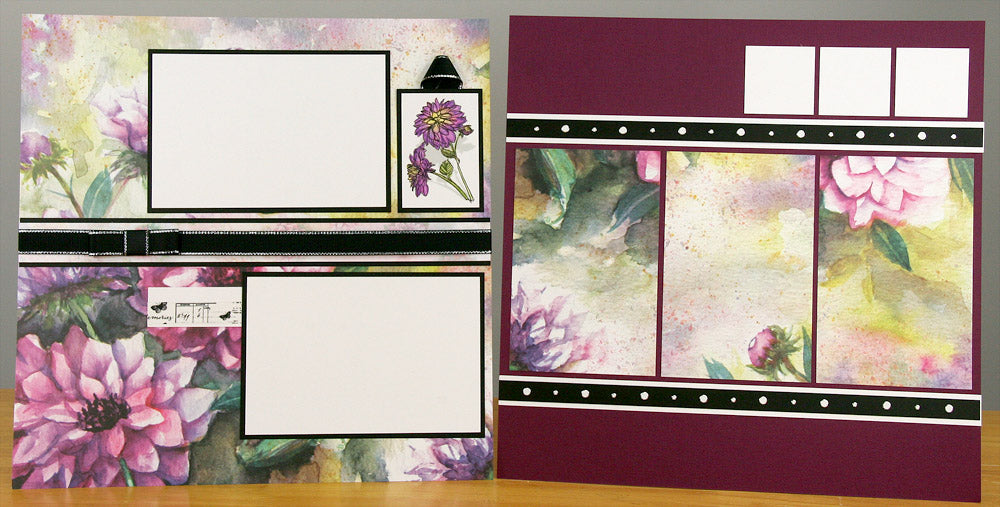
LAYOUTS 1 & 2
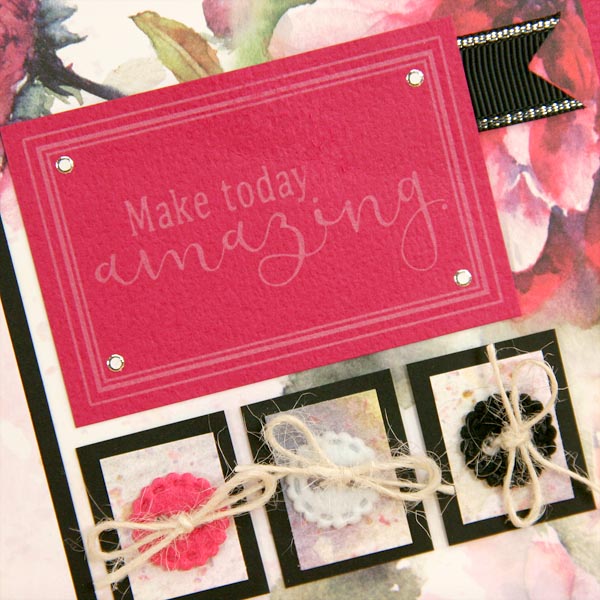
The Felt Flower Buttons are so sweet when tied with jute fiber. Pierce two holes into the paper and use a tapestry needle to bring the fiber through the button and paper.
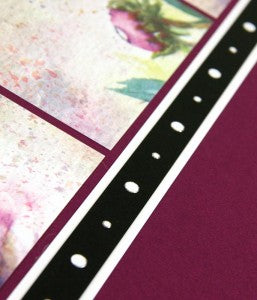
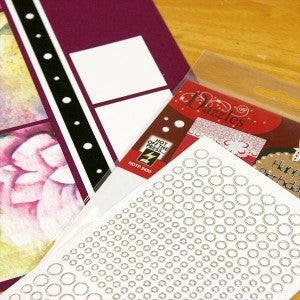
LAYOUTS 3 & 4
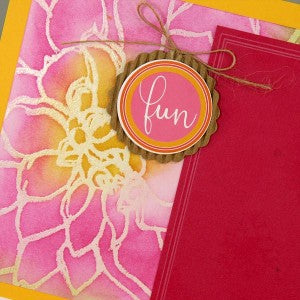
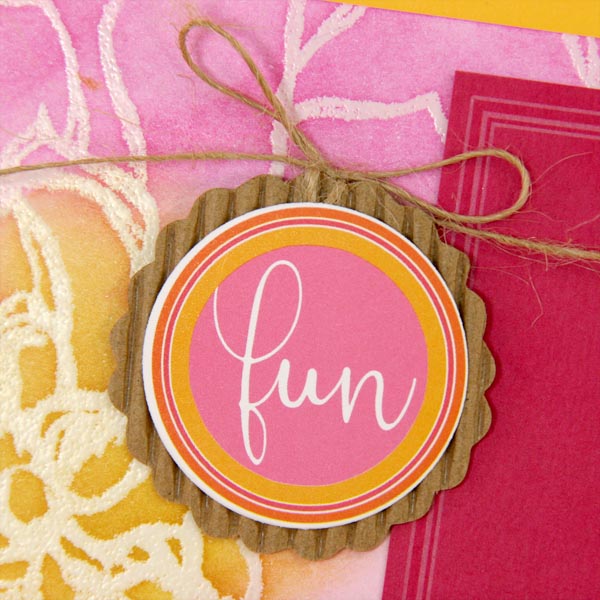
If you happen to have a 1.5" circle punch or die on hand, punch out the White circular cutaparts and layer onto the corrugated Round Kraft Tags.
LAYOUTS 5 & 6

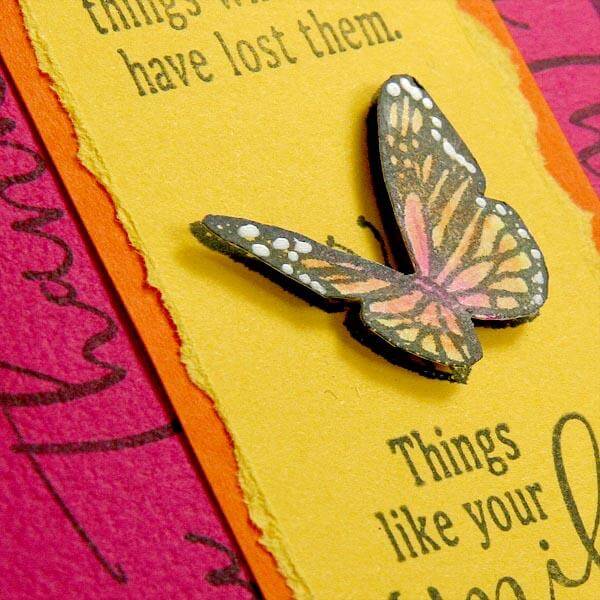
The White cutapart features a set of three butterflies printed in black. Use your favorite art medium to color the butterflies, trim them from the cutapart, and attach them to Layout 5 & 6. (Use a black gel pen to add the antennae.)
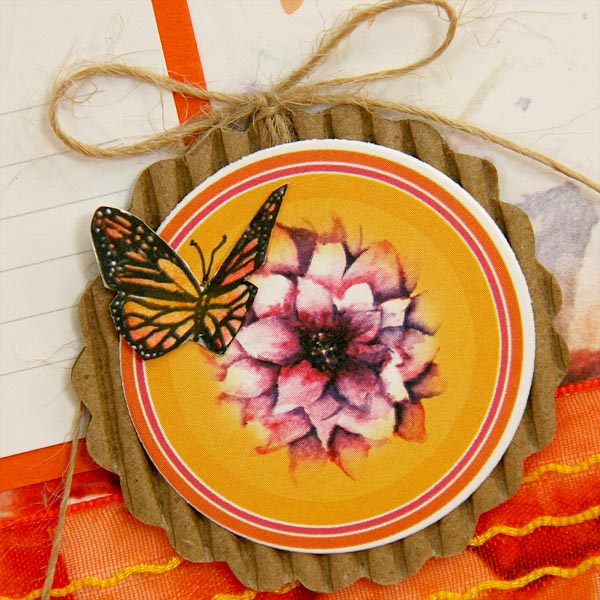
To get double duty from the punched circles on the White cutapart, cut them in half and tuck the straight edge behind a mat.

LAYOUTS 7 & 8

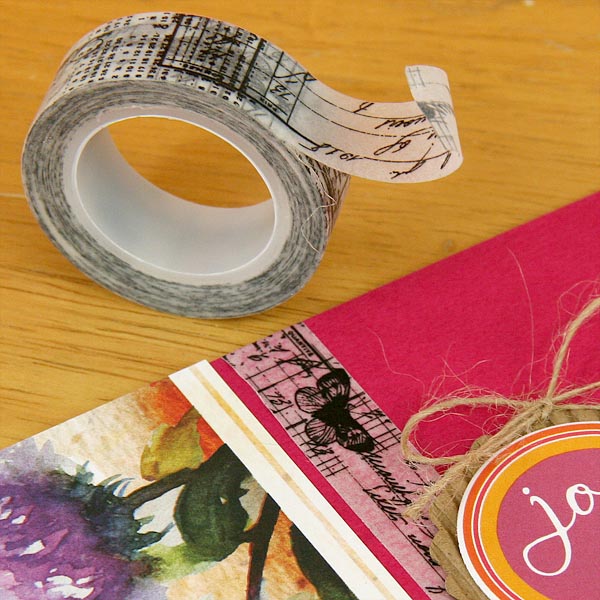
Enjoy playing with a full roll of beautiful Butterfly Washi Tape!
LAYOUTS 9 & 10
The jewels on the .5x12" Black border strip are White Jewel Dazzles. Identify the center of the strip with a CS Grid Ruler, and make a mark every 3/4". Alternate applying medium and large jewels to the marked spots. I find it helpful to pick up and apply the jewel with the tip of a craft knife.
LAYOUTS 11 & 12
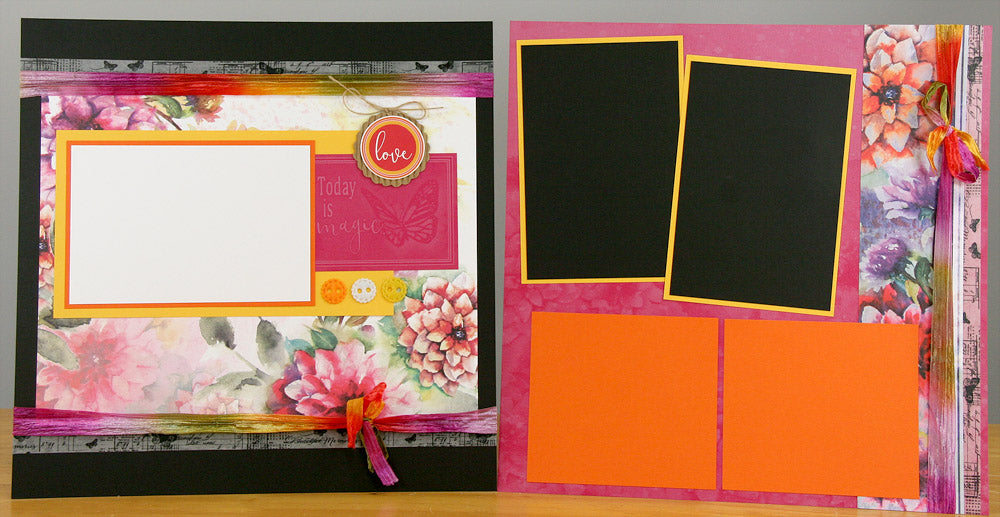
I've got two favorites here: the Butterfly Washi Tape and a gorgeous multi-colored rayon fiber. Combine a strip of both to create a horizontal and vertical border for Layouts 11 & 12.

LAYOUTS 13 & 14
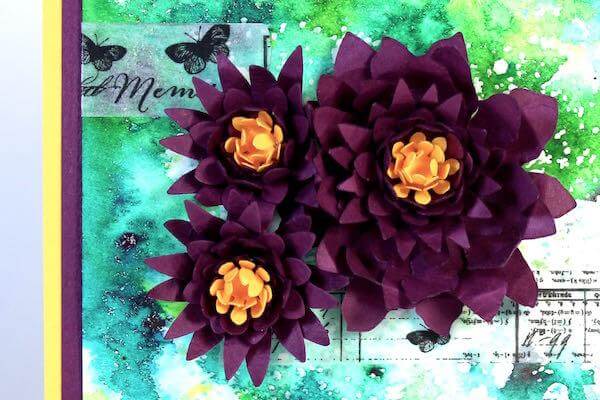
Spray the 8.5x11 White Raised Print with a coordinating colored mist of your choice. Allow the paper to dry and rub away any excess spray from the raised areas. Trim the three flowers from the paper with a craft knife or scissors, and adhere the flowers to the layout, aligning the straight edges of the flowers with the edges of the layout.
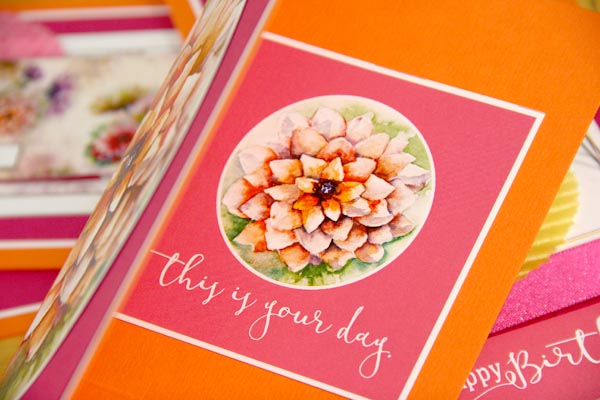
DAHLIA GREETINGS TO GO
SET A
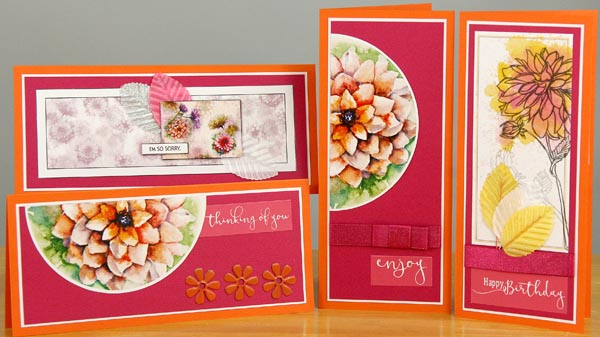
Every single card in this set has a corresponding inside greeting. Be sure to check your free instruction download for details on the inner artwork for each card.
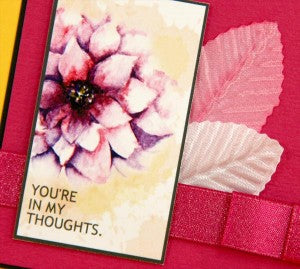
SET B
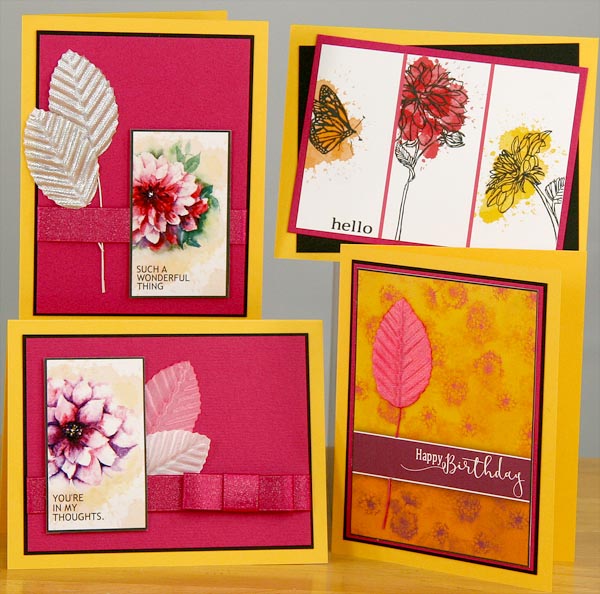
The silk leaves make an elegant, one-dimensional addition to the cards. Use a wire cutter or old serrated scissors to remove the wire stems, if needed.
SET C
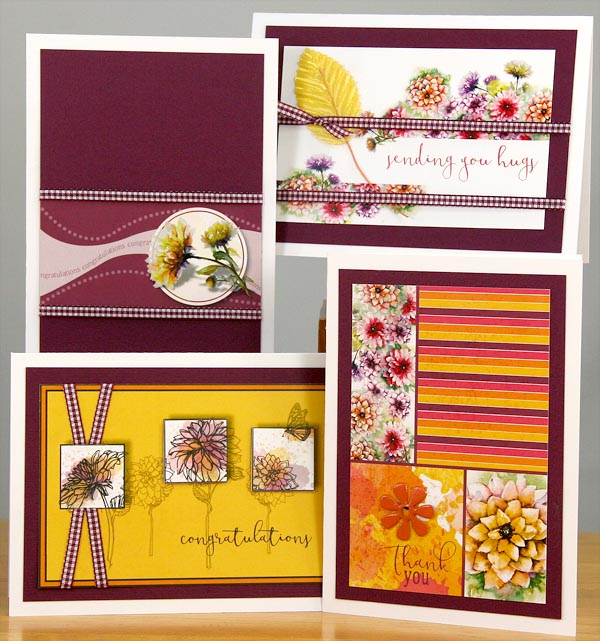
Cut a slit along the top and bottom edges of the printed square to accommodate a criss-cross of purple checked ribbon. How sweet is that!

Have fun creating beautiful things with Dahlia!
Tricia