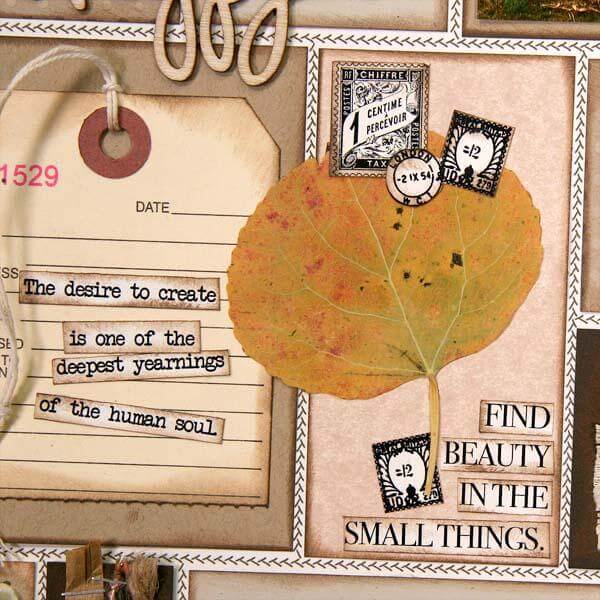
One of my favorite workshops at the Retreat was offered on Friday and Saturday afternoon . . . the Clipboard Collage. We were able to conduct it at a pretty laid-back pace, and students could freely depart from the assembly guidelines if they wished.
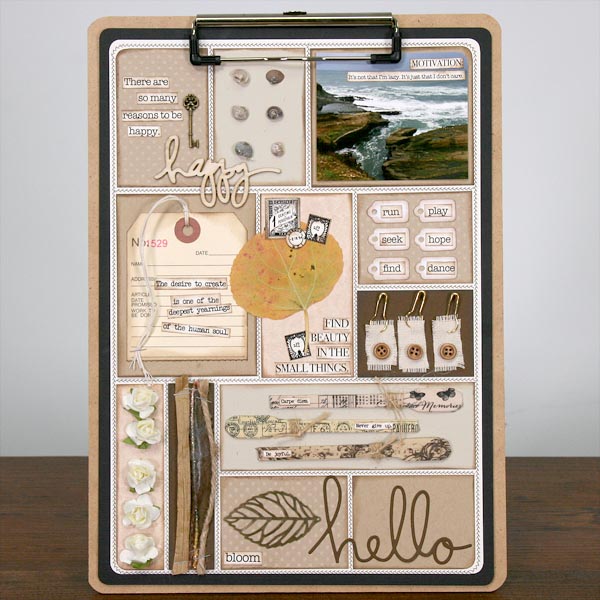
I had several goals when designing the initial prototype: use stuff from my stash, keep the colors neutral, and create an easy roadmap to follow during assembly.
I set up a pre-printed collage map to help divide the space into manageable sizes.
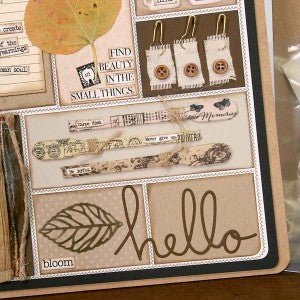
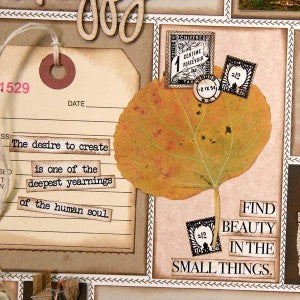
After adding the primary collage elements, remaining spaces were filled with quotes and words printed on a sheet of cutaparts.
Deb, our amazing production coordinator, raised an eyebrow when we put together the list of kit contents that needed to be assembled. It was a good thing we had a bit of summer help available at the time.
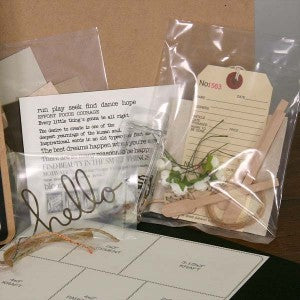
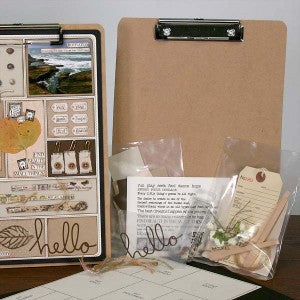
The full workshop kit available in very limited quantities includes the clipboard (with its handy built-in hanger), the original version of the page map, the elements needed to complete the project, and a full-length workshop video.
Then, the best part . . . I sent the original collage map and three variations off to "Club Scrap North" (a little nickname we've given to Terri Zwicker's house because she lives four hours north of here.) I wanted her to test out the concept and get her feedback. She created a beautiful set of seasonally-themed clipboards that can hang together in her home. Each one has countless inspiring details. I gave her one rule: use items only from your crafting stash. You may even recognize a few of them from past CS collections!
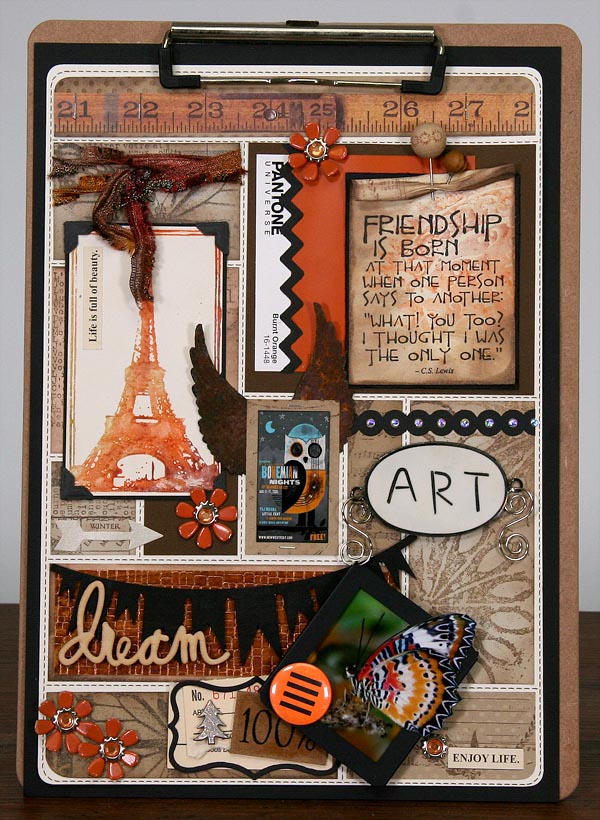
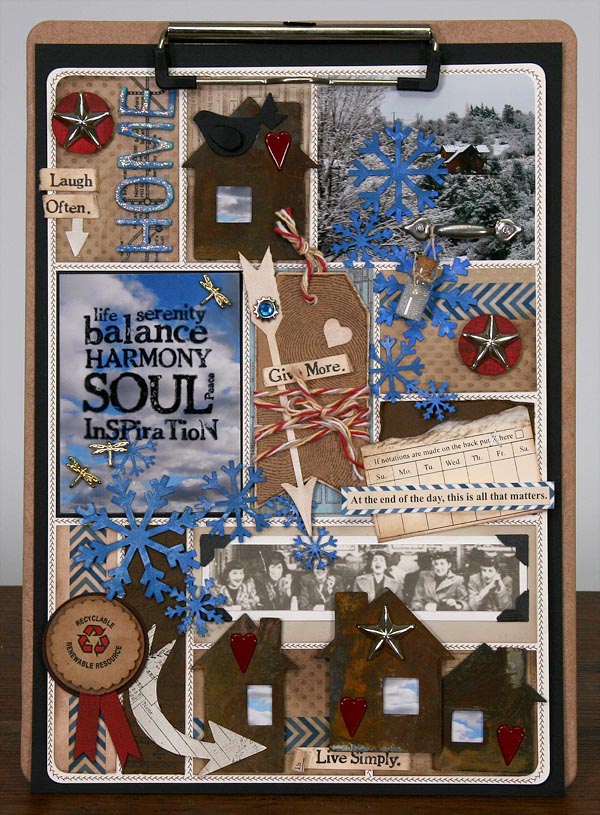
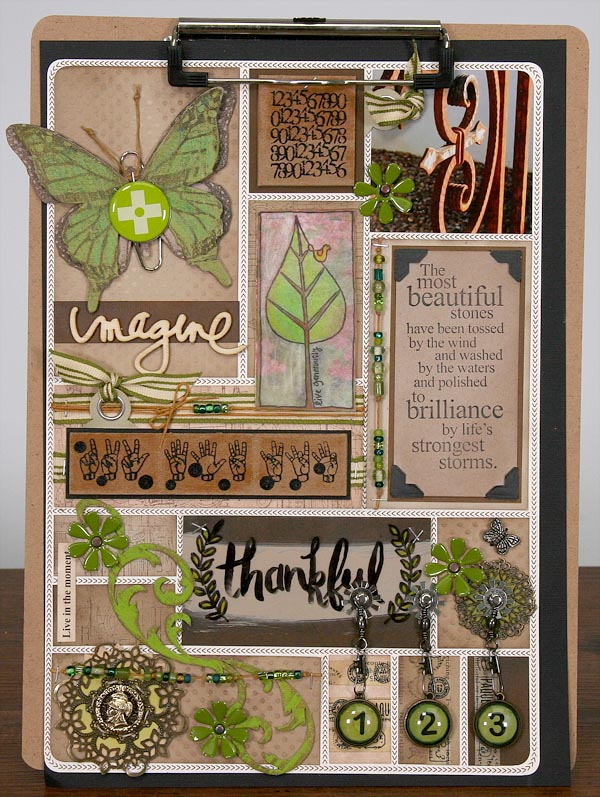
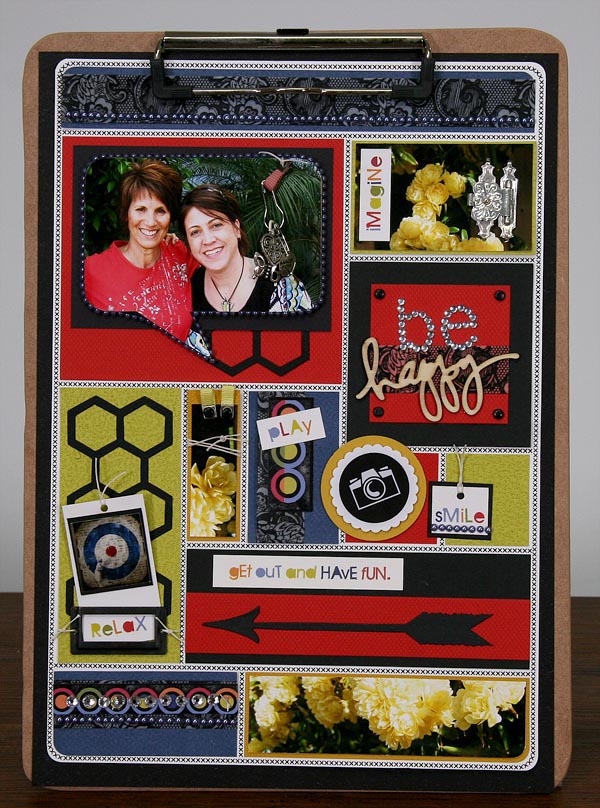
After the Retreat, Cathy Gray posted this inspiring version of her clipboard featuring our fun Beaches collection.
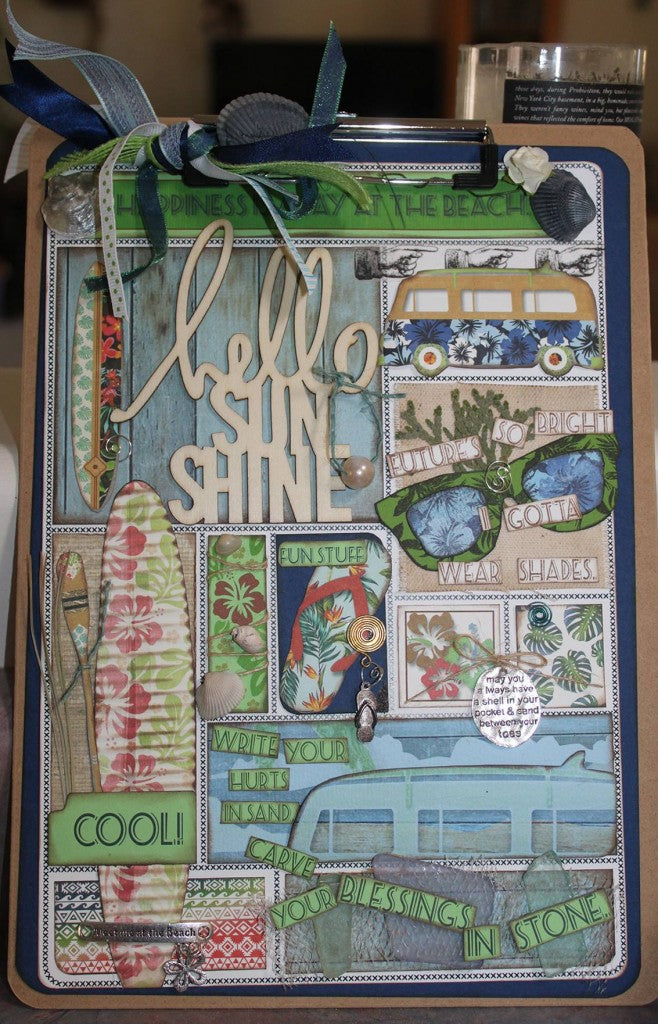
You can pick up the individual printed collage maps and clipboards from the store while they last! I'll bet you have a few items on hand to build a gorgeous collage of your own!
Tricia


