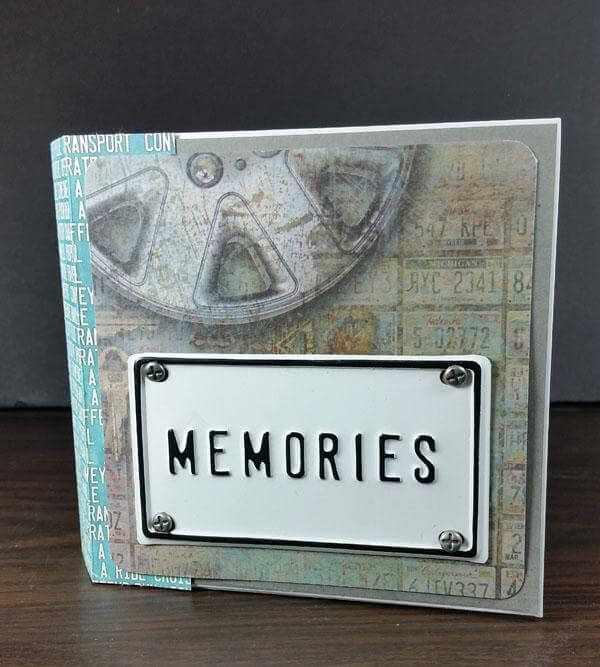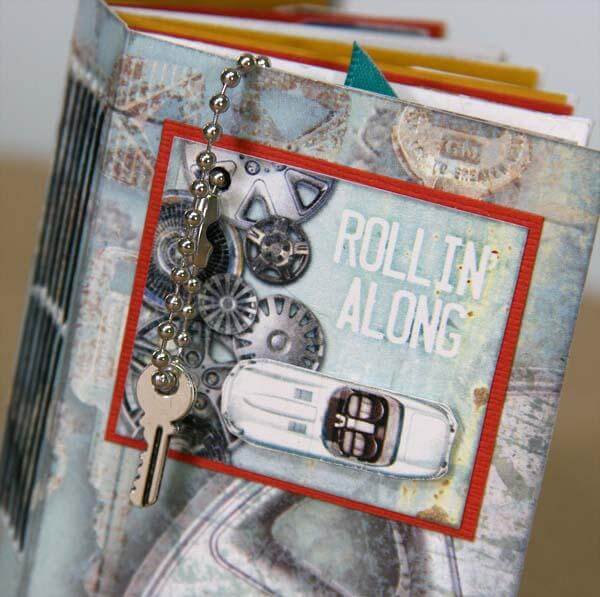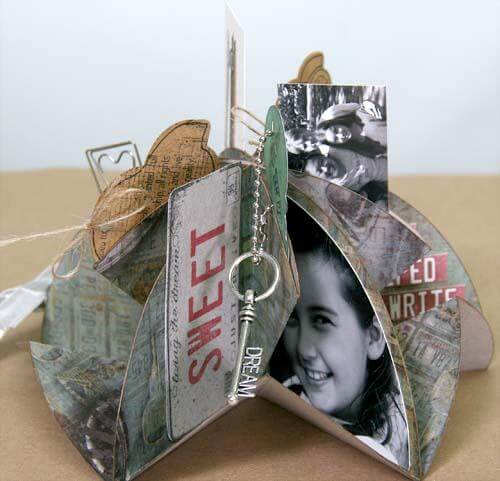
Take papers from the Creative License Club Stamp collection for a spin and turn them into an adorable circle book!

Circle Book Tutorial
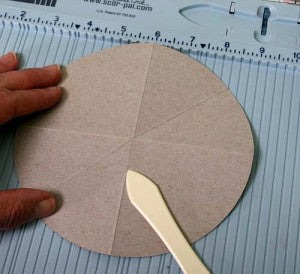
1. Cut five 6" circles from the 8.5x11 Lt. Gray Print.
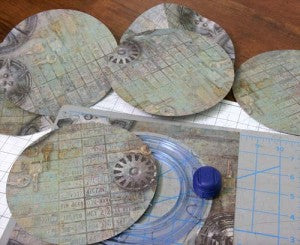
2. Score and fold each circle vertically, horizontally and once diagonally.

3. Reverse the angled folds as shown to create a page. Repeat to create five pages.

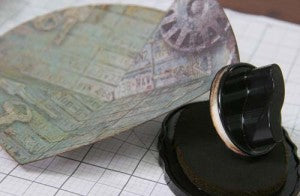
4. Ink the edges of each circle.
5. Apply Bookbinding Glue to a closed page with a foam brush and attach to a second closed page. (Be sure the pages will open from the same direction.)

6. Adhere all five pages to form the book.

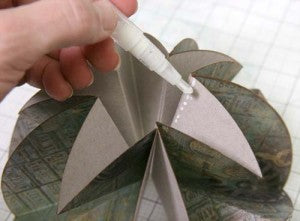
7. Open the book, but do not glue the first and last pages together.

8. Apply a small amount of glue to tack the inside flaps together to create triangular pockets using a Glue Pen.
9. Close the book and adhere a 20" length of ribbon around the book for a closure.


10. Cut a 5.5" circle from the Lt. Gray Print, trim into quarters and nest onto the outside covers of the book.

11. When displaying the book, tie the ribbon closure to hold it open, and paper clip the first and last pages together.

12. Have some fun altering the Club Stamp Car & Key tags and slip them into the triangular pockets.

13. Add photos and stamped sentiments to the inside pages.


Remember to use your artistic license!

Have a spectacular day!
Kay