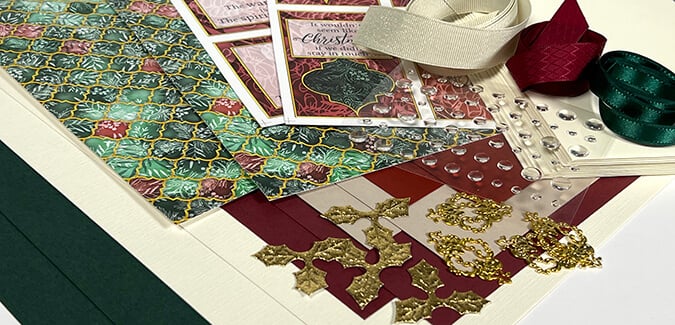

Create an amazing array of cards and a special tag with the Christmas Legacy Stamps. I am head-over-heels in love with this collection and I couldn't wait to share my creations with you!
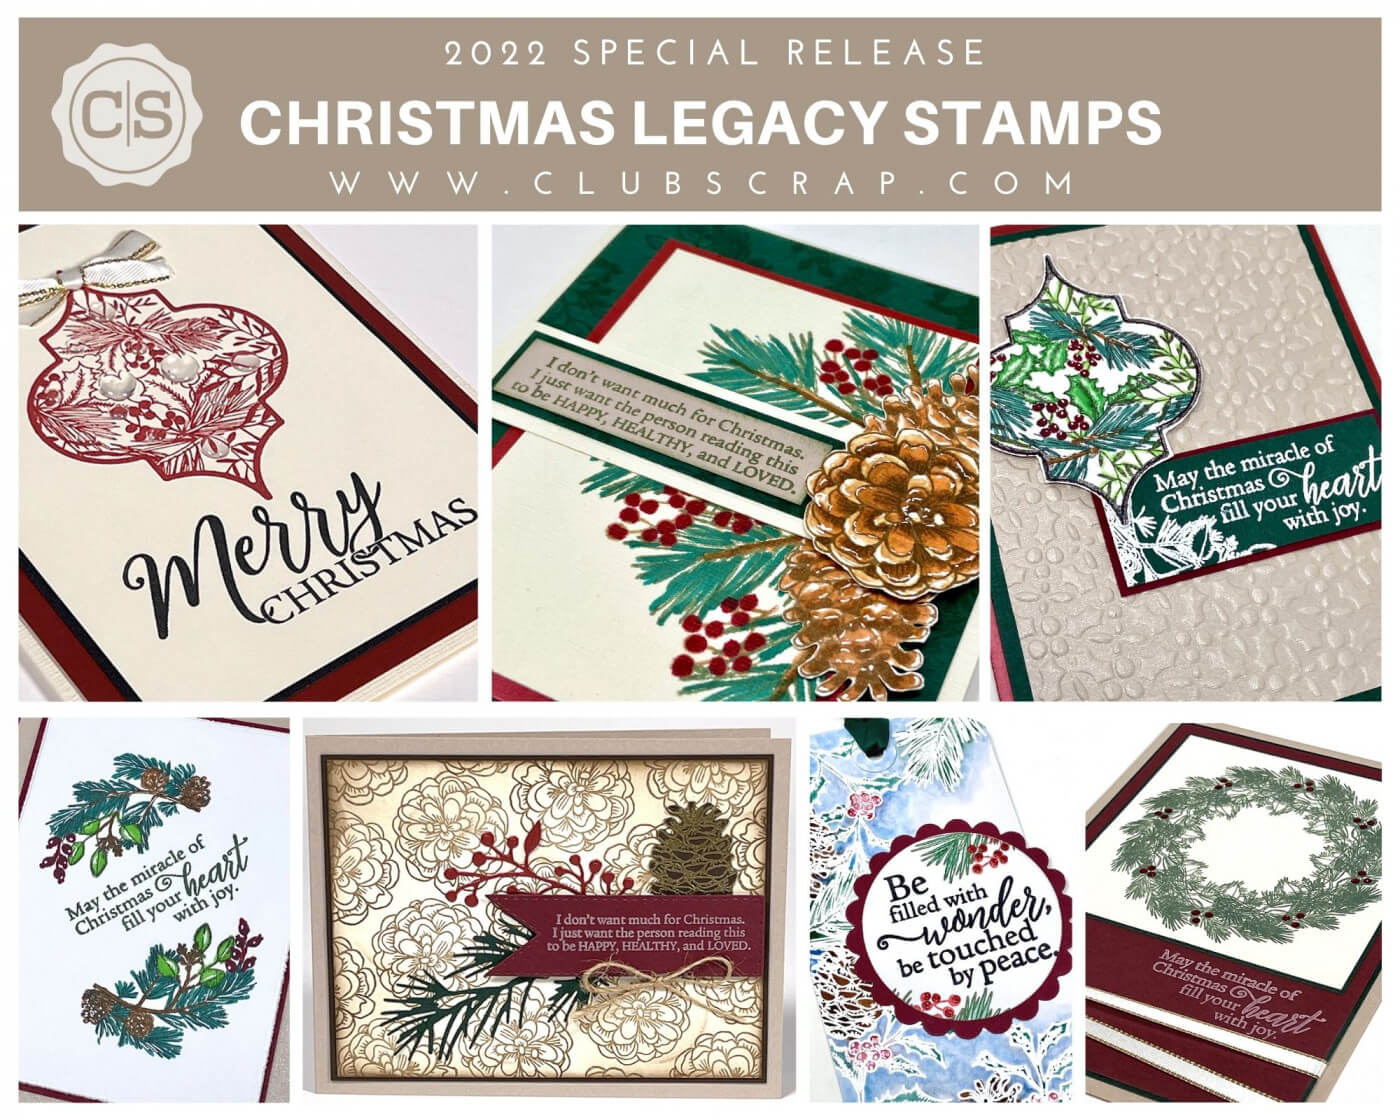
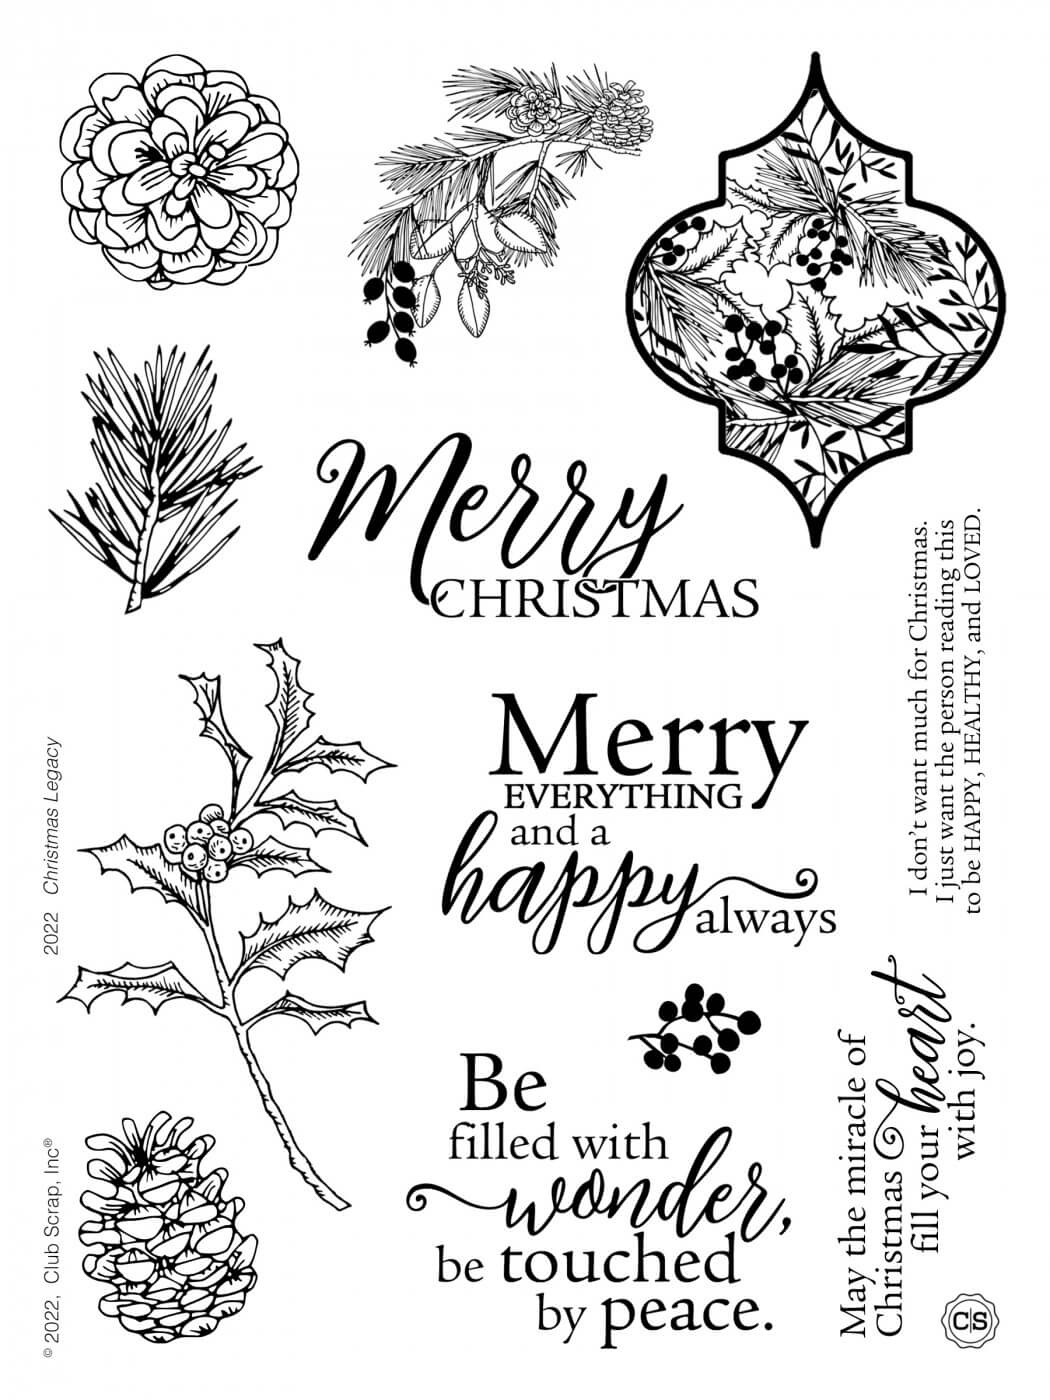
Christmas Legacy Stamps
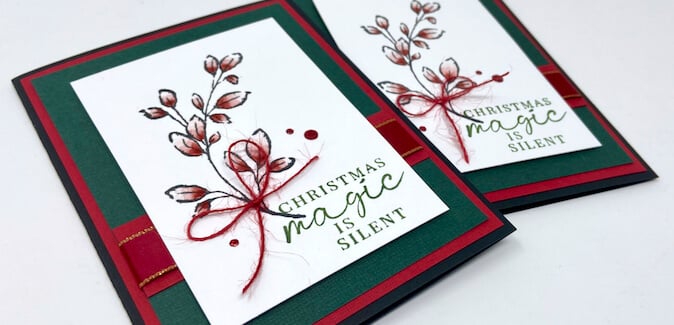
Card 1
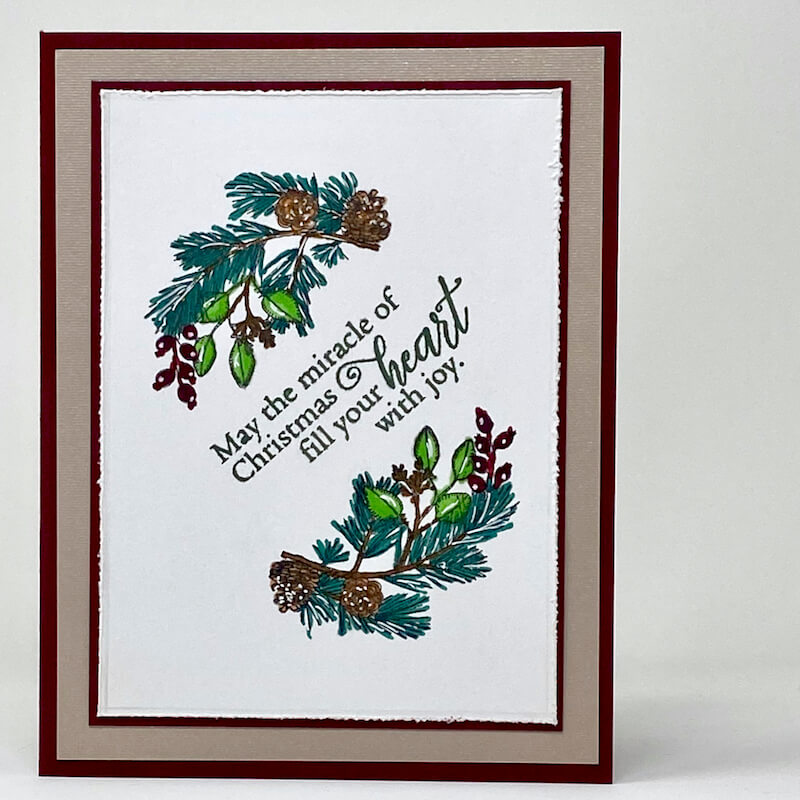
Stamp the curved foliage cluster on a white panel with India Ink.

Color the images with a variety of alcohol markers. Add highlights with a white gel pen.

Stamp the sentiment in India Ink on the diagonal between the two clusters.

Card 2

Blend Distress Inks on a white panel with Ink Applicator Brushes.

Spritz the holly stem with water.

Lay the wet stamp on top of the inked panel making sure that the leaves and berries align with the color on the panel.

Carefully remove the stamp which has now reactivated the ink and transferred some of the color to the holly image. Press the stamp on a clean piece of white paper.

Repeat this process with several impressions to fill each panel with holly images.

Sprinkle water droplets over the inked panel. Dab off any excess water with a clean cloth or paper towel.

Add additional stamped holly images onto the panel in Spruce Ink.

Trim each panel into strips, mat with Wine panels, and add to the front of the finished card.

Card 3

Stamp an Ivory Linen panel with holly branches in Spruce Ink. Blend additional ink around the edges of the panel with an Applicator Brush.

Add a stamped sentiment to a strip of Ivory in Red Ink; wrap with red twine.

Make berries with Nuvo Drops to complete the card.

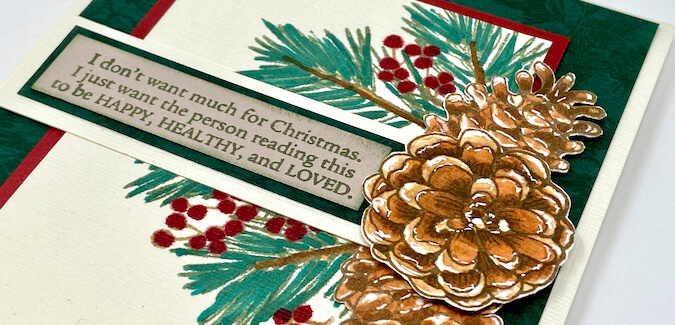
Card 4

Stamp pine boughs onto an Ivory panel with Spruce, and the pinecones in Earth Ink.

Ink the top view of the pinecone with Earth Ink and stamp onto a separate scrap of Ivory paper. Color the image with alcohol markers, starting with the darkest areas of the image first.

Scribble a bit of the Raw Umber marker onto an acrylic block. Pick up a bit of the ink with a Rose Beige marker tip.

Blend the colors, from darkest to lightest.

Fussy cut the pinecone image. Add highlights with a white gel pen.

Add color to the pine boughs and pinecones with alcohol markers.

Adhere the fussy cut pinecone to the stamped panel with Foam Adhesive Circles.

Complete the card with a stamped sentiment and red Dazzles.

Card 5

Add texture to a Champagne Metallic panel with a holly and berry embossing folder.

Dust a Green strip with an anti-static powder tool. Stamp the sentiment and foliage in Watermark Ink. Sprinkle with white embossing powder and heat set to melt.

Stamp the quatrefoil image onto White paper with India Ink. Color in the details with alcohol markers. Add highlights with a white gel pen (not shown).

Fussy cut the quatrefoil shape with detail scissors.

Adhere to the front of the finished card with Black Foam Adhesive Circles for dimension.

Card 6

Add the foliage images randomly over a Green panel with Spruce Ink.

Stamp the pinecones onto Ivory paper with Earth Ink. Color the images with alcohol markers.

Add highlight details with white gel pen. Fussy cut with detail scissors and set aside.

Determine the position of the pinecones and a sentiment strip prior to moving on to the next step.

Stamp the pine boughs in Spruce Ink on an Ivory panel as shown.

Add the berry branches with Sandstone Ink.

Color the foliage and berries with alcohol markers.

Glue two of the pinecones next to the sentiment strip with Bookbinding Glue. Adhere the final pinecone with Foam Adhesive Circles.

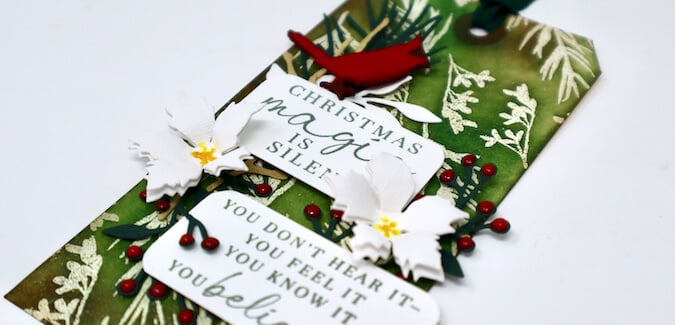
Embossed Resist Tag

Dust a white shipping tag with anti-static powder.

Stamp images along the left side of the tag with Watermark Ink.

Sprinkle the images with white embossing powder and heat set to melt.

Add watercolor paints inside the lines of the embossed images with a water brush.

Fill in the areas around the embossed images with blue paint. Wipe away any access paint with a clean, damp cloth.

Stamp a sentiment onto white paper and die cut into a circle shape. Add foliage in Spruce and berries in Red Ink. Mat with a Red scalloped circle shape and add Dazzles to enhance the berries.

Let's take a closer look at the finished tag.

Be sure to join us on Facebook on the Club Scrap Chat Group. Be inspired by fellow members and Club Scrap enthusiasts as they share their artwork in monthly challenges and personal posts. Not a member of the group yet? Simply answer a few questions and we will get your request accepted in no time.
Happy holiday stamping!
CS Hybrid Ink Pads
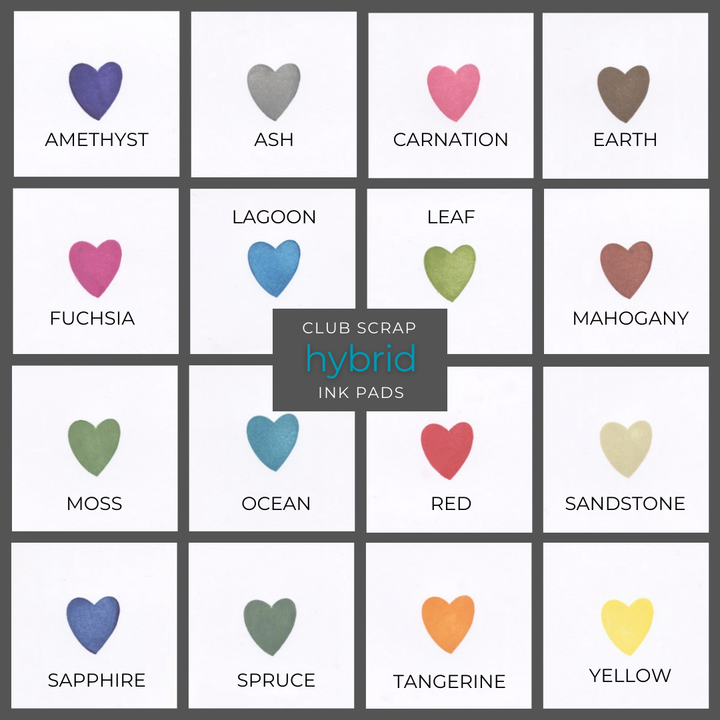
$6.35
Exclusively Club Scrap®, this hybrid craft ink combines the most exceptional ingredients of both pigments and dyes for a fine, crisp, fast-drying image! Don't forget to stock up on the coordinating re-inkers. Each ink pad sold separately. Please select the… Read More