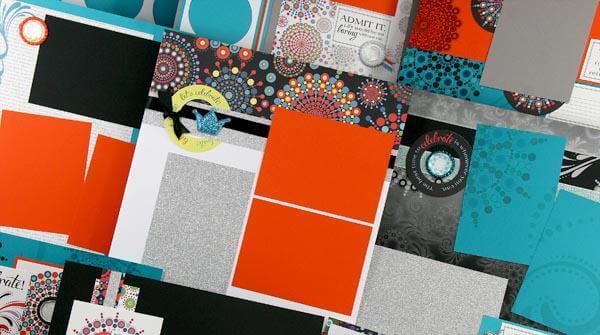
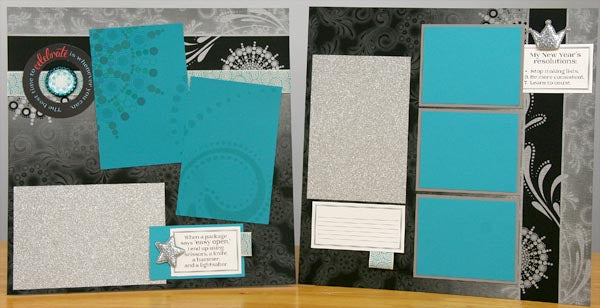
Our bicentennial collection is finally leaving the warehouse today! Take a closer look at the Celebrate layouts and cards . . .
CELEBRATE DELUXE KIT
LAYOUTS 1 & 2
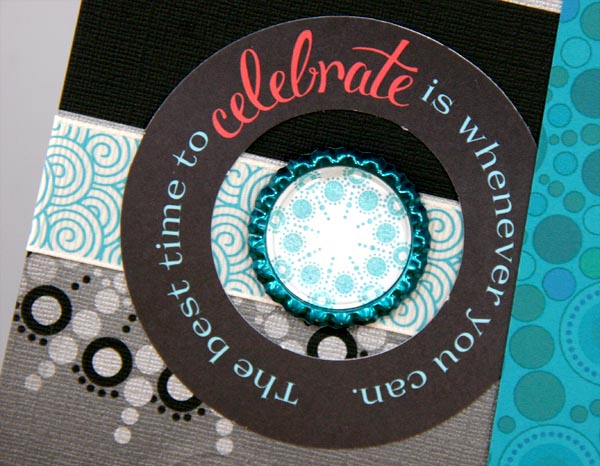
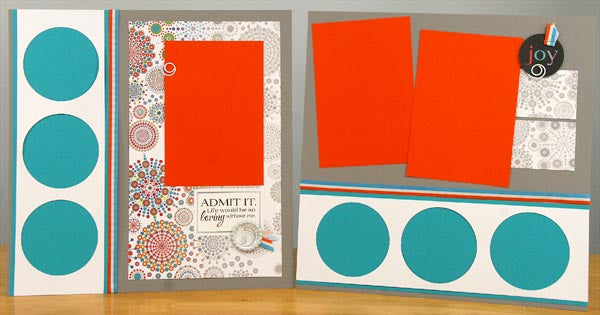
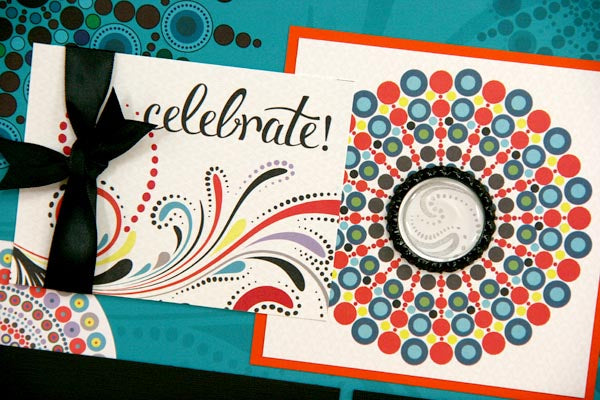
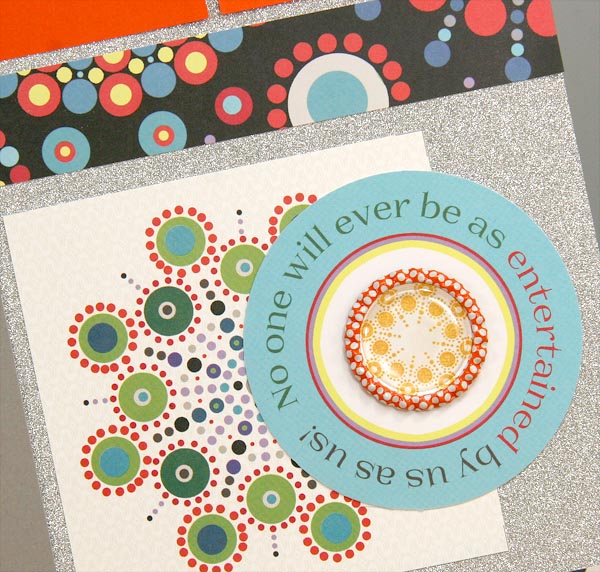
There is a full sheet of circular die cuts in the embellishment pack. After removing the die cuts, be sure to save the "parent sheet" for later. Here, the die cut is combined with a flattened bottle cap and a strip of printed grosgrain ribbon.
LAYOUTS 3 & 4

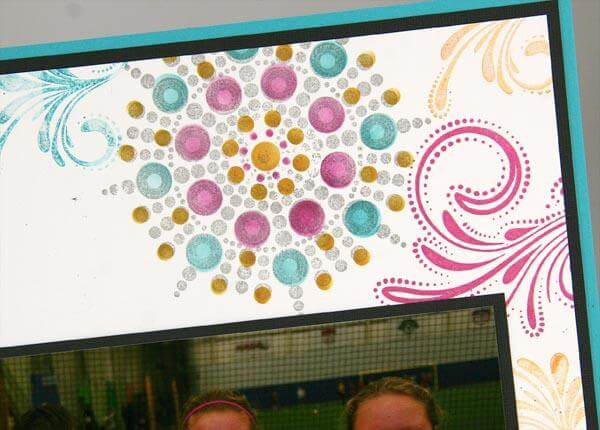
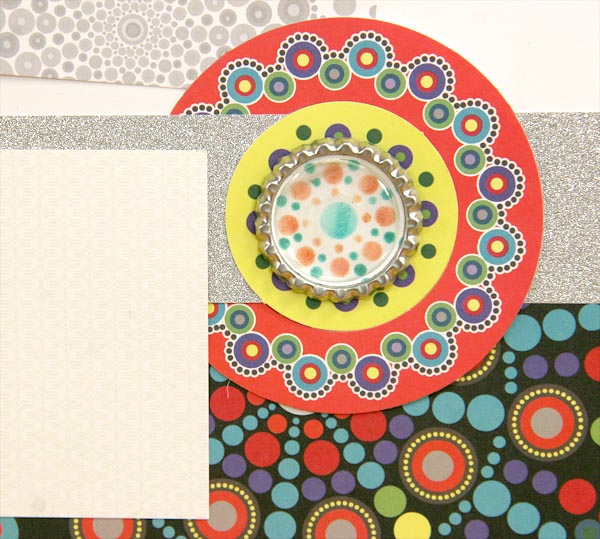
The overlay stencil was used to create artwork to fill the center of this flattened bottle cap. You can fill the cap with a portion of a photo or stamped image. Adhere the 1" punch and top with the epoxy circle included in the kit.
LAYOUTS 5 & 6
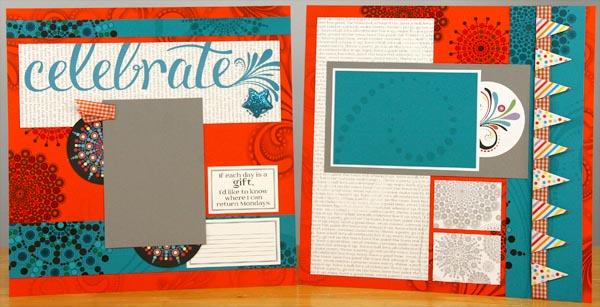
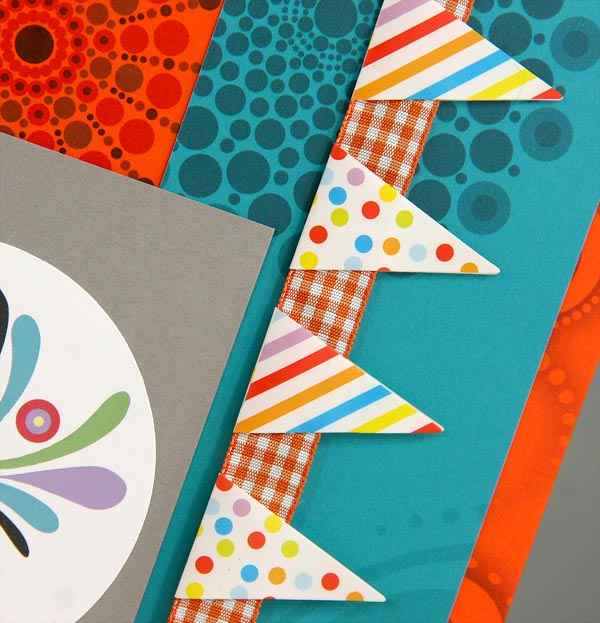
We found a set of adorable fold-over banner stickers. Simply wrap around the checked ribbon with equal spacing and use as a border strip on the right edge of the layout.
LAYOUTS 7 & 8
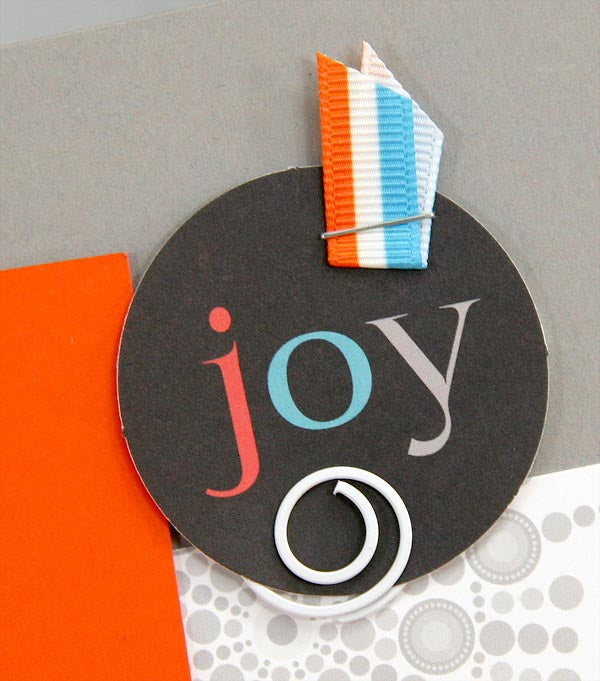
Combine one of the white circular paper fasteners, the "joy" die cut and a stapled ribbon to create a cute page accent for this layout.
LAYOUTS 9 & 10
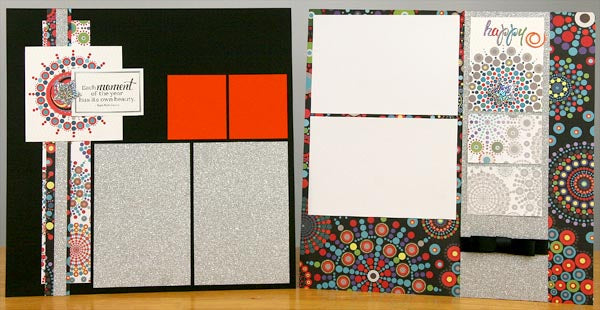
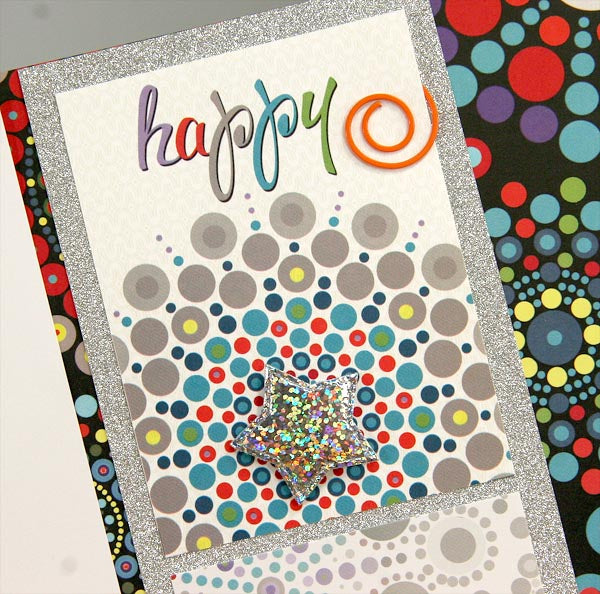
We added a set of adorable "puffy patches" to the kit. They make such a cheerful embellishment!
LAYOUTS 11 & 12
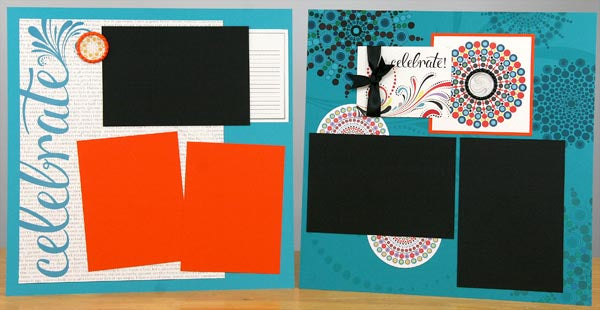
Add a flattened bottle cap to the center of the printed cutapart.
LAYOUTS 13 & 14
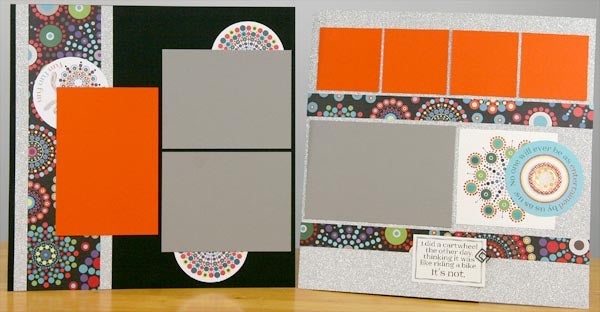
I can't wait to match up some fun celebration photos with this joyful collection!
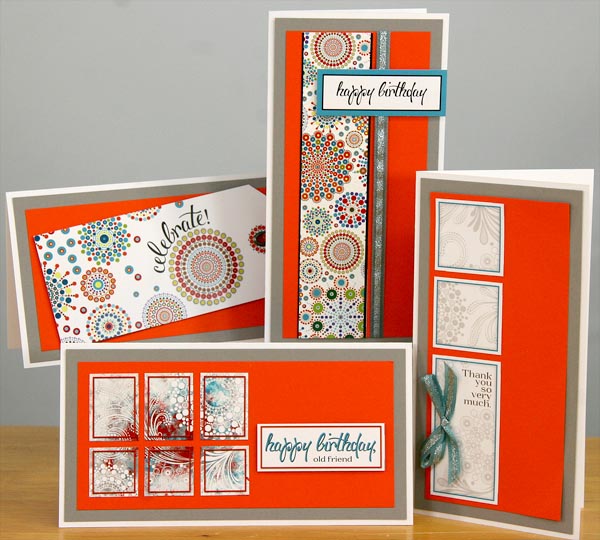
CELEBRATE GREETINGS TO GO
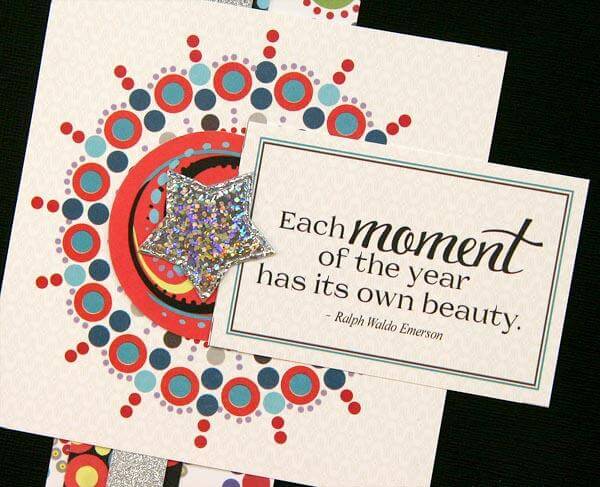
I took a few moments to give you a quick video tour of the cards along with a tutorial on how to assemble the cards in Set B.
SET A
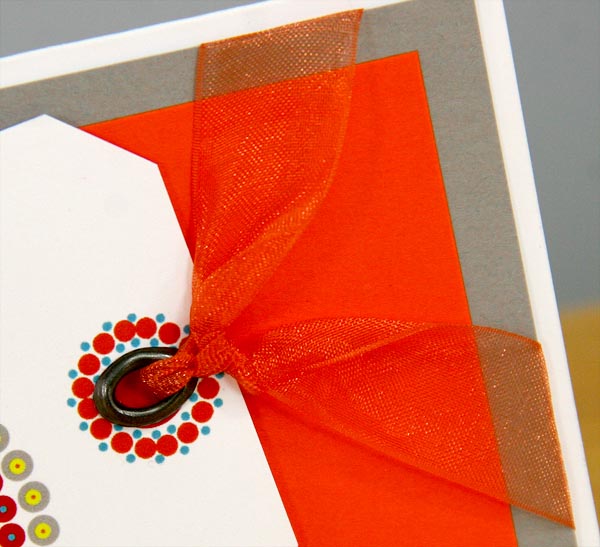
We've included a set of unique, oval-shaped eyelets. To attach, use a punch to make a hole large enough for the shank and set with a Crop-A-Dile.
SET B

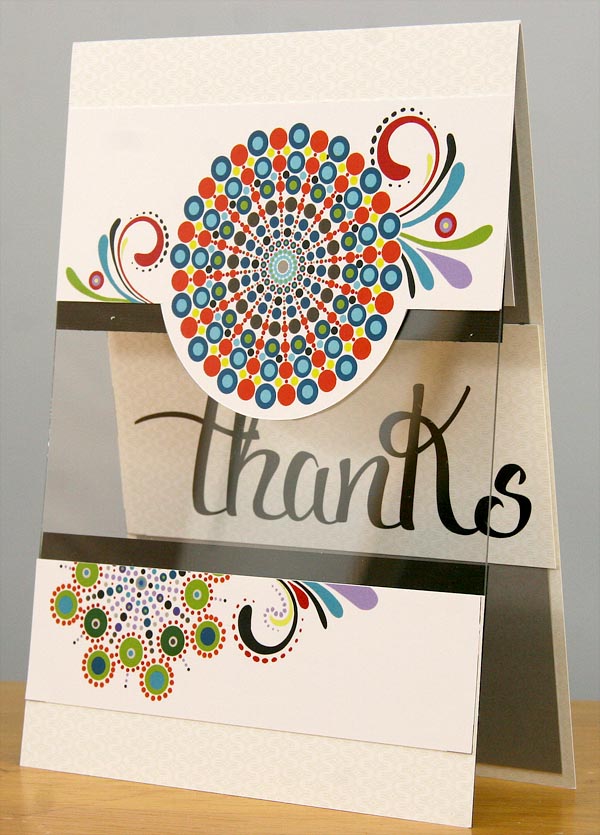
I think this is my favorite card from the set. Cut along the straight and circular guideline with a craft knife to create the overlay for the top flap of the card.
SET C

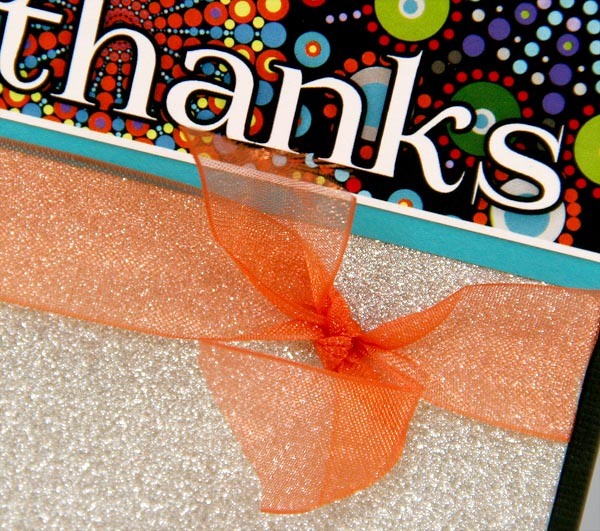
You are going to love the Silver Sparkle paper in this collection. I'm not a huge fan of "loose glitter," but this stuff is iron-clad. Not a speck leaves the paper. You're welcome.
Here's to having lots of great celebrations in 2016!
Tricia


