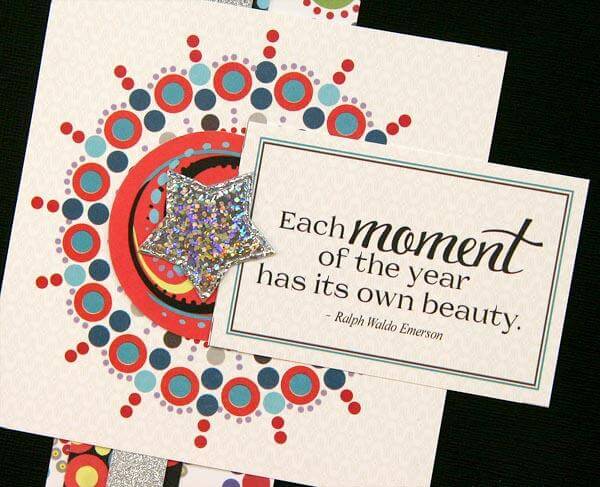

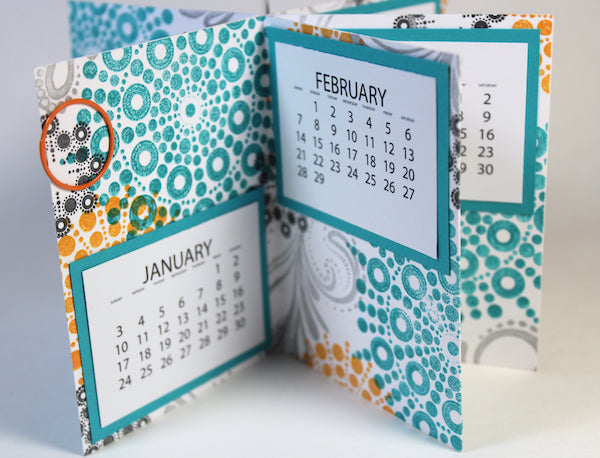
Begin the year with a quick and easy calendar project for your desk. Check out the inspiration for this calendar HERE.
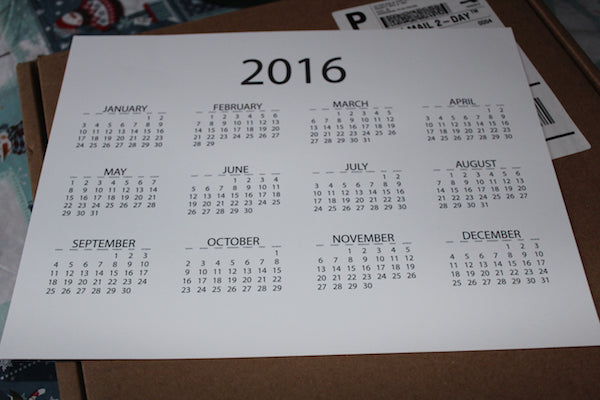
Download a 2016 calendar from the internet (I found mine HERE) and print on 8.5x11" white paper.
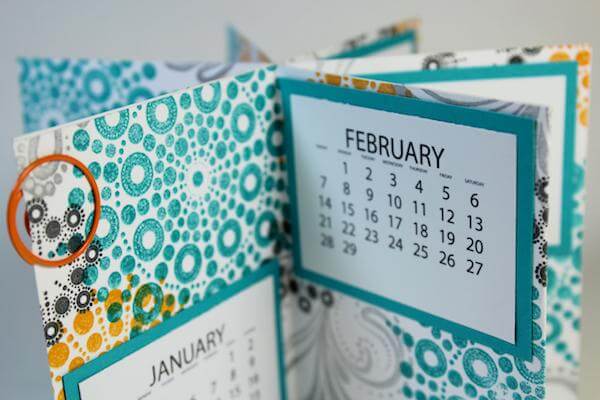
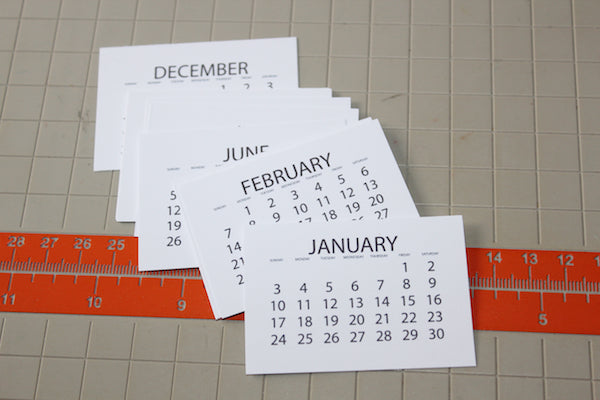
Trim each month into a separate panel measuring 1.75x2.5".
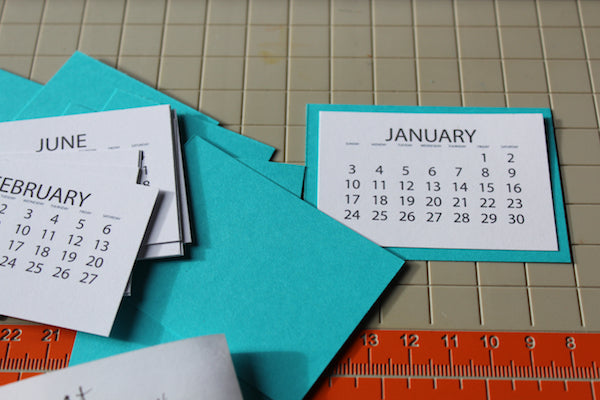
Cut a 6x12 Celebrate Blue Plain vertically at 4 and 2". Trim each 2x12 at 11, 8.25, 5.5 and 2.75". This will form 12 mats for each of the months.
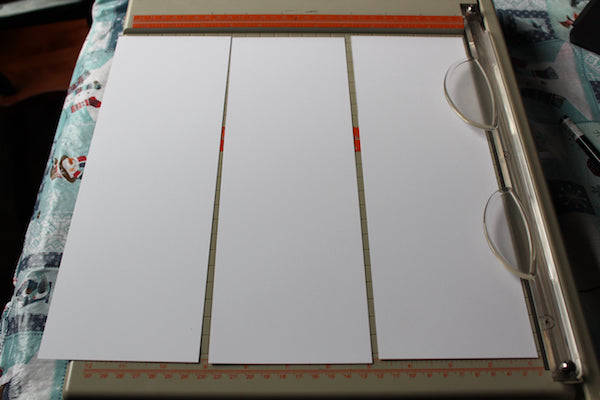
Cut one 12x12 Celebrate White Plain with the grain direction running vertically at 8 and 4".
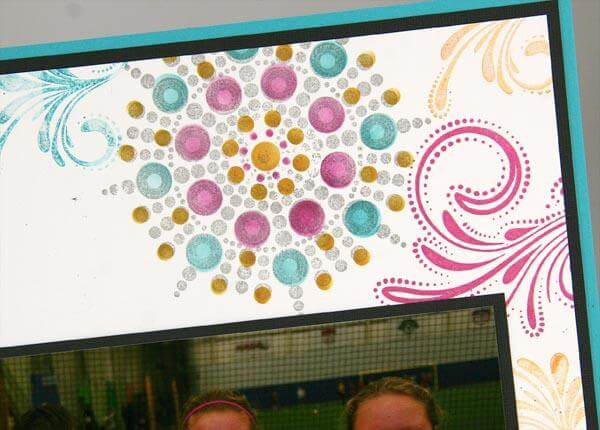
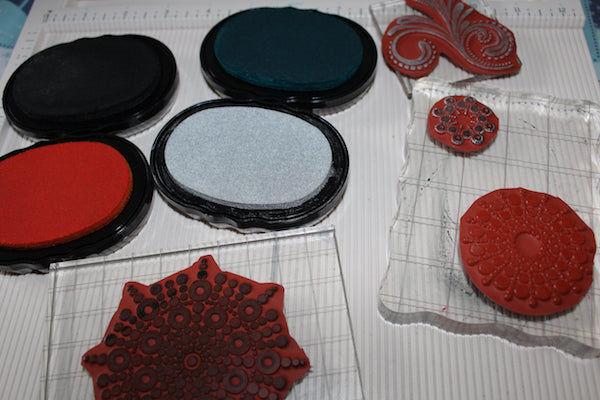
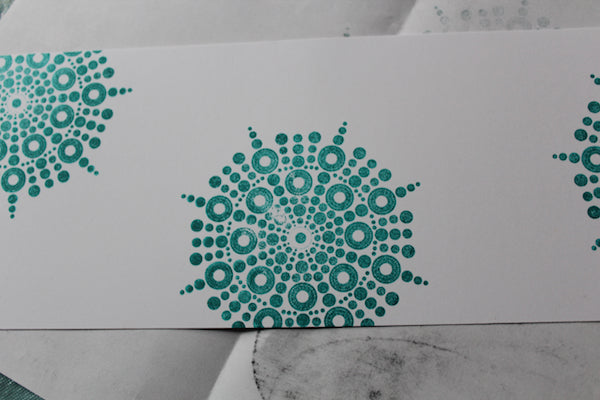
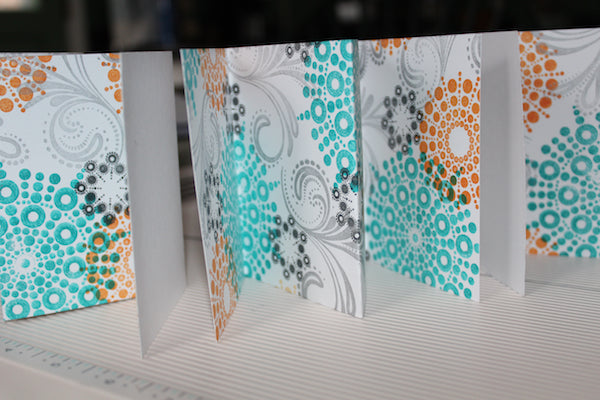
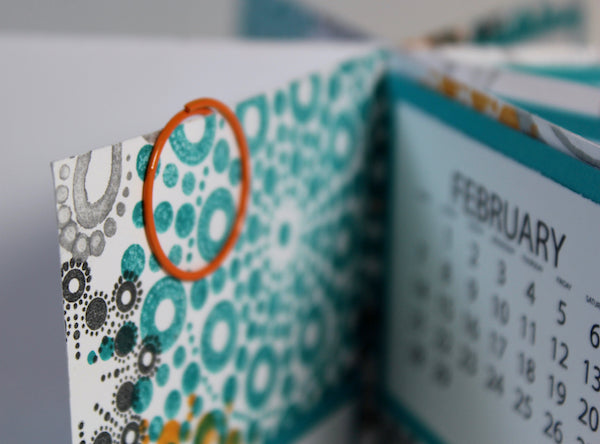
Add stamped images from the Celebrate Jumbo UM set with Ocean, Tangerine, India, and Silver Inks.
Score each 4x12 stamped panel at 3, 6, and 9".
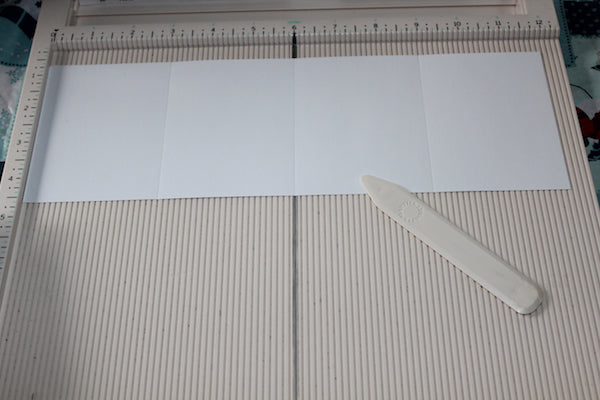

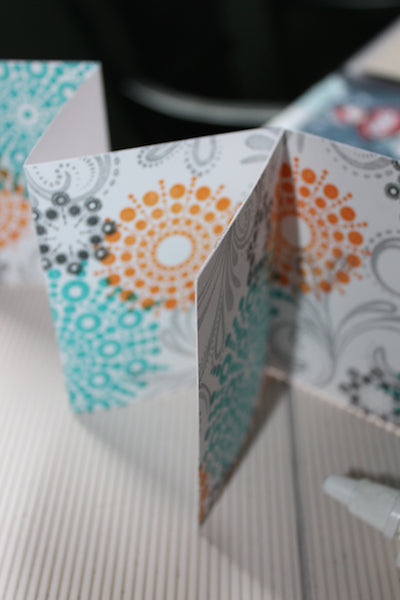
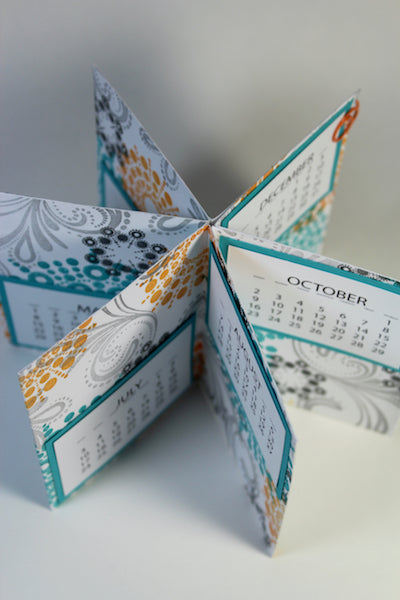
Accordion fold each piece along the score lines. Two valley folds should be on the stamped sides of all three accordion folded panels.
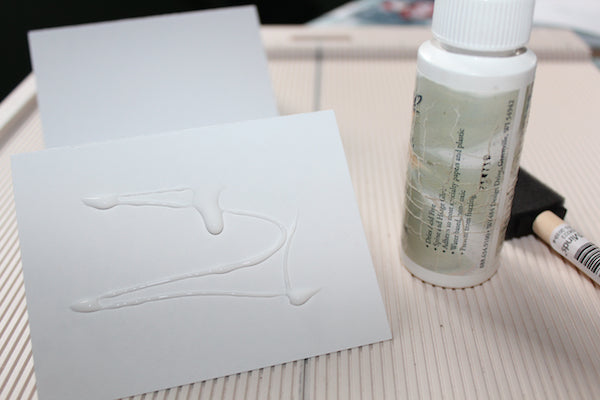
Apply a thin layer of Bookbinding glue to the last quadrant of one of the stamped panels. Attach to the first quadrant of another stamped panel. Repeat for the remaining stamped panel.
** Important Note - apply glue to the PLAIN SIDE ONLY of the stamped panels.
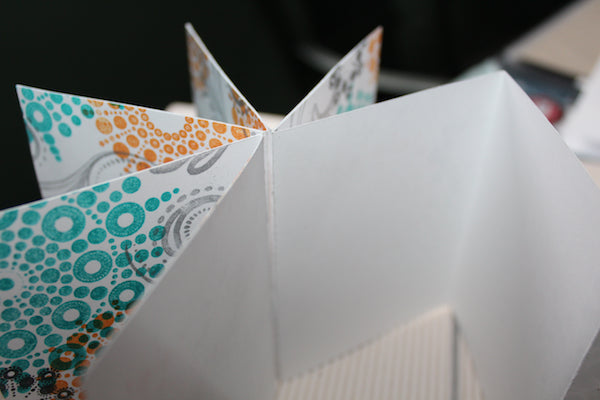
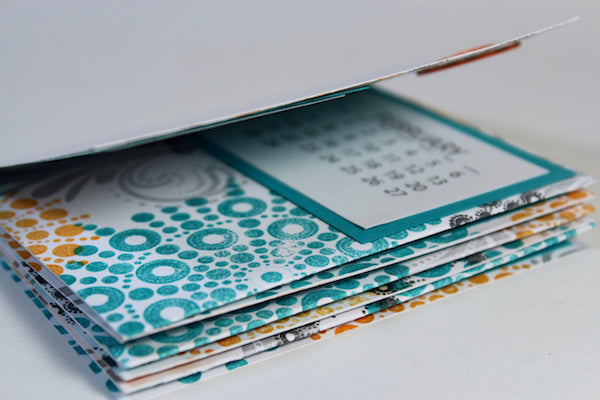
Continue to adhere the remaining panels together. Add glue to the back of the stamped panels using Bookbinding glue to form a book shape.

Adhere the months to each page of the stamped booklet.
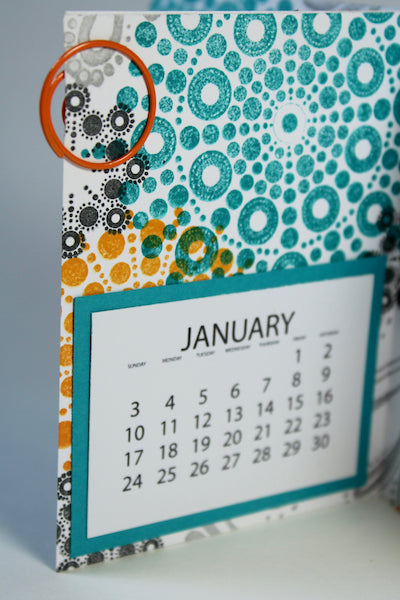
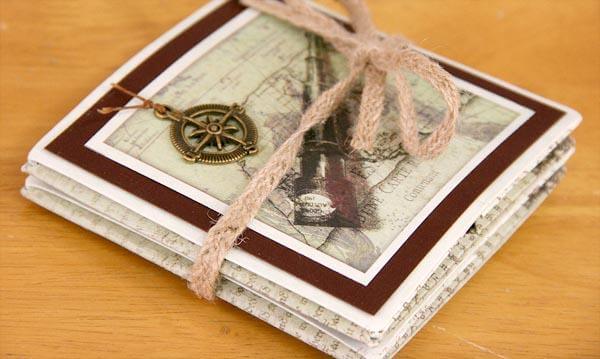
Secure the first and last page of the calendar with an Orange Paper Fastener. This allows the calendar to lay flat for mailing or gift giving.
I hope you have lots to celebrate in the coming year!
 Julie
Julie