You probably already know this, but I really enjoy making the most out of our paper collections. For the
Cantina Club Stamp kit, I began by measuring each image on the sheet of
rubber stamps included in the collection.
I studied the measurements and tried to find the best way to accommodate all of them on one sheet of 8.5x11 paper. I found several with a 1.75" measurement and knew I could group those together. The check marks indicate how many of each size I was able to fit on the paper.

Here's my first sketch.

I then trimmed the paper according to the sketch, stamped all of the elements as planned, and went to town making the cards and remaining sketches.
Now that the work is done, you can simply download the instructions and skip that whole mind-numbing process!
Click below to download:
0715ALCM
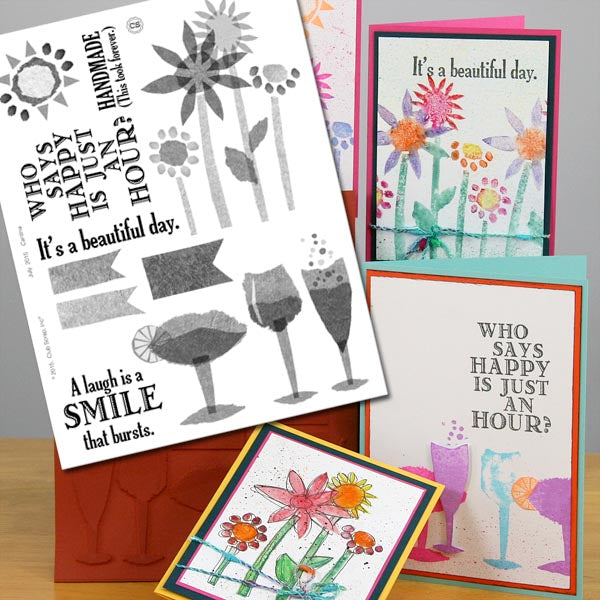
Here are the thirteen cheerful cards you can make with your
Cantina Club Stamp kit:

Let's take a closer look at the cards . . .
CARDS 1 & 2

Pierce holes for the square brads with a grid ruler, paper piercing tool and corkboard to ensure even spacing.

CARDS 3 & 4

Cut a 2" length of rainbow striped ribbon, fold in half, and staple it next to the stamped sentiment .

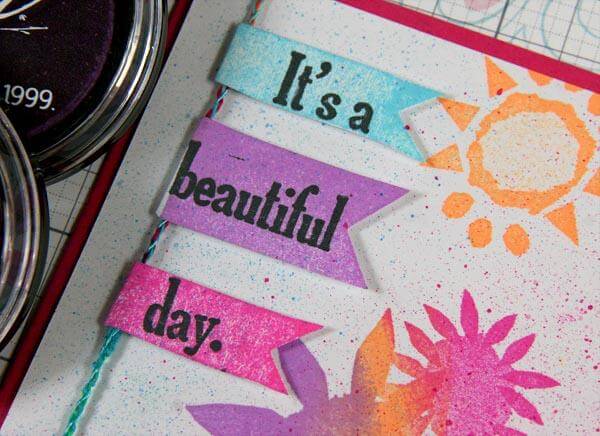
CARDS 5 & 6

Stamp the banner images onto White paper with Fuchsia, Tangerine and Ocean
CS Inks. Trim the banners from the paper, add a ribbon, and hide the left edges behind the stamped sentiment.

The card base is Teal. Adhere a white stamped panel to the inside of the card to make it easier to write a greeting with a standard pen. (The "Hot" sentiment is from the
UM Greeting sheet.)

CARDS 7, 8 & 9

Mist the flower collage stamp with water and color the entire image with watercolor crayons. Re-mist before stamping if too much moisture is lost during the coloring process. (No water, no image!)

Without adding more watercolor, mist the stamp again and stamp to get a second, softer image. Outline the flowers and stems with a black fine-tipped marker.

CARDS 10 & 11

Tuck two stamped banners behind the sun image.

CARD 12

Stamp the sun image with Fuchsia, Tangerine and Ocean inks and edge each White square with ink of the same color applied directly from the pad. With the help of a grid ruler, evenly space six round mini-brads on the left side of the greeting.

CARD 13

Ink the perimeter of the White card base and sentiment panel with Tangerine, Fuchsia and Ocean inks, starting with the lightest color first. Nest the
birthday greeting onto the card with foam adhesive.
Phew! After all that calculating, trimming and creating, I'm ready for a siesta. Adios!
Tricia


 Here's my first sketch.
 CARDS 3 & 4
 The card base is Teal. Adhere a white stamped panel to the inside of the card to make it easier to write a greeting with a standard pen. (The "Hot" sentiment is from the UM Greeting sheet.)
 CARDS 7, 8 & 9
 Without adding more watercolor, mist the stamp again and stamp to get a second, softer image. Outline the flowers and stems with a black fine-tipped marker.
 CARDS 10 & 11
 CARD 12
 CARD 13