
Create even more Blue Christmas pages with the September Bonus Formula. Want to learn more? Keep reading!
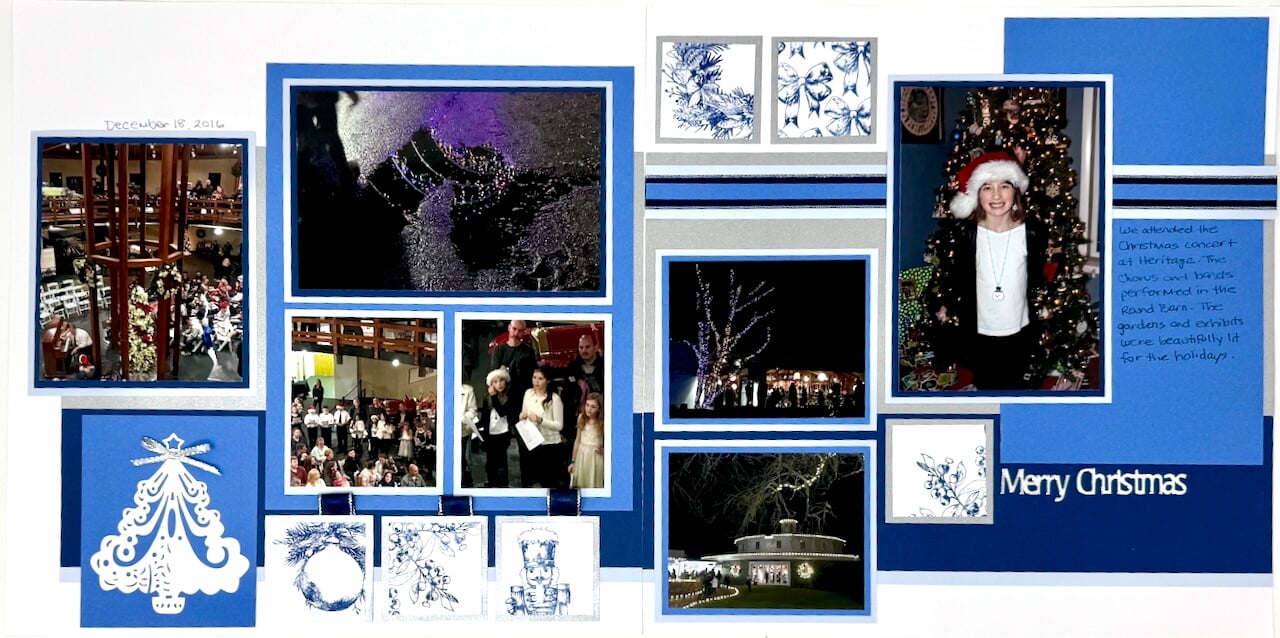
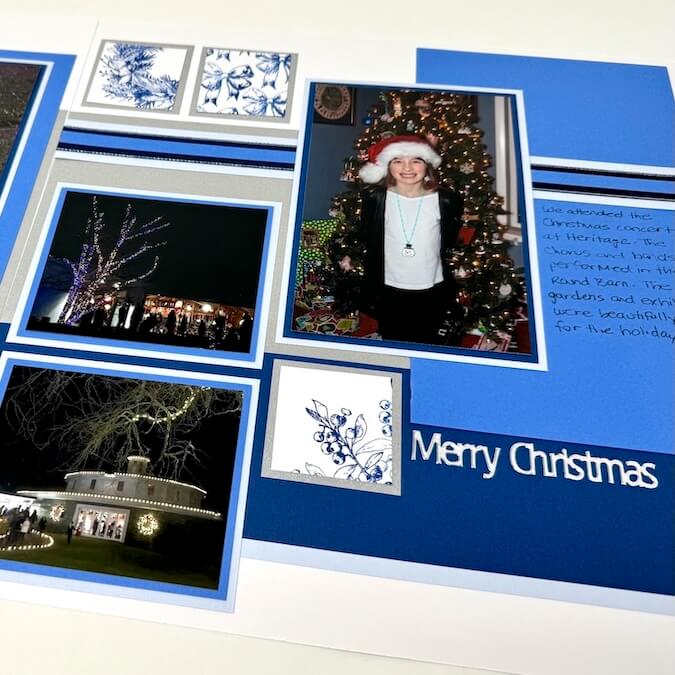
Blue Christmas Pages
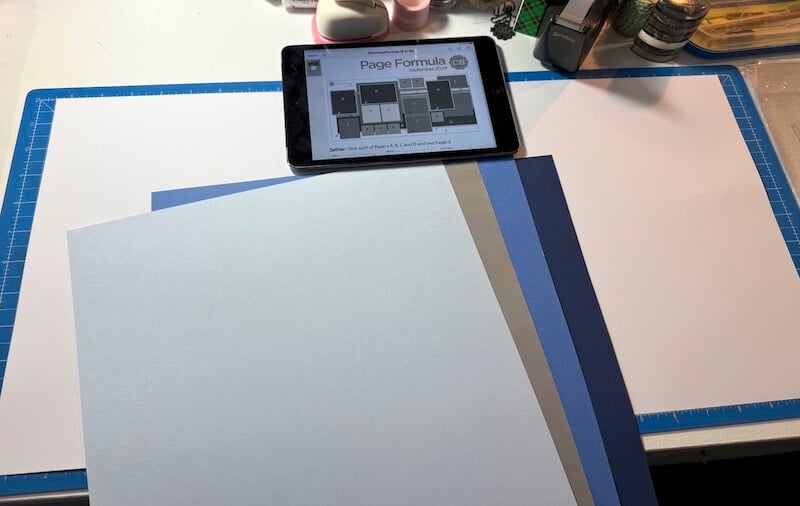
Gather plain papers from the Blue Christmas collection as indicated in the September Bonus Formula.
Trimming and Sorting
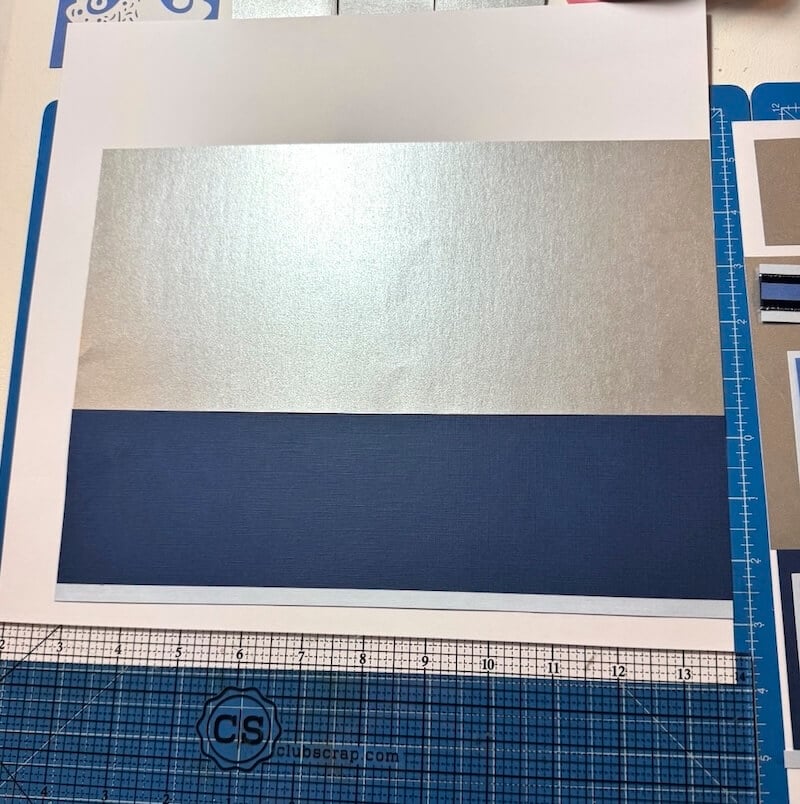
Trim and sort four 12x12" papers according to the instructions, using the following paper assignments: Lt. Blue (Paper A), Silver (Paper B), Med. Blue (Paper C), and Dk. Blue (Paper D). Two White (Paper E) serve as the left and right bases of the layout.
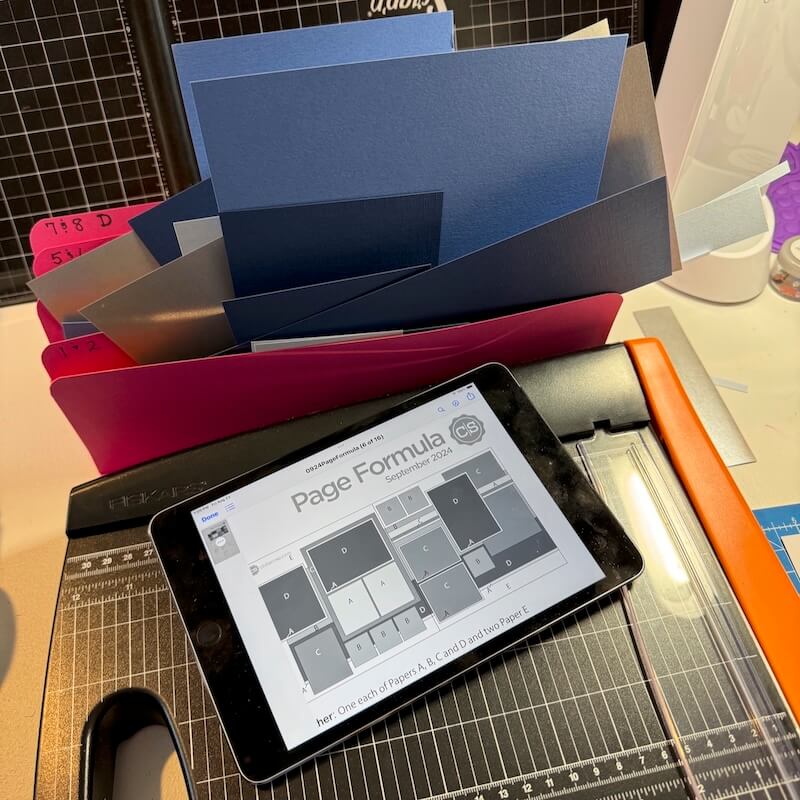
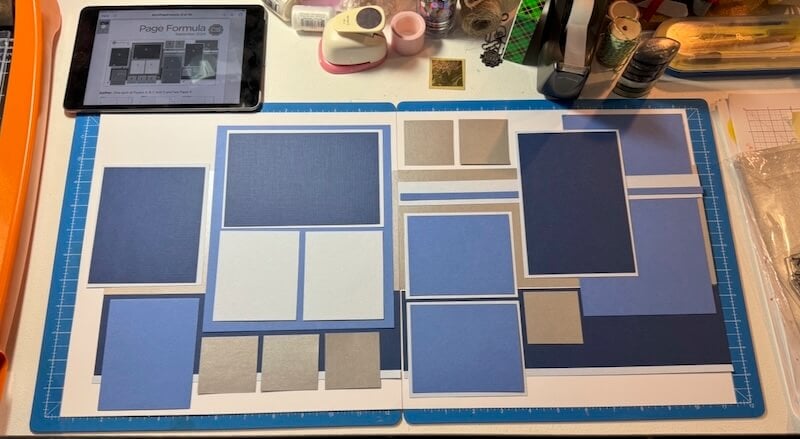
Refer to the sketch to dry fit all the trimmed pieces.
Assembly Tips
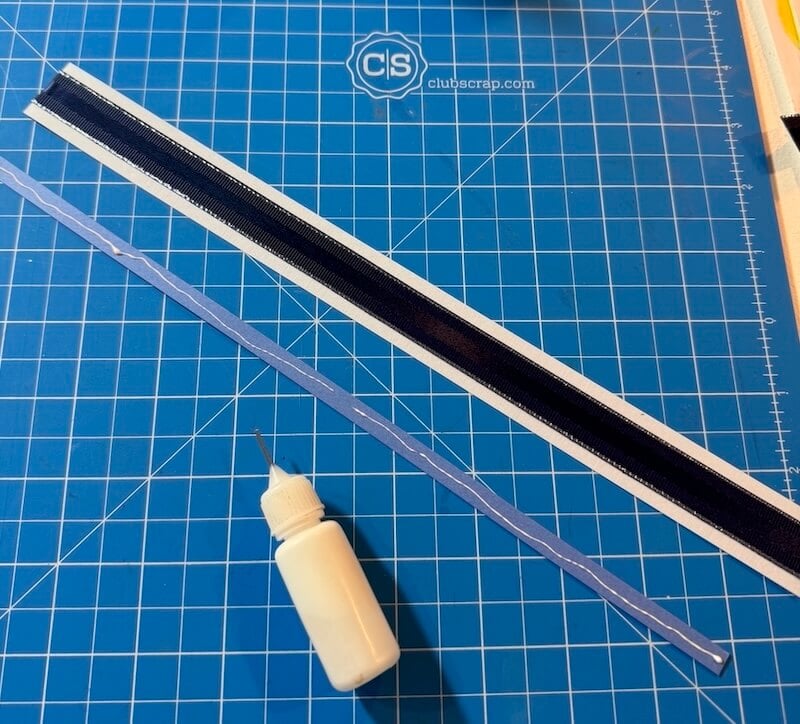
Add a thin line of Bookbinding Glue in a Needle-tipped applicator to the back of the 1/4" paper strips.
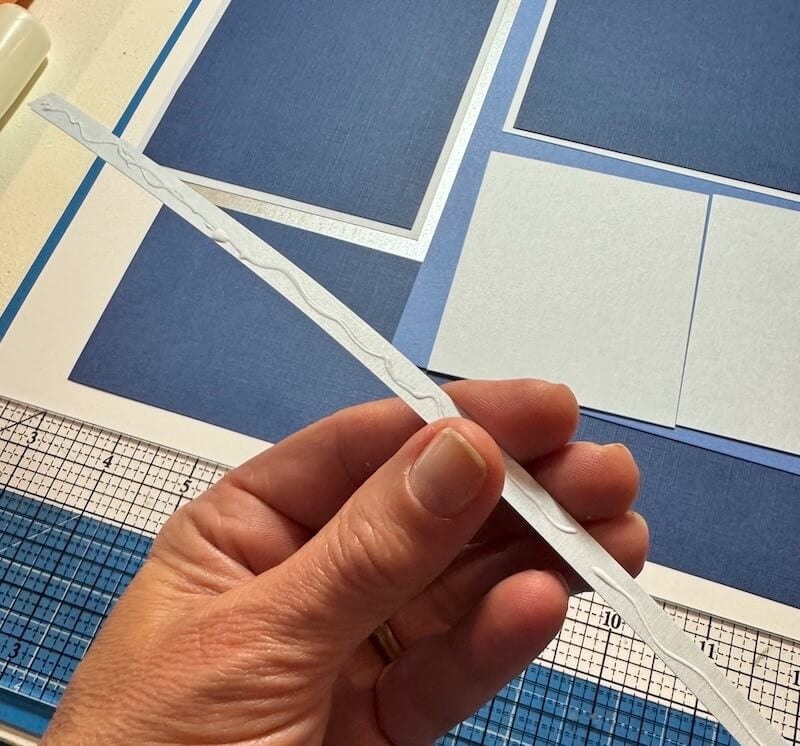
Align the strips (and other trimmed elements) with the help of our clear grid ruler.
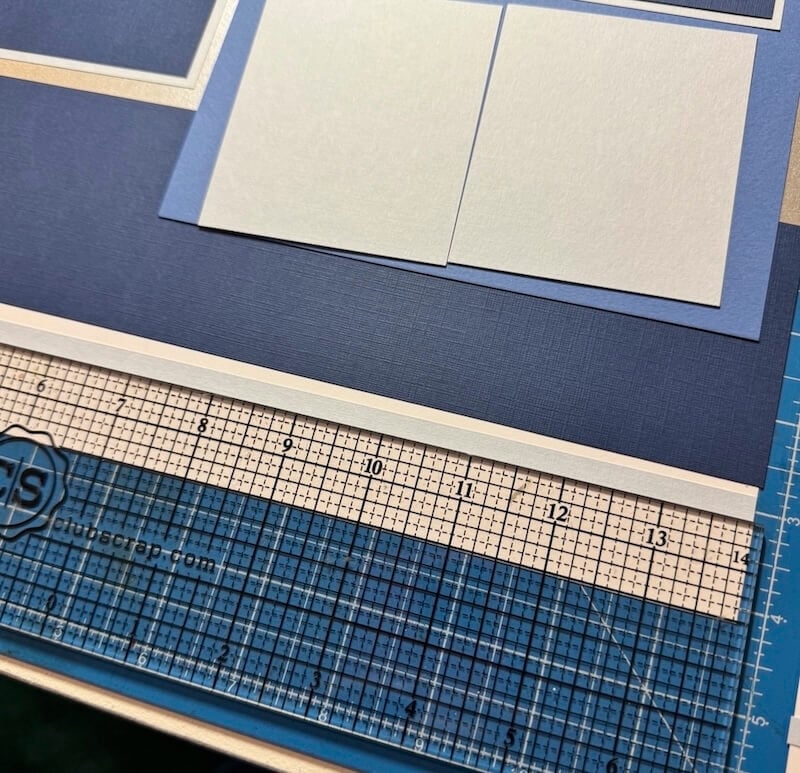
Continue adhere panels to the backgrounds as shown on the sketch.
Embellishments
Wrap ribbon (Card Kit) around one of the Lt. Blue border strips on the right page. Secure to the back side with clear tape.
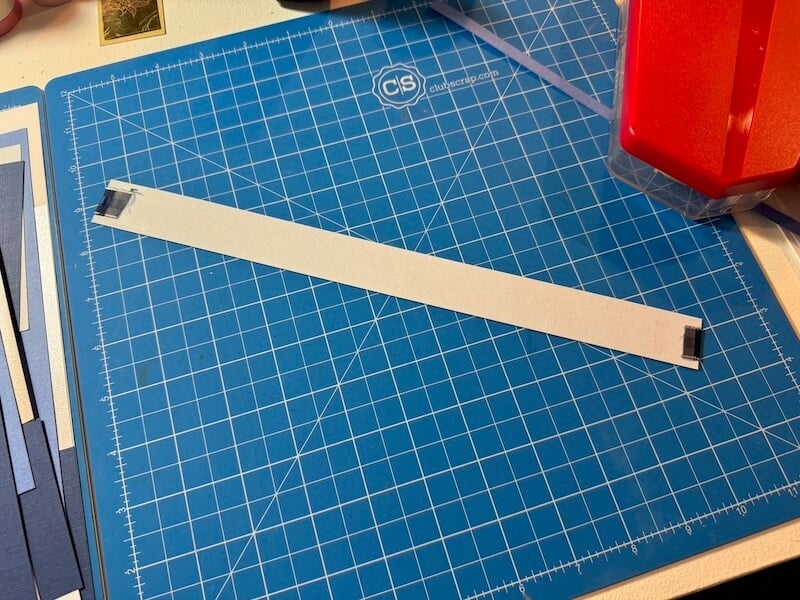
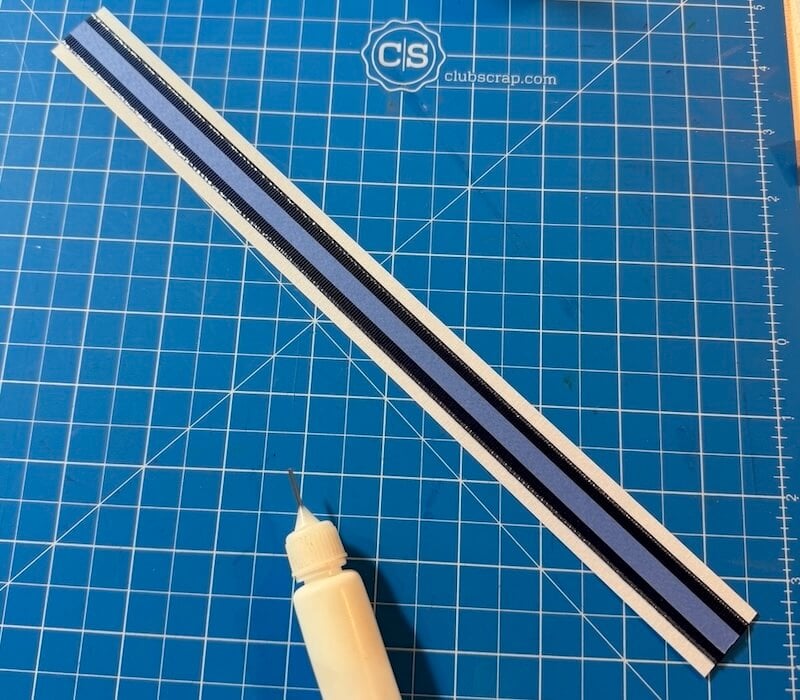
Add Bookbinding Glue to the Med. Blue 1/4 strip...
...and center over the ribbon. Adhere the border strip to the page.
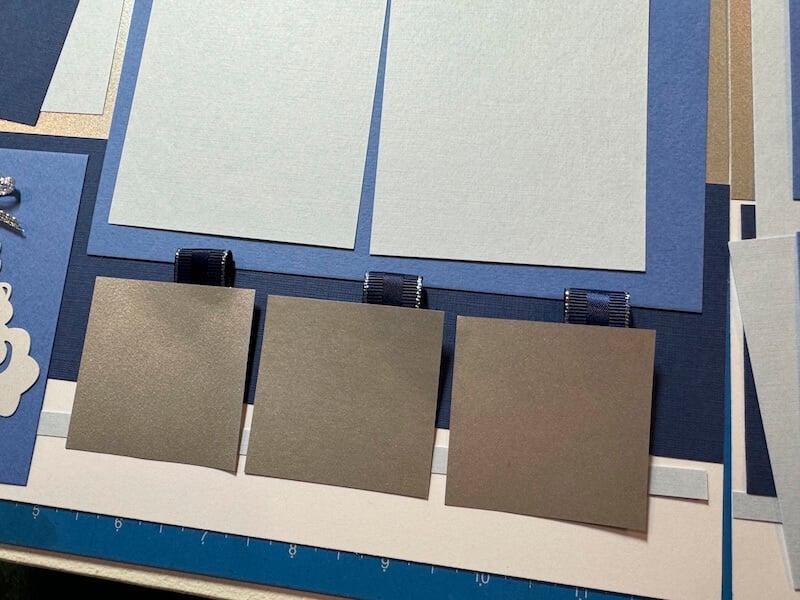
Carry the navy blue ribbon detail over to the left page as well. Cut three 2" sections of ribbon and fold each in half to make a loop.
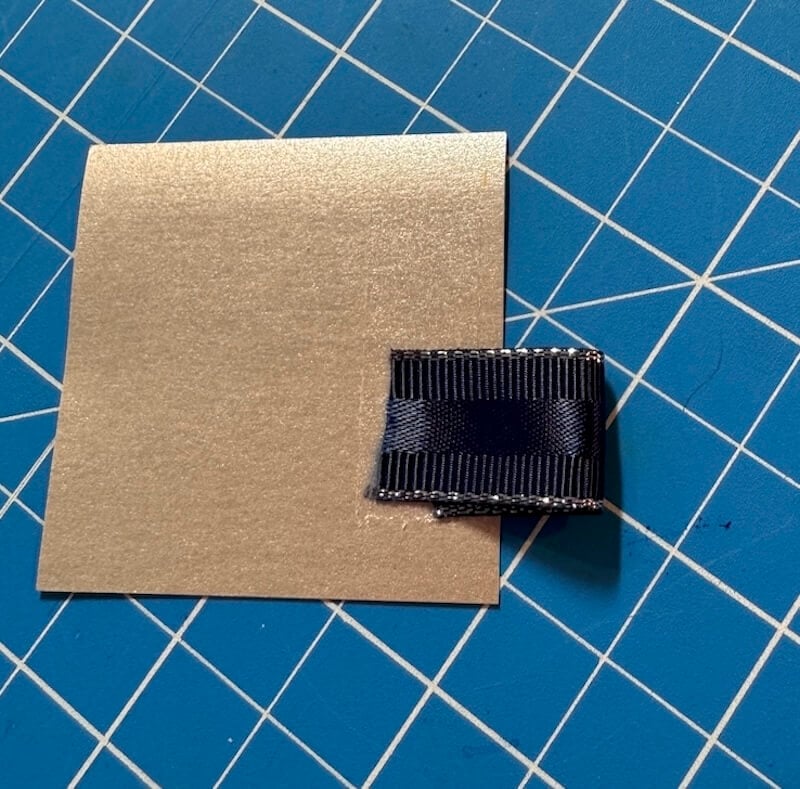 Adhere to the back of each Silver square.
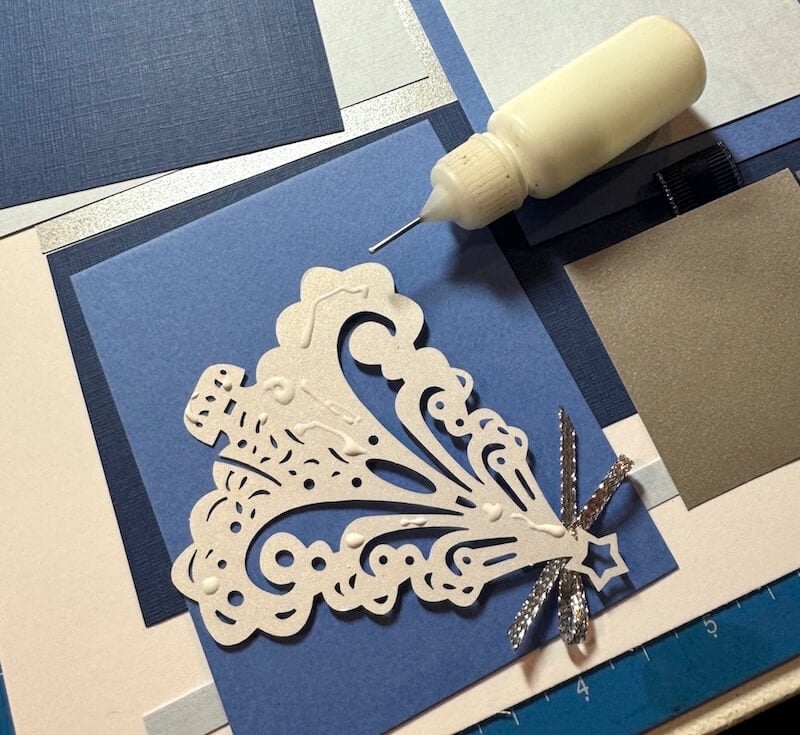
 Top the laser cut tree with silver ribbon tied into a bow. Adhere with Bookbinding Glue.
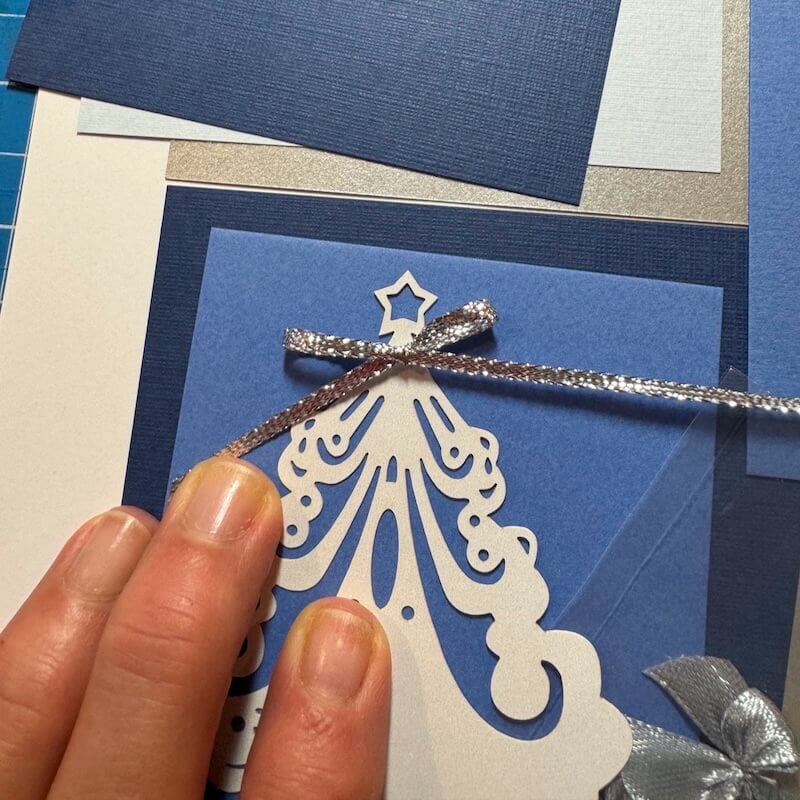
Apply Bookbinding Glue to the back of the laser cut and adhere to one Med. Blue photo mat.
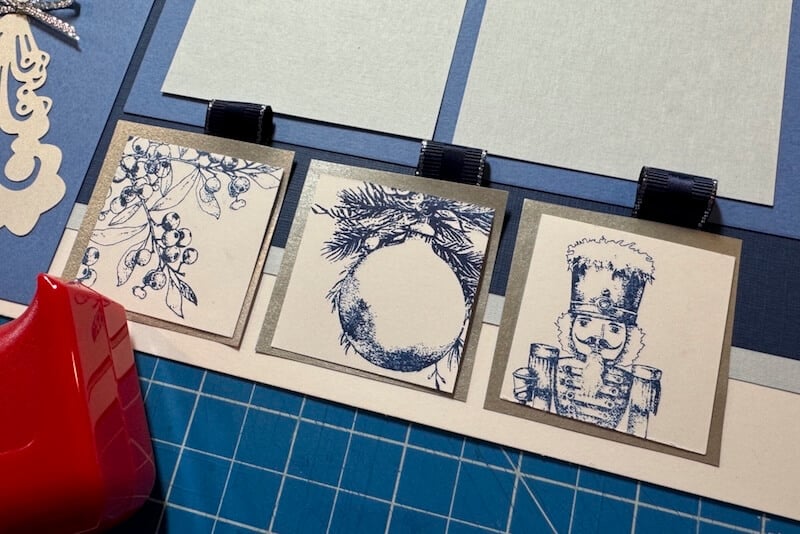
Create Stamped Accents
Trim five 1-3/4" White squares to nest onto the 2" Silver squares.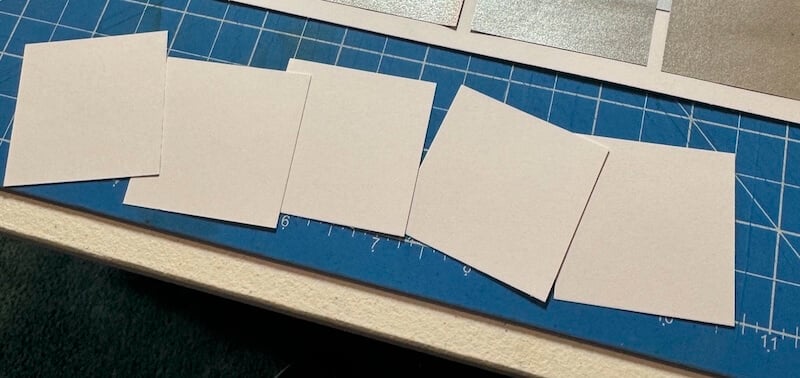
Stamp Blue Christmas images onto each square with Sapphire Ink.
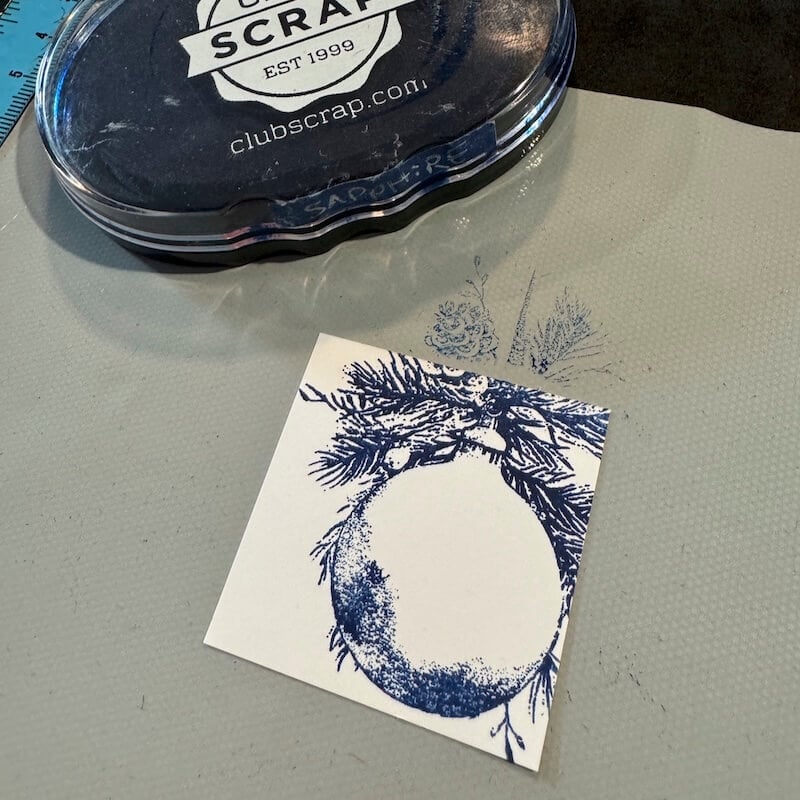
Center each stamped panel onto a Silver square.
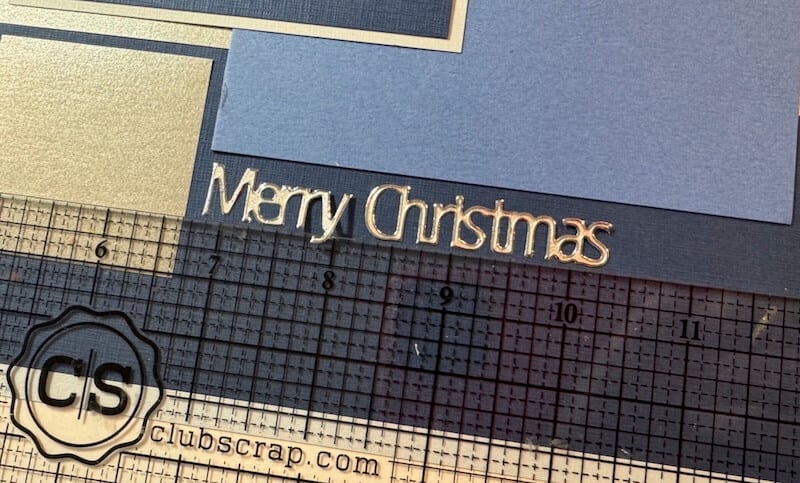
Pick up one of the Merry Christmas Dazzles with the tip of a craft knife. Adhere to the right page utilizing a grid ruler as a guide.
Finishing Touches
Once everything has been adhered, it's time to add photos!

Before cropping your photos, test fit them over each mat until you are satisfied with the arrangement.
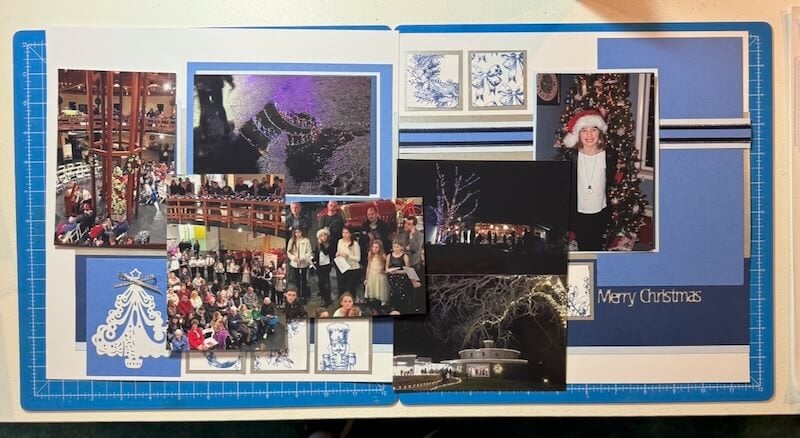
Once you are happy with the layout, trim each photo to 1/4" smaller than its mat and adhere.
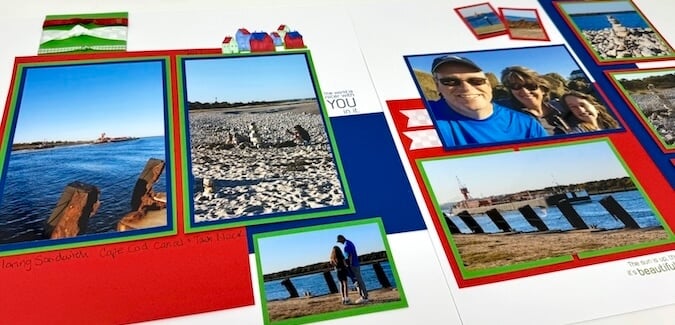
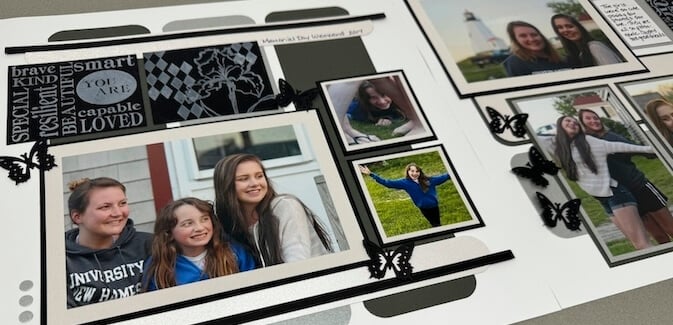
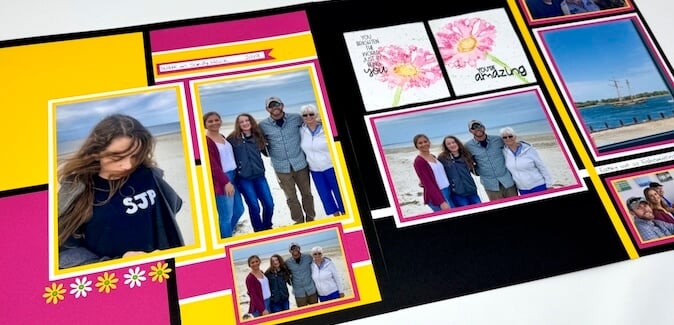
I really love this sketch, so I made pages with the formula using the Abundance collection, too!
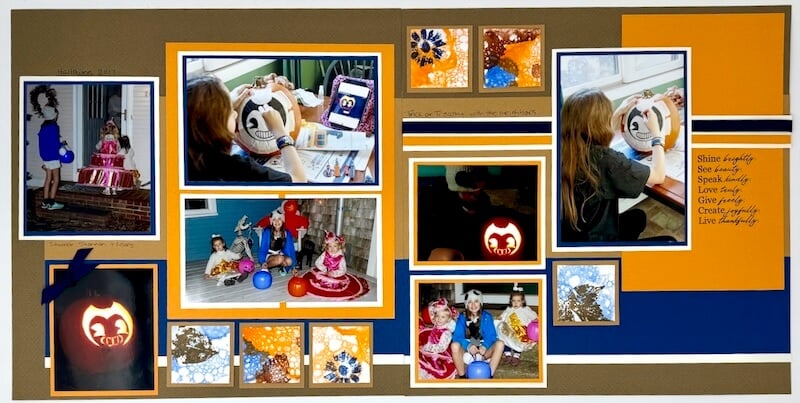
I hope you enjoyed seeing how I used the bonus formula to make more Blue Christmas and Abundance pages.
Have you made pages with the bonus formula yet? We invite you to share any or all of your finished projects on the Club Scrap Chat Group on Facebook. Not a member of the group yet? Simply answer the required questions and we'll get your request accepted in no time!
Blue Christmas Stamps

$19.25
Our premium clear photopolymer stamps are ready to use; no prep is required. The stamp sheet measures 6x8" and includes eleven individual images and phrases. Deeply etched for high-quality impressions Clear substrate for easy positioning and accurate stamping Non-yellowing and… Read More
CS Hybrid Ink Pads
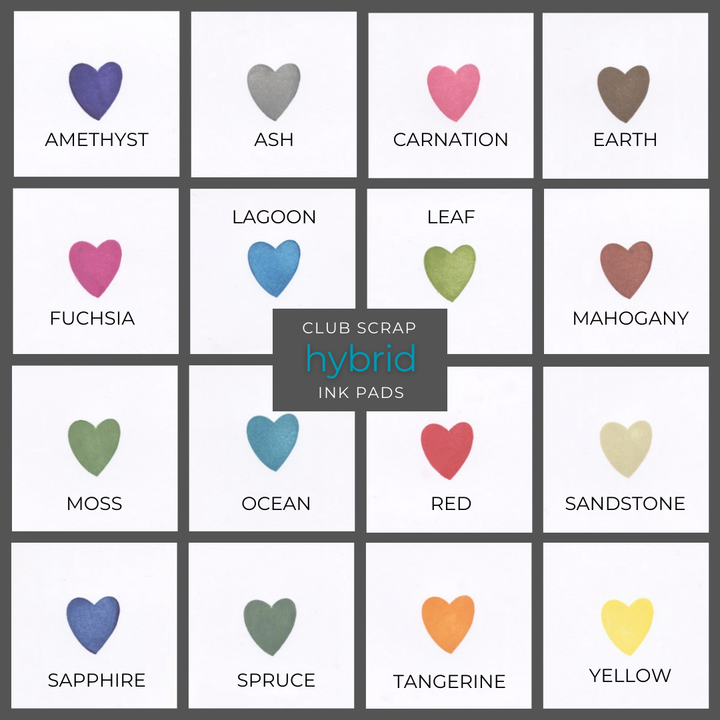
$6.35
Exclusively Club Scrap®, this hybrid craft ink combines the most exceptional ingredients of both pigments and dyes for a fine, crisp, fast-drying image! Don't forget to stock up on the coordinating re-inkers. Each ink pad sold separately. Please select the… Read More