The 8.5x11 Teal print included in the Garden Shed Deluxe kit has a unique raised surface. The artwork is printed onto the paper in a clear ink and is immediately sprinkled with powder and then heated to create the beautiful texture. (Sound like a familiar process?)
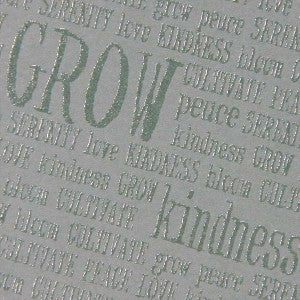
With the help of a heat tool, you can re-activate the melted powder to add some customized color to the raised print.
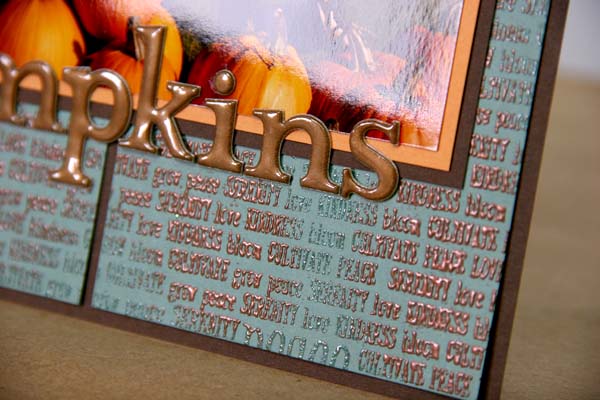
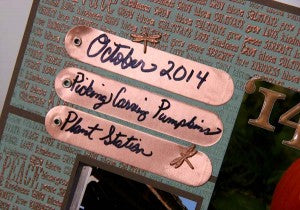
Add copper embossing powder to coordinate with the fun Copper Plant Tags included in the Lite kit.

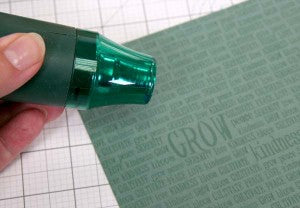
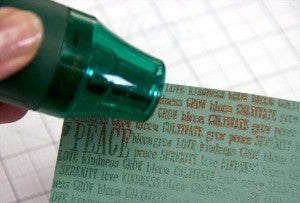
1. Working in a small area, heat the surface of the print until the raised text becomes dark.
2. Immediately sprinkle the heated area with copper embossing powder.
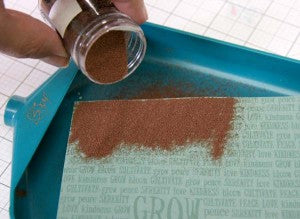
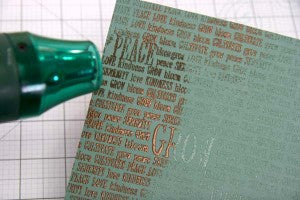
3. Tap off excess powder. The powder will stick to the raised surface. 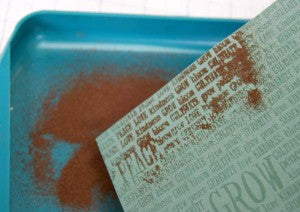
4. Heat the powder until it melts and bonds with the original raised text.
5. Continue working around the outside edge of the print.
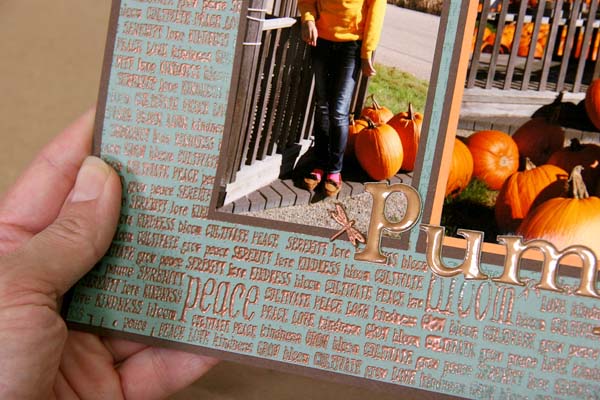
6. For this layout, you'll need four pieces measuring 3-5/8x7-5/8, 7-5/8x8, 4x4-1/4 and 4x7-1/8". No need to alter the areas that will be covered by photos and embellishments.

7. Write journaling onto the Copper Plant Tags with a permanent marker.
8. Finish with a title trimmed from the Mint Cutaparts included in the Garden Shed Lite kit.

Get your heat tools ready for your next altering experience!
Kay