The Adirondacks Lite collection ships today! I hope you have one with your name on it. (If not, we can fix that while supplies last!)
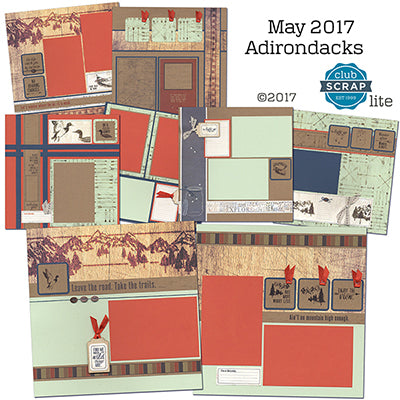
I want to extend a special welcome to many new members who have joined us at recent expos in St. Louis, Milwaukee, and Orlando. The images and details below will help make more sense of how the embellishments and ribbons are used on each completed page, especially if you want to follow the assembly instructions to a tee.
Adirondacks Lite Layouts
LAYOUTS 1 & 2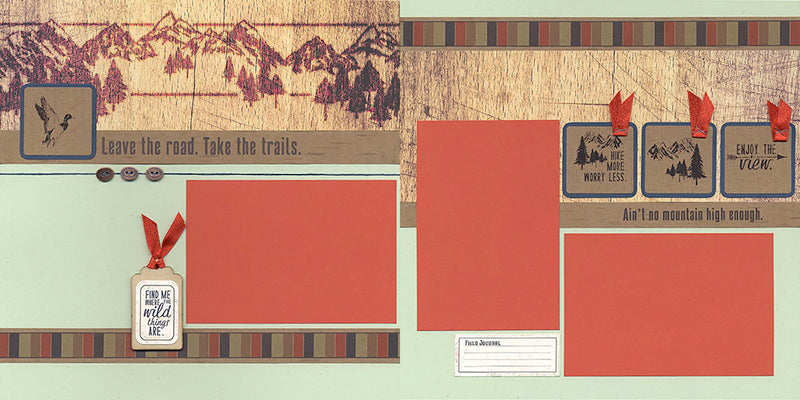
Thread the three curved bronze buttons onto the waxed linen thread and stretch across the left layout. Add a dab of glue to each button to keep it in place on the page, or secure with foam adhesive.

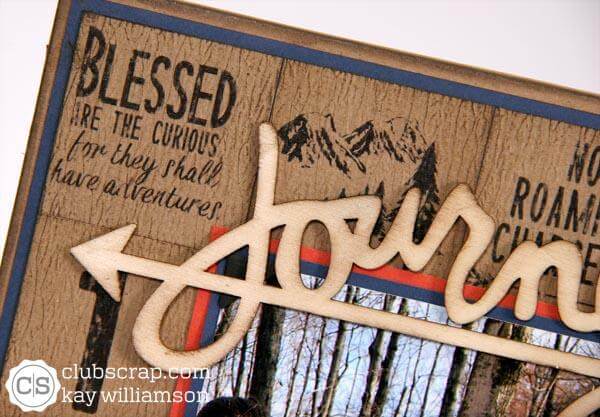
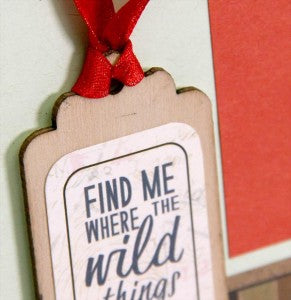
Trim a piece of metallic poppy ribbon and thread through the wood tag. We've designed three cutaparts to fit perfectly onto the three tags.
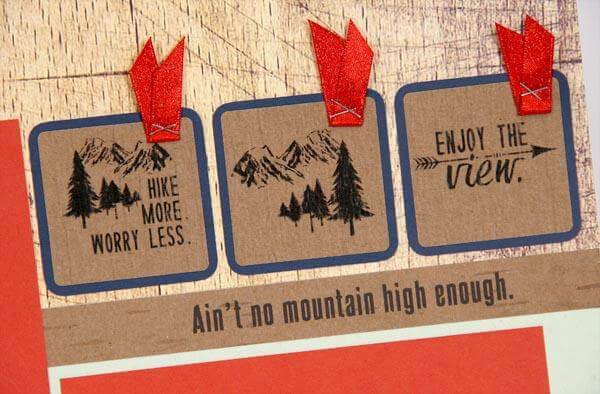
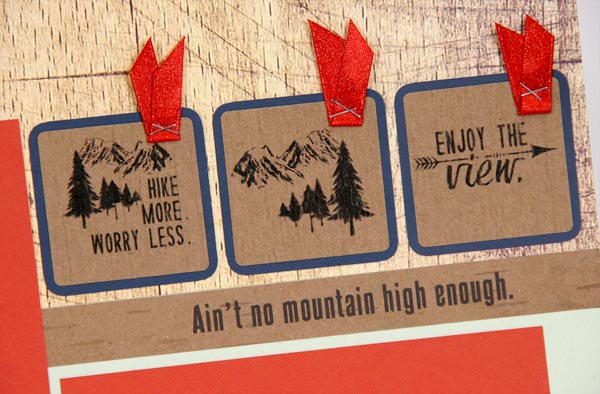
Round the corners of the 2.25" Blue squares with a punch. Add a Kraft Sticker to each and finish with by stapling an "x" onto the folded ribbon.
LAYOUTS 3 & 4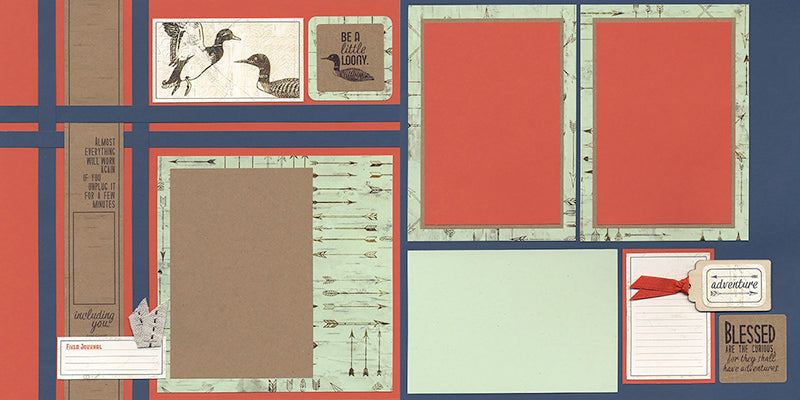
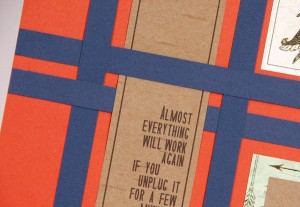
Trim four .25x12" Blue strips and weave them together with a Kraft cutapart.
LAYOUTS 5 & 6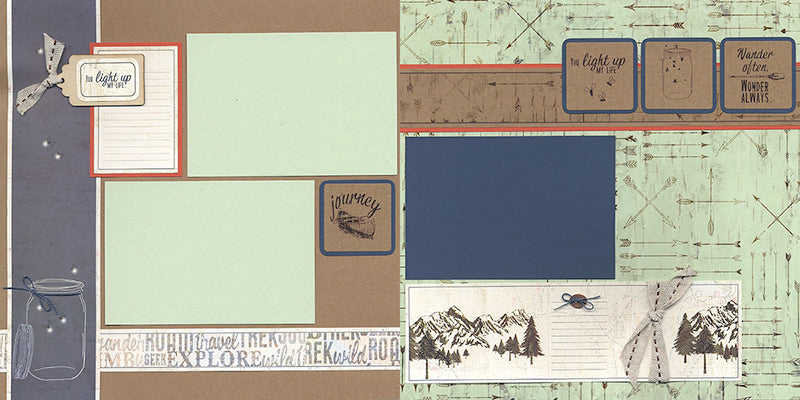
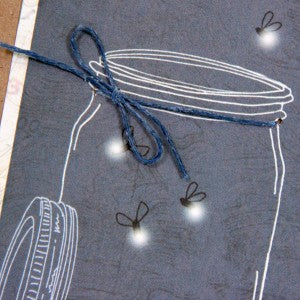
Pierce a hole into the left and right edge of the mason jar on the printed cutapart. Thread waxed linen through the holes and tie ends into a small bow.
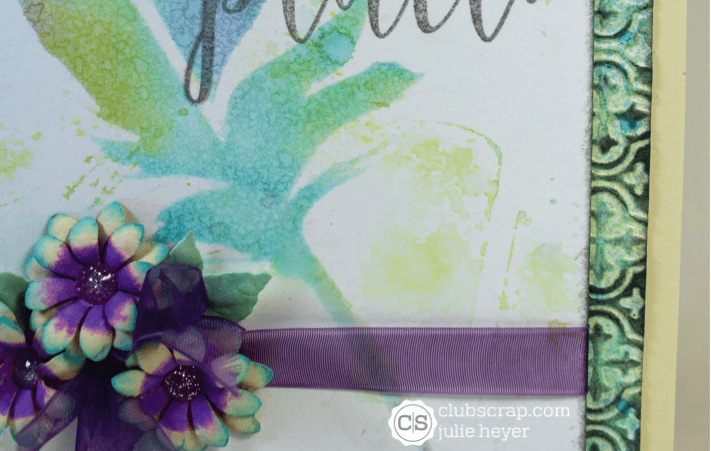
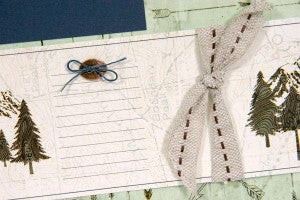
Sew a bronze button near the journaling lines on the cutapart on the right side of the layout. Tie cotton saddle stitched ribbon around the cutapart.
LAYOUTS 7 & 8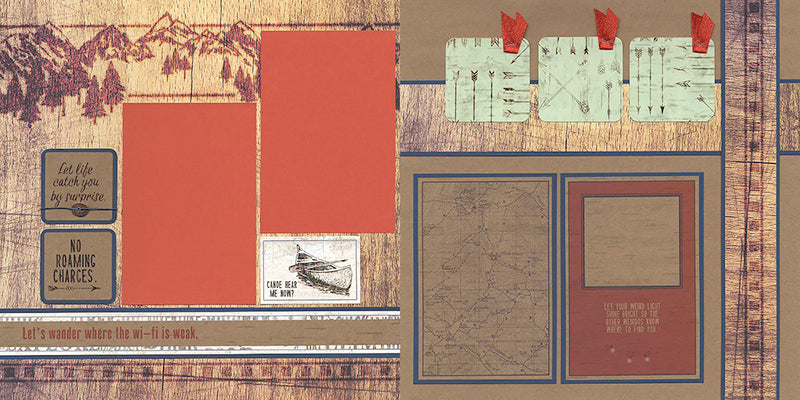
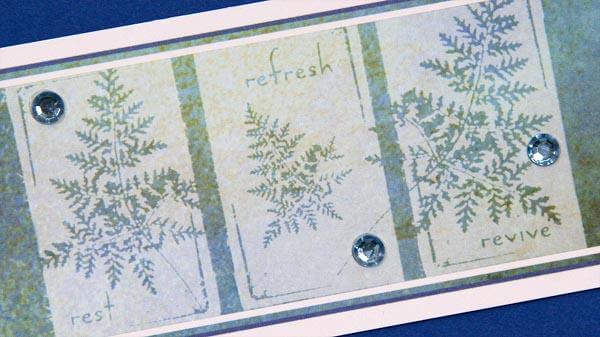
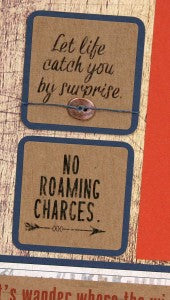
Nest the Kraft stickers onto Blue squares with rounded corners. Thread a bronze button onto waxed linen and wrap around the upper square.
Hopefully, some of these details help initiate creative adventures. And don't forget to supplement with additional embellishments from your stash. (If you happen to have one?)
Happy page assembly!
Tricia


