Welcome to the Fall Expo Make 'n Take information page!
If you're here, chances are we connected at a Club Scrap sponsored workshop or make 'n take at a recent expo. We're happy we had the opportunity to share our method with you!

We've been developing our "scrap-free" approach to scrapbooking since 2005 and have made continued strides in helping crafters conquer their stash of materials and supplies with confidence. We hope we've helped you discover new possibilities, as well!

Get the Instructions
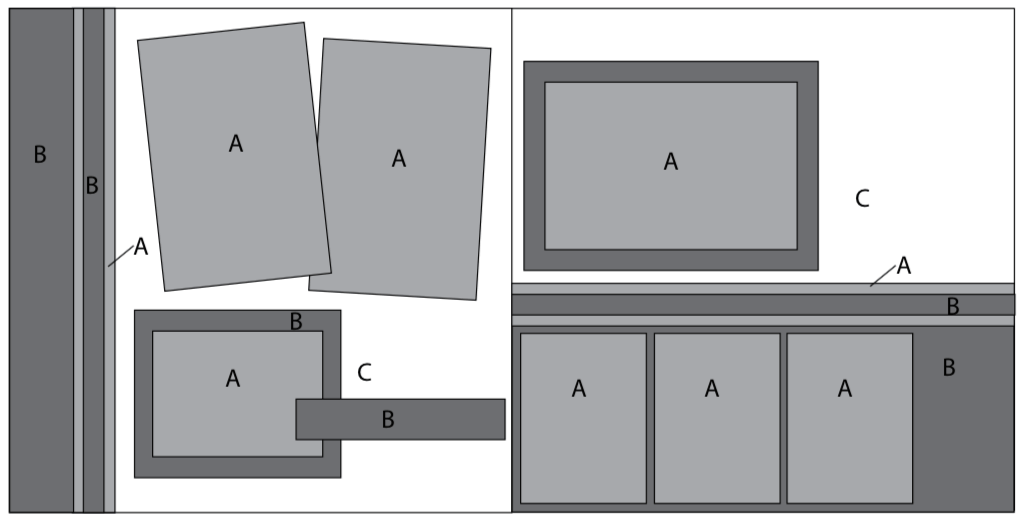
Click on the link below to download and print your very own copy of the formula we used to trim the papers for your double page spread. You can use it again and again, arranging the elements differently each time to create beautiful pages with materials from your stash.
2018 Fall Expo Page Formula
You'll be pleased to know that you'll be given a new page formula each month to assist with your "stash reduction goals" when you become a Club Member.
Join the Fun, Get it Done!
Every month, Club Scrap members receive a freshly designed collection complete with high-quality papers, embellishments, printed cutaparts, and detailed trimming and assembly instructions similar to what you experienced in our booth or workshop, all for less than $30 shipped! Join us today with no minimum membership requirement, and inject new-found inspiration into your beloved hobby!

Our Layout Samples
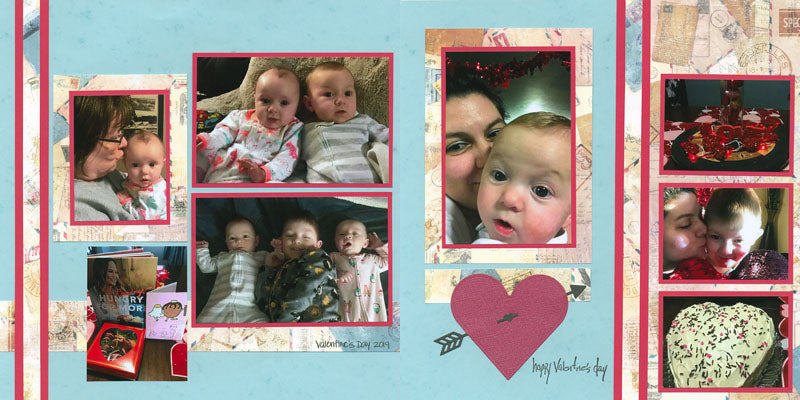
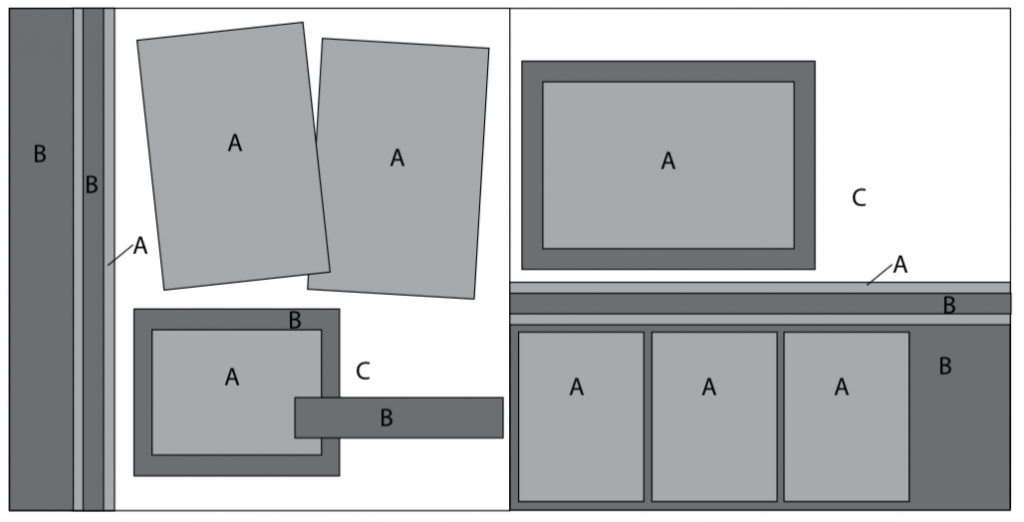
Throughout the year, we continually add more pages to our make 'n take kit selections. Each theme is pictured below, without and with photos. Find the one that matches your make 'n take page kit for assembly inspiration. The possibilities are limitless!
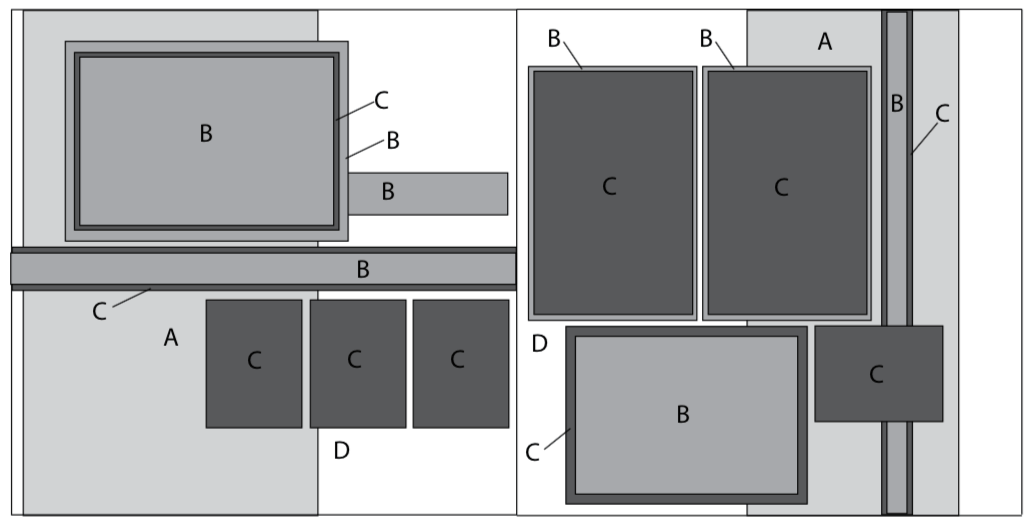
For review, this is the original "sketch" of the layout. Watch for all of the "twists and turns" inspired by the various paper combinations.
Vintage Botany I
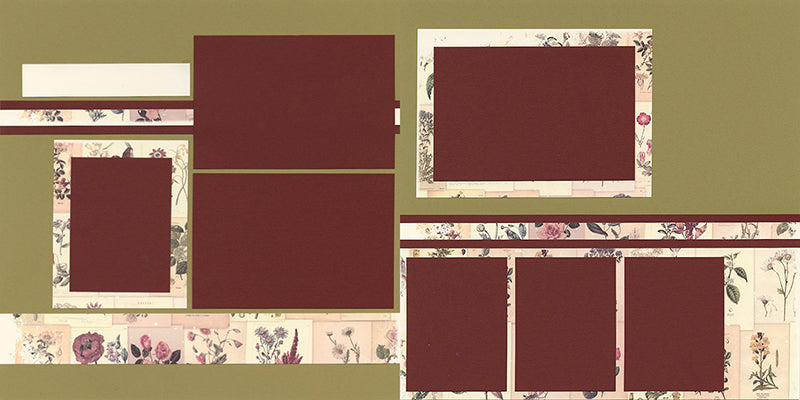
Note the adjustments made to the arrangement of elements on the left page. The two vertical photo mats are now horizontal, and the horizontal mat is vertical. Add a few stamped images, some ribbon, and a bronze key to finish the spread.


Vintage Botany II
I only had vertical photos remaining from this engagement photo shoot, but you'd never tell by looking at the finished layout below. Each horizontal mat perfectly accommodates two cropped vertical images.

Surprise I

The bright green and pink background provided a perfect home for these photos of a "Yooper Yarden" taken in Michigan's Upper Peninsula. On the left page, nest the two widest border strips, and keep the narrow strip as a vertical border.

Surprise II

A slight tweak to the cutting instructions for Paper B allows the gift border on the Pink Print to remain intact. A die cut sentiment adds the finishing touch.

Succulents

This layout is an exact interpretation of the original layout sketch. A narrow photo was added to the 1x5" strip, and an extra photo was positioned along the right side of the spread.

Artifacts I

After adding photos, finish with ribbon, a die cut, and a circular silver charm adhere with CS® Bookbinding Glue. Move the 1x5" strip to the right side of the layout and use it to anchor an additional photo.

Artifacts II

The neutral color palette is perfect for any outdoor event. Try it with beach and sunset photos!

Trattoria

Nest the two narrow border strips and use to anchor the nested photo on the bottom of the left page. Wrap red ribbon around the wide vertical border along the left edge and finish with a "Best Ever" woodcut. On the right, swap the positioning of the 5x7 nested mat from the top to the bottom.

Gone Wild

Stamp sentiment onto plain side of the 1x5" with India ink. Use a craft knife and cutting mat to trim around giraffe image, slip photo behind artwork.

You've Got Mail

Let's Talk Tools
Just like a chef is equipped with the very best knives, saute pans, and appliances, you'll want to make sure you have the right tools to be successful. Below are my three favorite essentials . . .
Guillotine-style 12" Trimmer
I have been using this 12" paper trimmer almost daily since 2012, and it still cuts perfectly. The clear stabilizing bar, 1/2" vertical alignment grid, and self-sharpening blade are critical components to making this the best tool in my arsenal. If you don't have one, you can easily add it to your first member shipment!
Club Scrap® 3x14" Acrylic Grid Ruler
Prevent the dreaded "downhill placement" of objects on your layouts with our acrylic grid ruler. I can't scrap without it! I frequently use the "0" center feature to evenly distribute the placement of objects on a page, such as the row of three small photo mats on our make 'n take layout.

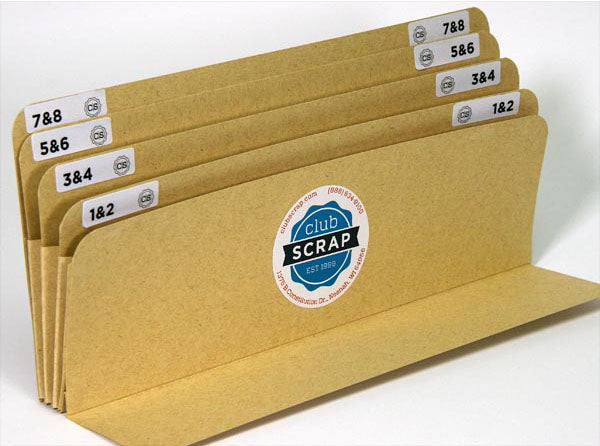
Accordion Pocket File Kit
The Accordion Pocket File Kit includes the materials needed to make your own file to keep you organized while making a set of eight pages at a time. The kit includes heavy-weight papers, two binder clips, a 2 oz. bottle of our all-purpose Bookbinding Glue, and a needle-tipped glue applicator. You'll also receive a link to an instruction download and video tutorial to assist with the assembly. In addition, you'll need a Score-Pal and Paper Trimmer to complete the project.

Are you still reading? If so, I want to extend one last invitation to join us! We genuinely want to help you succeed in your crafting goals by providing superior supplies and instructions at an affordable cost. Remember, we don't have a minimum monthly membership requirement. It's our job and privilege to earn your loyalty.

Lastly, please reach out if you have questions or need help choosing a membership configuration that's right for you. Call 888-634-9100 or email [email protected], and we'll help in any way we can.
Very fondly yours,
Tricia


