Want to learn more about the Confetti Cards? Thankfully, you've come to the right place!
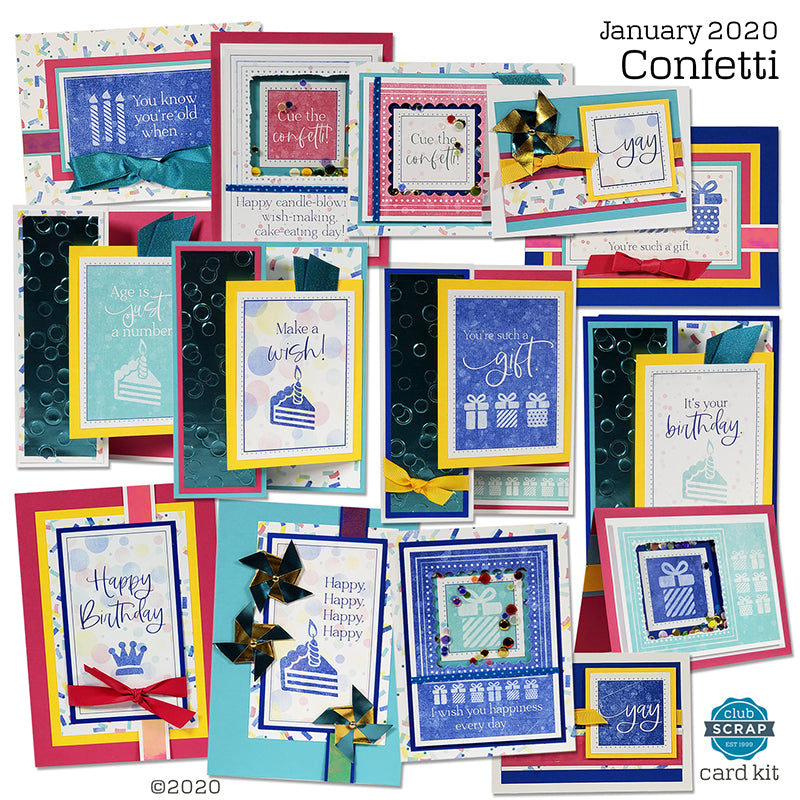
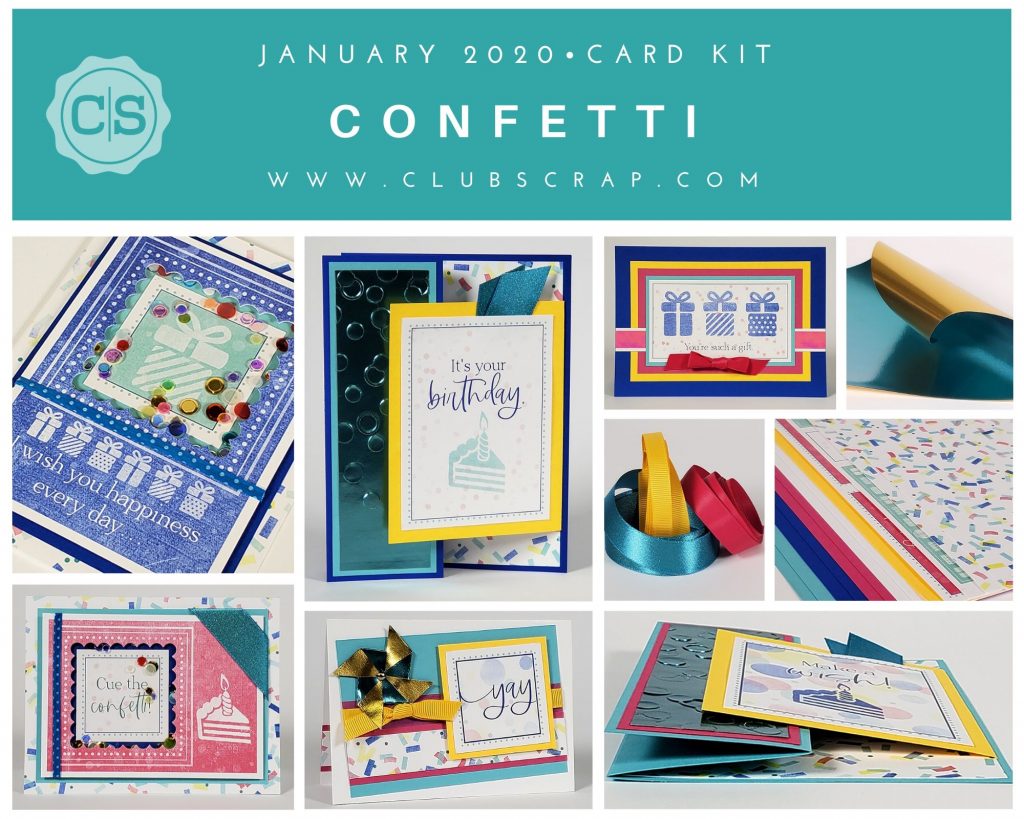
After trimming the 12x12 into cards and panels, you'll have enough paper and embellishments to create fourteen cards. We've included the envelopes, too!
While the printable instructions provide a concise summary of card assembly, the video tutorial walks you through every step. Here's a preview . . .
Next, let's take a closer look at all four card styles you'll make with the kit.
Card Set A

We hunted for the perfect "fill" for the 4.25x5.5" shaker cards. Deb scooped out a generous portion of the colorful hole-free sequins and sealed them carefully in a bag. After using double sided foam tape to create a frame around an acetate window, fill with confetti and top with a prepared panel. Boom. Shaker card.

Card Set B

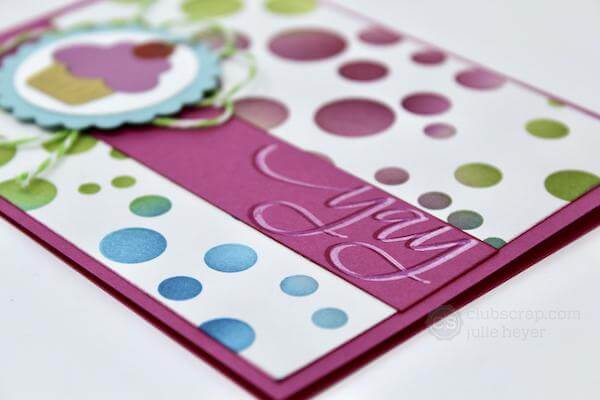
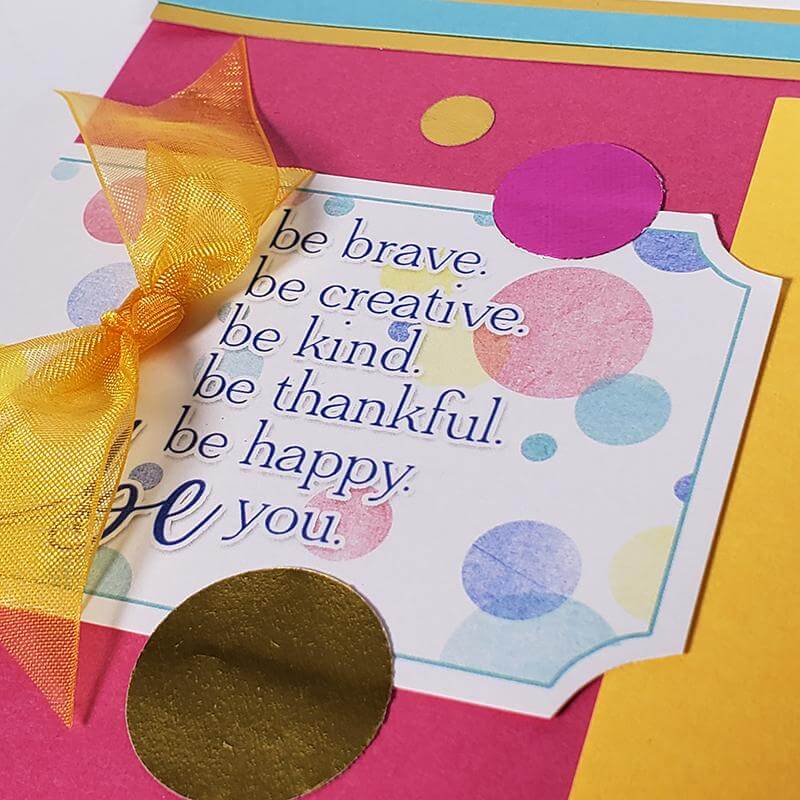
Construct a clever split panel card by making a 1/2" tab on the Yellow piece. Hook the tab behind the inner card panel to make a flap. Fold the front of the card base in half and top with an embossed Rinea Foil panel.

There is a cutapart sentiment planned for the front and back of the Yellow flap. And check out that adorable print!

Card Set C

Make a set of four mini pinwheels from 1.5" squares of Rinea Foil. (Learn how in the video.) Add to the card with your favorite adhesive.

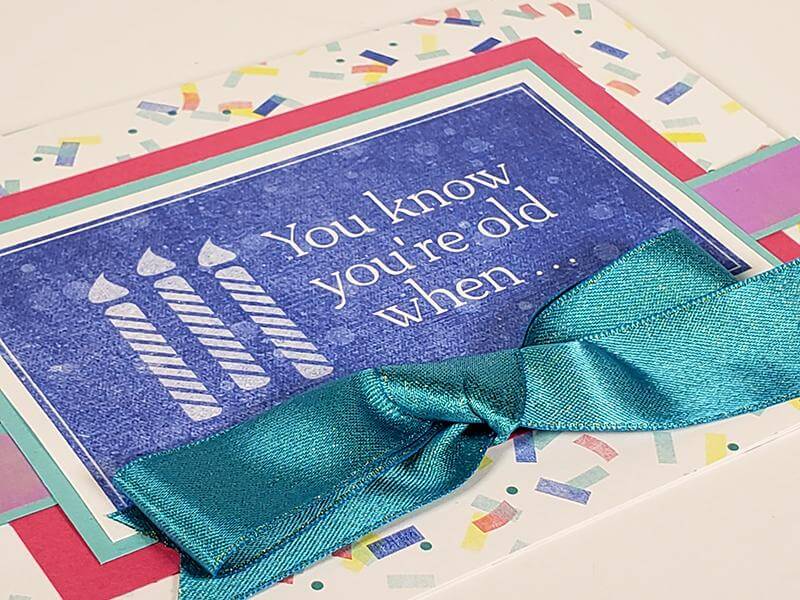
Create a beautiful bow from the 7/8" piece of two-sided metallic aqua ribbon and attach to the front of this 5x7" card. You know you're old when . . .

Create extra contrast for the silly inner greeting by trimming a paper scrap to fit the sentiment.

I sincerely hope the Confetti cards bring you lots of creative joy! If you haven't seen them yet, check out the pages, too.
Tricia

